Before we moved, in an effort to squeeze a lot of kids in a tiny space, I bought these beds so we could store their clothes unerneath:
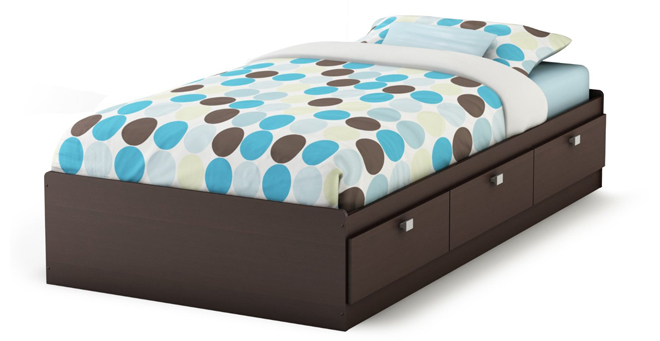
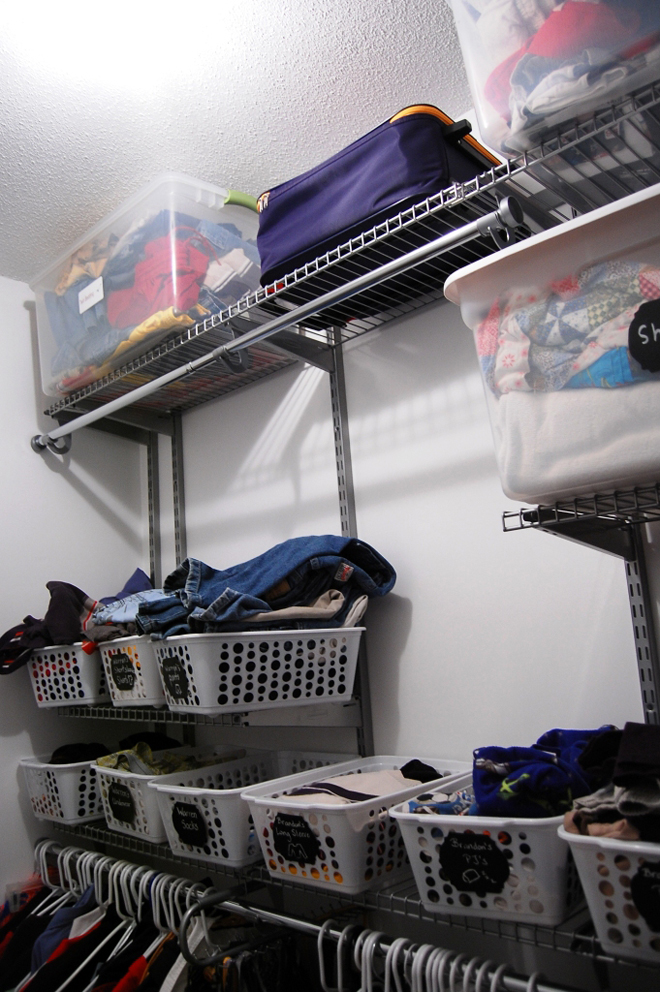
It looks handy to use in the photo with the covers all tucked in. In real life we like our covers to hang over the sides of the bed, which would get caught in the drawers. We now store bedding in the drawers and their clothes in baskets in the closet.
The beds aren’t super high quality, but they’ve survived moving twice and are the perfect height off the floor for young boys. If you consider these beds in your own home, have a plan from the start for replacing the drawer pulls. They are sharp enough to draw blood if you bump it just right.
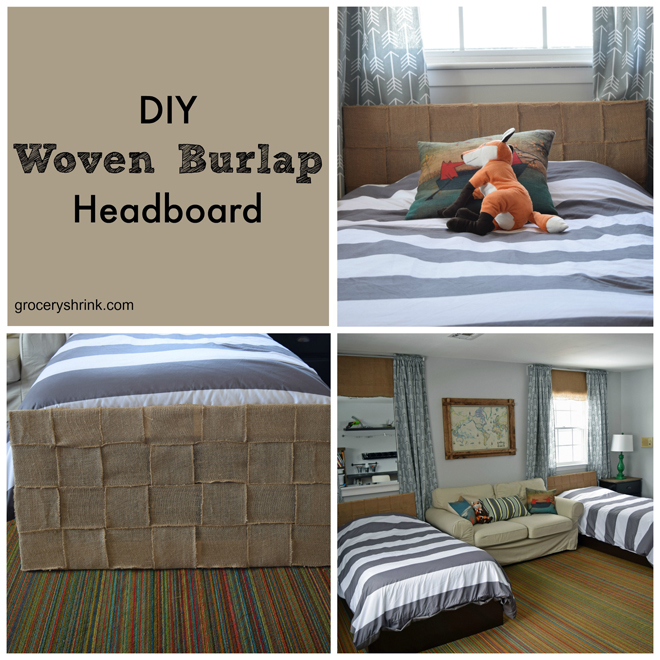
In an effort to use what we already have (to stay within budget) I knew I’d be keeping the beds for the room refresh. I wanted them to have a headboard to ground the bed area, but it had to be inexpensive and short enough to fit below the window.
This headboard from Peir 1 Imports was my inspiration. I still love it a little more than my DIY headboards, it was just out of our price range and too tall for this project.
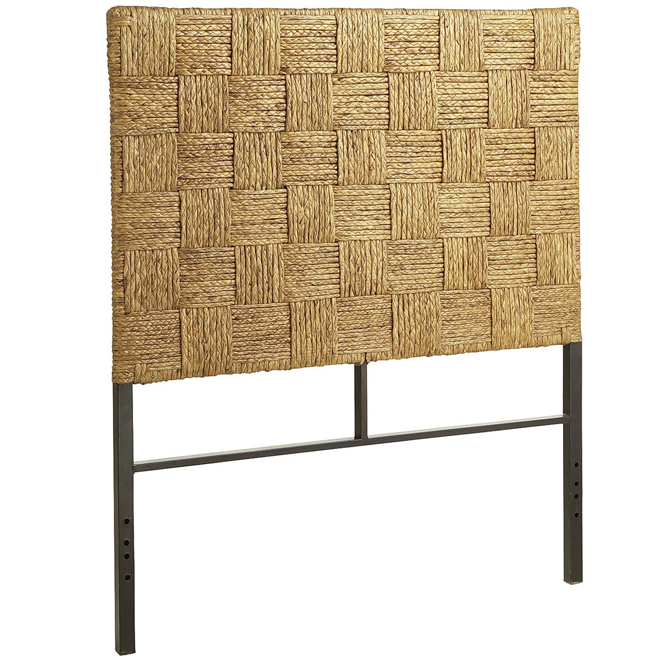
I had originally planned to buy enough jute rope to weave a smaller headboard just like this one, but the cost was prohibitive. Instead I purchased 5″ wide burlap ribbon with finished edges to weave with. It was less than $10 a headboard and still gave the texture I was hoping for.
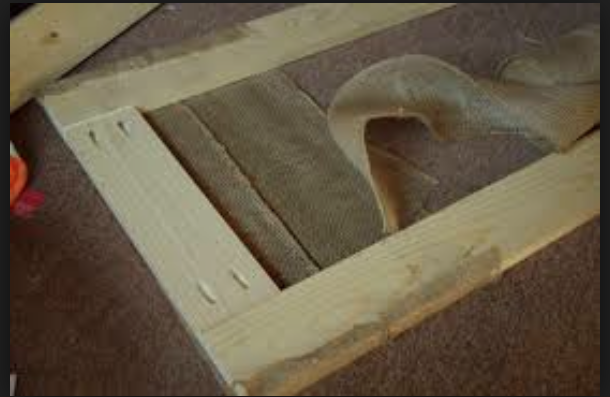
I used the same 1×4 pine from the picture frame in yesterday’s post to build a simple rectangle for the headboard frame and pocket hole joined it together. It was all going to be hidden, so I didn’t worry about mitering the edges or anything fancy.
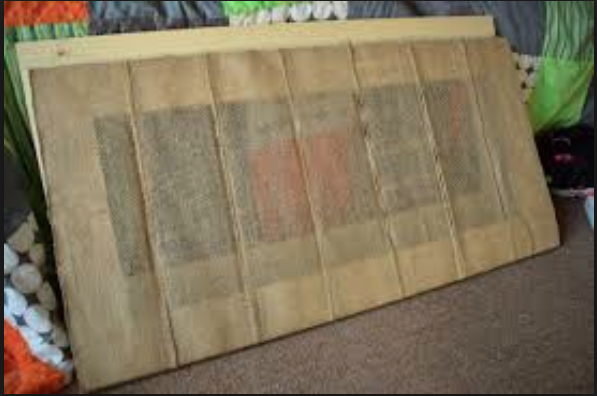
Then I hot glued strips of the burlap ribbon to cover the frame. I had to hold it in place for a few minutes until the glue set to make sure it was stretched tightly. That was HOT!
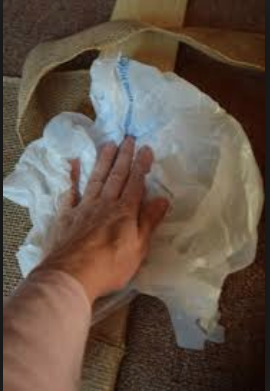
I figured out I could use a plastic shopping bag to protect my hand from the heat. The bag peeled off pretty well from the glue without leaving a mark.
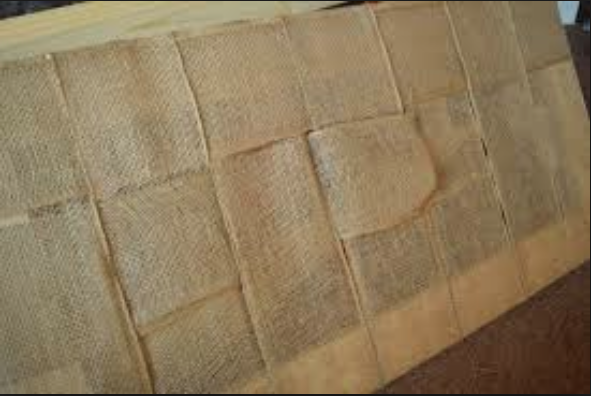
Then I went back the other direct with the ribbon and wove it through, securing the ends on the back side with more hot glue.

Here it is all finished. They’ve been using it for a couple of months and the burlap has gotten a little stretched out on the edges. If it doesn’t hold up for the long term, the frame will be easy to upholster in a more traditional fashion.

The original plan was to just screw the headboard to the wall, but I prefer how it looks with the curtains flowing behind it. For now I have it propped up inside the bed frame, but am working on a hanging system that will secure it a few inches from the wall and high enough to touch the trim of the window. I’ll update when I figure it out.
Have you ever made a headboard? I’d love to hear how you did it.
Love your headboards! I’ve wanted to make something for our master bedroom….I feel it needs a headboard for grounding, but I don’t want a whole huge bed frame, or a footboard…and they are sooooo expensive!
It’s on my project wishlist for sometime in the next year….but…not just yet!