How to Freeze Sweet Corn

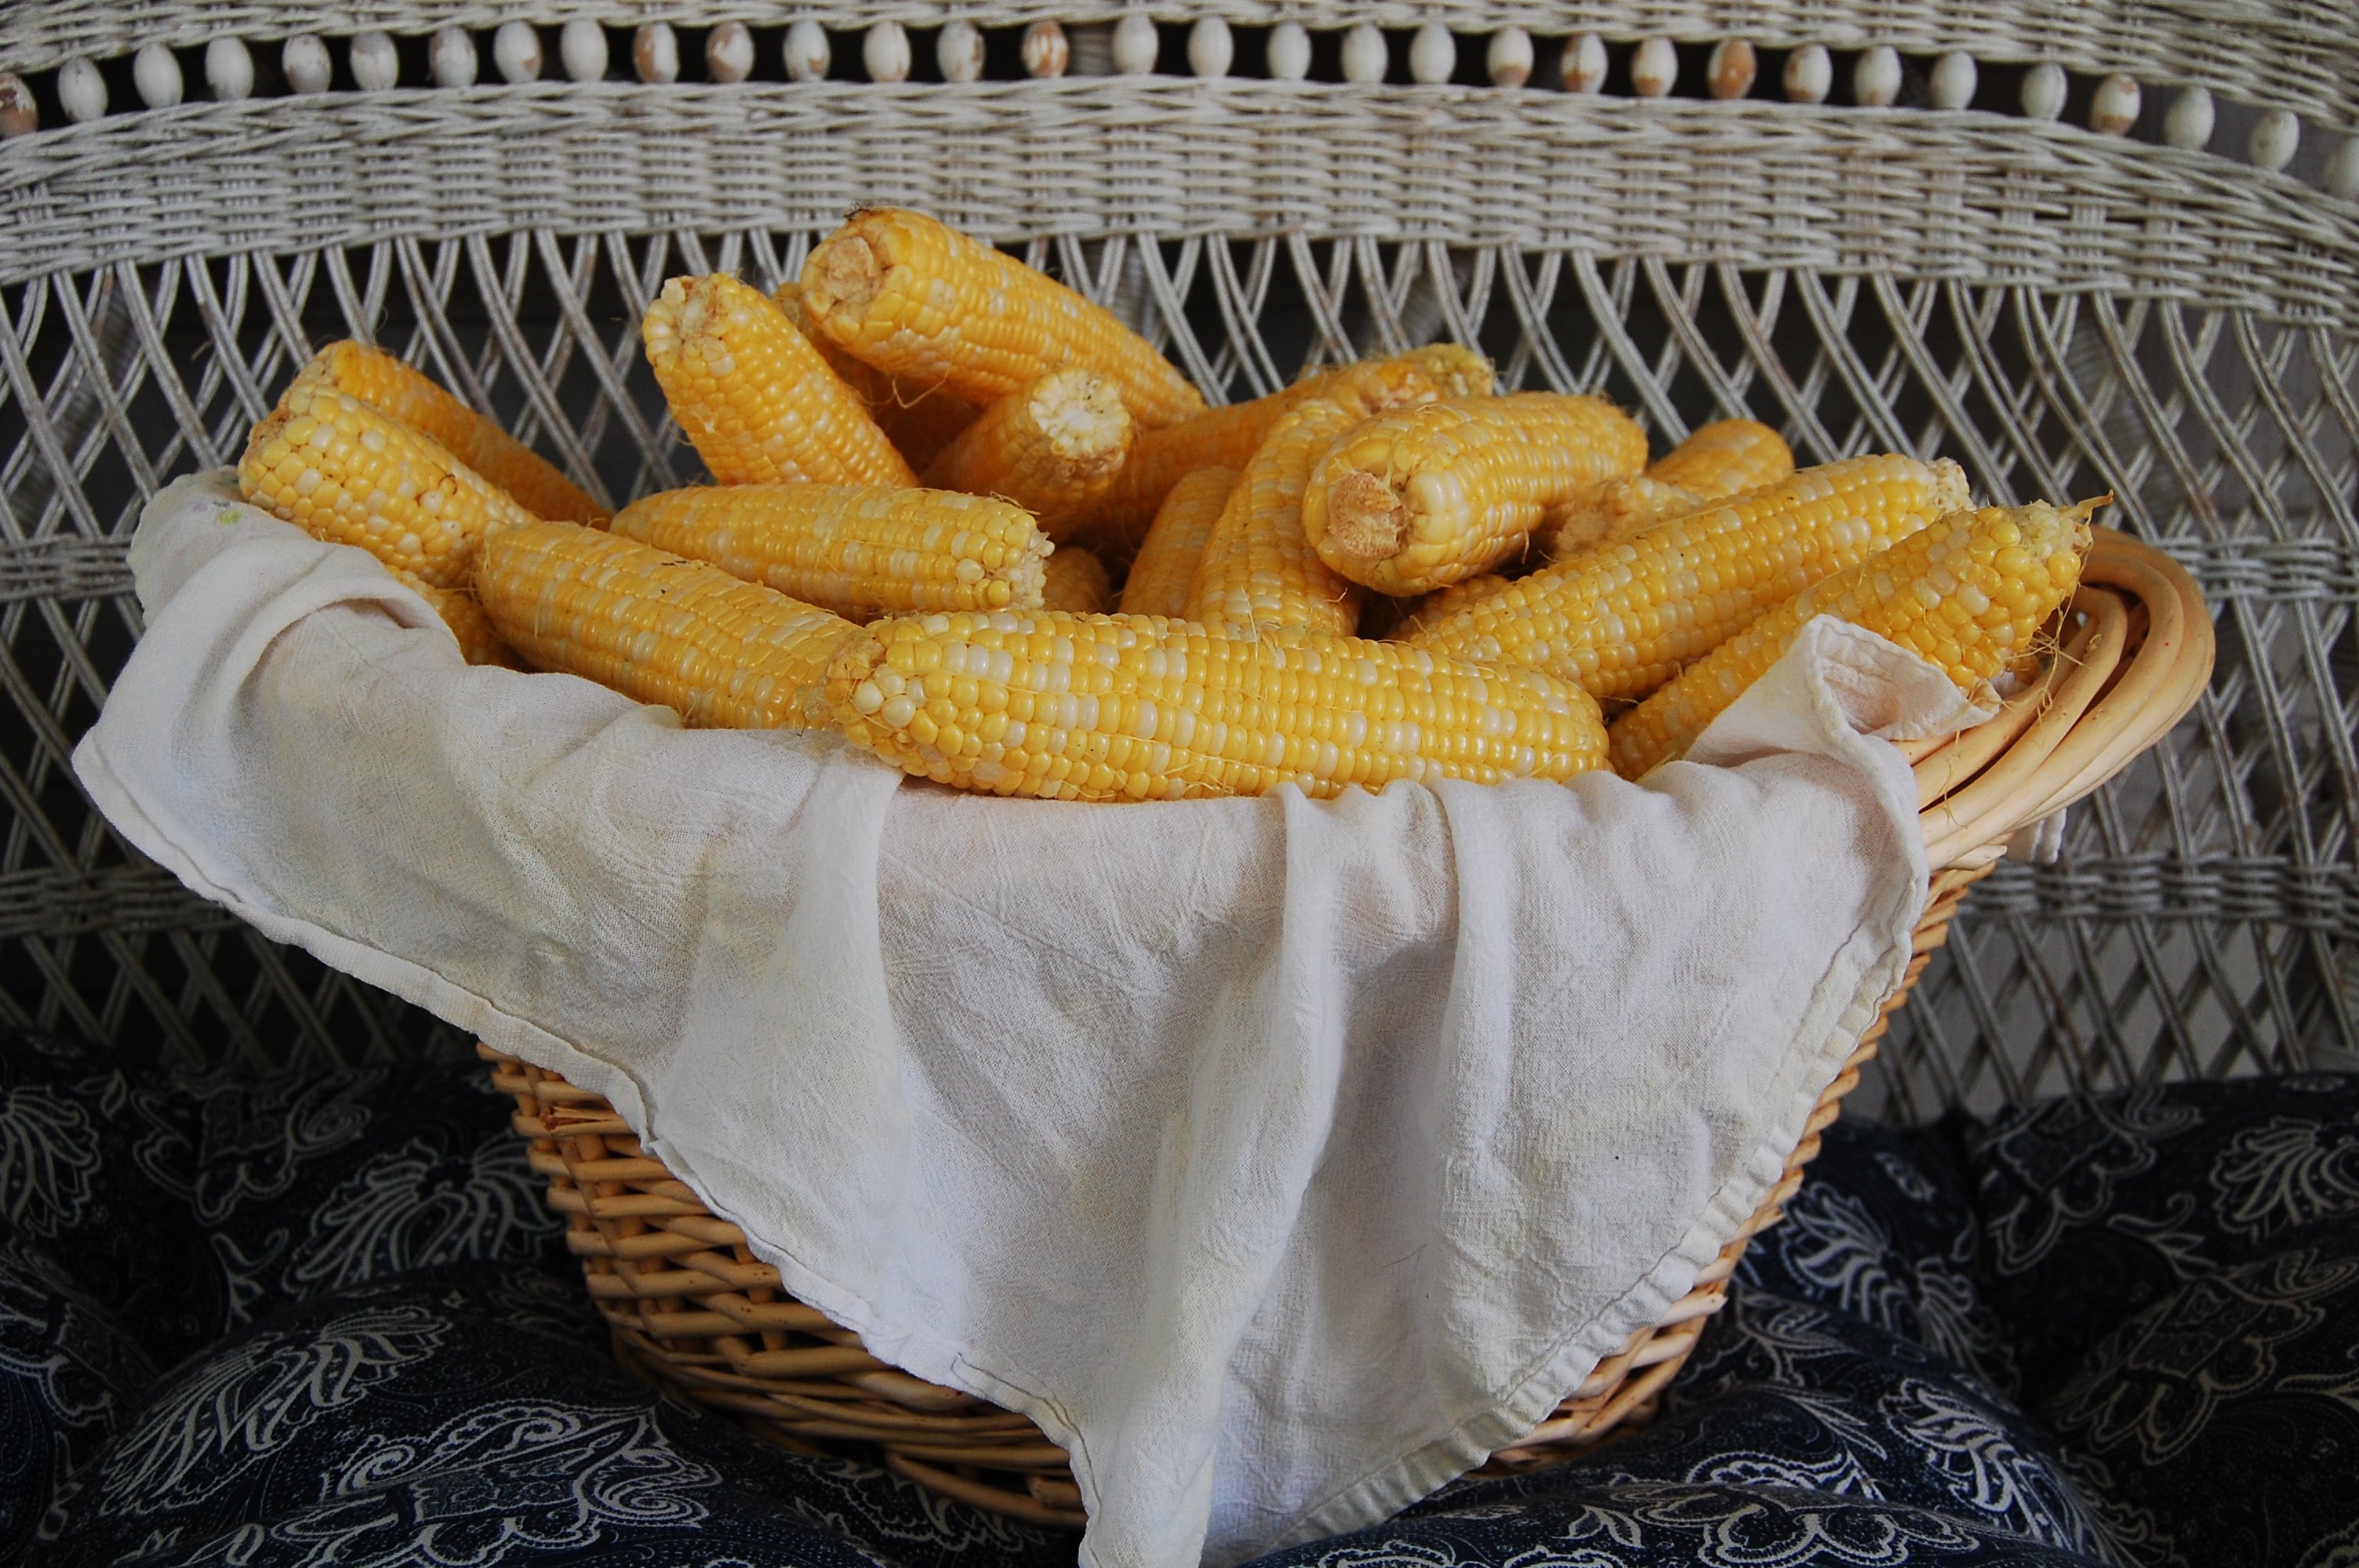
It’s sweet corn season!  Here’s a handy tutorial for when you have corn coming out your ears.  (Get it?  Ears.) Freezing sweet corn is fast and easy and preserves it’s fresh home-grown taste. The corn I will be showing is sugar and cream corn grown by my dad in his city garden.  They were blessed this year with very healthy corn that gave 4 ears per stalk.  That’s pretty rare in these parts.

freezing corn 1

1.  Shuck the corn outside (because it’s messy).  The shucks are a nice addition to a compost pile.

6a00e5549125f78833011572509fb6970b

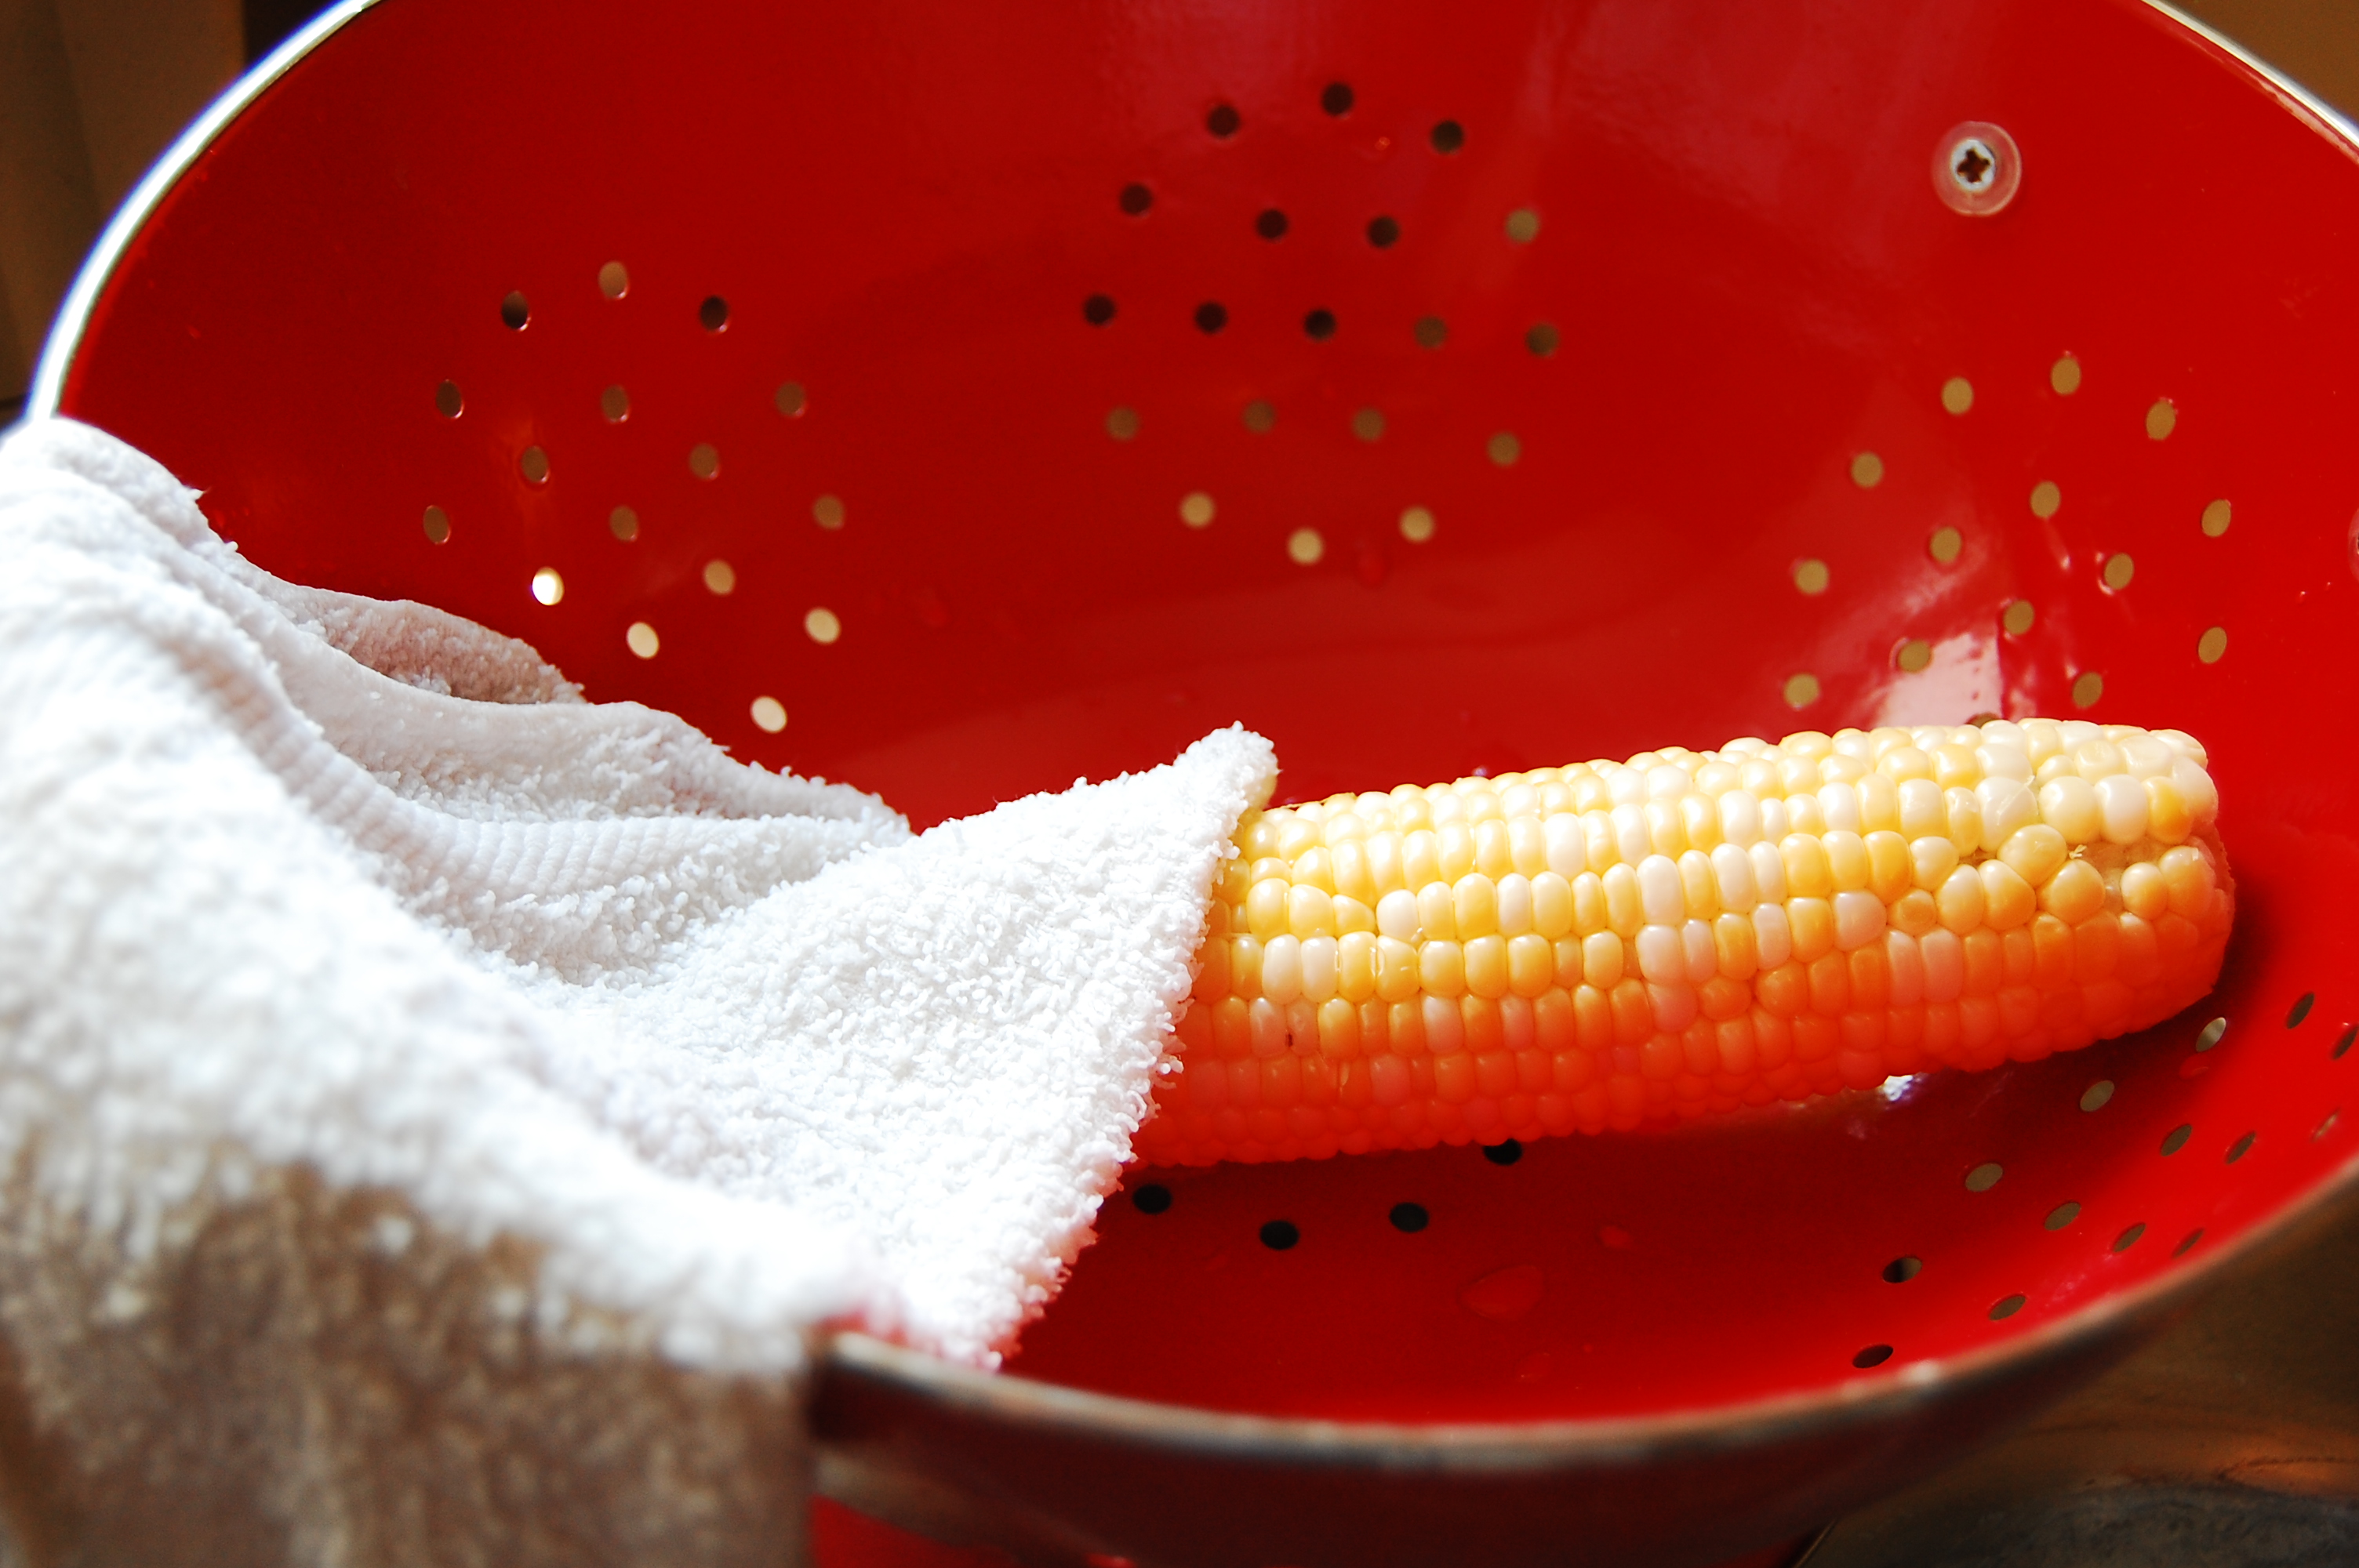
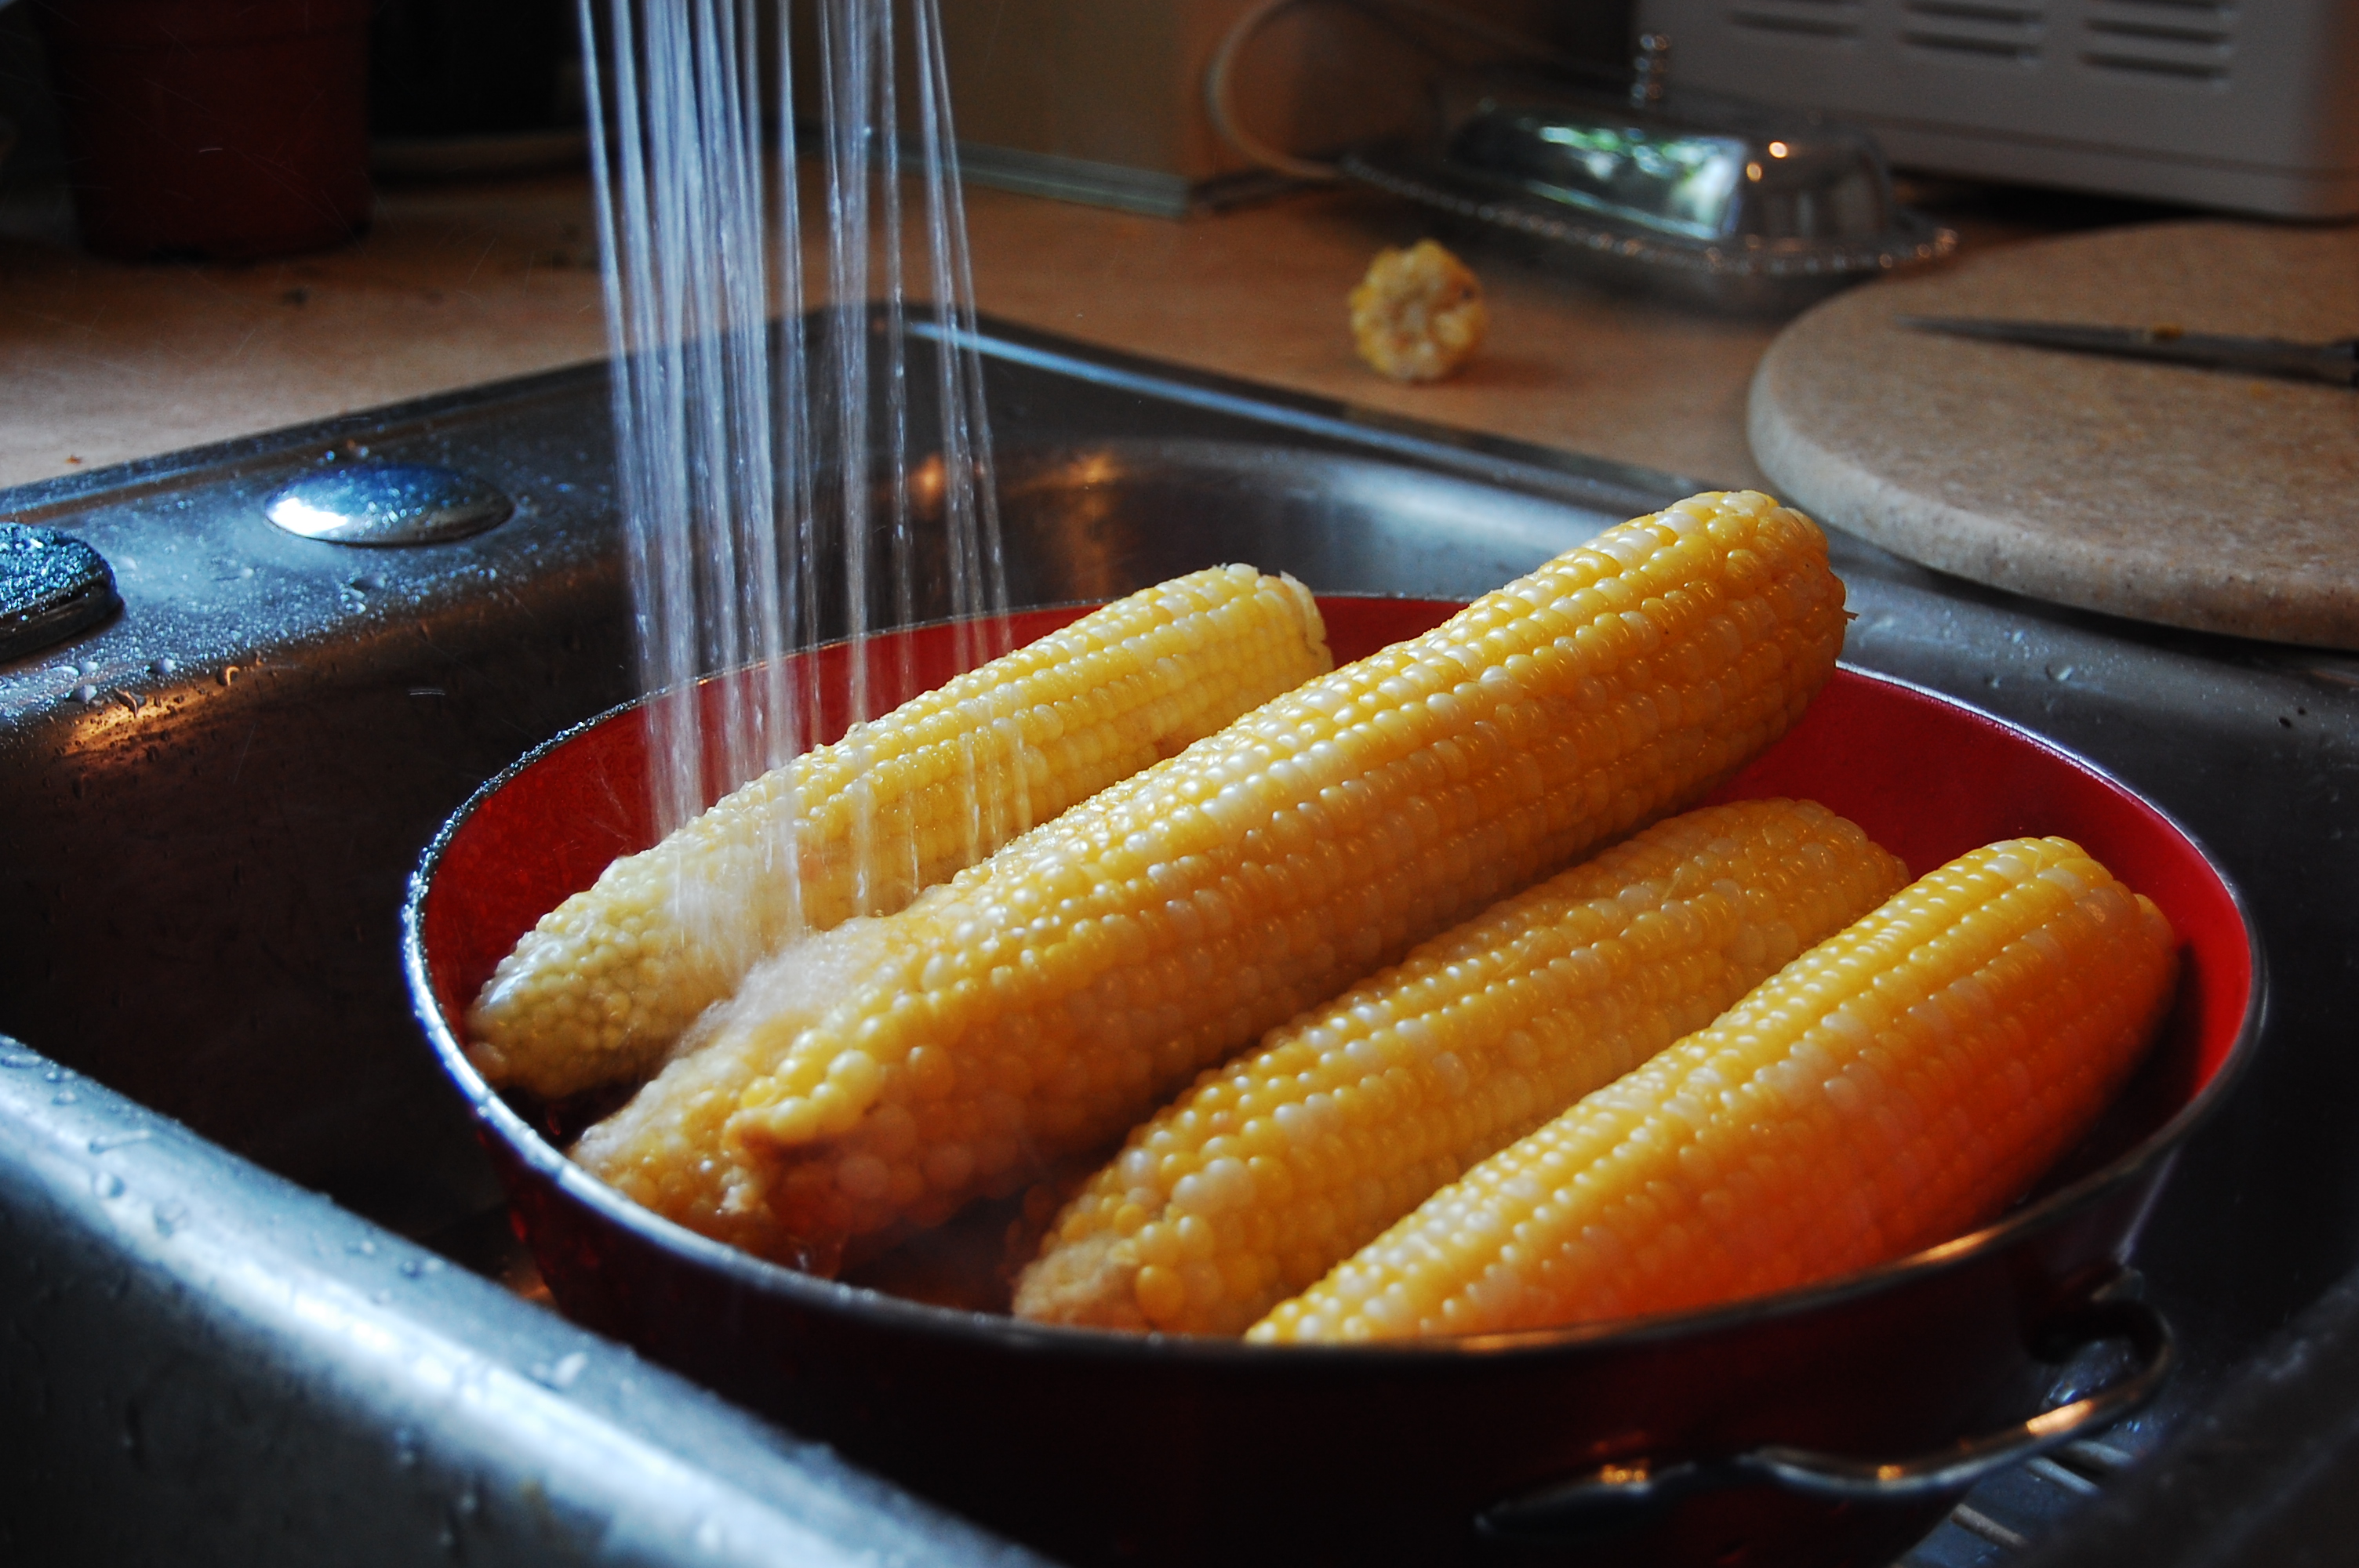
2.  Wash the silky hairs off the corn.  I like to use cool running water and a terry wash cloth.  Microfiber cloths work well too.  I like a cloth better than a corn brush.  It covers more of the corn at once, so is faster and grabs the silk really well.  I use about the same amount of pressure when washing corn as when I wash my baby’s face.  Enough to clean without doing any damage.

6a00e5549125f788330115715c504f970c

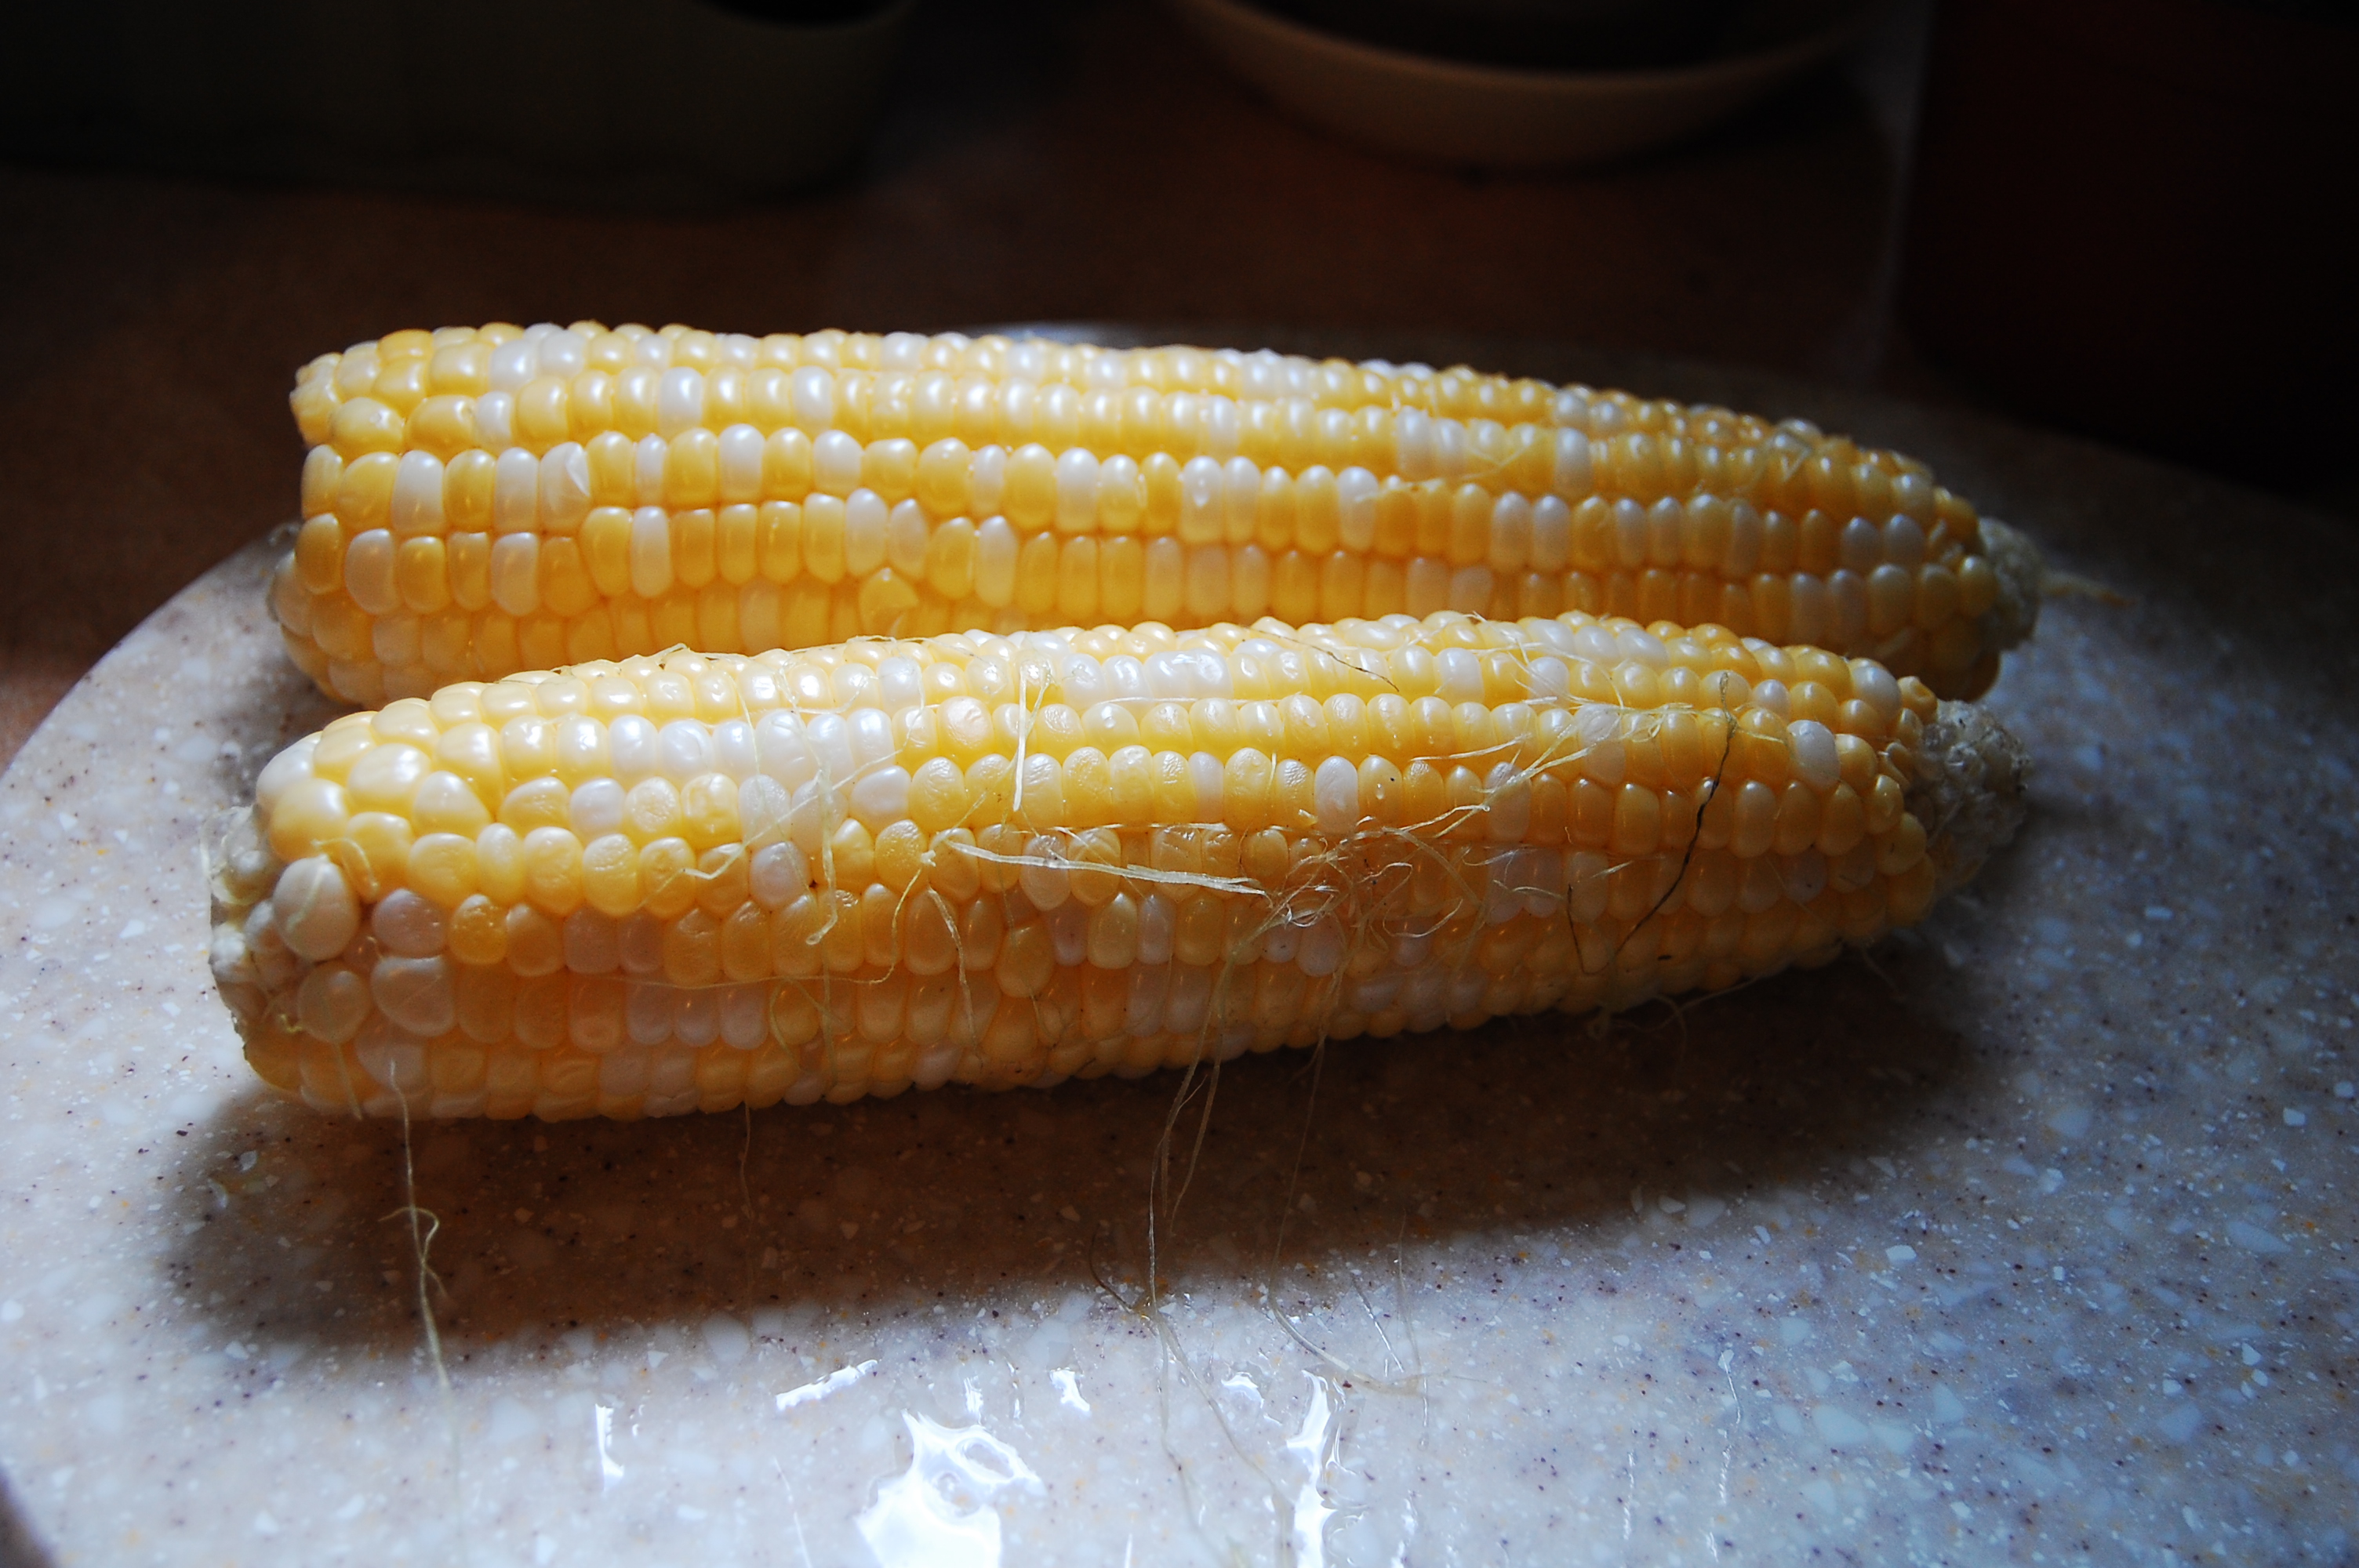
The front ear is freshly shucked.  The back ear has been gently washed with a terry cloth.

6a00e5549125f788330115715c514f970c

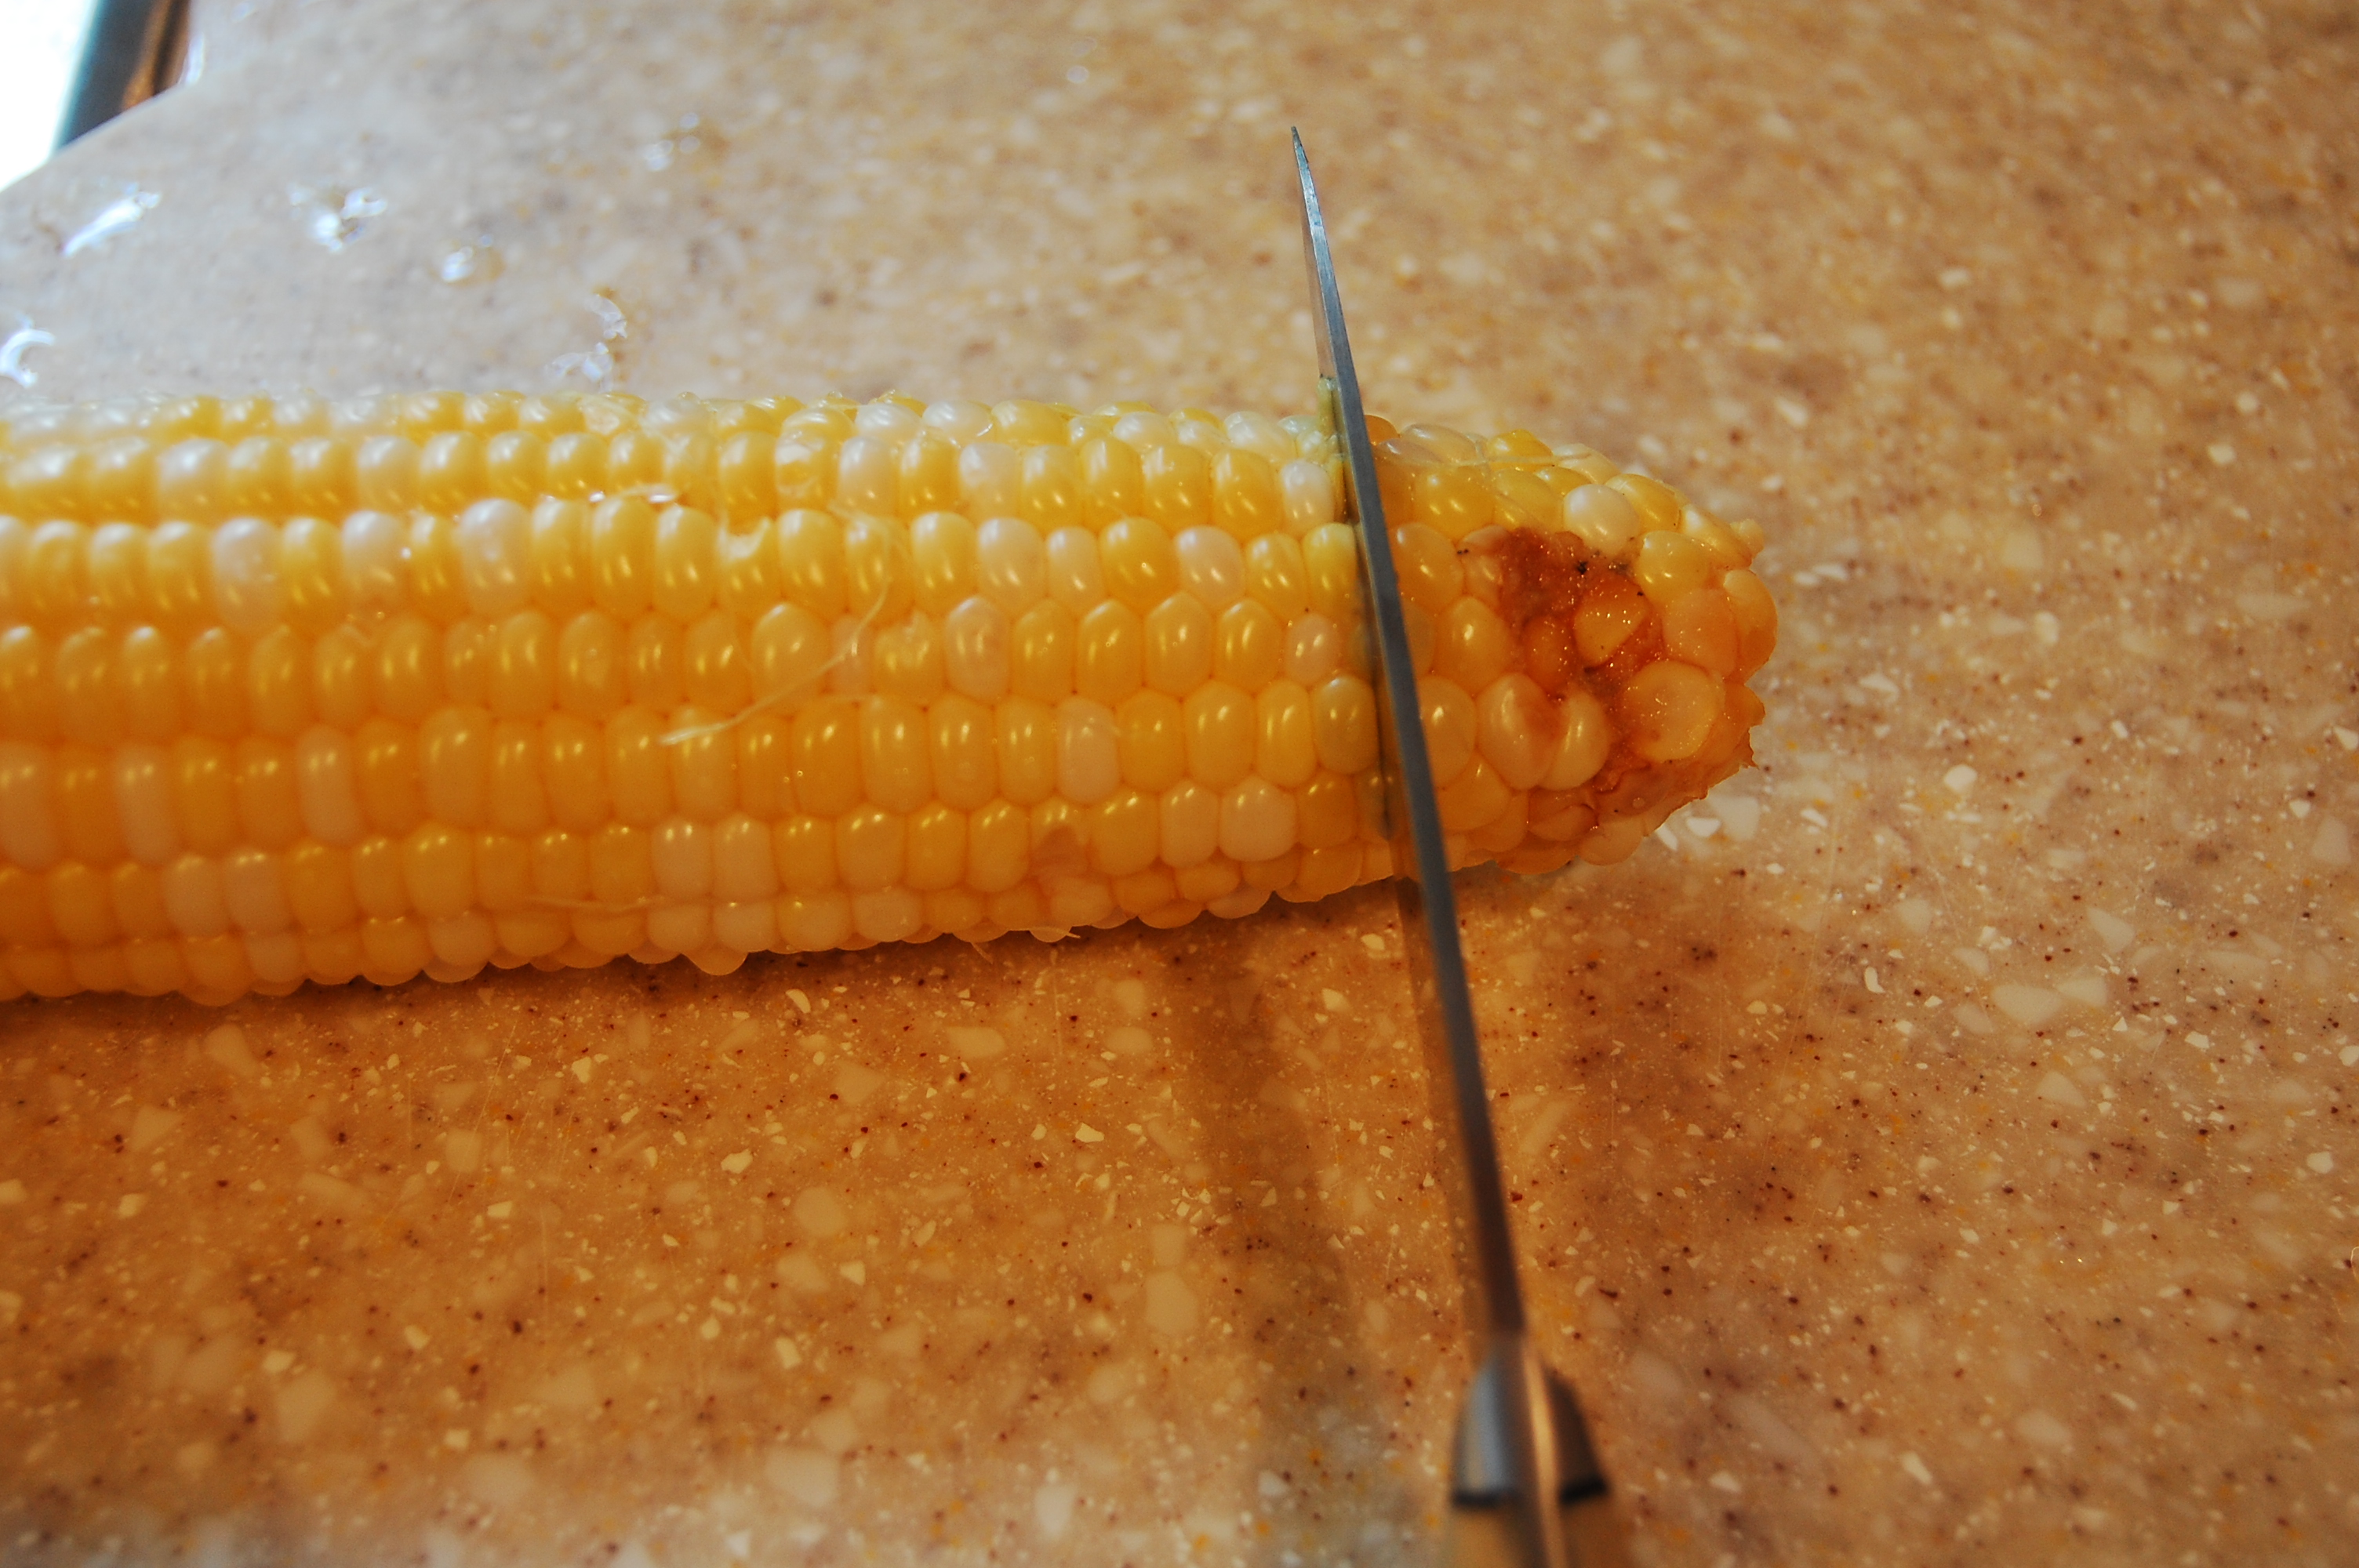
3.  Cut any bad spots off the corn.  This corn was raised without chemicals except for what came on the seed already and has a few worm spots.  Most of it was spotless though.  If you miss a bad spot, it will turn brown when it cooks and you can cut it out later.

6a00e5549125f788330115715c528c970c

4.  Submerge several ears of corn in a large pot of boiling water. If you are freezing whole ears of corn, boil them for 8 minutes.  If you are cutting the corn off the cob, boil for 6 minutes.

6a00e5549125f7883301157250a813970b

5.  Use tongs to remove corn from the boiling water.  Run it under cold water to cool or submerge it into a bowl of ice water for 6 minutes.

6a00e5549125f7883301157250a957970b

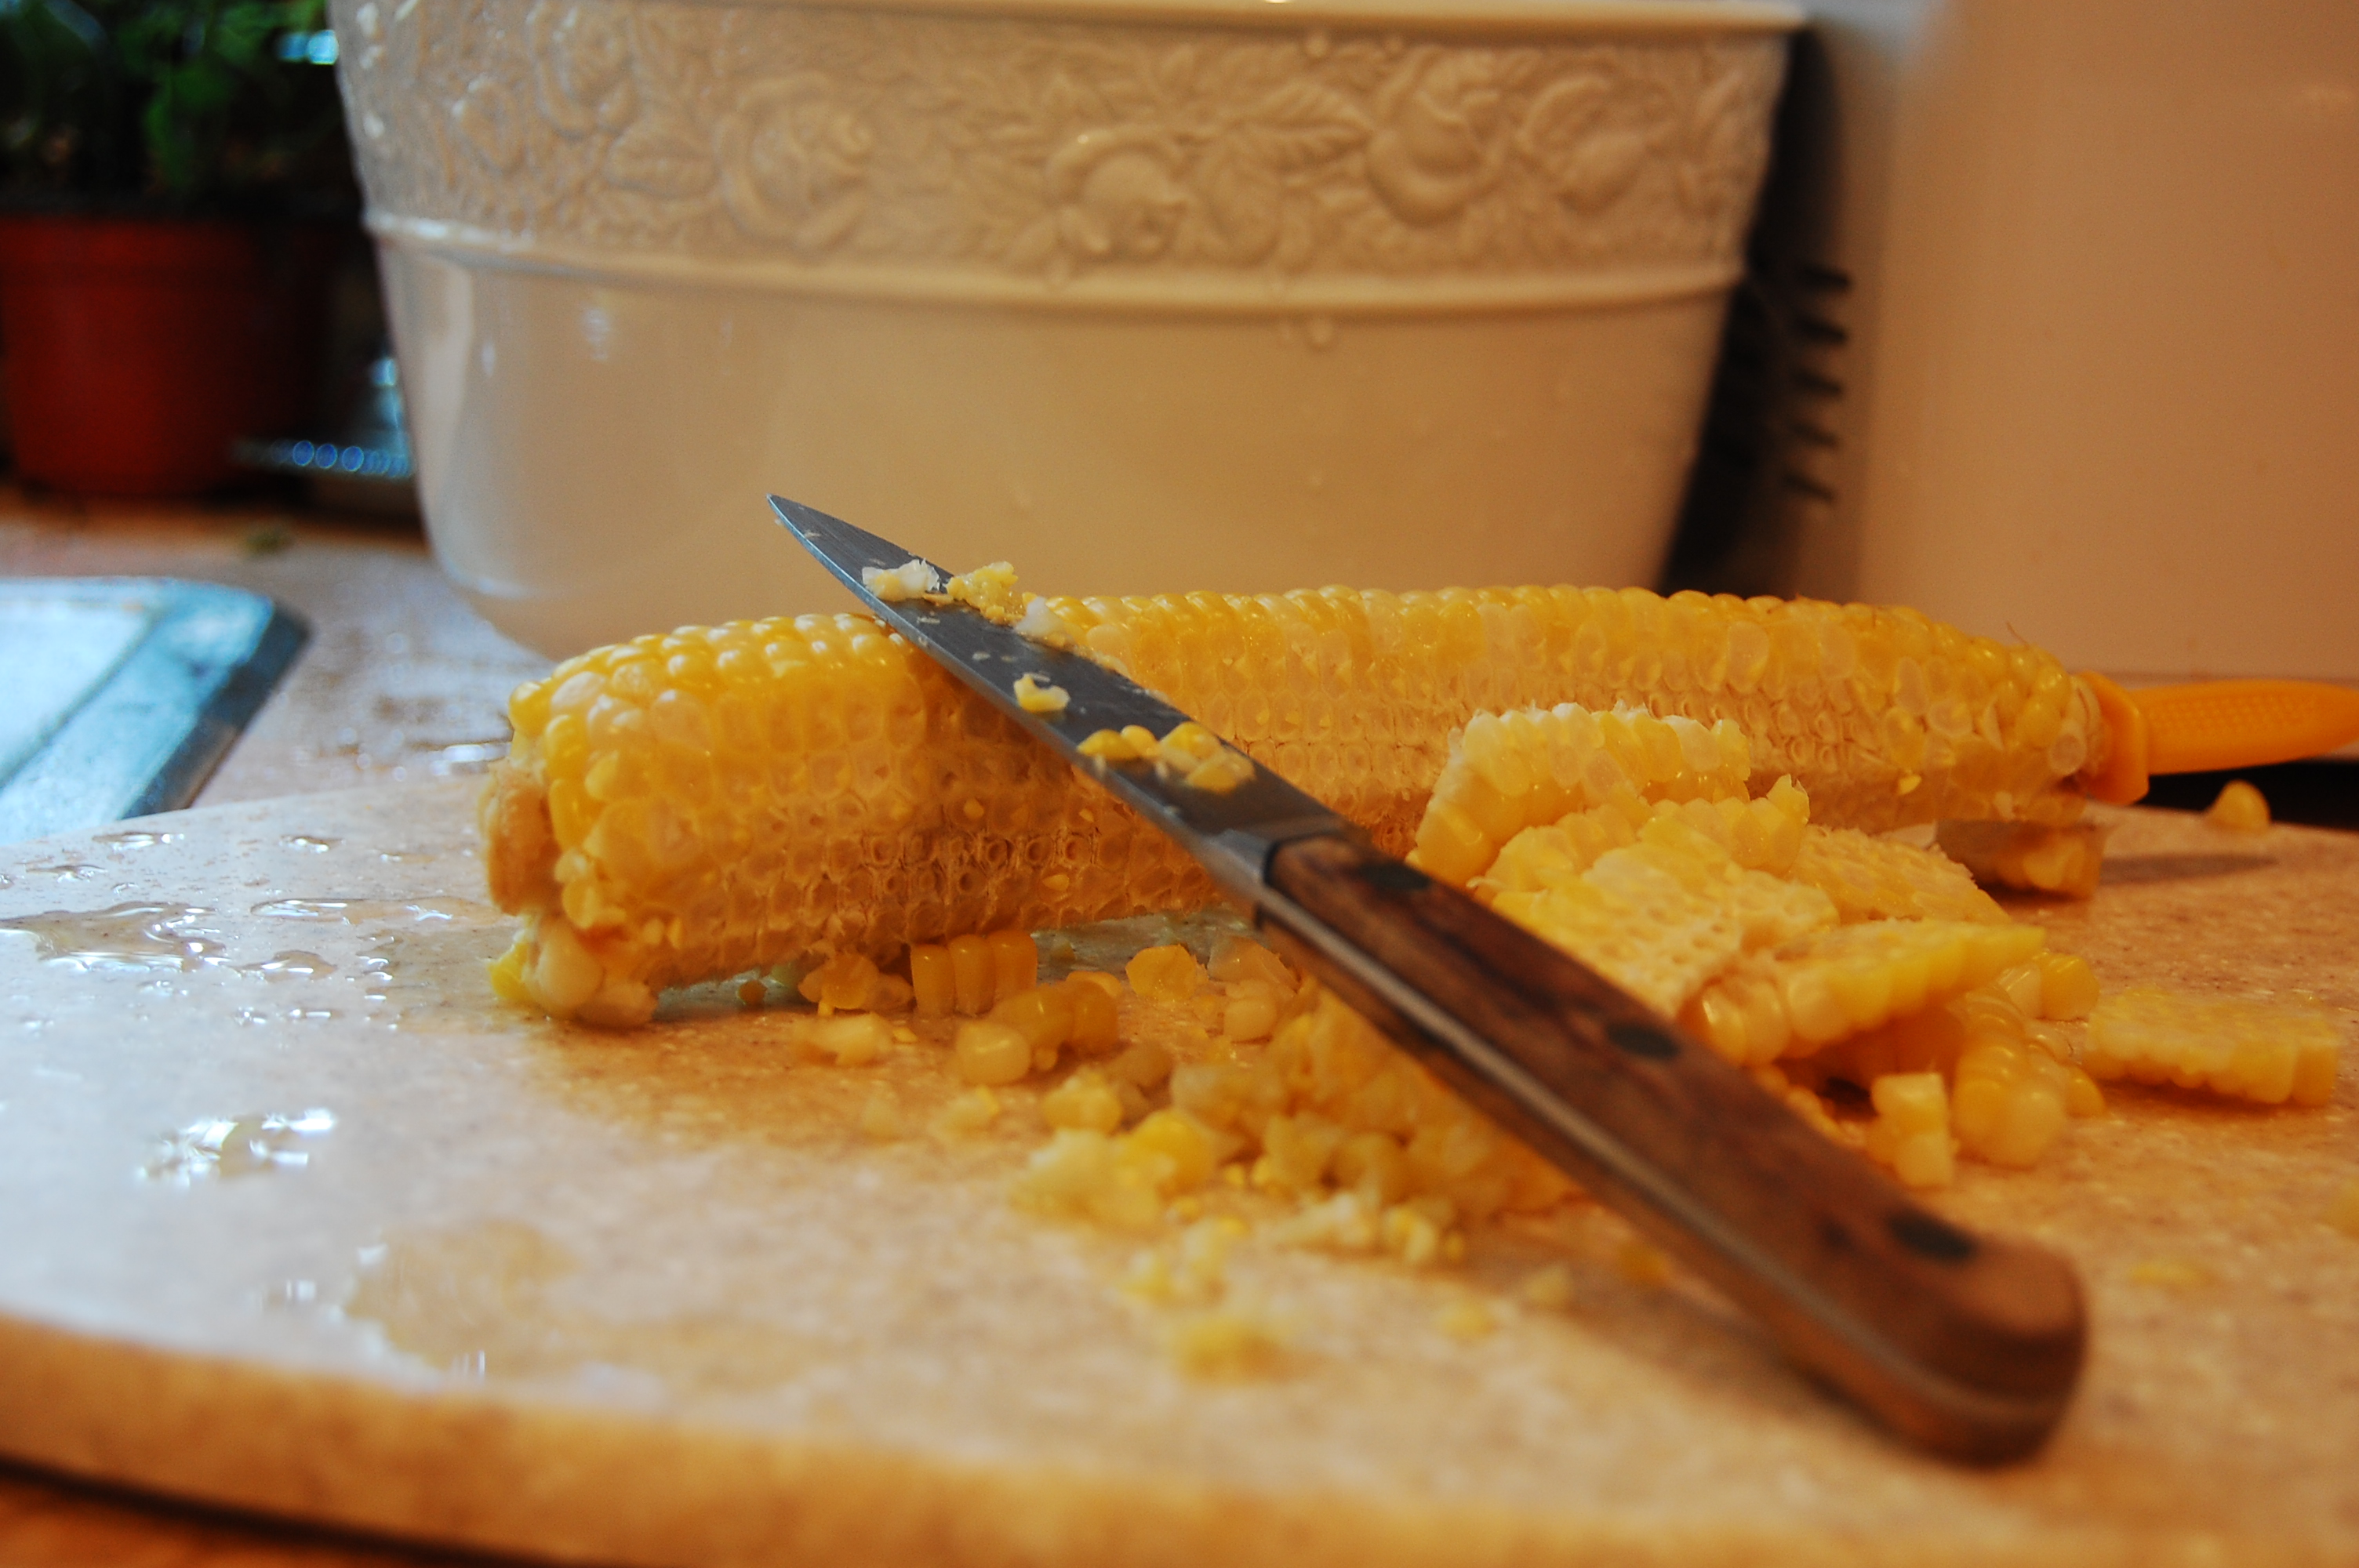
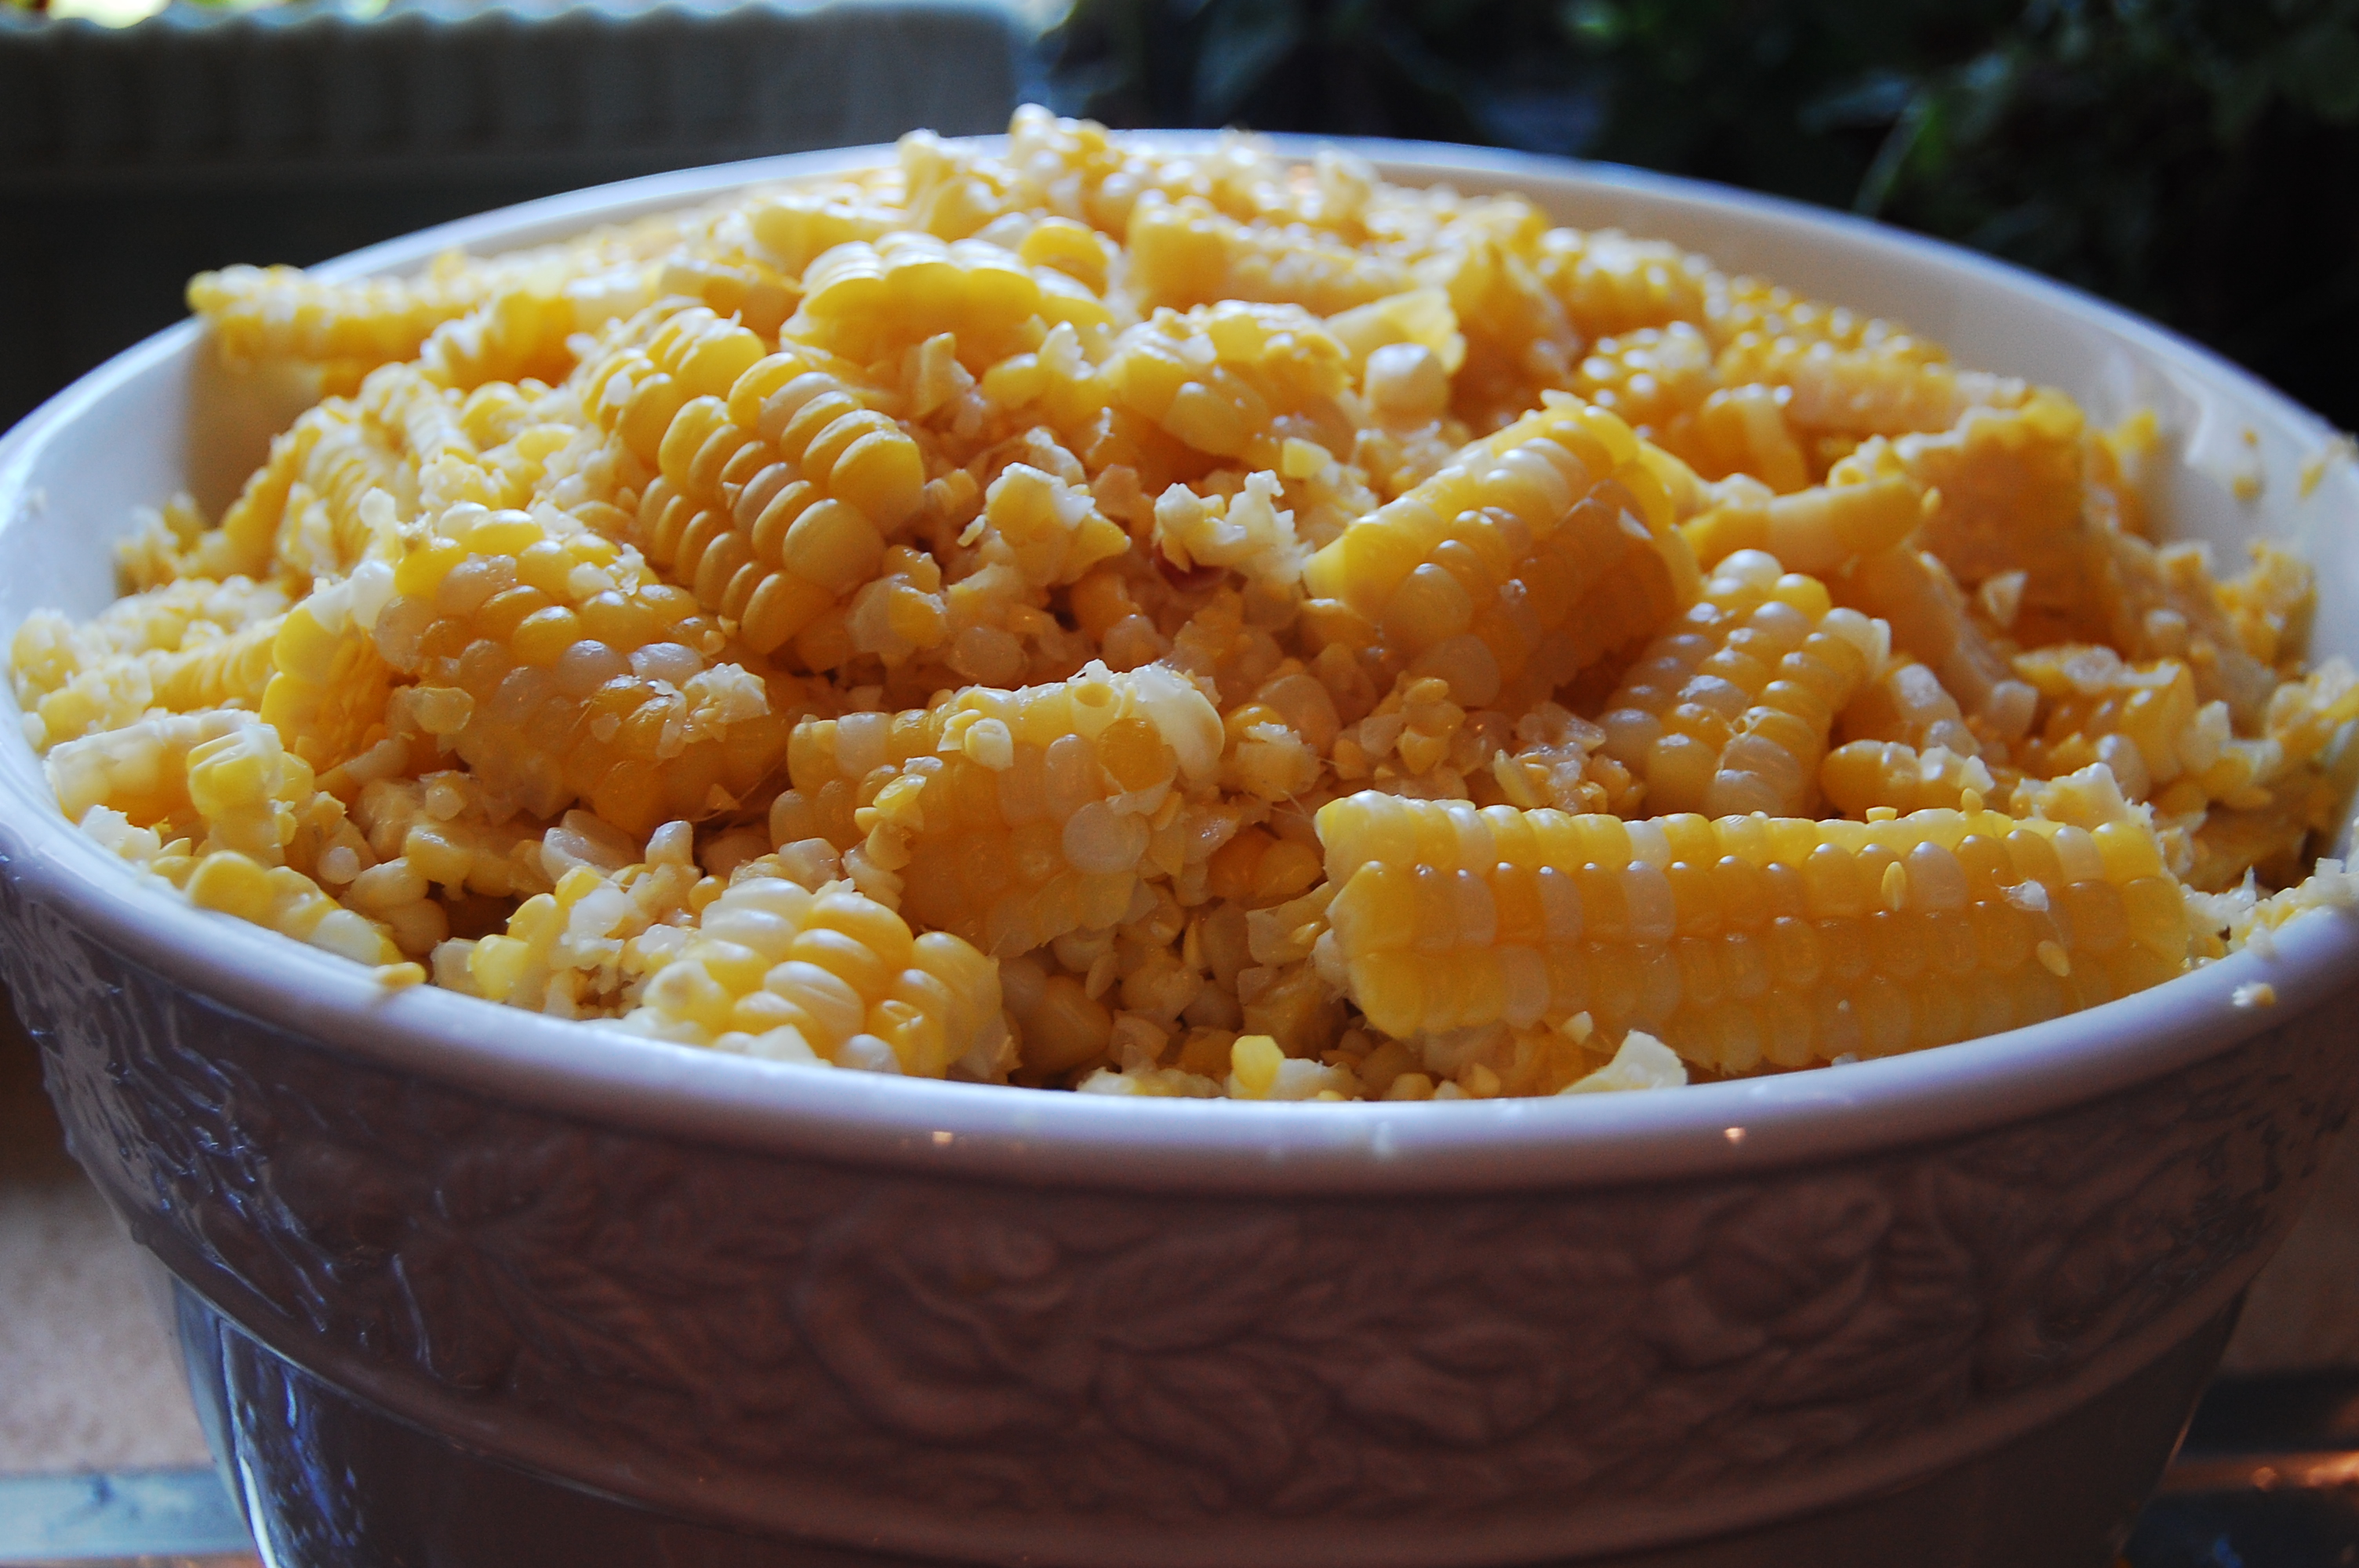
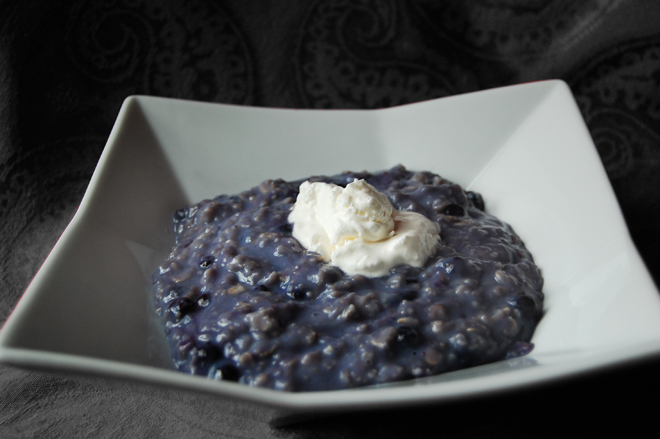
6.  Use a sharp knife to cut the kernels off the corn.  I like to take my knife and scrape the cob to get all the milk and ends out.  We call that “cream style” on the farm.  I cut as many cobs as I can fit into a large bowl before stopping to fill bags.

6a00e5549125f788330115715c5916970c

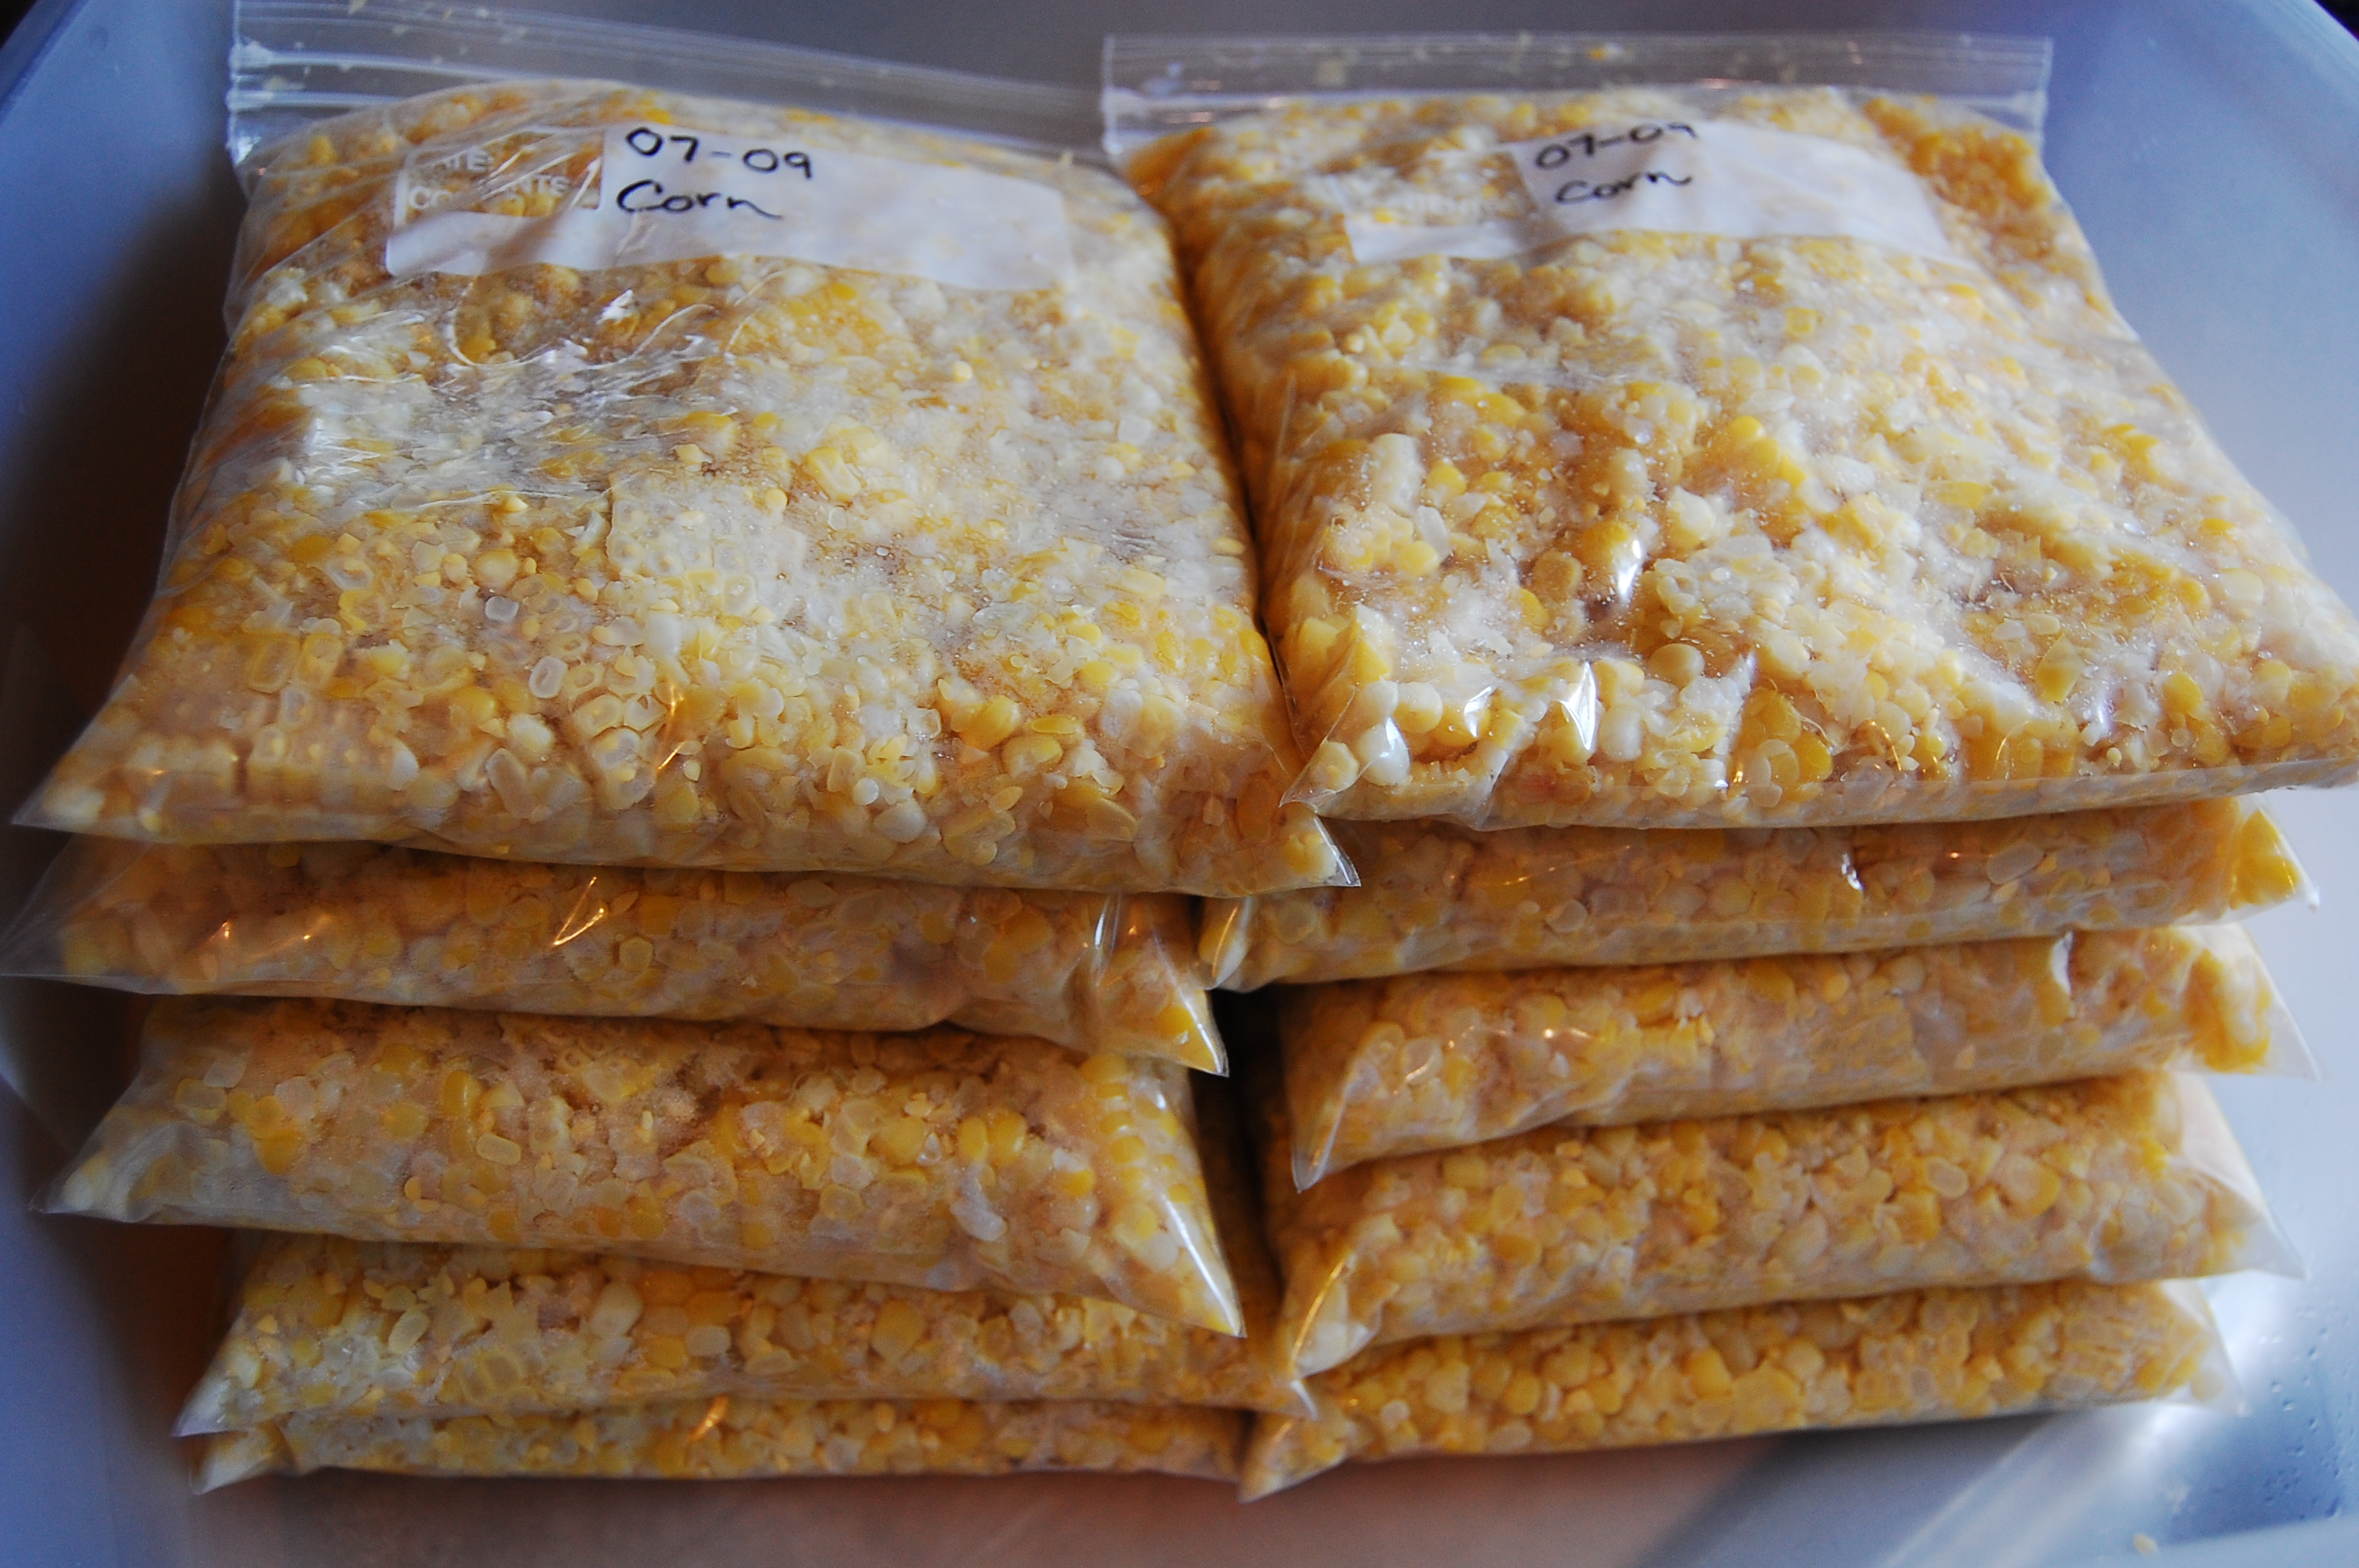
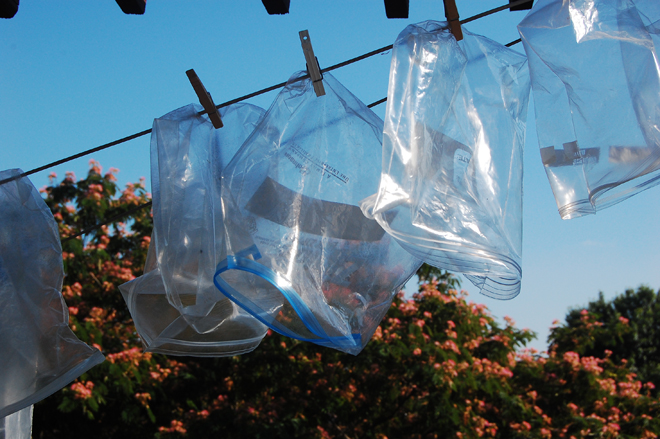
7.  I package my corn in quart size freezer bags, and use a permanent marker to label the bags with the date and contents before filling.  A one cup measuring cup is perfect for scooping the corn into the bags.  Four full scoops is a quart.  When the bags are full, press out all the air and seal them tight.  I smoosh the corn around until the bag is nice and flat and stack them in a plastic dish tub for freezing.  This freezes the corn in nice little stacks that fit well in my freezer.

home frozen corn

8.  Even though you will be tired, be sure to clean up right away when you are finished.  Corn juice is sticky and starchy and dries hard.  It’s much easier to clean up when it’s fresh.

Thanks to my mom for picking and shucking the corn.  And thanks to my Mother-in-love for showing me how to freeze it step by step.  Remember the year my entire kitchen floor was covered a foot deep in corn?  We had 3 years worth plus plenty to share after that.

 This post originally appeared August 1st, 2009

Homemade Granola

This video first appeard May 7th, 2009.  It’s so easy to make granola that I thought it is worth bringing to the front. It is a great topper for oatmeal, yogurt, or other cereals.

Watch the video to see how easy it is to make homemade granola.  With the choice of the right ingredients, it’s inexpensive and nutritious.  I added mine to an inexpensive box of cornflakes for a multigrain “honey bunches of oats” type cereal.


Here’s the ingredient list:  Syrup:  3 T oil, 1/3 C honey, 1 T water, 1 t real maple extract


Grain:  2 C oats, 1 C rice crispies, 1/2 C cracked wheat, 1/2 C wheat germ, 2 T brown sugar, 1/4 t salt

(Next time I’d replace the cracked wheat with sunflower seeds.)

Here’s the video. I apologize it is so dark at the beginning, it gets better.

Do you have a favorite granola recipe?

Sunday Picnic

This post was originally published May 6th 2009, but it’s a topic worth revisiting! With just a few minutes planning, a lot of food cost can be saved. I don’t usually have time to make 8 sandwiches with all the fixings, but with a change in thought process a large family picnic can be made in record time.  I’ll show you how. 

picnic lunch

Last Sunday Darren preached as a guest minister in Macon, Missouri–3 hours from our home.  Usually, the church there shuts down immediately after the service and we head home.  We have 2 choices for lunch: stop at a restaurant or bring our own food.  We are usually running late in the morning, but in the video below I will show you how I pack a picnic in record time and save expensive restaurant costs.  This plan works for long shopping days too!

Our day ended up going a lot different than planned.  On the way out of the church, Charles, whom we had never met before, offered to take us to lunch.  We were excited for the opportunity to get to know him better and he is an exceptional person.  When we stepped outside, Charles noticed that we had a flat tire!  I’m so grateful that it went flat during the service and not while I was driving.  The repair garage said it was bulged on the side and a blow out risk!  Charles not only took us to lunch, but invited us to his home to rest while he bought us new front tires for our van!  I almost cried.  We’ve needed tires for awhile but kept hoping that they would last until our situation was different.

So the eating you see in the movie was for supper not lunch. Even though our day was far different than we expected, our picnic sill came in handy.

Update:  I forgot to give you the price breakdown on lunch.  Keep in mind too that we had enough leftovers for another meal the next day.  Bread-free, strawberries-$1, carrots-$1, crackers-$1, Cheesesticks-$1, 3 sliced apples-$1, Peanut Butter and Honey–$.25–cost for 5 people (a couple of our kids were with Grandma) $5.25  For the same price we could have stopped and gotten everyone one double cheeseburger from McDonalds.  It wouldn’t have been as filling or nutritious.

Blueberry Oat Custard

I’m not a fan of plain oatmeal, but add a few eggs and cook it in milk instead of water and I’ll change my tune.  It’s also weight loss friendly and will fill you up.

blueberry oat custard

1 Cup rolled oats

2 Cups skim milk

2 eggs, beaten

1/4 teaspoon salt

2-4 packets truvia

1 cup blueberries (I used frozen wild blueberries from Costco)

Combine all but the blueberries in a sauce pan and mix with a large wisk.  Cook and stir until thickened and bubbling.  Remove from heat and stir in blueberries.  Serve with a dallop of whipped topping or vanilla yogurt.

Yields 3 cups of custard.  3 servings @ 223 calories, 43 g net carbs, 5 g fat, and 21 g protein.

If you have a dairy allergy, this recipe works well with almond milk.  Each serving would have 180 calories, 35 net carbs, 5 g fat, and 15g protein

Washing Plastic Bags

washing plastic baggies

Plastic bags are handy, but when used and tossed they are expensive.  It doesn’t take long to wash out a bag and hang it to dry.  They can be used over and over this way.  If there was just lettuce in them, I rinse them out with water.  For pasta or something with a little oil, I use clean soapy dish water. When the weather is good I hang them outside on the line.  When it’s not, I use clothespins to clip them to a hanger in our laundry room.

The bags dry best wrong side out.  When that side is dry, I turn them right side out to finish drying, then fold them and put them in a baggie box saved for washed baggies.  Then we have a choice in the drawer to grab a new bag or a washed one, depending on the purpose.  If it’s for us, I reuse them.  If I’m packing something for a guest to take home, I grab new.

If your baggie has been used to store raw meat, toss it–don’t even think about washing it.  Otherwise, enjoy reusing your disposeable bags!

If you are going to wash and reuse your baggies, spend a few cents more for the thicker freezer bags.  They will last longer and withstand washing beter.

This post was originally published July 2009

Homemade Wheat Thins

wheat thins 1

(This recipe was originally published in June 2009) I love Wheat Thin crackers. I’ve tried lots of recipes on the web, but never found one quite like the store bought kind.  Last night, in the wee moments before falling asleep, I realized the box has the recipe practically on it!  I took the ingredients off the box, which are in order of amount, and then typed them into the nutrition calculator at www.sparkrecipe.com.  By multiplying the nutrition amount by 10, I was able to build a recipe for serving 10 people.

wheat thins 2

I made a few changes in the recipe, substituting sugar for high fructose corn syrup and malt syrup.  I also decreased the amount of all purpose flour and increased the amount of whole wheat flour.  I left out the corn starch and increased the amount of wheat germ, using raw wheat germ for the defatted germ on the label.  We baked them today and they tasted very close to the original, only healthier.  Next time I’ll roll the dough thinner and they’ll be perfect!

3/4 cup all purpose flour

3/4 cup whole wheat flour

1/2 cup wheat germ

1/4 cup sugar

3/4 plus 1/4 teaspoon salt, divided

2 teaspoons baking powder

1 tablespoon soy lecithin (optional)

1/4 cup vegetable oil

1/2 cup water

Combine the first & ingredients (saving 1/4 teaspoon of salt).  In a separate bowl, combine the oil and water.  Make a well in the center of the flour mixture and pour in the oil mixture.  Lightly mix until a dough forms.  Divide into 2 balls, wrap each ball in plastic wrap and chill for an hour.

Roll one ball 1/8″ thick.  Cut with cracker cutters or a knife.  Poke holes with a toothpick or kabob skewer. Sprinkle with the reserved salt. Bake on a silicone baking sheet (or greased cookie sheet) at 375 for 12 minutes.  Cool completely. Bake again at 375 for 7 minutes or until crackers are crisp.

French Toast Waffles

Happy Monday!  Here’s a quick and healthy recipe.  It’s so easy a 6 year old can do it. The obvious choice is to have these for breakfast, but the waffles sometakes make an appearance around here for lunch or dinner.  This is the first recipe I have my children cook when they are learning.  Flipping food on the griddle can be tricky to find just the right length of time to cook on each side, but the waffle iron cooks both sides at the same time and is self-timing.  It’s instant success with a smaller risk of getting burned. After that my kids have the confidence to try something a little harder.

french toast waffles

French Toast Waffles

Plug in your waffle iron to warm up, and coat with non-stick spray or butter.

Mix 2 eggs and 1/2 cup milk in a shallow bowl, mix well with a fork

Dip 100% whole grain sliced bread in the egg mixture on both sides.  Place the bread in the waffle iron, close the lid and wait for the ready light to come on.  Enjoy! 

This works with almond milk if you are dairy free, and gluten free or sprouted bread works too.

Avocado Crab Rangoon

crab rangoon 6

Avocado Crab Rangoon:

This super simple recipe is so delicious you’ll need to invite friends over to prevent eating the entire batch by yourself!  Avocado replaces the traditional cream cheese in these crab rangoon and enhances the flavor.  That’s delicious news for dairy free freinds.  

crab rangoon 1

Prep time 5 minutes.  Cook time 2-3 minutes per batch.

3/4 cup avocado mashed with 2 teaspoons of lemon juice and 1/2 teaspoon salt

1 can, 6 oz, crabmeat, drained

2 green onion tops, snipped

1/4 teaspoon garlic powder

1/2 teaspoon sugar

1/2 teaspoon soy sauce

1 48 oz bottle of vegetable oil for frying

Small wonton wrappers (Located in the refrigerator produce section at the grocery store and sold in 60 count packages.) (For a recipe to make your own click here:  http://chinesefood.about.com/od/dimsumwonton/r/wontonwrapper.htm)

Pour the vegetable oil in an electric skillet and heat to 350 degrees. 

crab rangoon 2

Meanwhile, In a medium bowl, mix the mashed avocado, crab, green onion, garlic, sugar, and soy sauce.  Place a teaspoon of crab mixture on each won ton.  Moisten the edges of the wrapper with a wet finger (keep a water bowl handy.) Press the edges together to seal in little bundles.

crab rangoon 4

Deep Fry for 2-3 minutes or until golden brown, turning once.  Drain on paper towels.  Serve with sweet and sour sauce.

crab rangoon 5 crab rangoon 3

Prefer to bake yours?  Place on a greased baking sheet.  Spritz with non-stick cooking spray and bake at 350 degrees for 20 minutes.

Avocado Crab Rangoon

Saving Money with Menu Planning Basics

Menu planning keeps me out of trouble.  It guides my shopping, makes sure I use up what's on hand, and thinks for me when I'm too stressed to think. And saves a bunch of money by keeping us out of restaurants and minimizes grocery store runs.   Here's a basic step by step guide to menu planning.

1.  Print off a blank calendar for the month you are working on.  You can download June 2010 through May 2011 Calendars here and just print the one you need:  Download June 10 May 11 Menu Sheets

2.  Go peek in your fridge, freezer, and pantry shelves.  What do you already have to prepare meals from.  Plan the first few meals from only pantry ingredients so if you can't go to the store right away you can still follow your plan.

Open_refrigerator

2.  Gather your grocery sales flyers and see what's on sale.  Use what you know about regular prices and sale prices to discern a good deal.  Just because it's in the ad, doesn't make it a bargain!  The best deals are usually on the front and back cover.  On notebook paper, write down the name of the store and the item that you are interested in.  You can menu plan with these items, or plan to purchase and store them for later use.

3.  Write commitments in small letters at the bottom of the day square that will affect your ability to cook.  Plan a slow cooker meal or other simple dish for that night.

Slow-cooker

4.  Grab your favorite recipe books and cooking magazines for inspiration.  Fill in main dishes on your menu plan as you think of them.  Try to vary your recipes.  For example don't plan lasagna and spaghetti right next to each other.  Make like recipes at least a week apart.  Try not to plan a pasta dish for every day of the week.  Give yourself a variety.

5.  Make sure each meal has a protein, starch, and 2-3 vegetables or fruit.  The side dishes can be as simple as a tossed salad, warmed up bag of frozen peas, or a carton of cottage cheese.

6.  As you meal plan, if you think of an ingredient necessary to a planned dish that isn't on hand, write it on the back of your menu.

7.  When you're finished stick your menu to your fridge and check it every morning and evening so you can remember to take out items to thaw or to put a dish in the slow cooker in the morning.