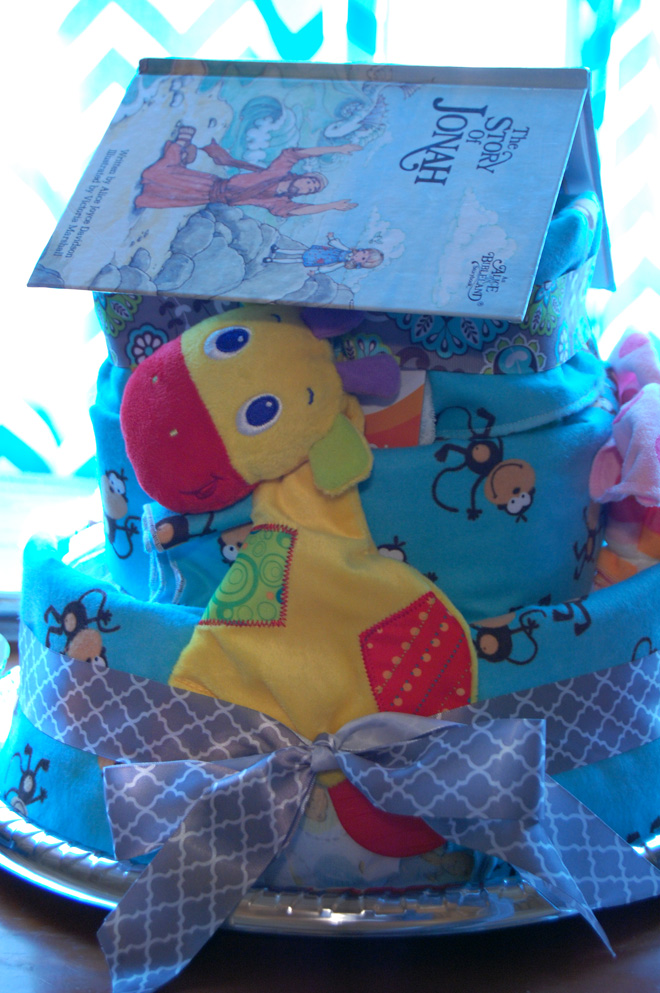
How to Make a Noah’s Ark Diaper Cake

You will need:

2 receiving blankets

4 burp cloths

2 wipes containers

1 small package of size 1 diapers

A children’s book or this

Giraffe teether toy

Washcloth animals (opt.)

Rubberbands

Plastic tray (with metallic finish from Dollar Tree)

Ribbon


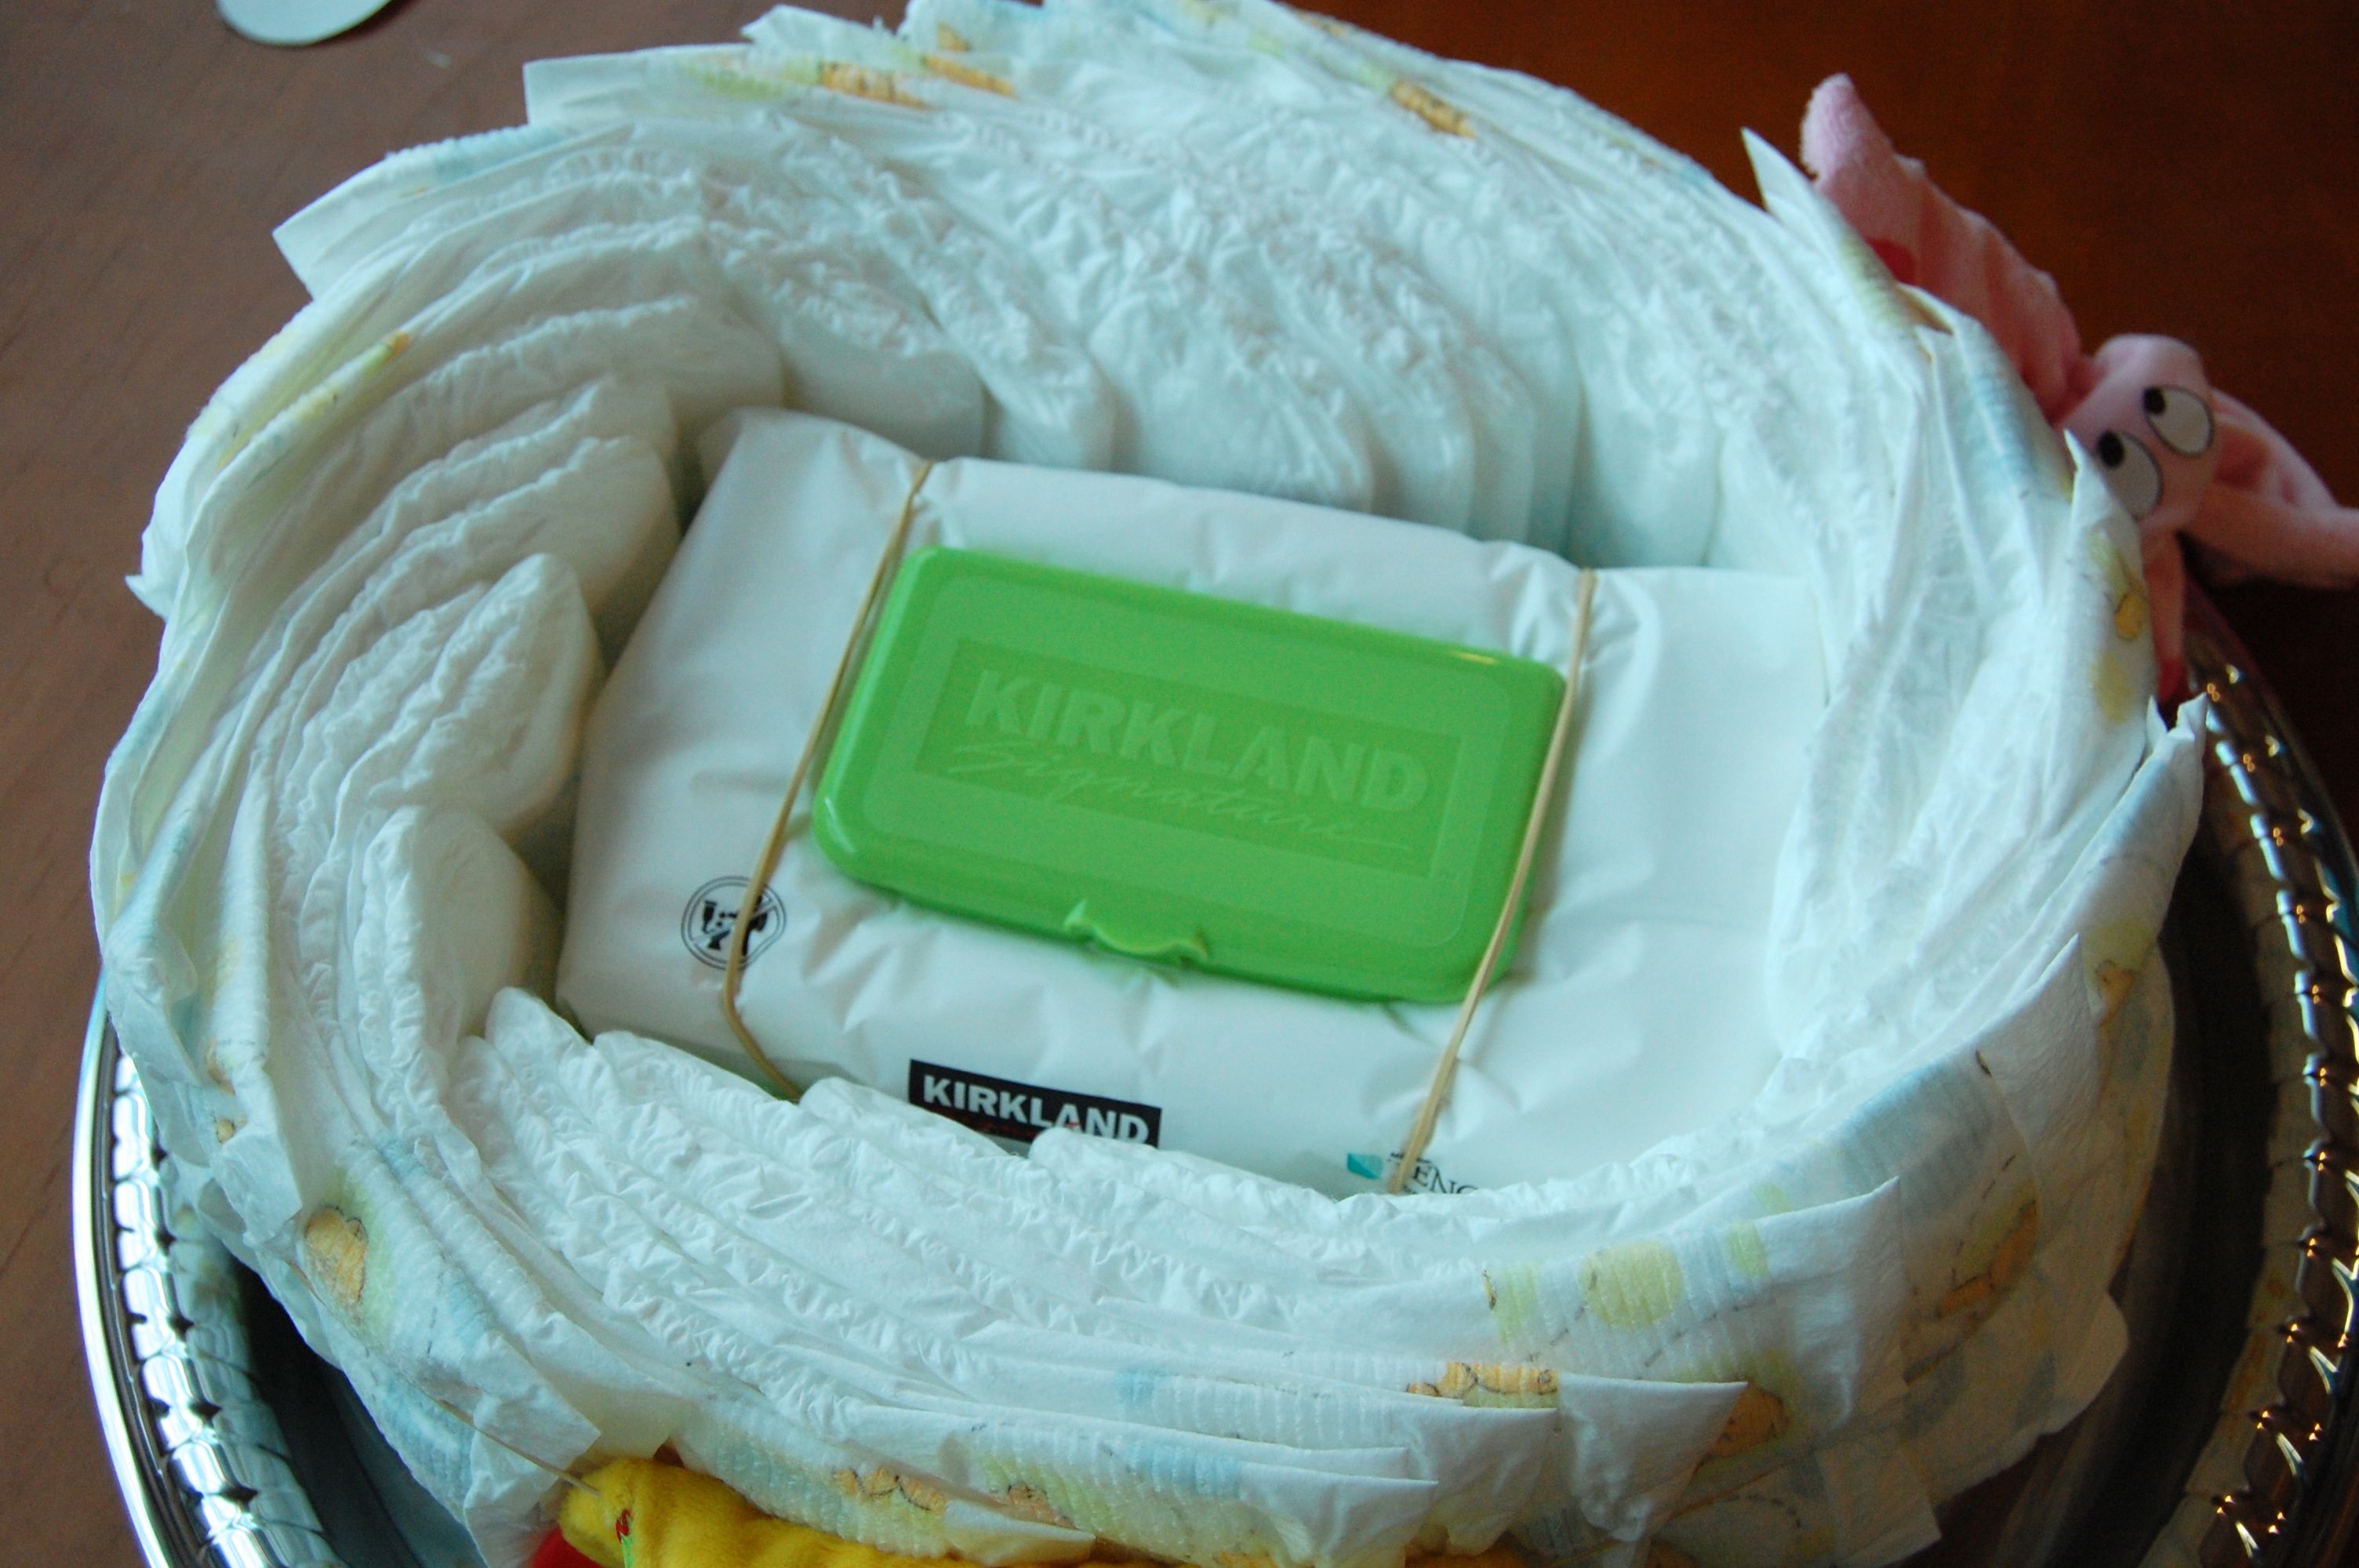
Place one wipes container in the middle of the tray. Ignore the two rubberbands you see, you won’t need them. Put one rubber band around the middle to hold the diapers in place.  Use half of the diapers to wrap around the wipes container and secure with a rubberband.


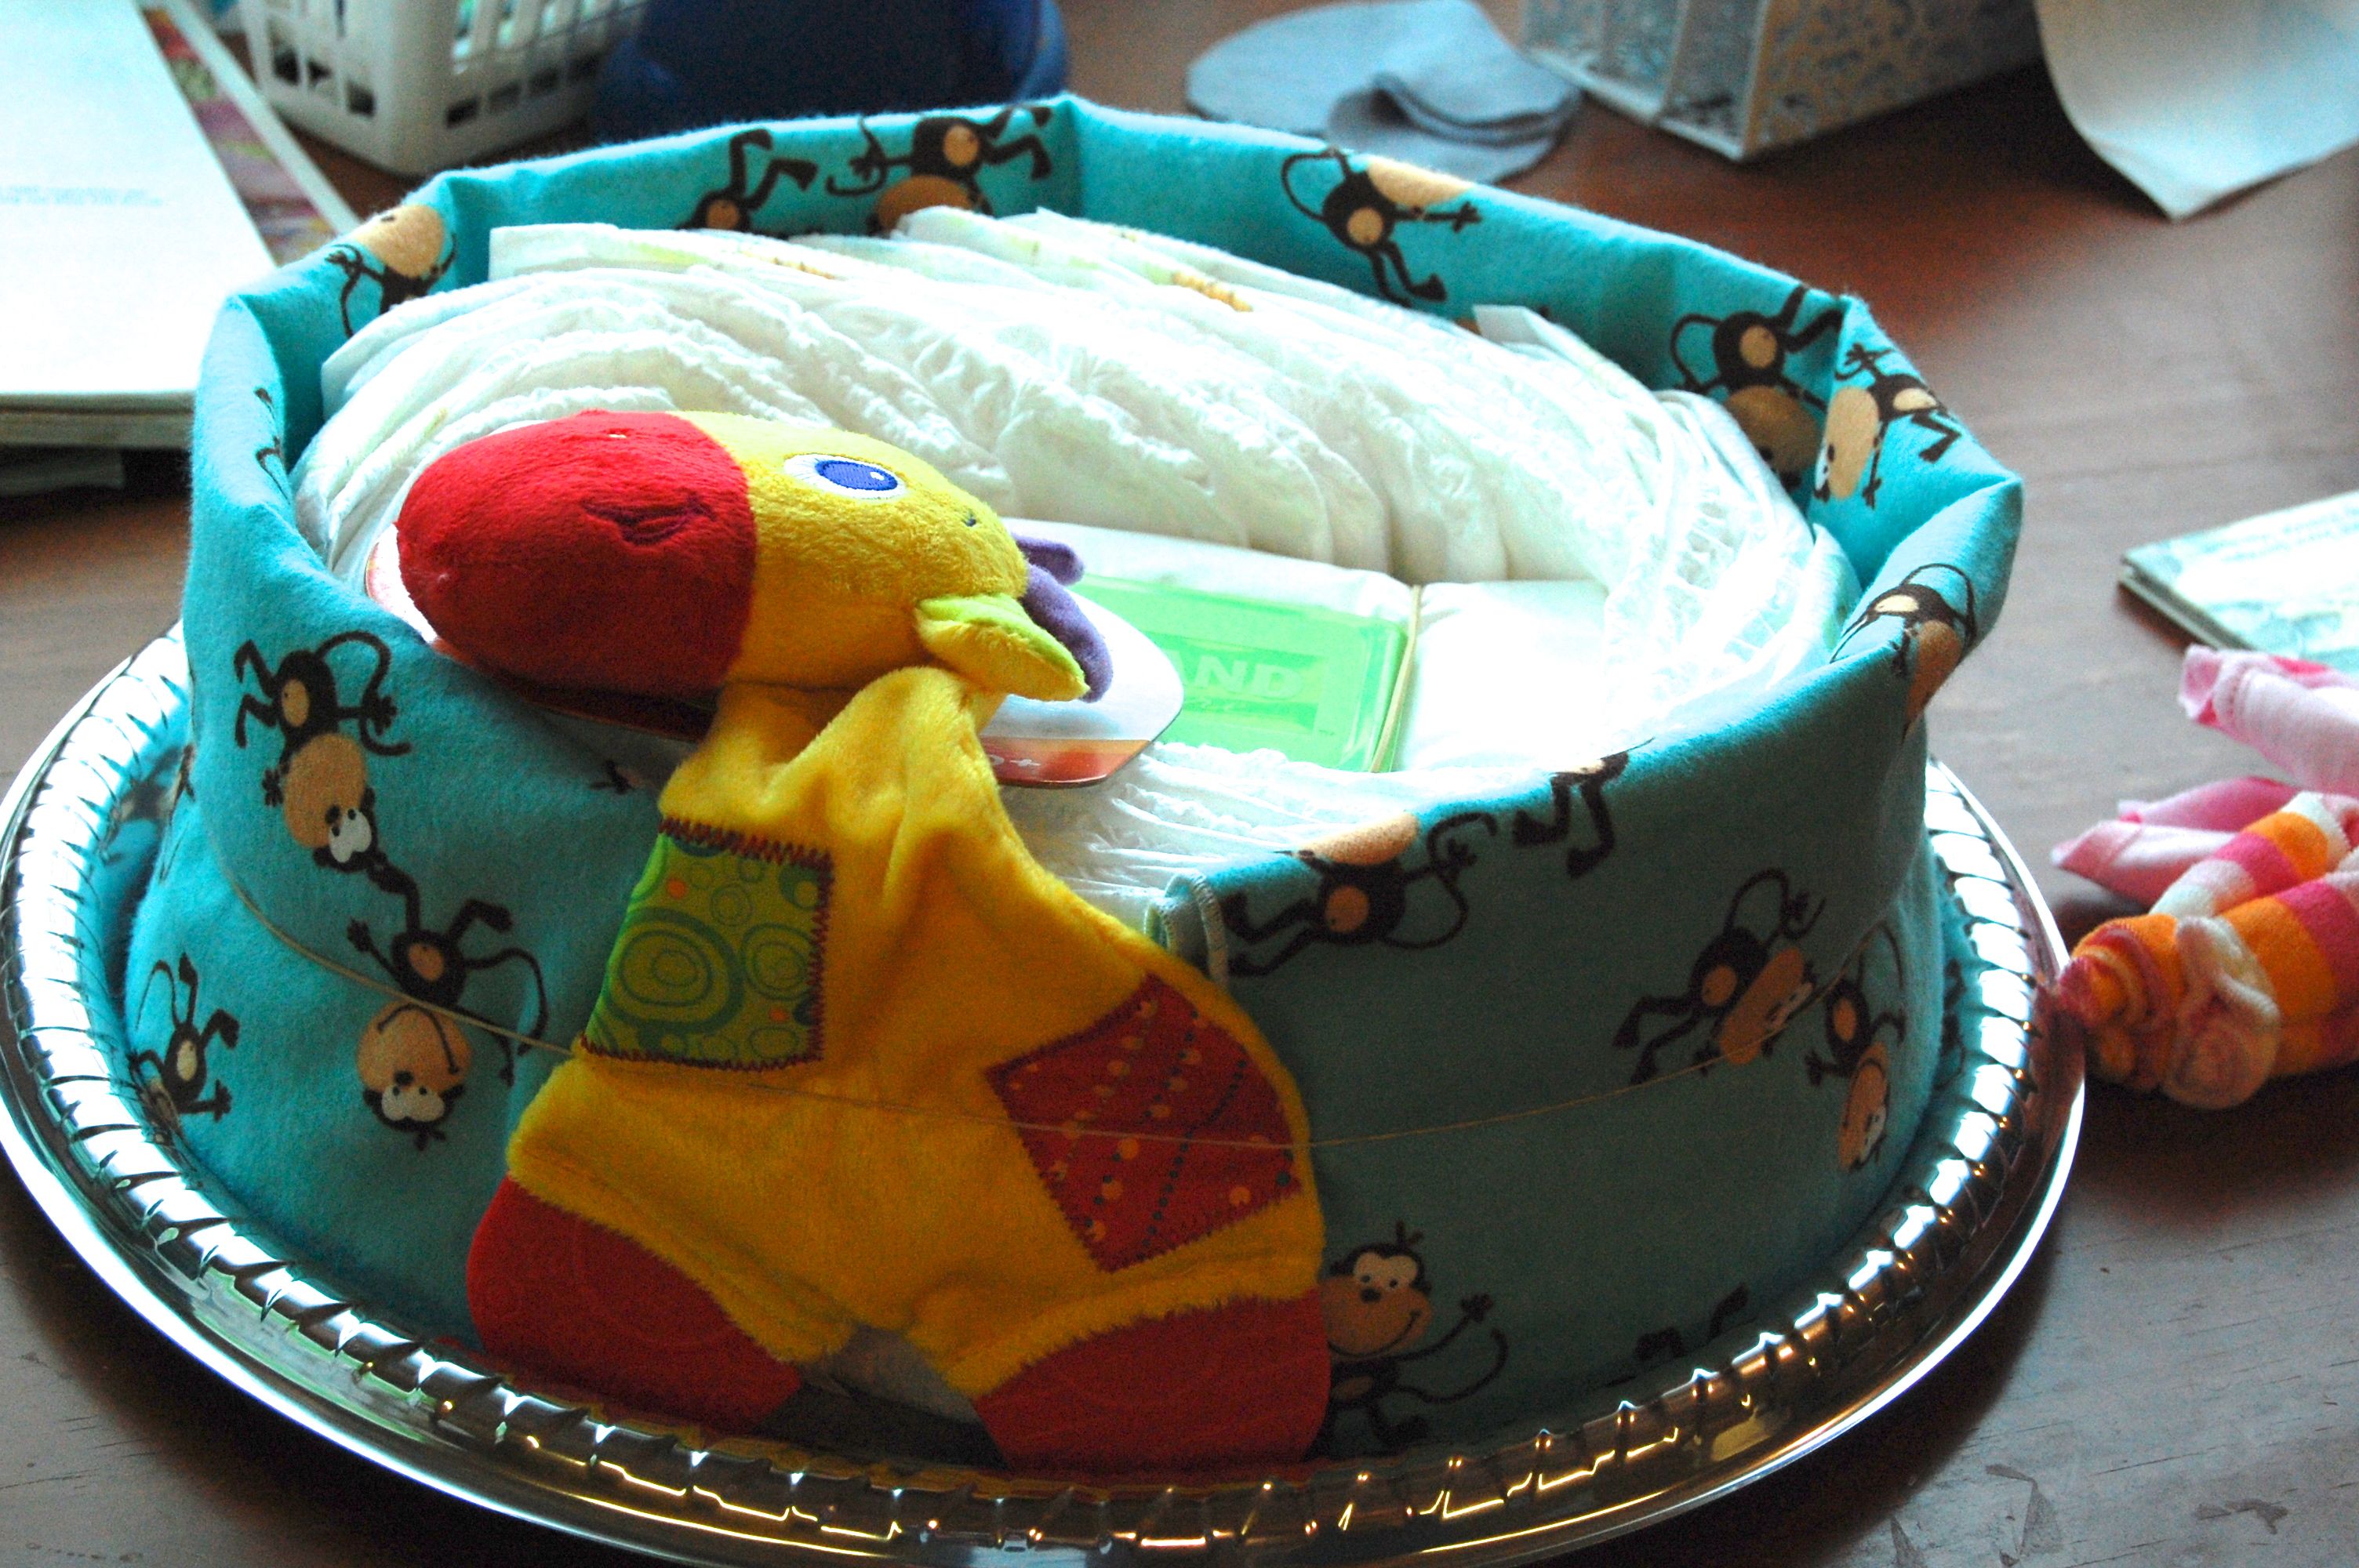
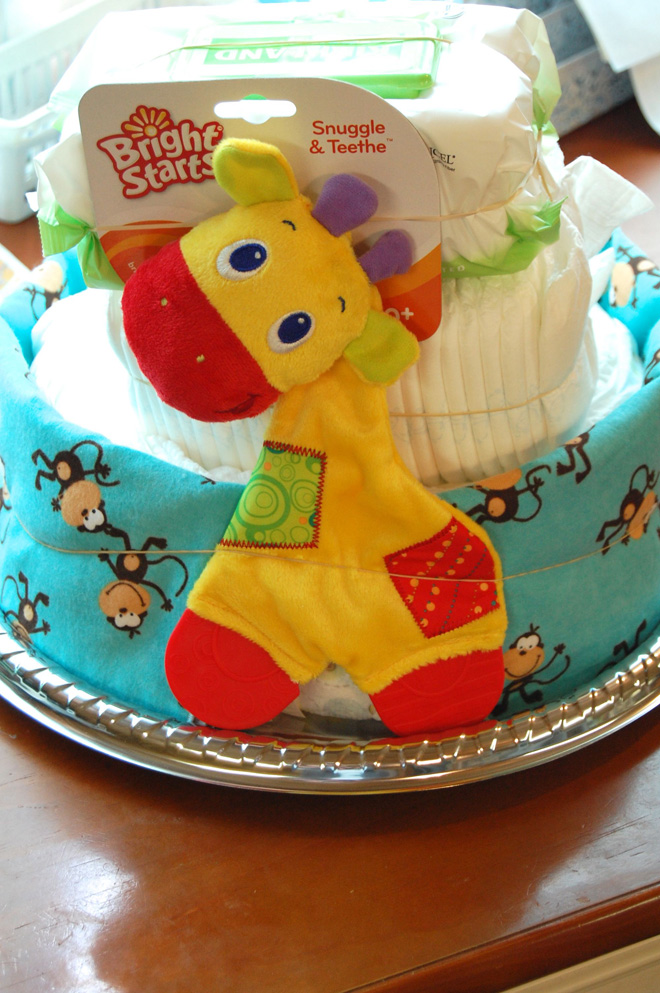
Fold a blanket lengthwise until it is just slightly taller than the diapers and wrap it around.  There will be a 3-4 inch gap in the center.  Use a toy to cover the gap (Or you can use a burp cloth here.)  Secure with rubber band.

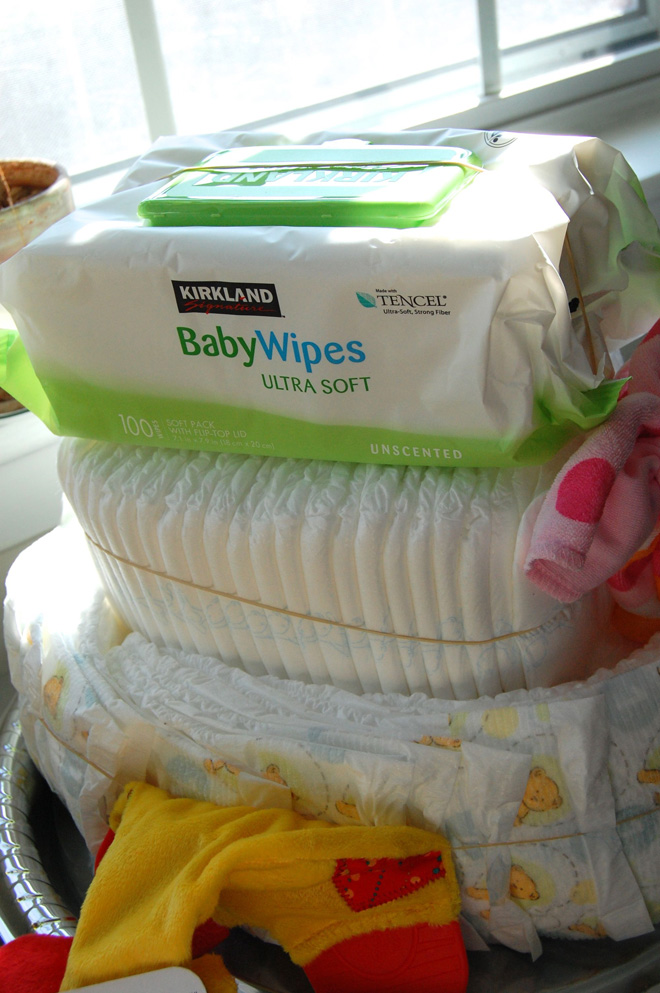
Make the second tier from the remaining half of the diapers.  I just put a rubber band around them to secure them in the same shape they came out of the package. The third tier is just another package of wipes.


At this point you can secure everything together with rubberbands and help Mr. Giraffe hold his head up.

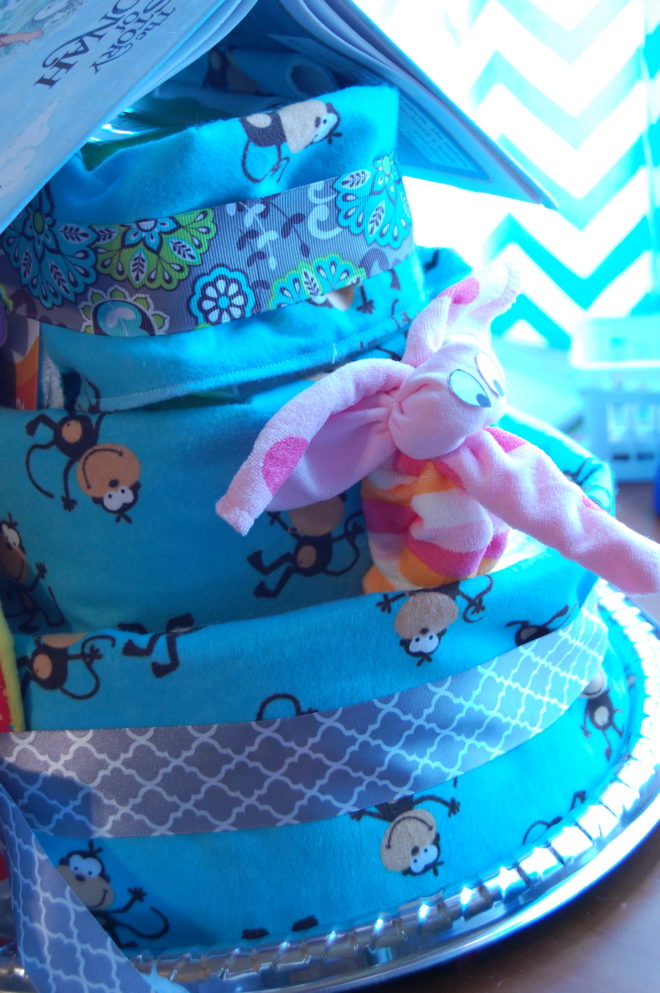
Wrap the top two layers with the remaining blanket and burp cloths.  Tie on ribbons to hide the rubber bands. Gently lay the book on top for a roof.  (Take the book off for travel since it isn’t secured in place.

I added this little elephant made from 2 baby washcloths.  I’m not very good at making these things, so stopped at the 1 elephant.  I used these instructions:

And cut the eyes out of a blank white address label.


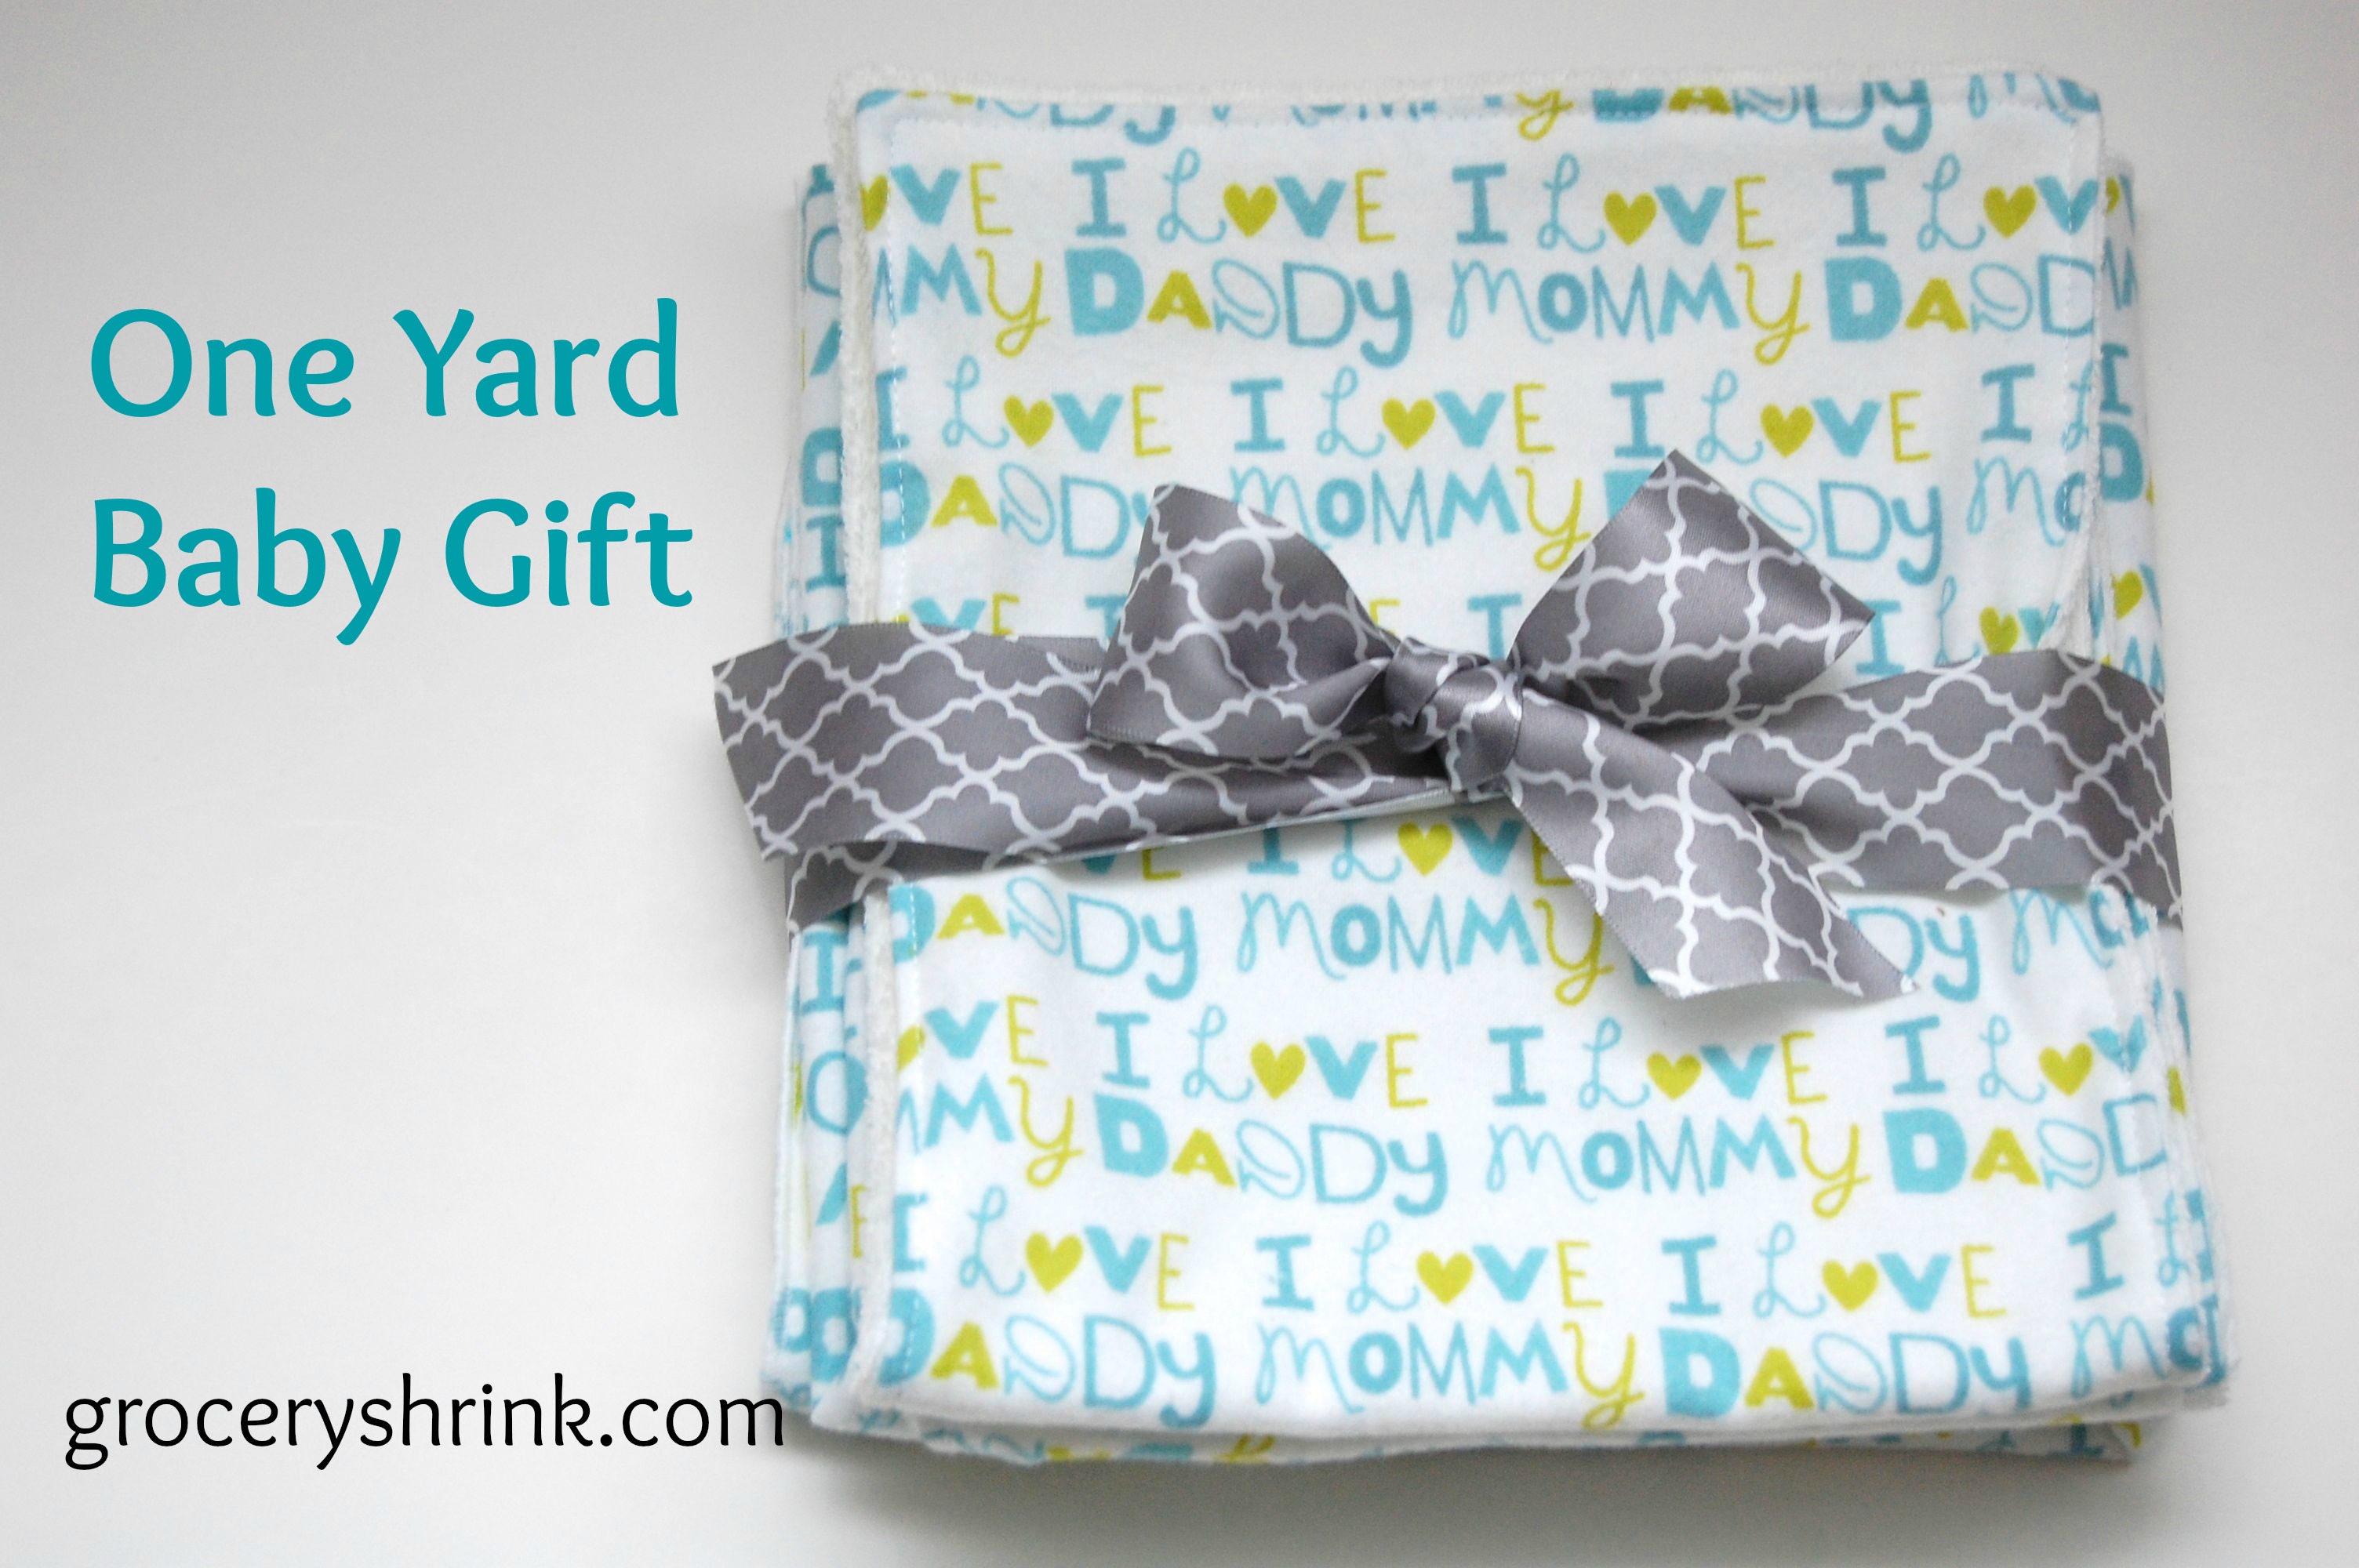
A One Yard Baby Gift

I love giving, but sometimes I get gift anxiety.  What if they don’t like it?  What if they think I’m cheap? What if I spent all that time and it doesn’t come out right?

These feelings could all be avoided if I just went to the store and purchased something and gave them the gift receipt.  Sometimes I do that.  But this year….oh my!  I think everyone and their dog is planning to get married and have a baby this year, then throw a birthday party and invite one of our kids to it.  I’m glad they are, and super glad they invited us.  Sometimes the gift budget doesn’t stretch.

It just gives a reason to be a little more creative, right?

(I once talked to a friend, who admitted to turning down birthday party invitations for her kids because they couldn’t afford a gift.  Hey, y’all.  Don’t do that here, mk?  I’d rather have you sans gift then let you worry one moment about finances.  Our kids have enough stuff and they won’t even notice, I promise.)

So I thought I’d talk about gifting this month a bit and give some ideas for what to do for baby showers, weddings, kid birthdays and such.

First up is this one yard baby gift.  You will need 1 yard of flannel; and 1 clean towel or scrap of terry cloth  at least 16 x 18 inches. At Hobby Lobby 1 yard of flannel is $5.99 use a coupon and this gift will cost around $3.75 (with tax.) I used knit terry leftover from diaper making. If you use woven terry, use as thin a terry as you can get–cheap towels are perfect.


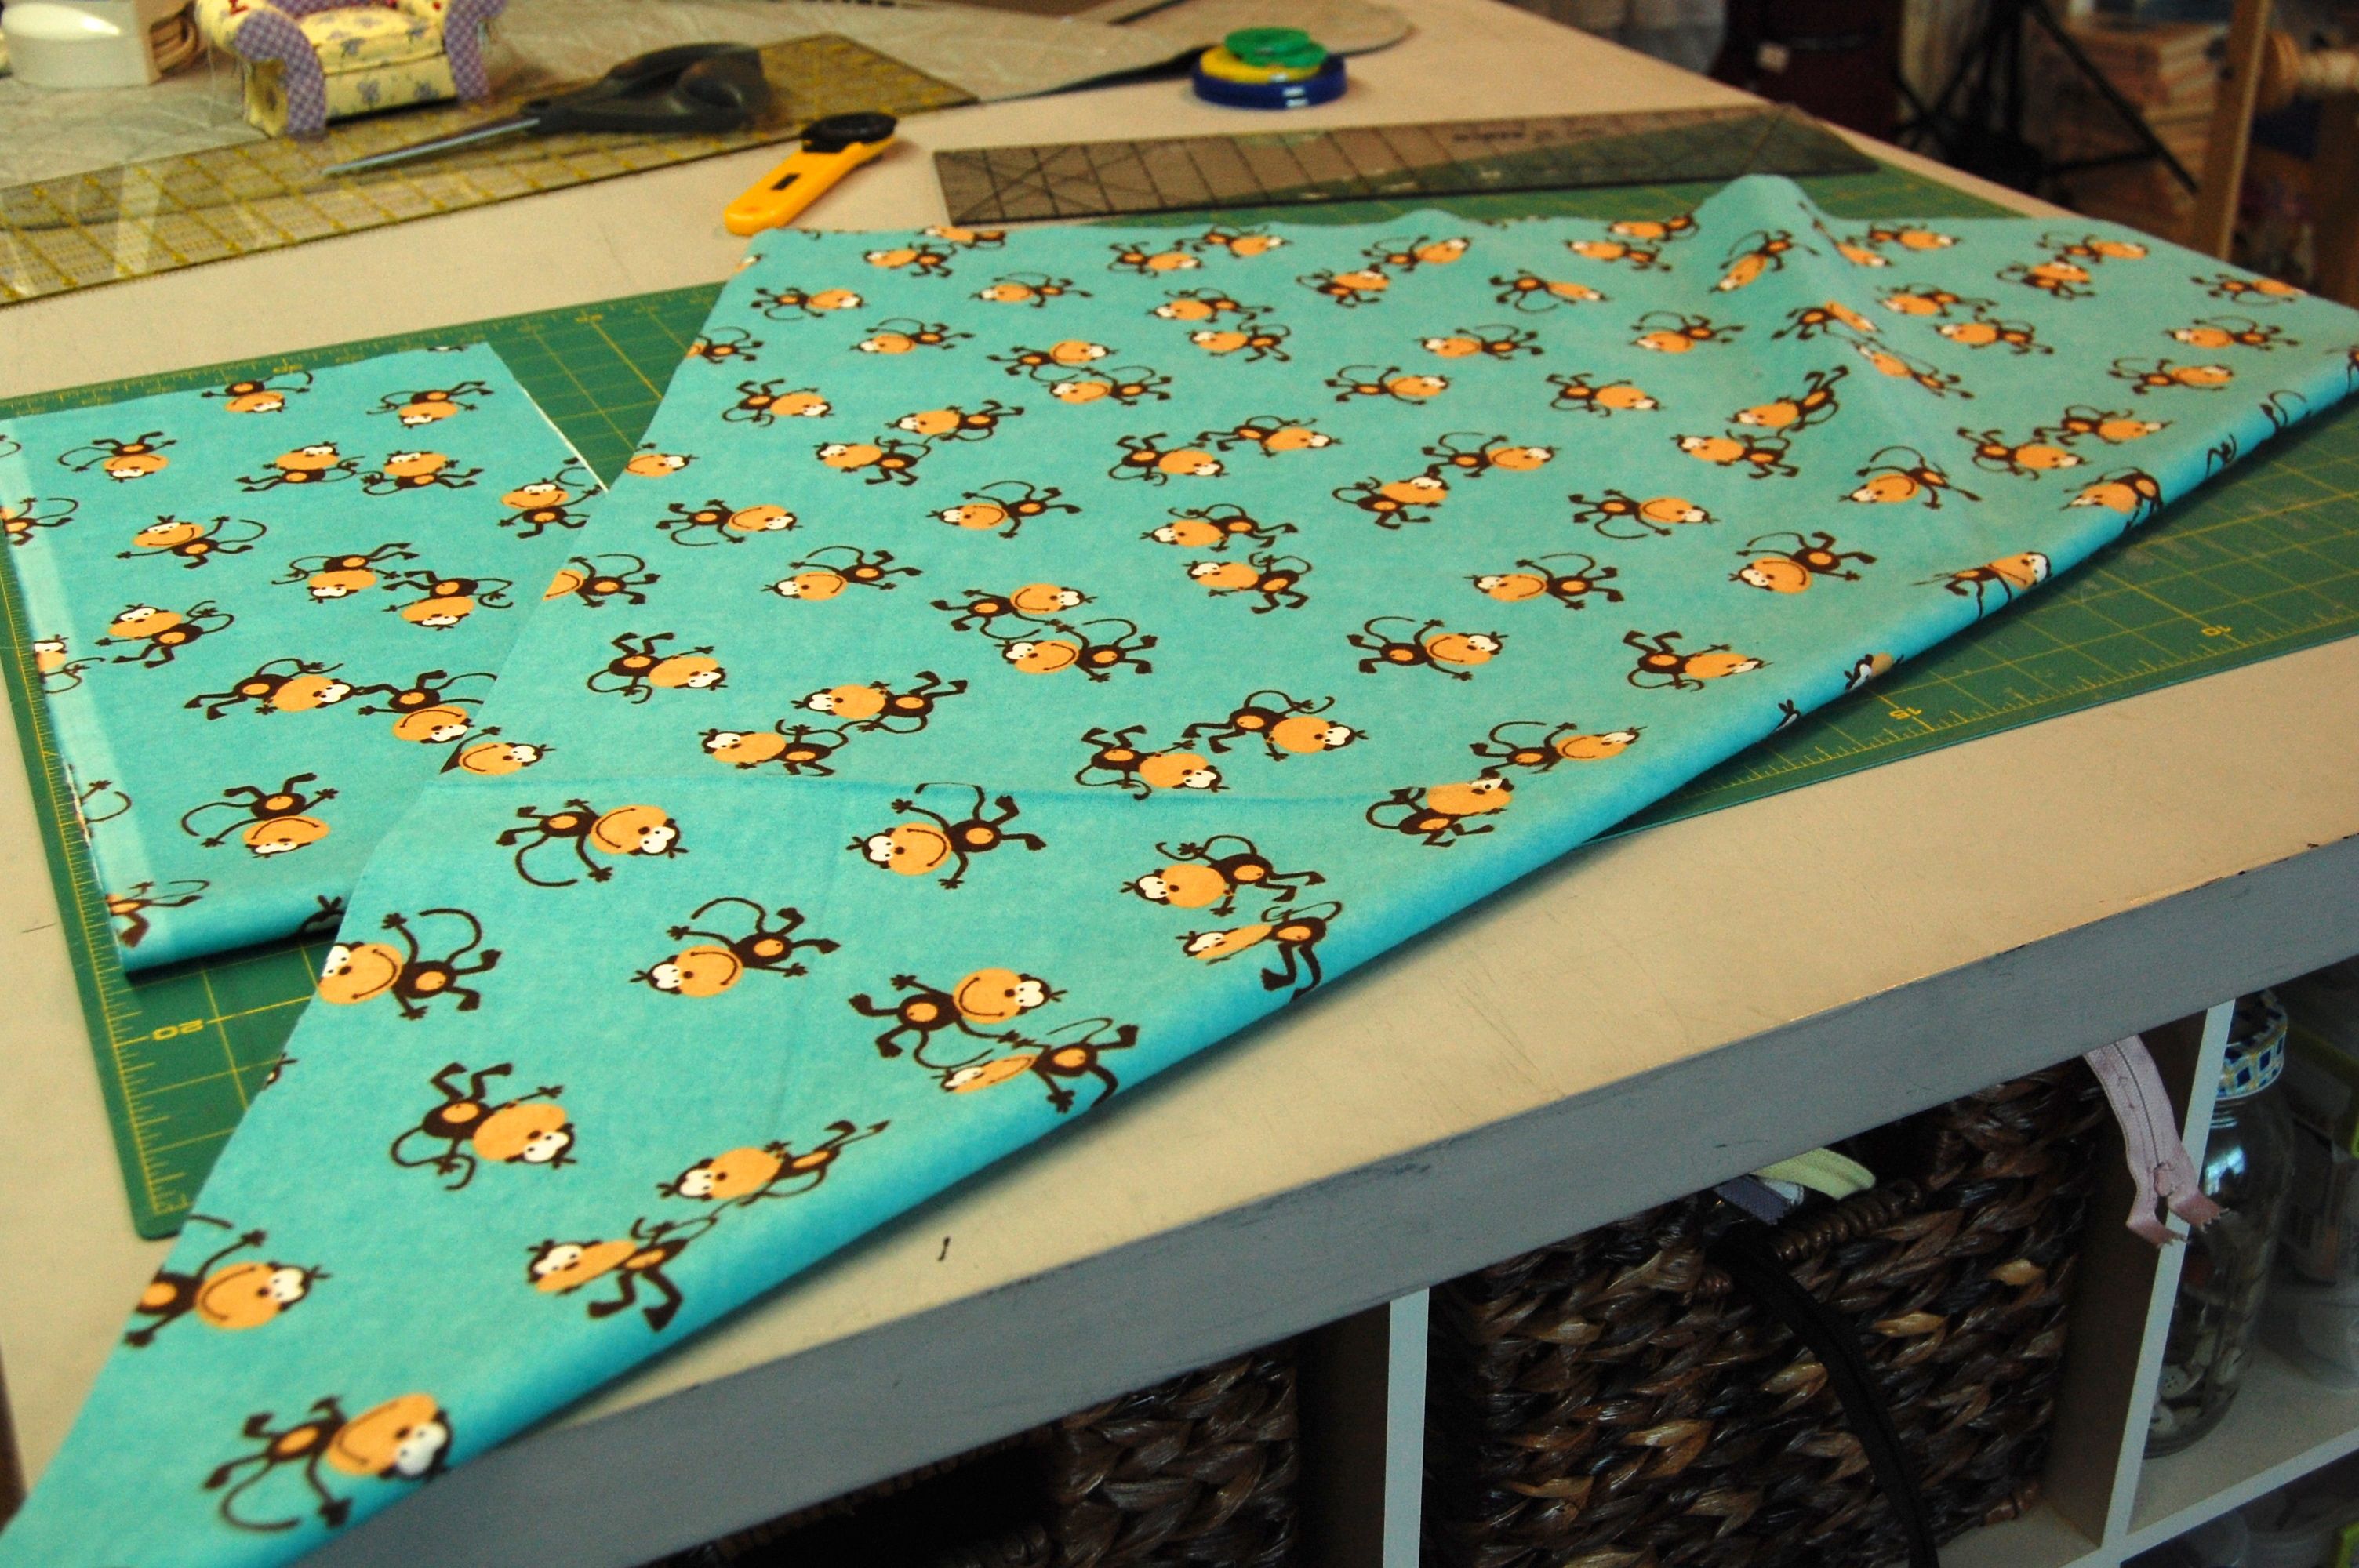
First find the selvage edge of your fabric that is printed all the way to the edge.  Cut an 8 inch strip off this edge, then cut it in half to get two 18 by 8 inch pieces.  (These will become 2 burp cloths.)

Cut the remaining fabric into a perfect square.  I fold it into a triangle and cut off what’s hanging off–super technical method ;). This will be a perfect receiving blanket between 36 and 34 inches square.  Ever notice that the store bought ones are too tiny to be any good?  I used to make mine 45″ square, but really those were too big.  These are perfect.

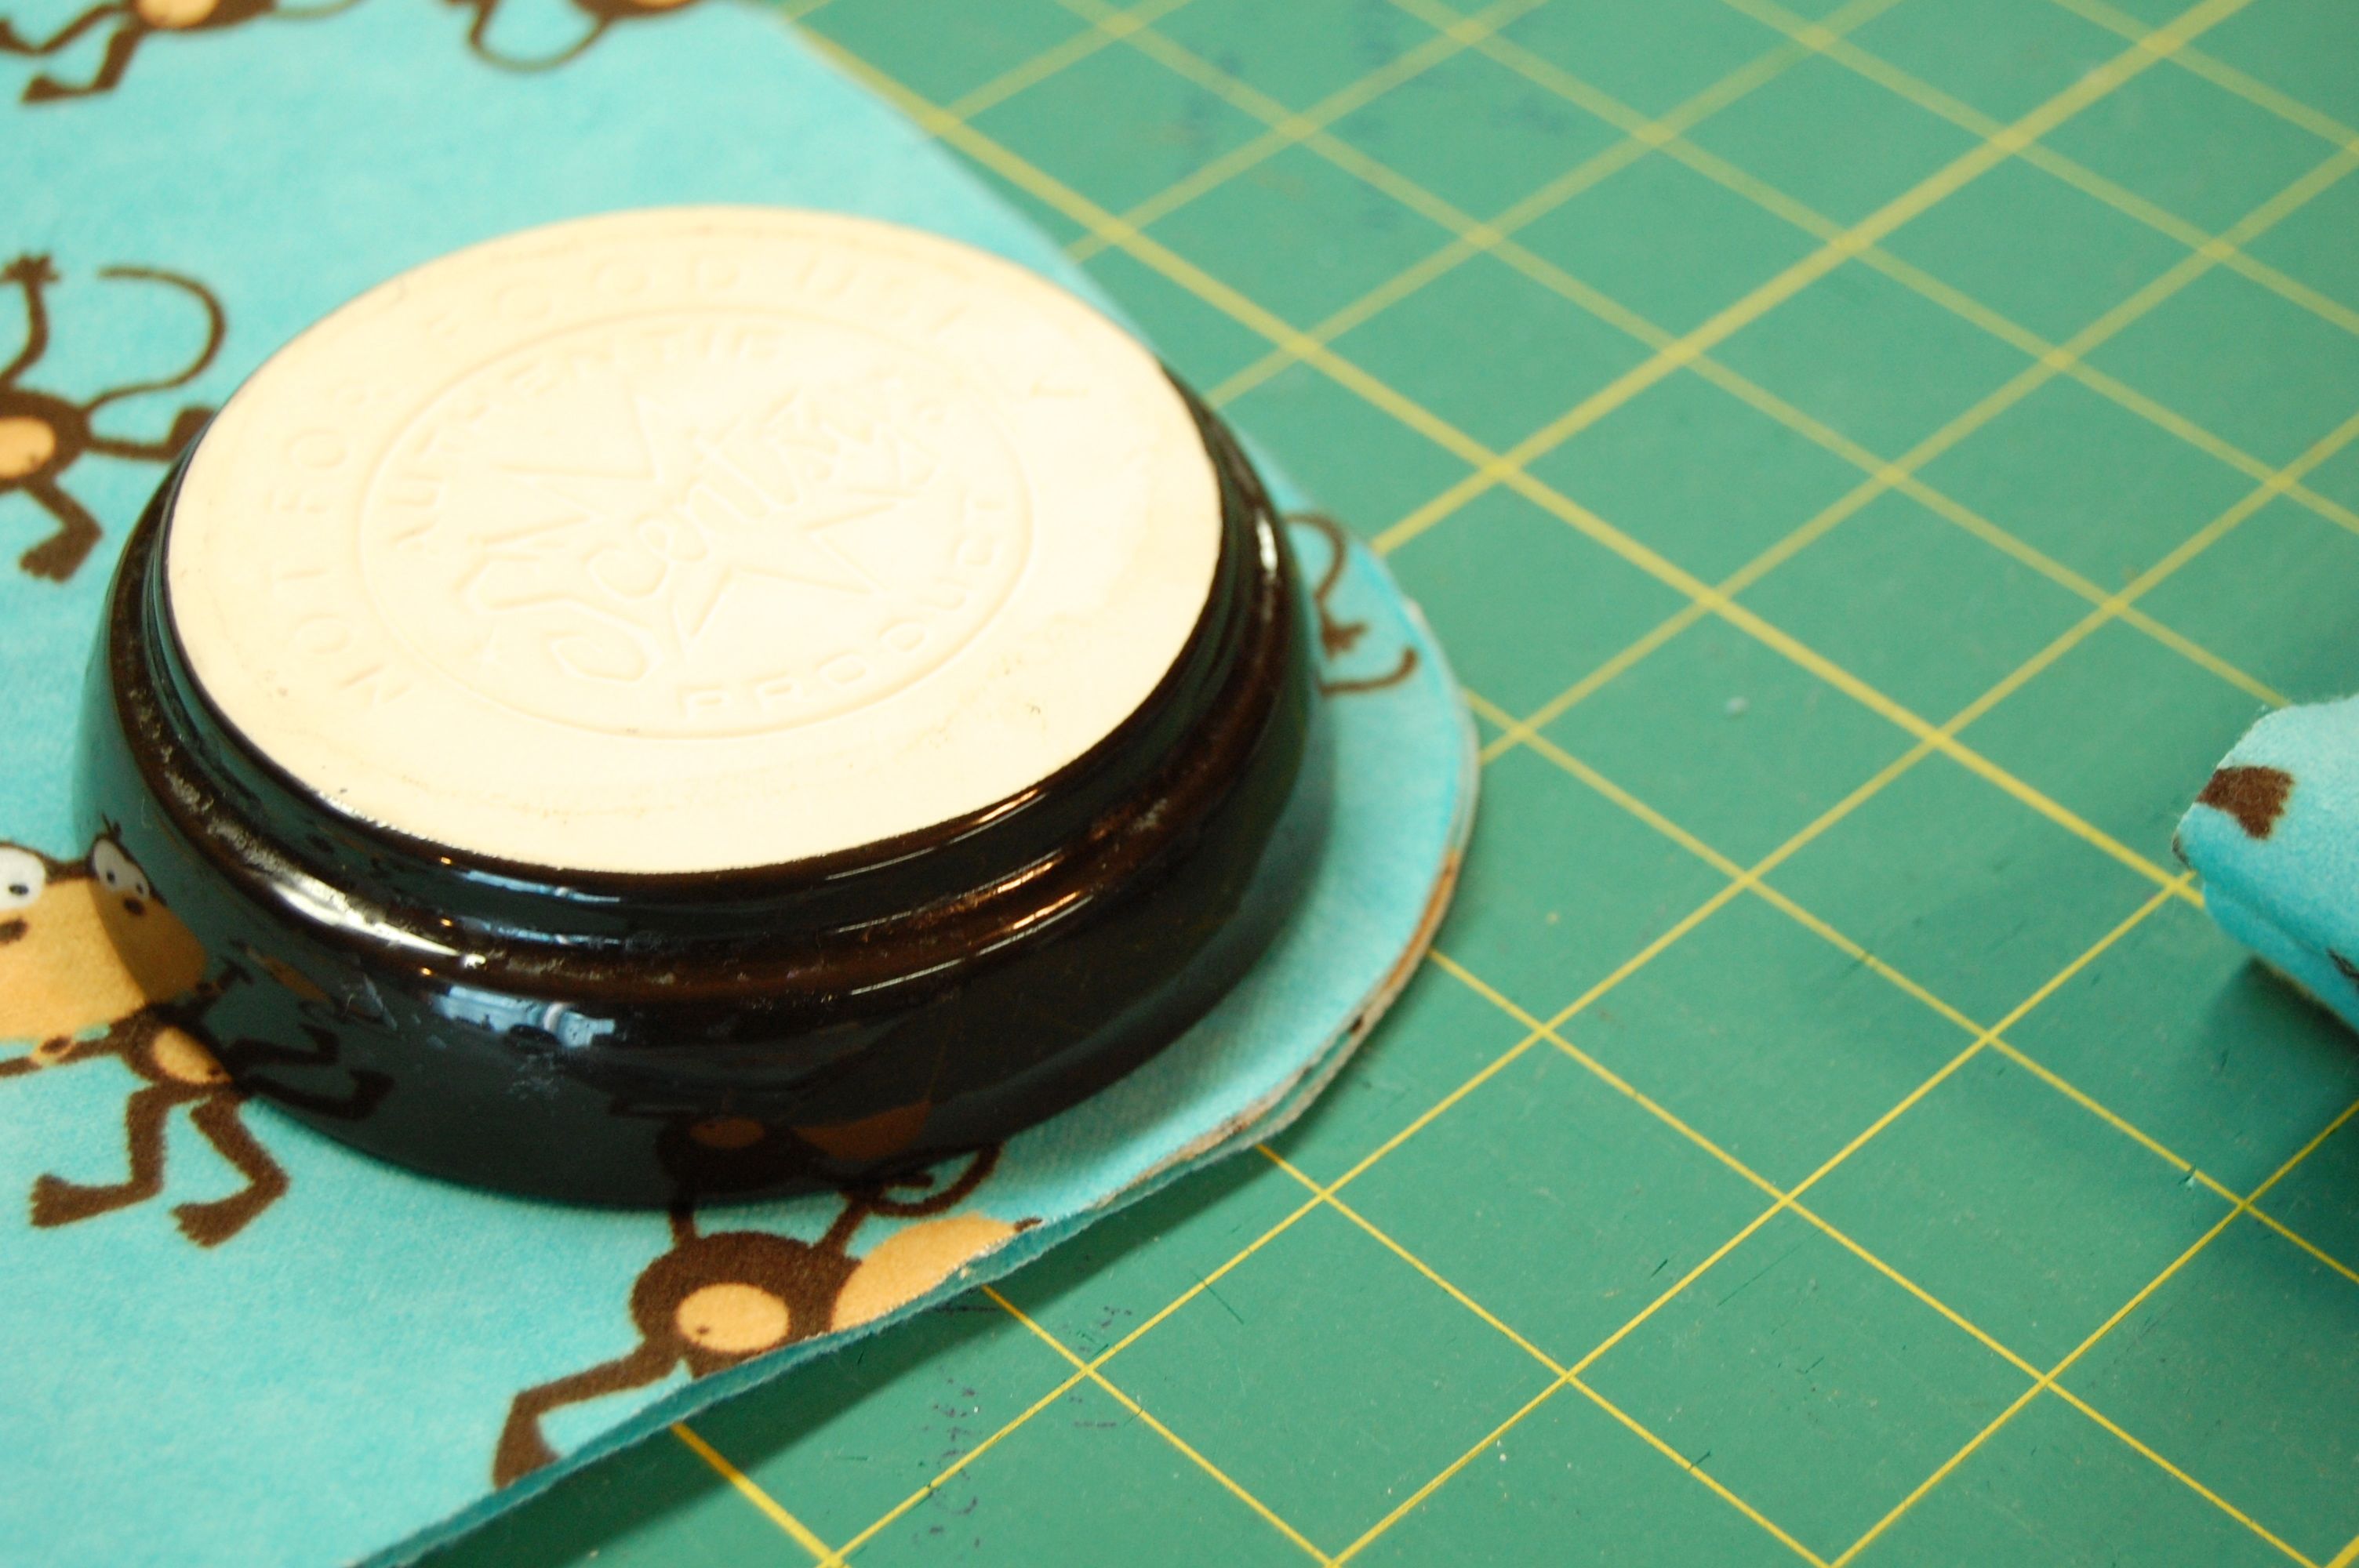
Fold the flannel square into fourths, perfectly lining up the corners.  Take some time to do this well. Then, find something round and trace a rounded edge on the outer corner.  (Double check–no folds here, at all–right?) Then cut it out. (I used a Scentsy top–see the logo? #notanashtray)


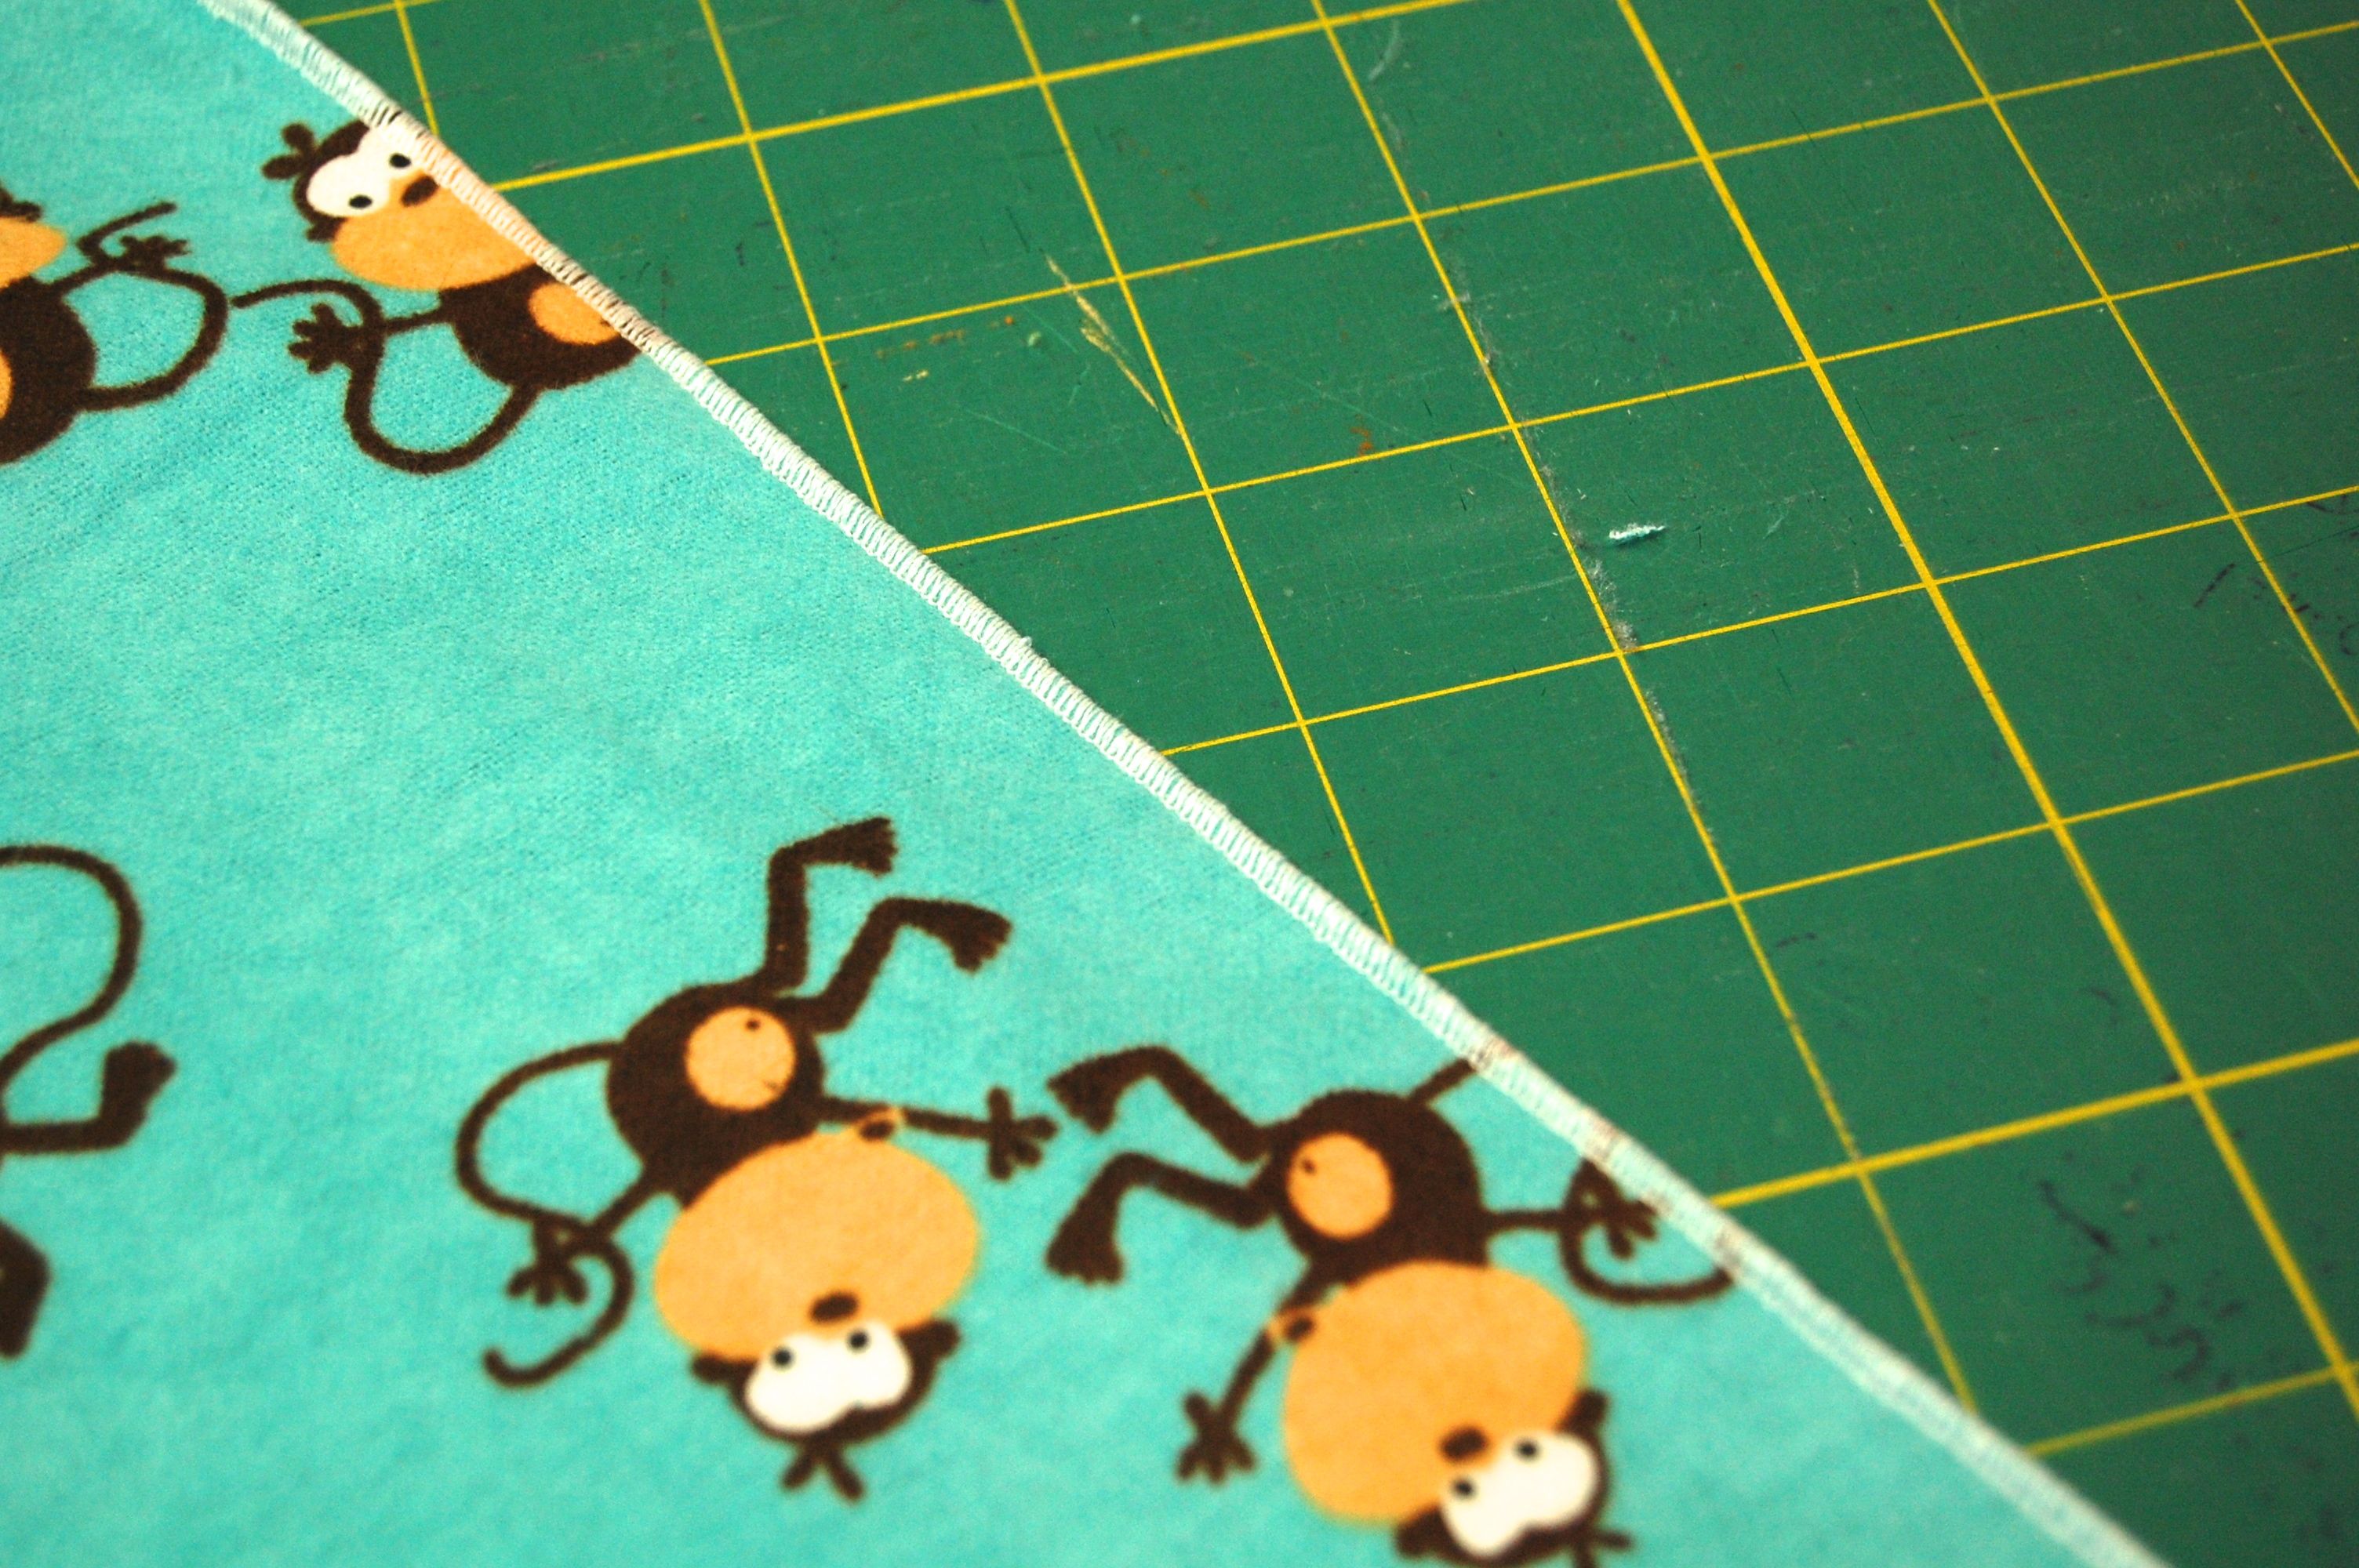
Next run the edge of the blanket through a serger adjusted for a rolled hem. No serger?  Try this.


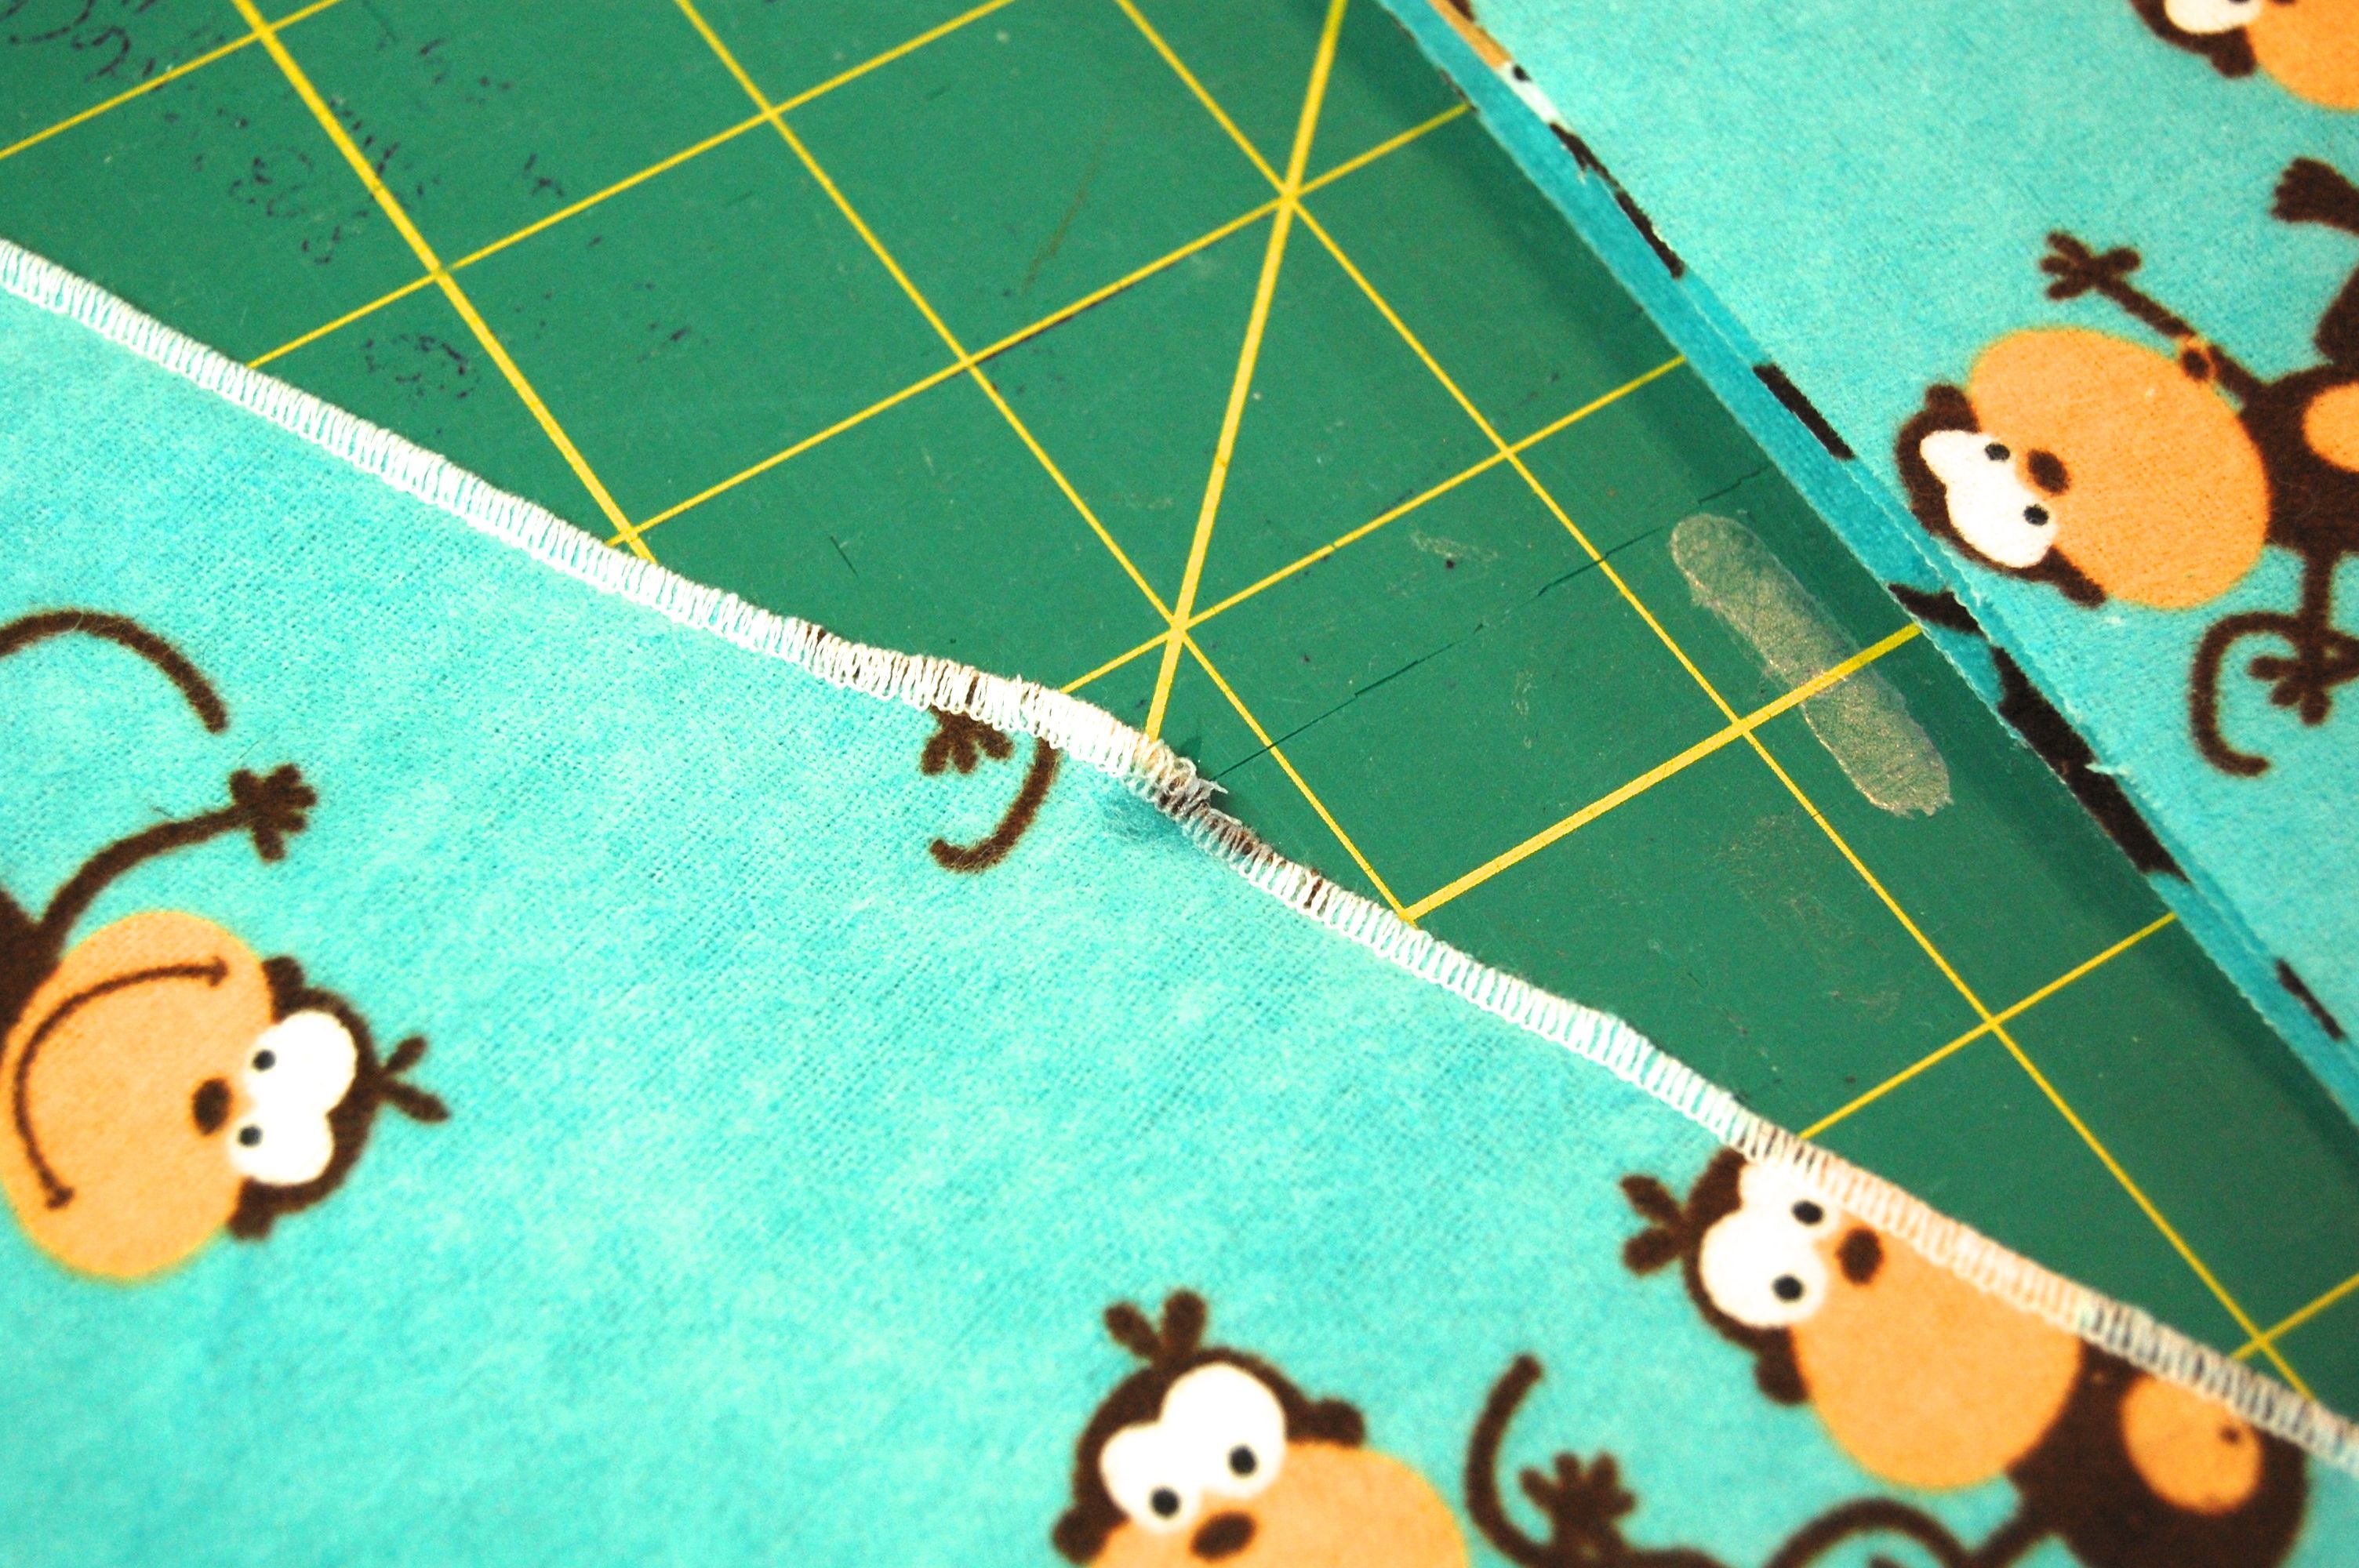
At the place where you start and stop, dab a little bit of fray check to keep it from unravelling.

 To finish the burp clothes use the 2 flannel 8 x 18 pieces you cut out as a pattern to cut 2 pieces of terry cloth.  Place the rectangles right sides together and stitch around the outside with a 1/4 inch seam allowance, leave a 3″ space for turning.

Turn right side out and press.  Then top stitch a scant 1/4 inch away from the edge all the way around.  This will close up the hole and make these wash and dry nice and flat.

1 yard = 1 receiving blanket and 2 burp clothes for $3.75. (Update 3 years later and flannel is on sale for $2.50–score!)

High Five!

If your budget is a little bigger than that, buy 2 coordinating yards and make double.  Or add a toy or an outfit.

I’ll show you what else you can do with these tomorrow.


A little Phonics and Laundry

Laundry Phonics

Here’s a fun, turn off the TV game for early learners.  To set it up, write the names of basic clothing items on sticky address labels, leaving a space between each phonogram.  Here’s the list we used:

sh ir t

b e l t

P a n t s

h a t

s o ck

c oa t

Here are some other ideas:

s c ar f

sh or t s

t a n k   t o p

DSC_2765

Cut between the phonograms and stick to clothespins. Then let your early learner hang the items up putting the pins in order.

DSC_2756

DSC_2759 DSC_2758 DSC_2757
DSC_2769 DSC_2768 DSC_2764 DSC_2763 DSC_2773


Pins I Love 4-5-14

 Click the photos to go to the source and find out more:

carrot play doughSugar Free Easter Basket Gift Idea

clean a glue gun

DIY Rainbarrell

We are getting new gutters. It would be a great time to set something like this up!

Crochet Alphabet letters

These would be great in the diaper bag for times we have to wait (like at vision therapy.)  Maybe make 2 sets for matching games.

Easter Toad in Hole

Use a daisy cookie cutter for a Spring theme “toad in the hole”

Blessings bags

Keep these bags in your car for giving to the homeless.

How to pack mini-cupcakesHow to pack mini cupcakes for the road 🙂

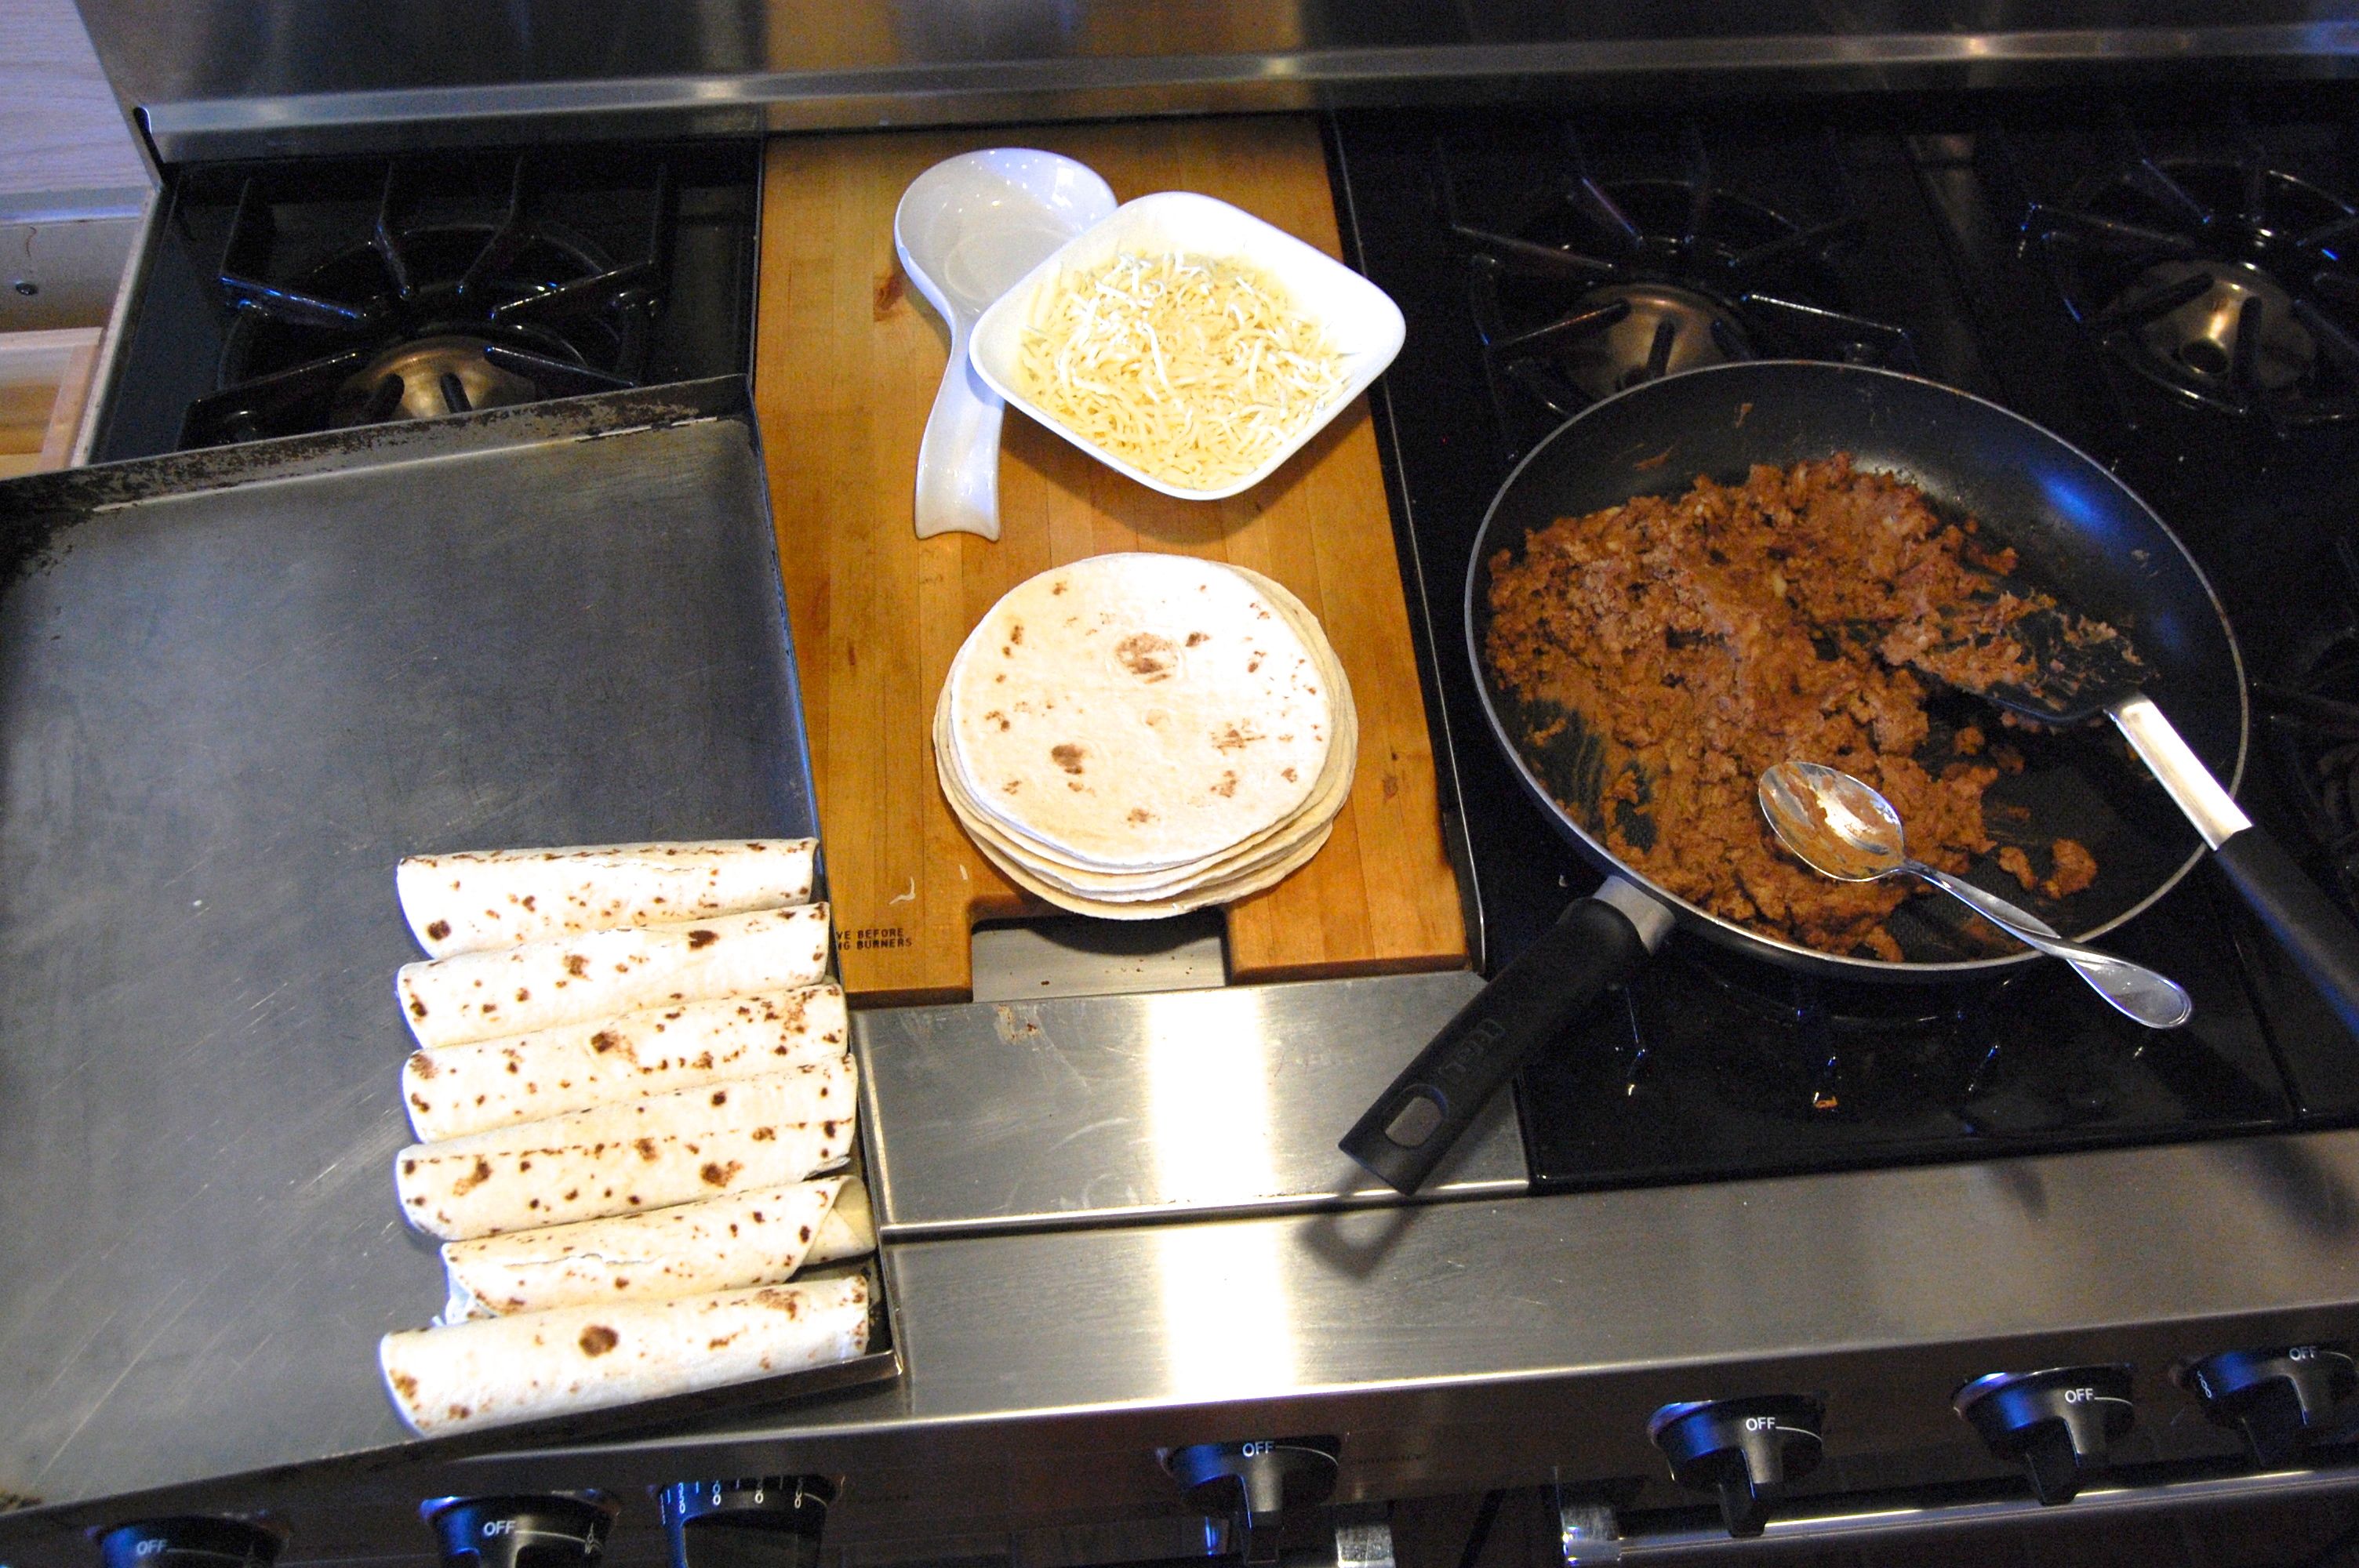
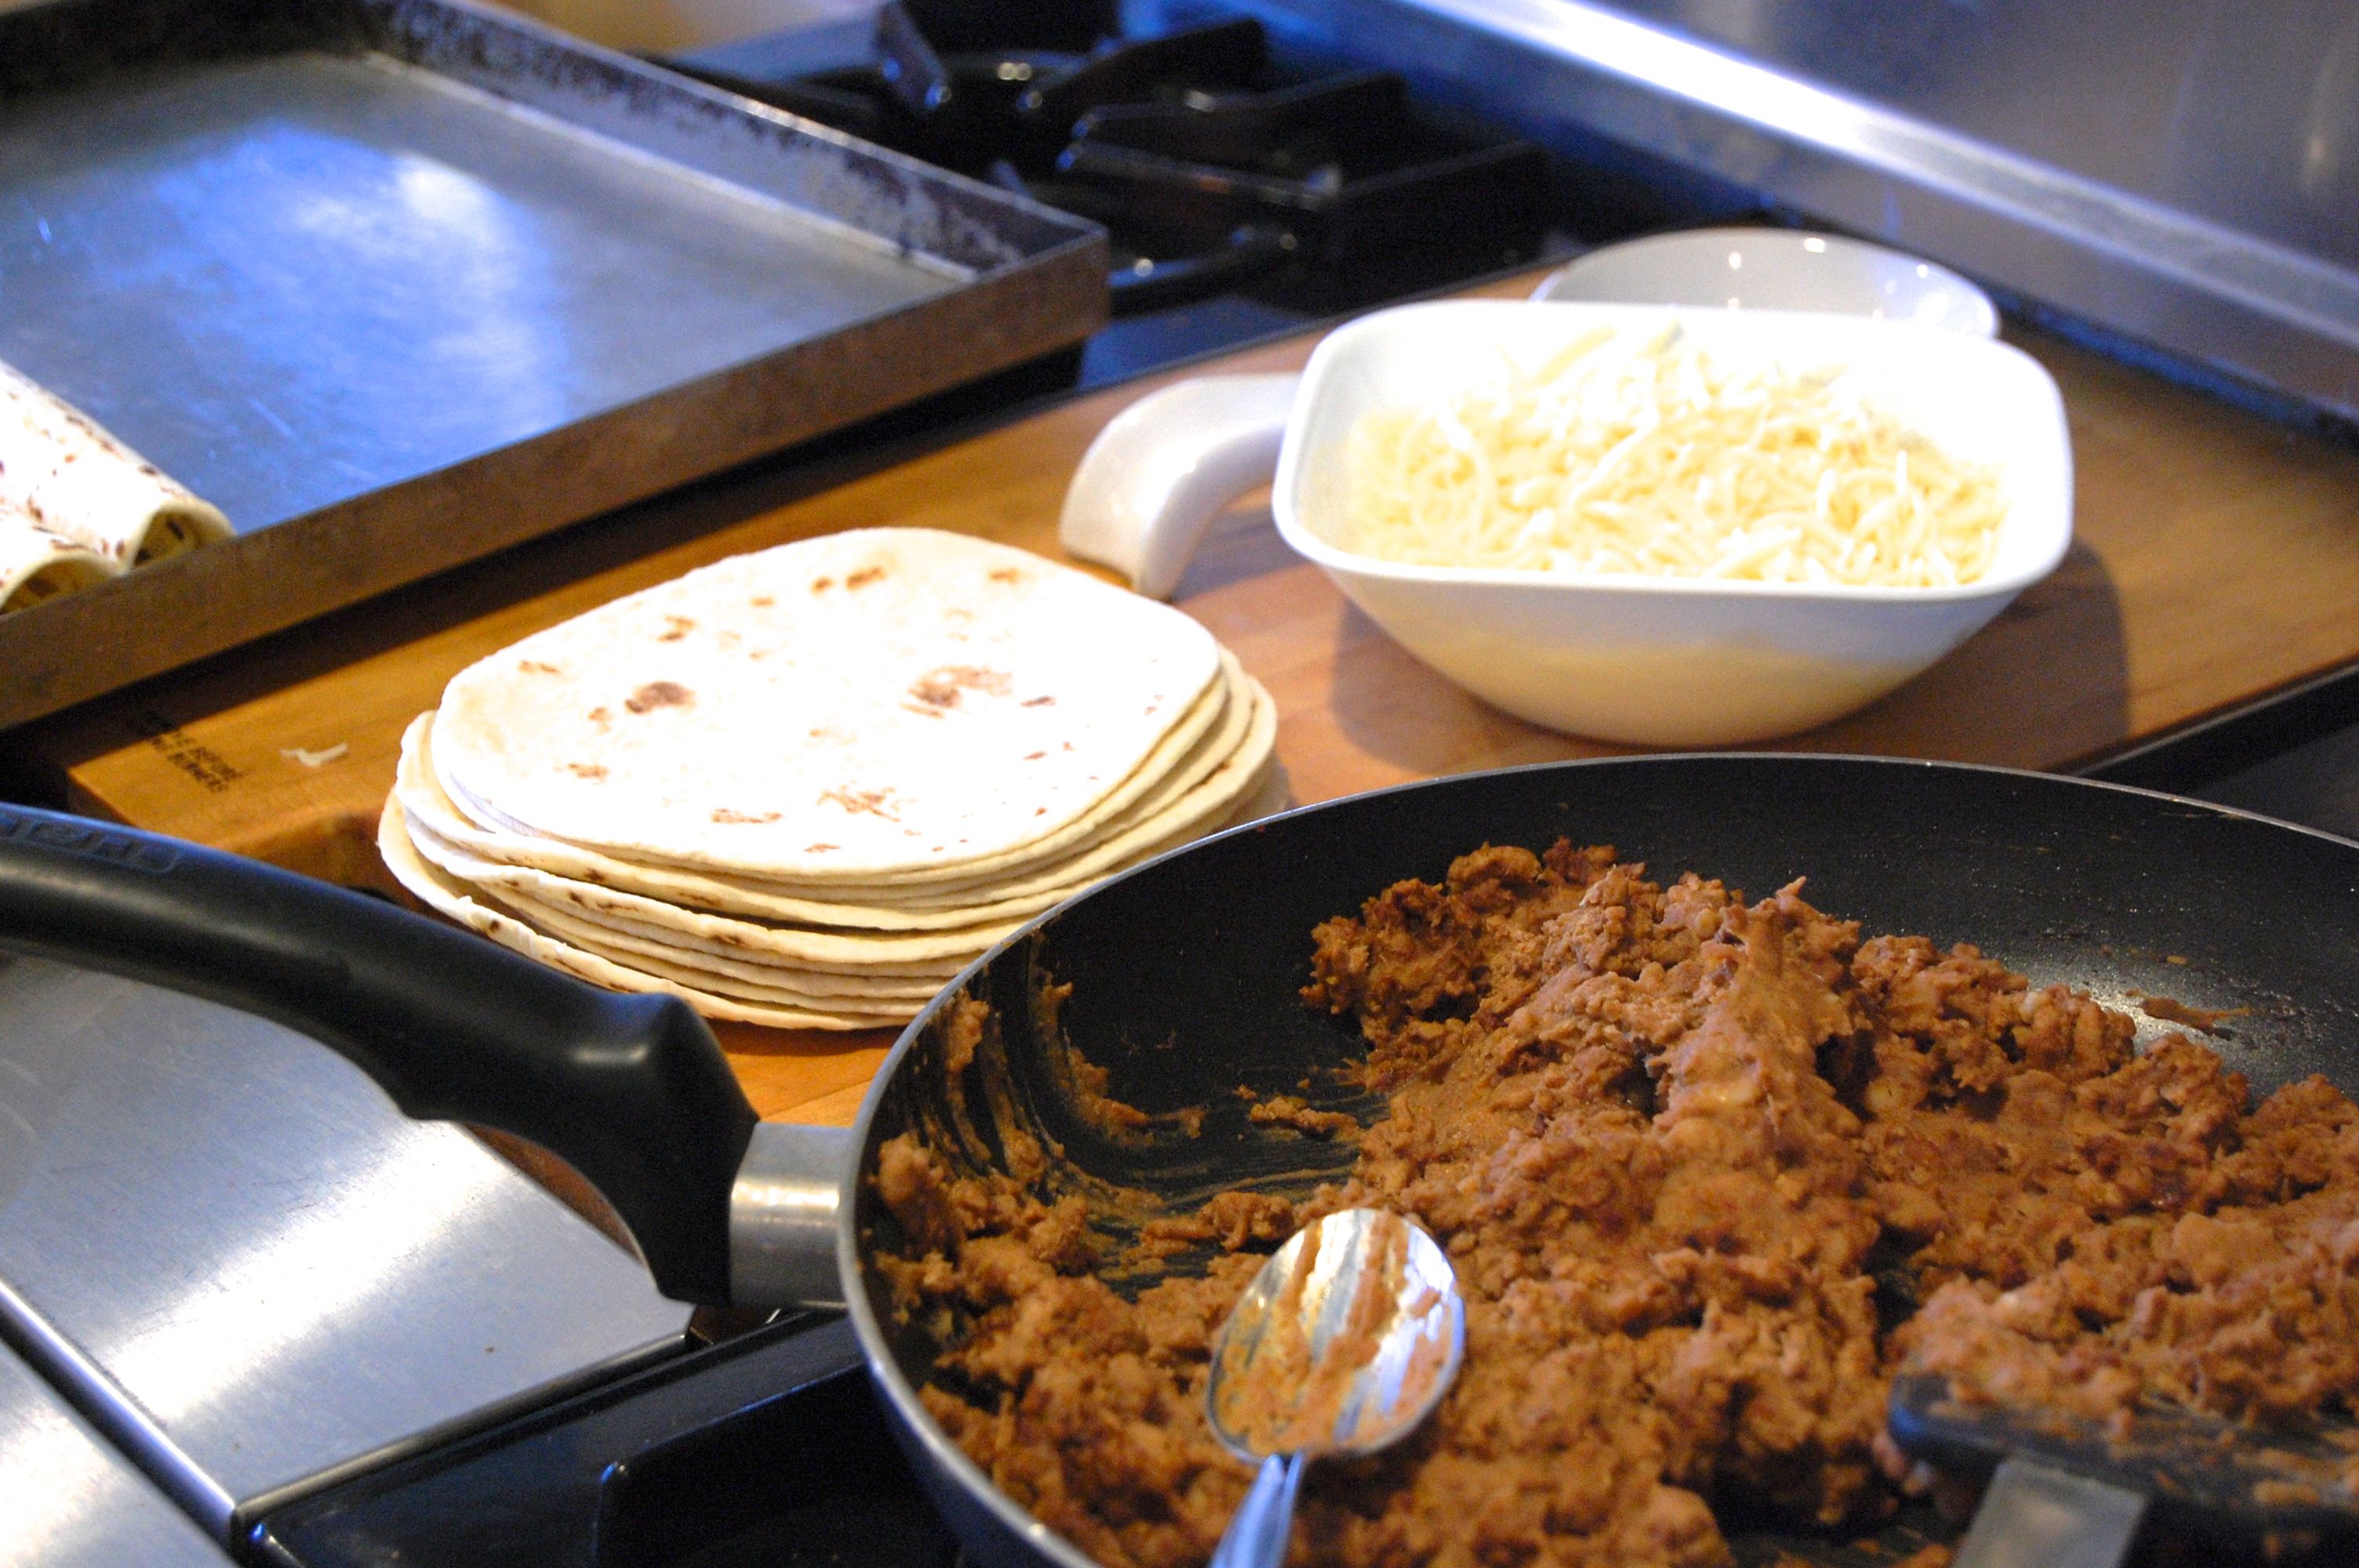
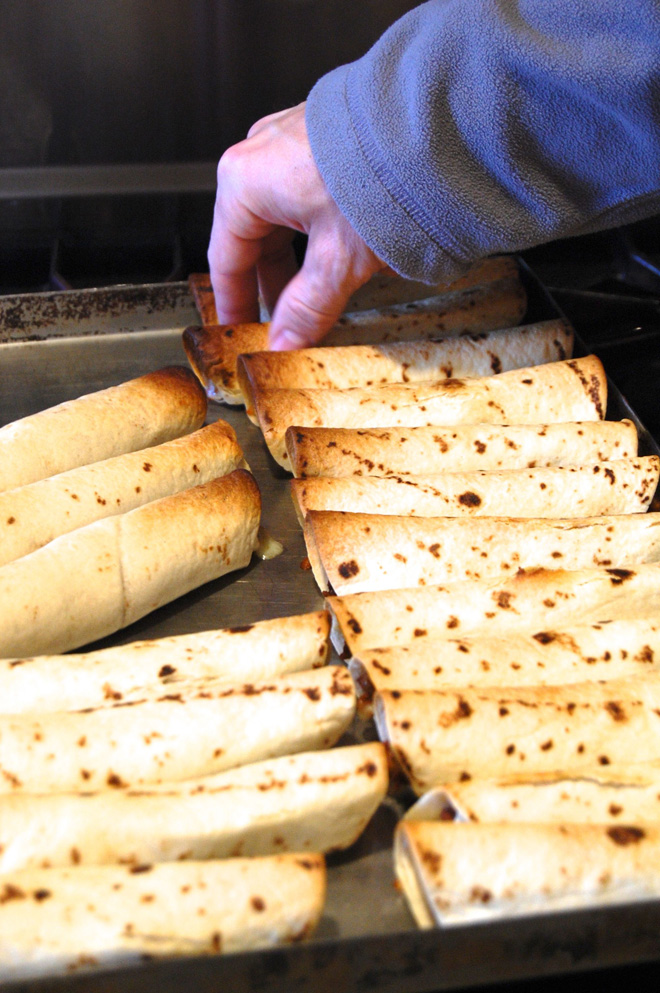
Turkey and Bean Lunch Taquitos


Every week I share 5 packable lunch recipes with my subscribers at Grocery Shrink Plus. This is just one of them, and one of our favorites!

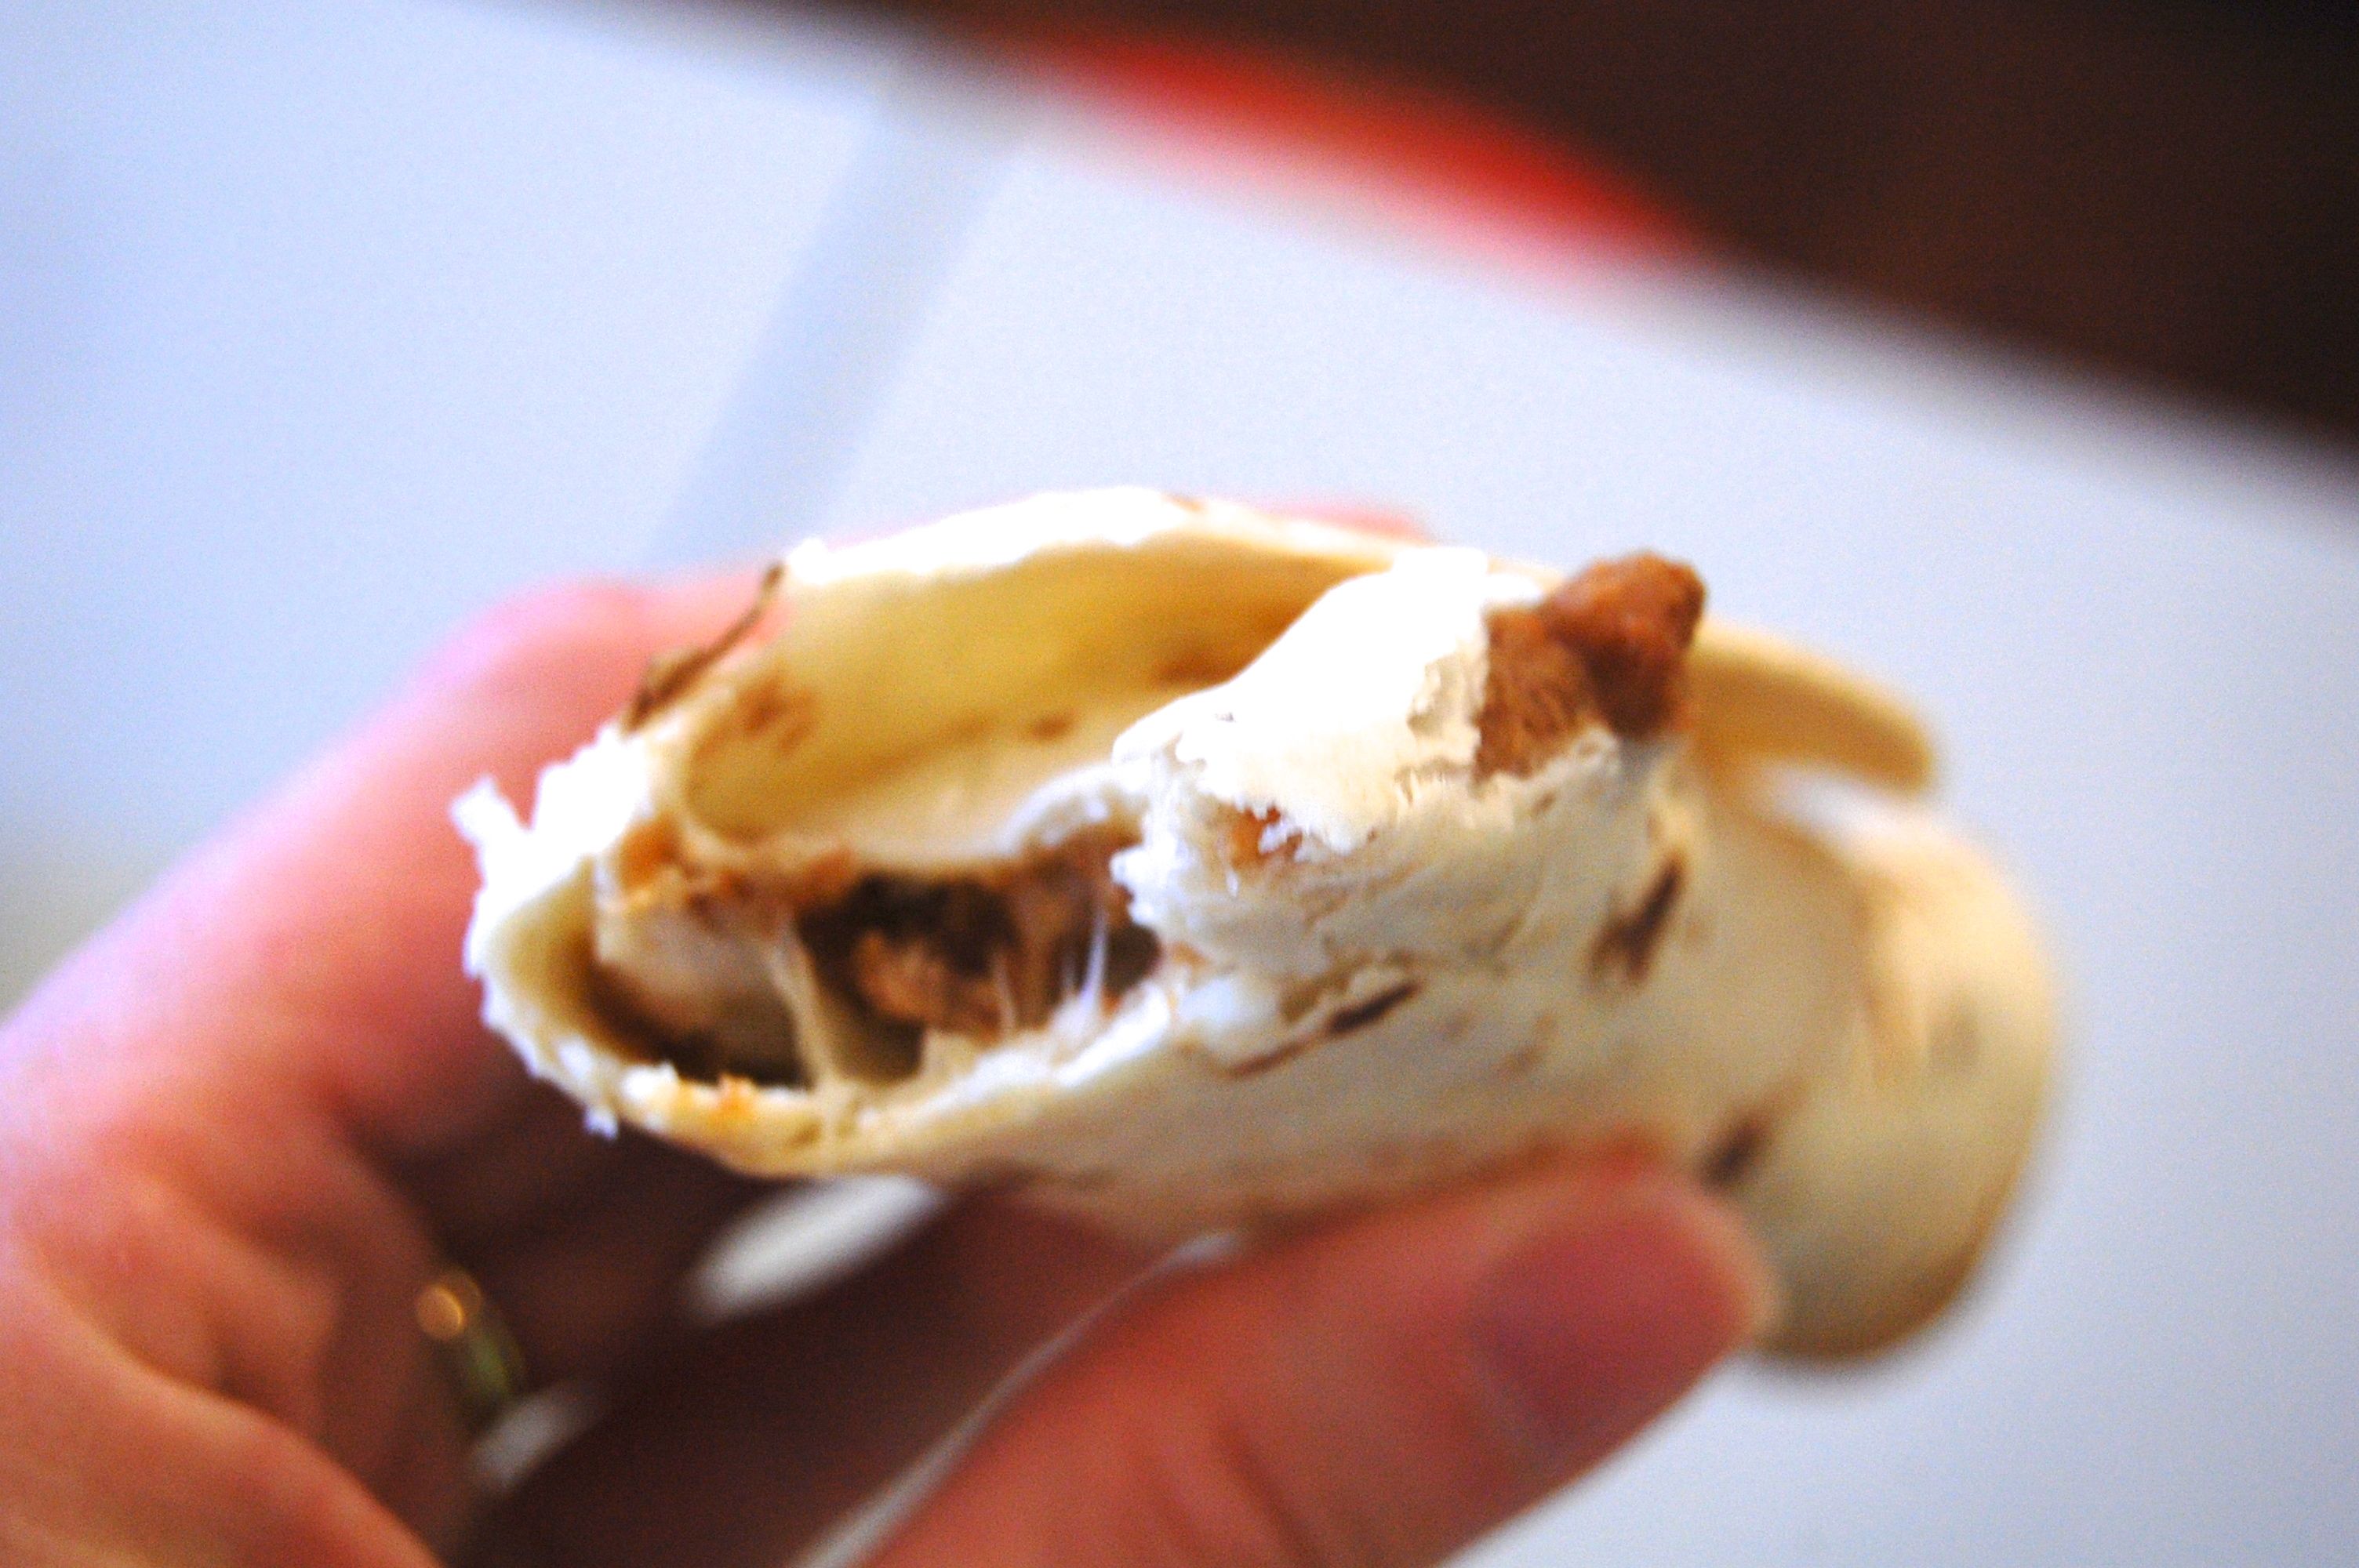
I was trying to photograph these for the blog, and look who couldn’t wait!

Homemade Taco Seasoning Here.

Turkey and Bean Lunch Taquitos

Ingredients

  • 20 6" tortillas
  • 8 oz shredded cheese
  • 1 can (15 oz) refried beans
  • 1 pkg (20 oz) 93% lean ground turkey
  • 2 Tbs taco seasoning (I used homemade)

Instructions

  1. Preheat oven to 400 degrees.
  2. Brown ground turkey with taco seasoning until cooked through. Stir in refried beans.
  3. Place a small amount of bean mixture on the edge of each tortilla. Top with cheese. Roll up tightly and place seam side down on a baking sheet.
  4. Bake for 15 minutes or until golden brown and crunchy.
http://www.groceryshrink.com/turkey-and-bean-lunch-taquitos/

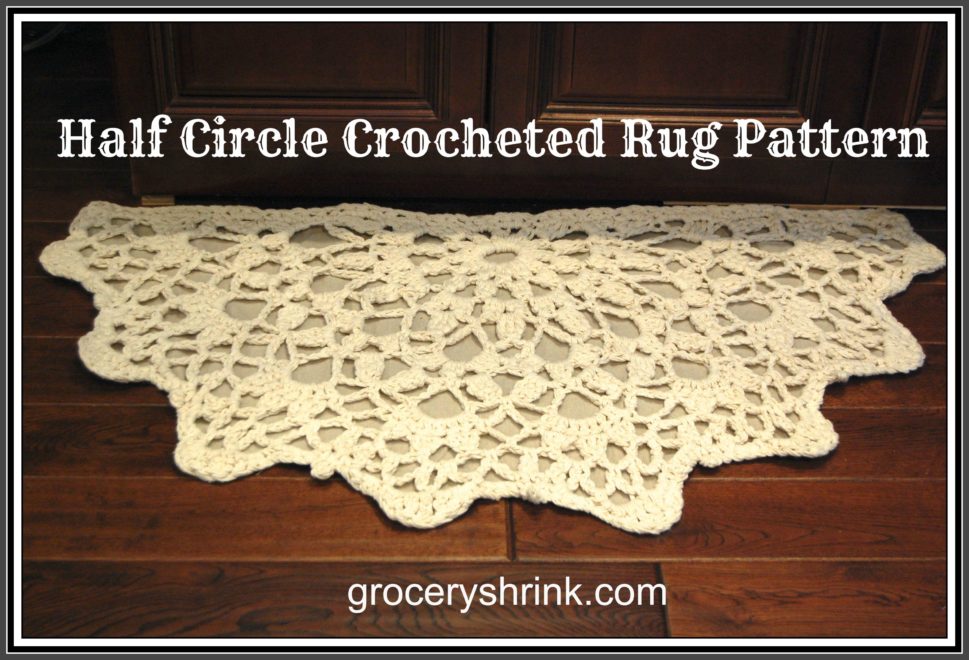
Crocheted Half Circle Rug

When I finished the rug, DH said, “What do you think of it?”

What do think?  I love it!  I hugged it when you weren’t looking.  I did dances around it, took off my socks so I could really feel it under my feet.  Knowing how he feels about crochet, I only said, “I think it turned out pretty good.  What do you think?”

Do you know what he said?  He said, “It’s awesome.  And it didn’t really take you that long.”

“And it was free.” I pointed out.

“Um, except for the 3 skeins of yarn and a canvas drop cloth.”

“Those don’t count” (Has he not been to the craft hoarders school of positive thinking?) “No new money spent, means free–duh. Besides I have half the supplies left, so I could make another one and sell it on Etsy to recoup the amount of money I didn’t spend on supplies.  So it cost half of free.”

I think he might have rolled his eyes.  I feel sorry for him.

I wrote down the pattern after I finished the rug so I plan to make another just to test it and make sure. Might be a few “interesting” parts in the instructions until I work it out for you. A seasoned crocheter won’t have trouble. I adapted the rug pattern from a fine string crocheted vintage doily in my collection.

***************************************

Yarn:  3 large skeins (The super huge ones that cost $10 each but go on sale for 50% off all the time–so wait or use a coupon, please) of worsted weight cotton yarn (like wash cloths are made from.)  Size P hook. This is enough to make 2 :).

Good to Know: These are in American Crochet Terms

Abbreviations:

ch = chain

ss = slip stitch

sc = single crochet

dc = double crochet

tr = triple crochet

cl = cluster

p = picot

2-dc-cl (or 2-tr-cl)= cluster of 2 dc (or 2 tr). To make cluster, hold back the last lp of each st on hook and work 2 dc or 2 tr) into st or sp specified, then yo and through all 3 lps remaining on hook.

3-dc-cl (or 3-tr-cl) = cluster of 3 dc (or 3 tr). Make as above, working 3 dc 9or 3 tr) insted of 2 and work final yo through 4 loops remaining on hook.)

P3 is a picot made with 3 chains.  To make a P3, ch 3 then slip stitch into the 3 ch from the hook.

************************************

Foundation: Ch 10; join with a sl st to form a ring.

Rnd 1: Ch 2, 2-dc-cl in ring, ch 3, [3-dc-cl, ch3] 11 times all in ring; join with a sl st to top of first cl.

Rnd 2: (Sl st, ch 2, 2-dc-cl) all in first ch-3 sp. ch4, [3-dc-cl in next ch-3 sp, ch 4] 9 times. Ch 1, turn.

Rnd 3: (Sl st, ch 2, 2-dc-cl, ch 2, 3-dc-cl) all in first ch-4 sp, ch 2. *[3-dc-cl, ch2] twice all in next ch-4 sp; rep from * around, ch 1 turn.

Rnd 4: (Sl st, ch 3, 2-tr-cl)  all in first ch-2 space, ch 5 [sc in next ch-2 sp, ch 5, 3-tr-cl in next ch-2 sp, ch 5] 7 times, sc in next ch-2 space; ch5; 3-tr-cl in final ch2 sp.

Rnd 5: Ch 6, sc in next ch-5 lp, [ch 5, sc in next ch-5 lp, ch 6, sc in next ch-5 lp] around (final sc goes in top of last 3-tr-cl).

Rnd 6: sl-st, ch 2, 2-dc-cl; (ch 2; 3-dc-cl) twice all  in first ch-6 lp; * sc in next ch-5 lp; ([3-dc-cl, ch 3] twice, 3-dc-dl) all in net ch-6 lp; rep from * around.  sc in top of final  ch-5 lp. (May have error at the end.)

Rnd 7: St st in next (sc and cl), (sl st, ch 3, 2 -tr-cl, ch 5, sc) all in first ch-3 sp, * (sc, ch 5, 3-tr-cl) all in next ch-3 sp **, (3-tr-cl, ch 5, sc)  all in next ch-3 sp; repeat from * around, end at **

Rnd 8: Sl st in first 2 ch of ch-5, (sl st, ch 1, sc) all in next ch, *ch 5, sc in 3rd ch of next ch-5, ch 5, sc between next 2 cl **, ch   5, sc in 3rd ch of next ch-5; rep from * around, and at ** (except at the end just sc in final st since there aren’t two clusters here.)

Rnd 9: * 7 Dc in next ch -5 lp, sc in  next lp**, ch 4, sc in next lp; rep from * around, end at **

Rnd 10: * Ch 3, 3-dc-cl over first 3 dc of 7-dc group, [ch 5, join 3 -dc-cl] twice **, ch 3, sc in next ch-4 sp; rep from * around, and at ** (note: joint cluster means the first stitch of the next cluster is in the same spot as the last stitch of the previous cluster.)

Rnd 11: (Sl st, ch 1, sc, ch 5 sc) all in first ch-3 sp, ch 5, [(sc, ch 5, sc) all in next ch-5 sp, ch 5], [sc in next ch-3 sp, ch 5] twice; *[(sc, ch 5, sc) all in next ch-5 sp, ch 5] twice, [sc in next ch-3 sp, ch 5] twice; rep from * around

Rnd 12: *Ch 1, sc in next sp, [ch 3, sc in next sp] 4 times, ch 1**, sc in next sp; rep from * around, end at **

Rnd 13: (Sl st, ch 1, sc) all in first ch-1 sp, *3 sc in next ch-3 sp, ch 1, (sc, hdc, dc, tr) all in next ch-3 sp, tr in next sc, (tr, dc, hdc, sc) all in next ch-1 sp, ch-3p**, sc in next ch-1 sp; rep from * around

Rnd 14: Sc across front of mat, evenly spacing the stitches.  (I took 60 stitches to get across mine.)
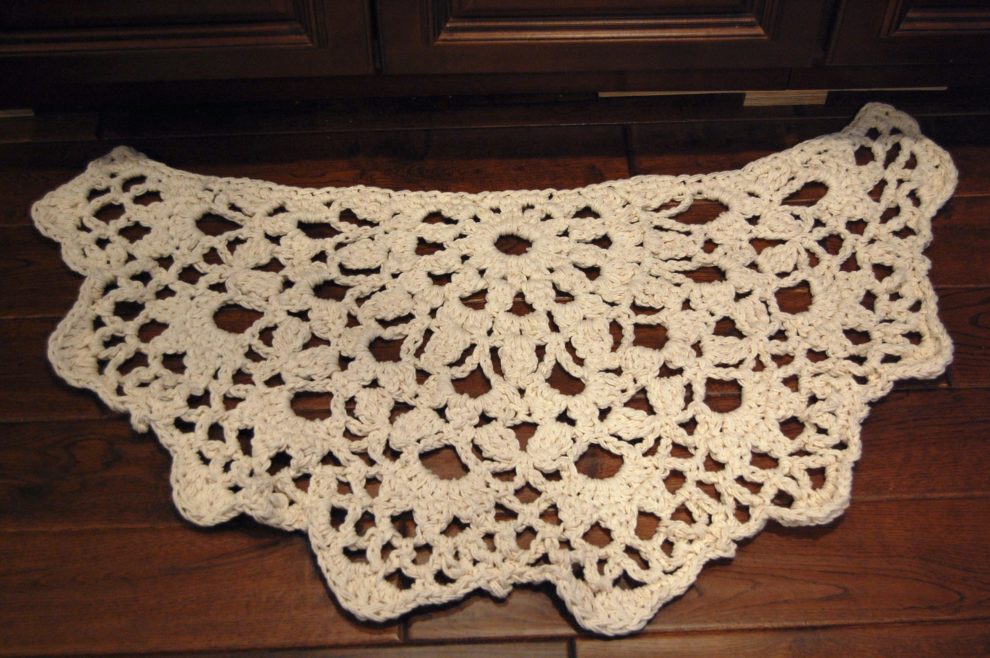
At this point it will look a little wonky.  Throw it in the washing machine on gentle.  This will shrink up the yarn a bit and wet it down so you can block it.
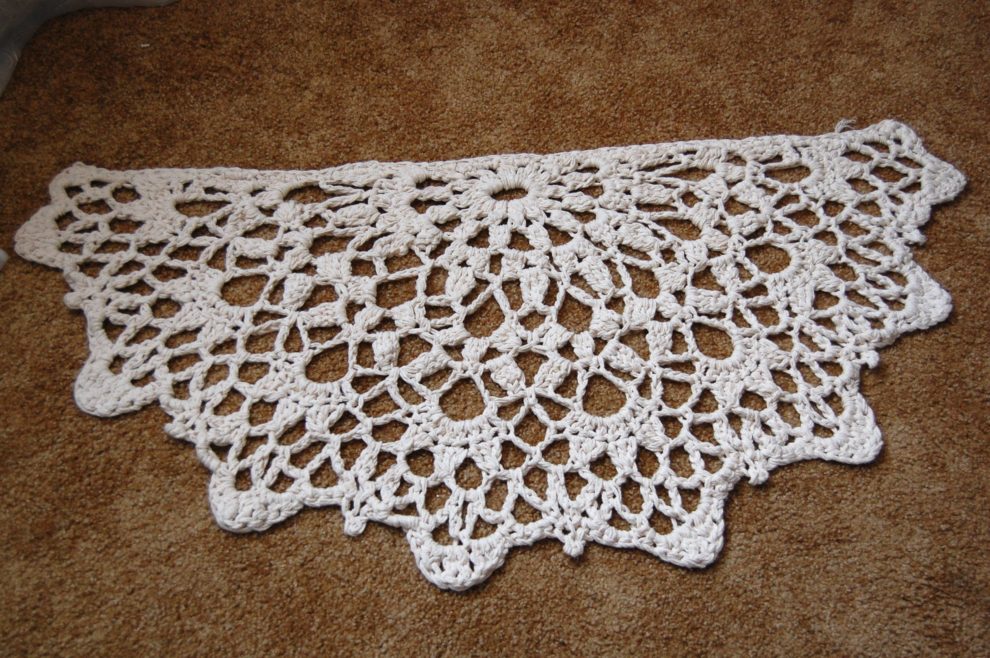
Once it is out of the washer, lay it flat on a towel (or clean carpet) and tug it into shape.  Make sure the front edge is perfectly straight and all the picots are pulled out. Let it dry overnight.

At this point, you can use it as is.  I chose to add a canvas backer so I’d have something to attach a non-slip liner to.
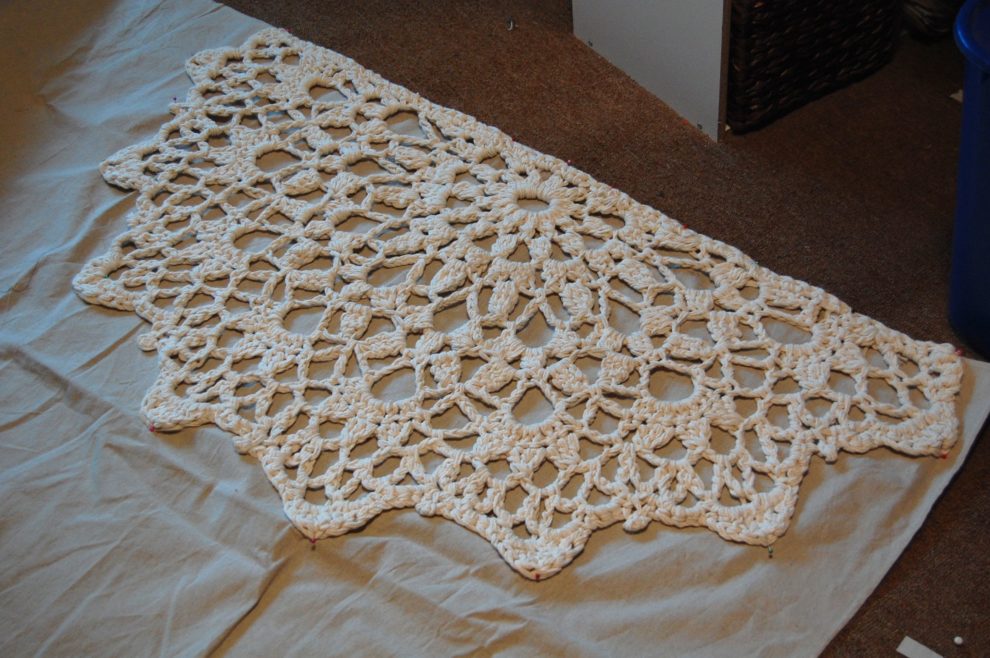
To make a canvas backer, place the rug on a canvas drop cloth (I chose the stiffest one in my stash).
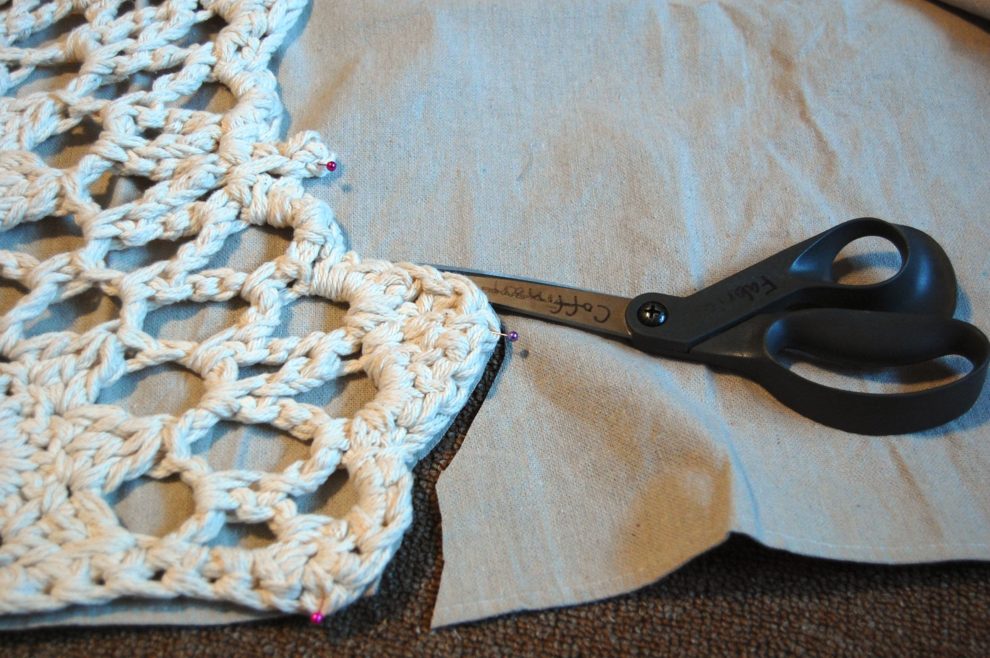
Cut out the canvas to match the size of the rug (I skipped the picot part and just cut it straight behind them.) Finish the edge with a zig-zag stitch or serge the edge.  Then pin the canvas to the crocheted rug. (Don’t skip the pinning part, because crochet stretches and will be a mess if you just try to run it through the machine without pins–trust me, I tried it.)
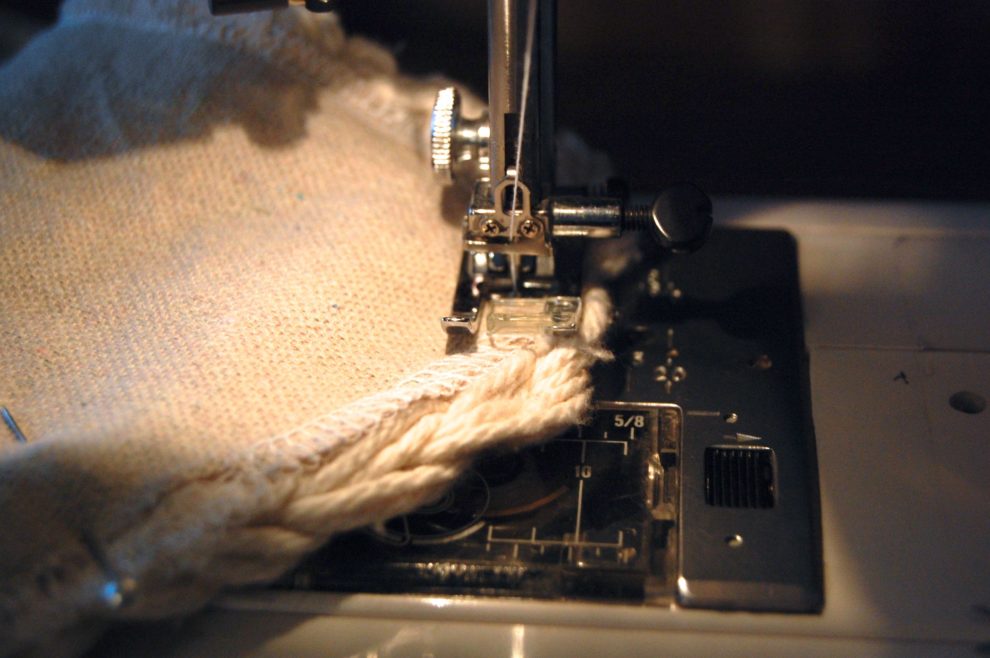
Use a long stitch and coordinating thread to stitch the rug to the canvas around the edges.  This works best if the crocheted side is down towards the feed dogs so the yarn doesn’t get caught in the pressure foot. Also make sure you can see the yarn peeking around the edge, otherwise your backer will show from the front.

If you want to attach a non-slip mat, cut it to fit and then hot glue it to the canvas back.
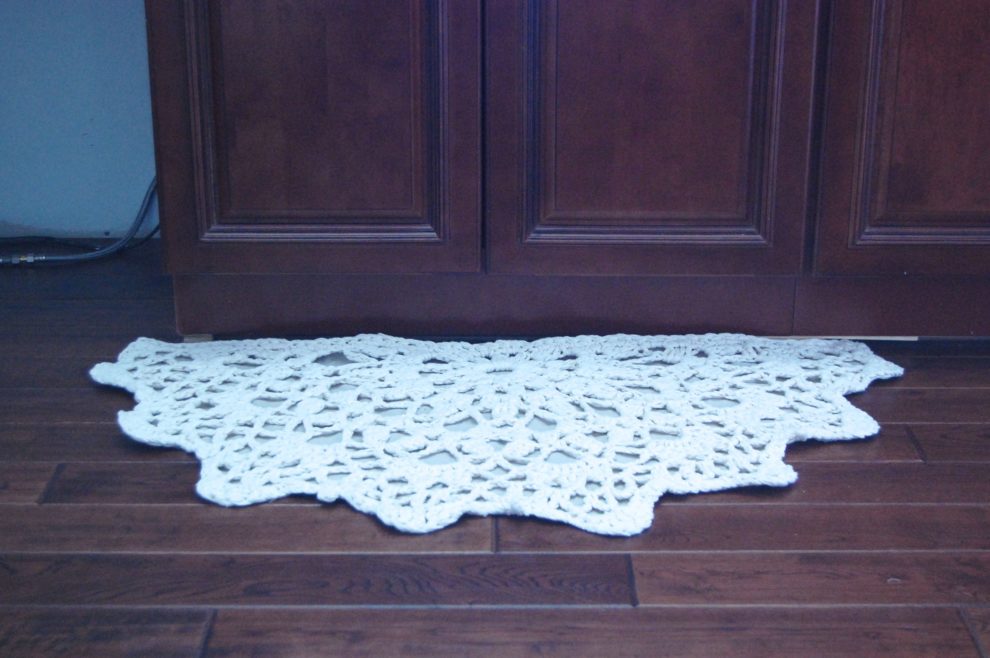
 

It will look even better when we get the dishwasher installed and finish the trim under the cabinets, but those things don’t’ affect my enjoyment of the rug in the least!  I can see one used as a bathmat or at a bathroom sink too. I’m considering an oval version to go by Heather’s bed….
 

Crocheted Baskets Vs. Target

I’ve been makin’ stuff, because it’s Spring break–and besides cleaning up vomit, I needed a diversion. (Yep, 5 of the 6 kids are down with the flu–and it’s been lasting 4 days for each of them–sigh.)

I purchased 3 huge skeins of natural cotton worsted weight yarn after Christmas (using a gift card :).) I was planning to make 4 baskets to hold piano music for the kids.  Inspired by these cuties from Ravelry:

basket2_small2

I made up my own pattern to get something square and sized for the books and dug in, holding 3 strands together and using a huge size P hook. The thing was slow going and super floppy.  I set it aside, discouraged and still unorganized in the music department.

A few months later, I found these baskets at Target:

13946258_121010024625

They were the perfect size, cost less than crochet, so much faster and already sturdy.

DSC_2746 DSC_2744 DSC_2745 DSC_2743

(Don’t mind the hole in the wall and the cans of paint at the end of the cabinet…I don’t even see them anymore.)

I bought the Target baskets–immediately, but I had the yarn leftover and a guilty conscience about what to do with it.  I had been eyeing these rugs on Etsy for awhile. And really the price isn’t too bad.  But since I had the stuff, I decided to attempt a DIY.  It was easy to unravel the partial basket and recoup the yarn.  It hurt my husband more than it did me who yelled, “What are you doing!?” as he watched me tear out hours of work.

He’s not a big fan of crochet.  It takes my time and he can think of a hundred things more fun to do together (wink.) The last thing he wanted to see was undoing the stuff he thought was a waste of time to begin with.  What was he going to think of this new project?  I’ll show you tomorrow.

It’s happening….

Heather Vision Therapy

I’m sitting in the Vision Therapy office today.  We have two children receiving therapy right now and life is full.  This is the first week I’ve found a wifi signal at the office, and am using some of this hurry up and wait time to write to you.

Brandon and Grant Playing at Vision Therapy

While I am here watching Grant play with the office toys, the plumber is at my house :). He’s installing a kitchen sink, a dishwasher, and a couple of toilets.  I’m beyond excited.  And a little scared.  When I didn’t have anything to work with in the kitchen, I could be less than amazing and have a good excuse.  Now that I’ll have a sink again…it’s time to step up my game.  Maybe I won’t feel like being amazing anyway.  I think I’m ok with that.  If my family gets basic healthy food and the kitchen is mostly clean…that can be it’s own kind of amazing.

RB birthday

Last night we had a tiny birthday party for our friend, who is staying with us for a short time while she makes some transitions in her life.  It was a total blast. Just silly fun around the table with some friends.  And then she came with me to ballet class.  It’s like having a sister for reals, and the kids adore her.  We have the same maiden name, and even though we aren’t technically related….I can pretend.

DSC_2710 DSC_2694DSC_2696 DSC_2697 DSC_2699 DSC_2701

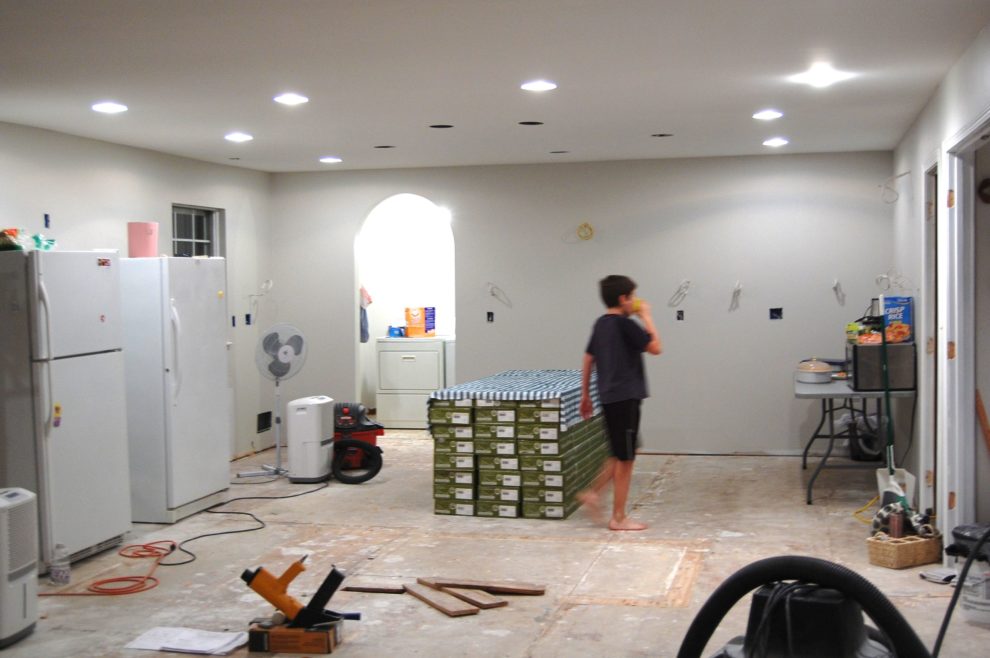
So this kitchen thing is scary.  We dreamed about it for over a year before digging into the process and then 9 months later are finally coming near the end.  I wanted it to be perfect, but really in life what is?  Our new floor is already scratched, some areas pretty badly.  The cabinets already have dings and blemishes from use. I had in my mind that one day I would have a brand new kitchen all finished and in that moment every piece of it would be new and perfect.  The reality is, We’ve been working at it and living in it for 9 months. We have 6 kids.  My family is better than a perfect kitchen any day.  It’s good for me to stop and remember that sometimes, because when I forget I enter freak out mode.

DSC_2705

Freak out mode is when I wail that my floor scratches aren’t repairable because a prefinished floor has a finish that goes an 1/8th inch deep and nothing sticks to it (like stain or repair crayon.) It’s when I complain that the cabinet company went down in quality, so our new cabinets aren’t what we expected or thought we paid for. It’s when I stress because my counters turned out splotchy and I realize that it’s likely that I’ll still have these countertops when I’m a grandma.  In the amount of time it would take me to save up for granite, I’ll need to put a couple of kids through college, plan a wedding, and hope that grandbabies will soon follow.  To be honest, all that stuff is more important to me than a perfect kitchen.

DSC_2702

Rachel told me the counters looked great when I wasn’t sure.  “It’s the perfect color,” she said.  “Maybe try a second coat.” I just needed to hear some validation for my choice to be able to relax inside and go with it.  Sherry and John over at Young House Love did a similar color in their countertop refresh yesterday, but theirs is a concrete overlay.  Which looked like a LOT more work than what we did. I love the look in their kitchen. It made me feel better to see they had a backsplash too.  After I saw Carmella’s backsplashless countertops and undermount sink, I totally wished I had held out for that.  Just the discussion about it turned very LOUD, since DH was convinced both were impossible.   In the end, it was more important to remove some stress from DH’s shoulders than to fight to get exactly what I wanted.

A second coat on the counters made things better, but I’ll have to show you that tomorrow 🙂

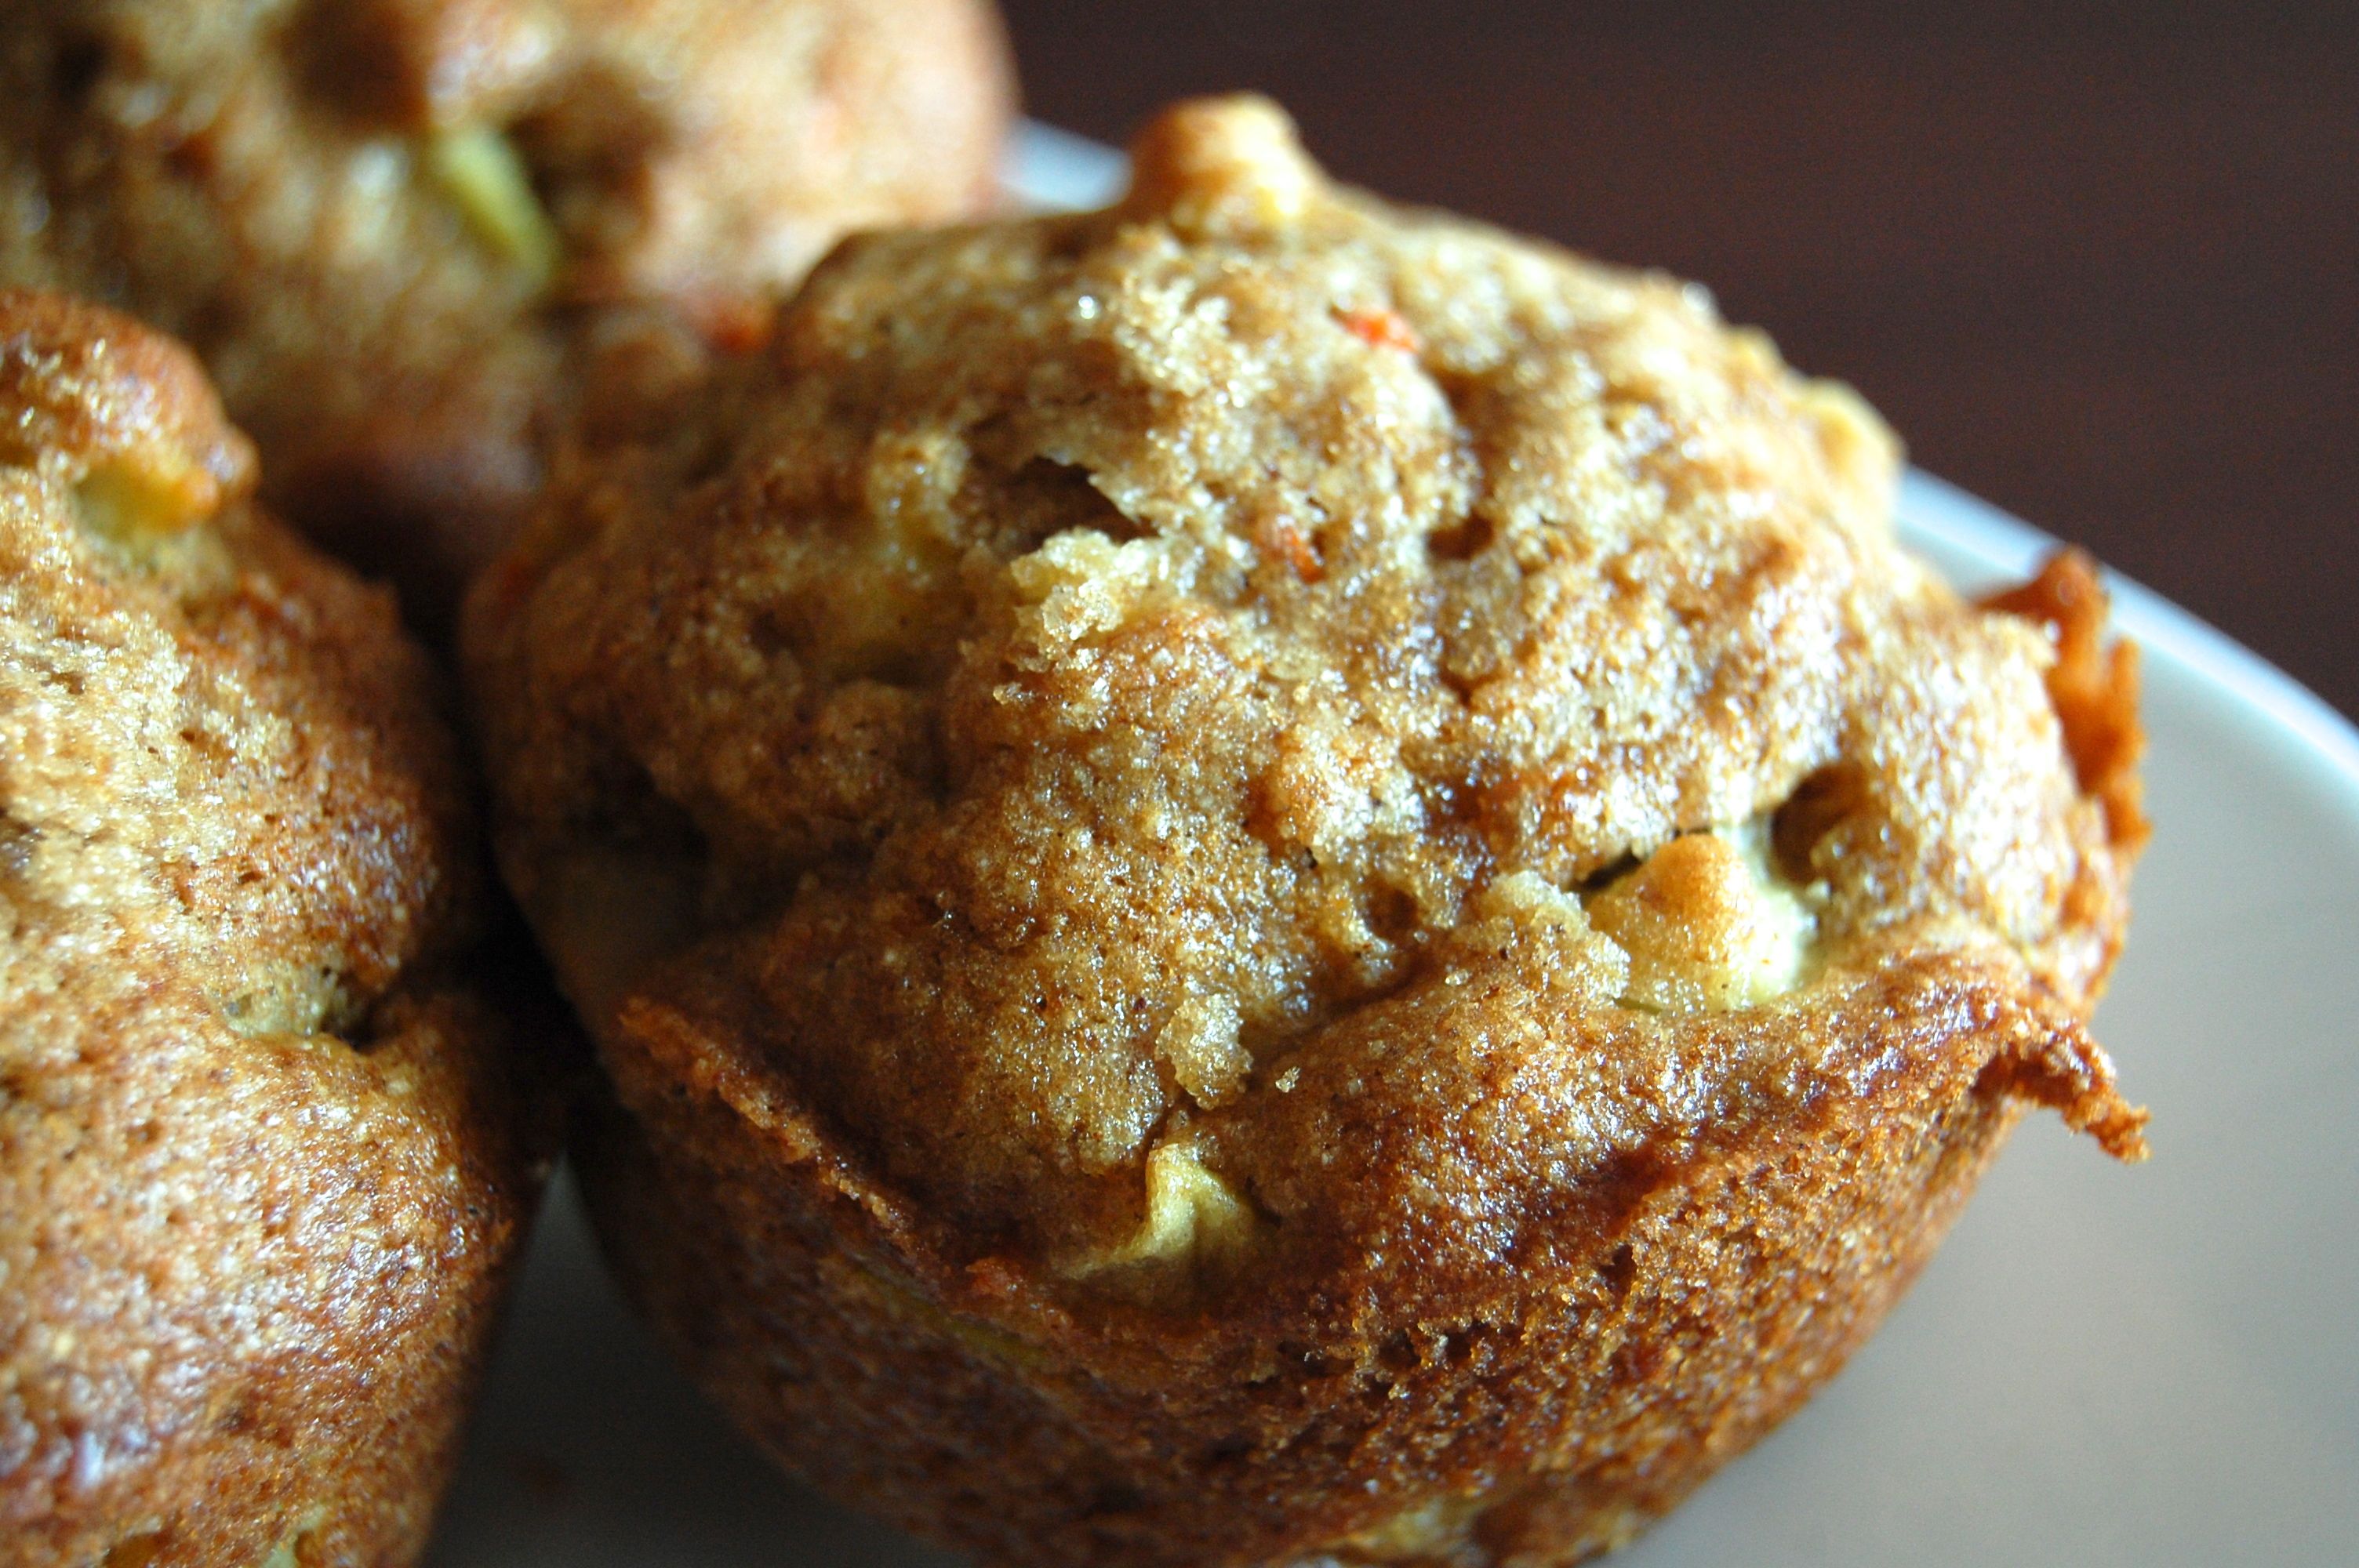
Apple Carrot Muffins

This looks like a recipe, but it’s really a lesson in substitutions.  Apples are $1.50 a lb, carrots are $.33 a lb.  Sub part of the carrots for the apples in this recipe and the kids get more vitamins and I get more money for groceries.  Win-win.  Made with fresh ground whole wheat flour, these muffins are rich in wheat germ oil, B vitamins, fiber, and vitamin A.

Muffins make great grab and go breakfasts (for kids), snacks, and additions to brown bag lunches.

Apple Carrot Muffins

Ingredients

  • 2 cups fresh ground whole wheat flour (I use Montana Gold White Wheat)
  • 1/4 cup brown sugar (or stevia)
  • 2 tsp baking soda
  • 1 tsp cinnamon
  • 1/2 tsp salt
  • 1 medium apple, chopped (I left the peelings on, but you can peel if you prefer.)
  • 1 large carrot, grated
  • 1 egg
  • 1 cup milk
  • 3 Tbs oil (coconut or melted butter)

Instructions

  1. Preheat oven to 400 degrees.
  2. In a large bowl combine flour, sugar, baking soda, cinnamon and salt. In a smaller bowl beat together egg, milk and melted oil. Pour the wet ingredients into the dry ingredients and barely mix. Fold in apples and carrot.
  3. Fill greased muffin tins 3/4 full.
  4. Bake for 15 minutes or until golden brown. Makes 12 muffins. Recipe doubles well.
  5. To make it a little fancier, sprinkle the tops with coarse sugar just before baking.
http://www.groceryshrink.com/apple-carrot-muffins/

For best results, eat or freeze within 3 days.


Plywood Countertops

Update:  To see the finished countertops click here.

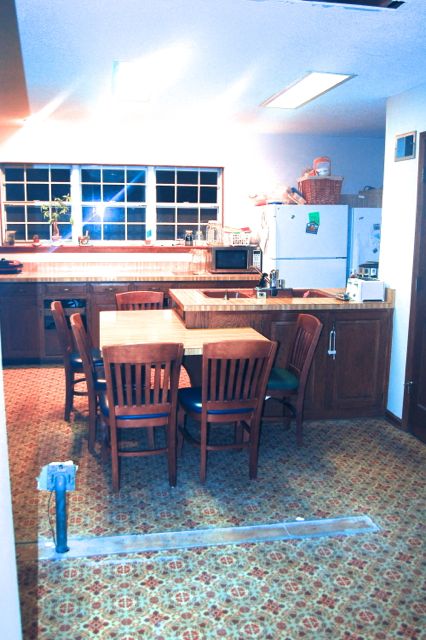
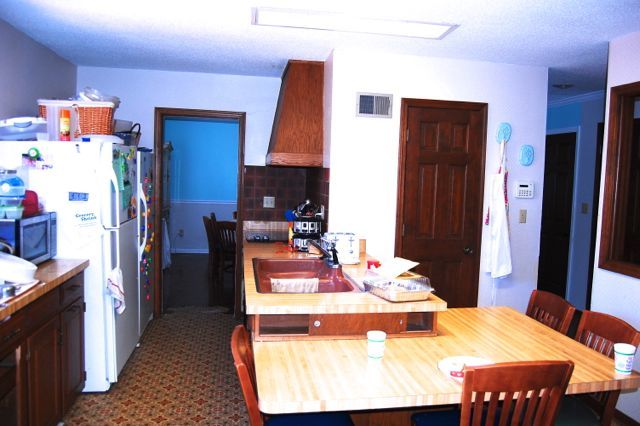
When we first started planning our kitchen remodel, we did it sitting at this table:

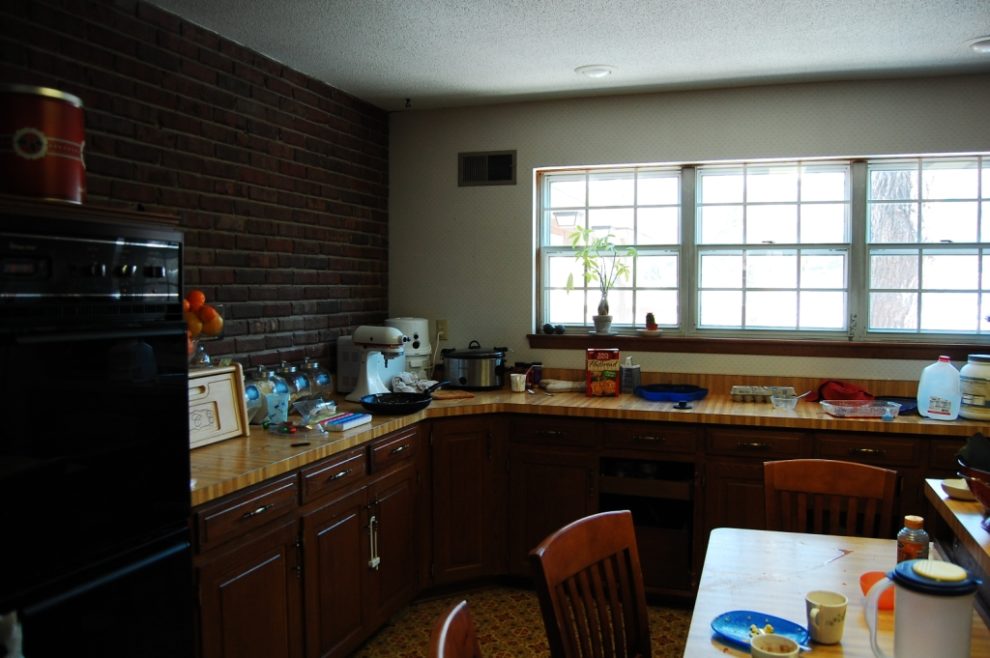
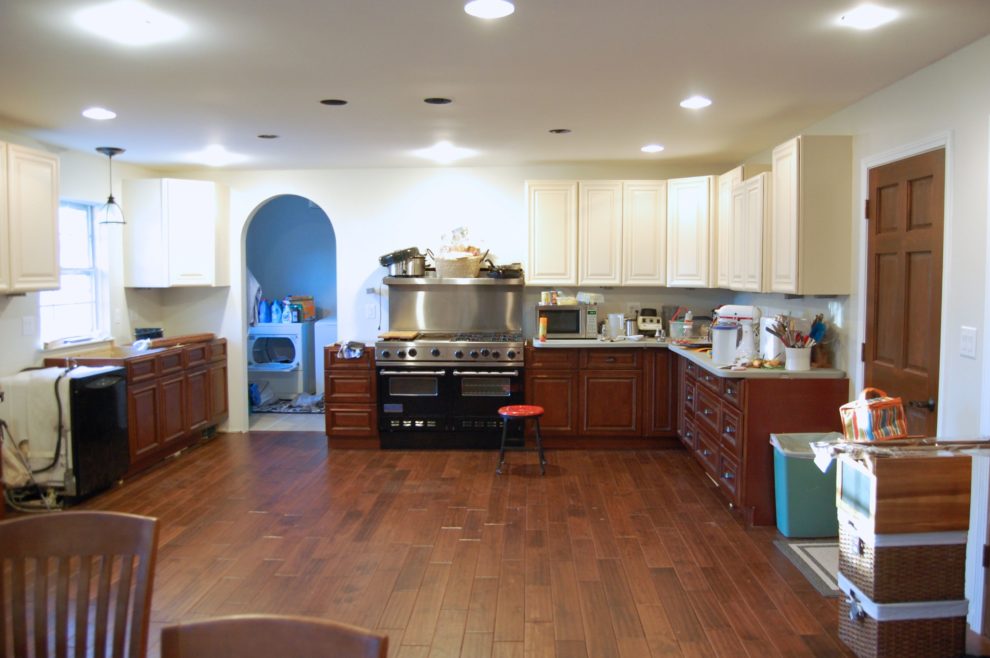
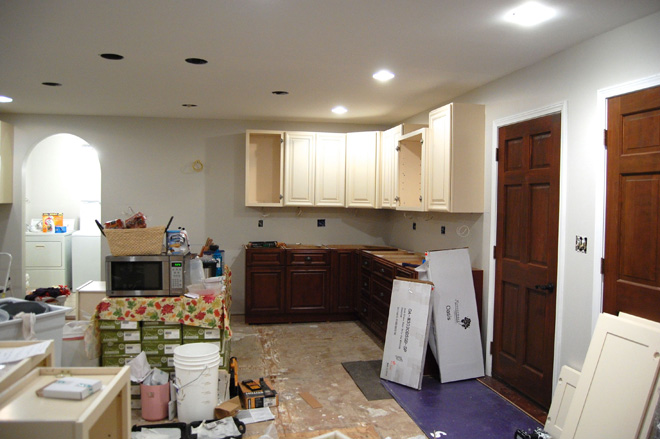
The space was so full of walls, cabinets, stuff–that it made it hard for our big family to function day to day.  We studied the original blueprints, looking for support walls.  Then planned the removal of everything we could to open up the space. We picked out cabinets and dreamed of granite countertops.

After unexpected foundation issues wiped out or cash reserves, we wondered what to do about finishing the space. It was definitely time to think outside the box, since granite wouldn’t be a possibility for several years. We talked about lowering our expectations and buying formica laminated countertops, but the big box stores were surprisingly proud of these options.  The prices still weren’t affordable.

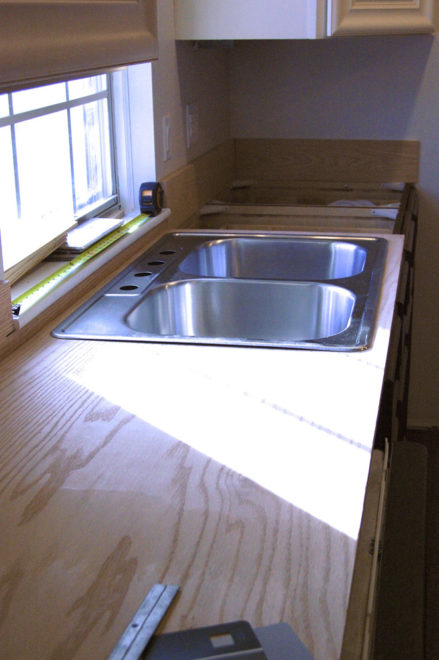
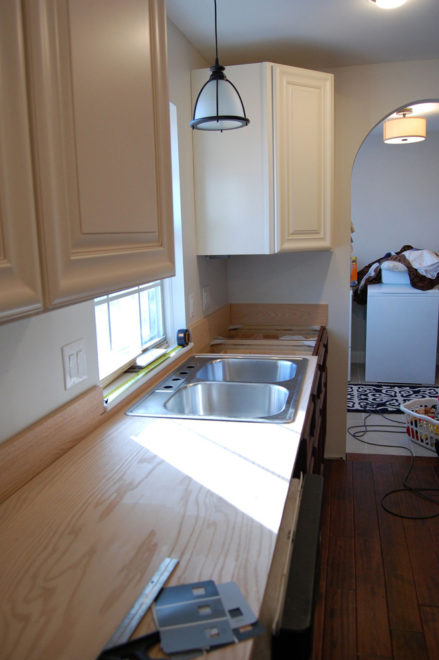
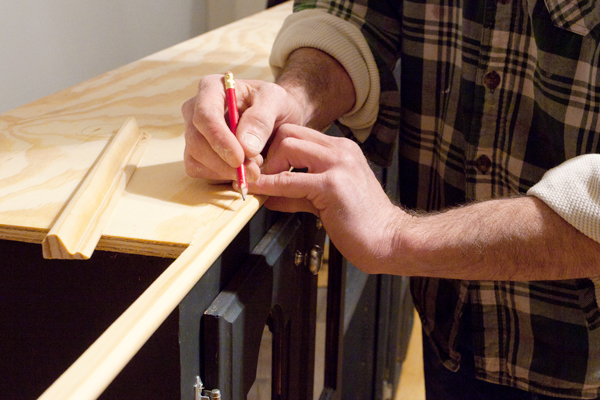
Then we looked at plywood.  First we looked at the $25 a sheet stuff.  Not bad.  Paintable, but not stainable.  Right next to it was gorgeous oak plywood.  It was double the cost, but we only needed 2 sheets (Since we could rip one sheet in half for 16 feet of counter.) Still affordable and this option would be stainable.  If we grabbed some trim for the edge it would look more finished.

We briefly considered buying oak 1×6 boards and fastening them together to make homemade butcher block.It would be prettier, have finished edges, and be possible to use an undermount sink. The extra steps and skill level required scared us.  We are on a deadline now and weren’t confident we could finish that in time.  The city has determined if we aren’t done by the end of the month, they will charge us a permit renewal fee.  This is dragging out so long because we ran out of money….charging us a fee would really help with that, thanks.  Government makes soooo much sense some times.

I settled on an overmount sink, which will be a little more water friendly with the wood.  I prefer undermount sinks with a passion, but Darren reminded me when we buy the granite in a few years, they’ll throw in an undermount for free. We bought 4 of the oak 1×6 boards to use as a backsplash. Since the ripped plywood would only be 2 feet wide (traditional counters are 26 inches wide, we used the backsplash and trim to make up the difference in the length.) We also researched a sealer that would dry to a non-toxic finish (food safe) and make these countertops sturdy enough for a family of six–enter Waterlox Marine Sealer.

Next, I needed to decide on a color.  I wanted to let the wood grain show through whatever we did so that the wood looked intentional.  I already have a lot of contrast built into the room with the light upper cabinets and dark lower ones.  The floor is a shade variation of the lower cabinets and doors in the room.  That’s plenty of that color in the space. I wanted something different without adding so much color we look like a circus.

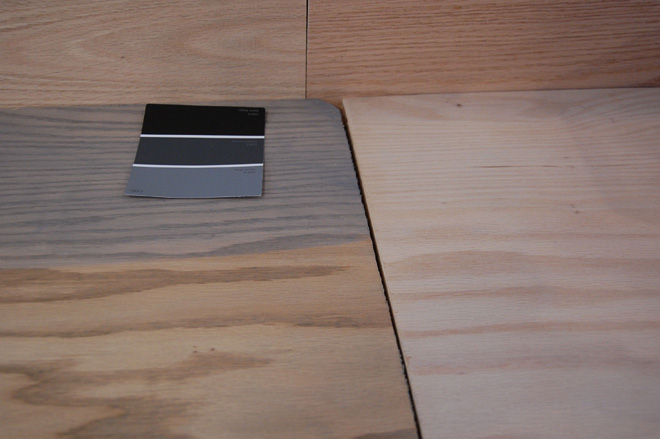
I loved the color of gray on the folding tables we are using for our temporary countertops. Maybe something similar would be the thing? I grabbed a can of weathered gray stain and did a test board from the piece cut out for the sink hole.


It looked like dirty wood.  The board to the right is the untreated oak.  The lower piece on the left, is the weathered gray stain, one coat.  I really wanted something more gray.  So I headed back to the store and grabbed a $3 sample pot of Olympic Dover Gray.  I added water until it was half water/half paint and used it like a wood stain.  That’s the sample to the back on the left.  Perfect!


This week, we plan to finish cutting the plywood to fit, then install it with the trim and backsplash.   With the goal to have it ready to stain and seal on Saturday.  We will stain and seal it in place after taping off the wall and lower cabinets. We’re hoping the weather is good enough for open windows, since we expect it to smell pretty bad.

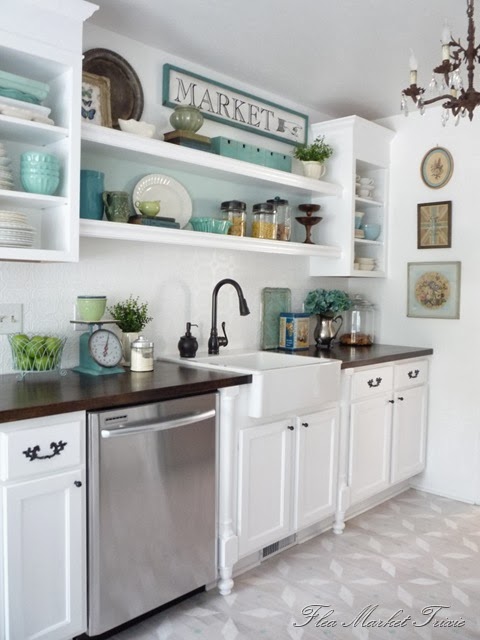
Here are some of the inspiration pins I used to convince myself wood countertops would be ok. Click the picture to go to the source: