The Easiest Shredded Chicken for Your Freezer

Chicken salad, enchiladas, tostadas, tetrazzini, chicken spaghetti, pot pie, taquitos, quesadillas.  They all start with shredded  chicken.  When there’s a recipe sized bag ready to go in the freezer, the rest of the meal doesn’t seem so hard.

I bought frozen grilled chicken pieces from Aldi yesterday.  My stress level had come to that. It was kind of gross and expensive.  Not completely awful, but nothing like home marinated and grilled chicken. If your stress level makes frozen grilled chicken a necessity, no judgement here.  But there is a simple way to have prepped chicken at home.

Fill your slow cooker up to 3/4 full with chicken breasts, then pour water into the spaces until it comes just even with the top of the chicken. Season with salt, pepper, celery seed, garlic powder, and onion powder. Slow cook for 4-5 hours.  Remove chicken from the broth and let it cool until cool enough to handle.

Drop a breast or 2 (enough for your typical recipe) into a quart size freezer baggie, press out all the air and seal.  Then mush it around with your fingers until it is all shredded up.  Moosh the chicken flat, and freeze it.  Simple, right?

You also have all that great chicken broth.  If you use it up within the week, you can put it in a pitcher in your fridge.  (We rarely have juice, so it’s safe at our house.  If you often have lovely pitchers of stuff in your fridge, you should probably label it.  Or hide around the corner with a video camera…..)

For those of you who need recipes.  Here you go:

Easy Shredded Chicken for Your Freezer

Ingredients

  • 2 lb chicken breasts
  • 8 cups water
  • 3 tsp salt
  • 1 tsp black pepper
  • 1 tsp onion powder
  • 1 tsp garlic powder
  • 1/2 tsp celery seed

Instructions

  1. Combine everything in a 5 quart slow cooker.
  2. Cook on high for 4-5 hours. (No need to thaw the chicken first.)
  3. Remove chicken from broth and cool until cool enough to handle.
  4. Place 2 small or 1 large chicken chicken breast into each freezer bag and shred by mooshing the outside of the bag with your fingers.
  5. Remove all the air and freeze flat.
http://www.groceryshrink.com/the-secret-to-easy-shredded-chicken-for-your-freezer/

P.S.  For those of you who are wondering, most brands of freezer bags are BPA free.  I specifically checked Ziploc brand and Up and Up brands, but several others are safe too.


It’s One Pot Wonder Week!

one pot wondersOooooooh, I’m so excited!  One Pot Wonders are deliciously easy meals that
require minimal clean up.  They often work well for outdoor cooking over an open fire with a skillet. (A flame is ok, no need to wait for coals.) And a lot of them can go in a freezer bag for make ahead prep, and dump and go cooking.

This is my preferred cooking method when I’m in a hurry, low on groceries, or tired of washing dishes. (And by preferred method, I mean using one pot on our indoor stove, not an open flame.) It’s perfect when the fridge is mostly bare, because you can combine bits of leftover things and turn it into one BIG dish.  If that sentence just grossed you out, try to hang on a little longer.  There are a few “rules” to make sure you get something delicious at the end.  Here’s what you need:

1.  Flavor theme:  Southwest, Italian, Oriental, BBQ….. For best results, stick to one flavor profile.

2. Protein:  Ground beef, Shredded chicken, Ground Turkey, Smoked Sausage, Breakfast Sausage; Italian Sausage; Eggs; Shrimp; Salmon…

3. Vegetables: Southwest: bell peppers; onions; corn; tomatoes. Italian: everything. Oriental: Everything, but especially baby corn; sugar snap peas; bamboo shoots; water chestnuts. BBQ: corn, carrots, onions, mushrooms; sweet potatoes; potatoes.

4. Starch: Pasta; Corn; Potatoes; Sweet Potatoes; Beans; Rice.

5.  Sauce or herbs; Cheese

I’ll be featuring recipes of tried and true one pot wonders the rest of this week.  I’m sure you can think of some you’ve had before:  Frittata; stir fry; fried rice; skillet lasagna; (hamburger helper….)

What’s your favorite one pot wonder?  Leave a comment and help us with ideas.


Freezer Bag Cooking: Lunch and Dinner

Freezer Bag Recipes lunch and dinner

Yesterday I shared with you some really simple Freezer Bag Breakfast Recipes perfect for camping or just to make ahead for busy moments.  Today I’m going to give you my best Freezer Bag Lunch and Dinner recipes.  When meals are packed frozen in a cooler, you need less ice and they gradually thaw to be ready when needed. (My FAVORITE part of this series is how often I can use the word smoosh <3.)

 Dutch Oven

Dutch Oven Pizza

Crust: 1 2/3 cup water; 1 Tbs yeast; 1 Tbs olive oil; 2 Tbs Honey; 1 tsp salt; 4 cups flour.  Mix together, kneading right in the bag, then press out the air and freeze.

Sauce: 6 oz tomato paste; 1/4 cup water; 1 tsp sugar; 1 tsp garlic powder; 1 tsp onion powder; 2 tsp parsley flakes; 1 tsp basil; 1/4 tsp oregano; a few dashes of oregano.  Mix in a smaller baggie and freeze.  Snip the corner to easily spread onto the pizza crust.

Additional ingredients:  Shredded mozzarella cheese; browned ground beef, pepperoni;

This is enough for 2 pizzas. Spread the thawed crust in the bottom and up the sides a bit of your well seasoned dutch oven.  Top with sauce, cheese and desired toppings.  Top with a lid. Bake for 20-3o minutes with 7 briquettes under the oven and 21 on the lid.
Sloppy Joe

Sloppy Joes

2 lb Ground meat (I use a combination of turkey and beef.)

1 cup diced onion

1 cup diced bell pepper

2 cans, 8 oz tomato sauce

2 tsp chili powder

1 tsp garlic salt

2 tsp Worcestershire sauce

Brown the ground beef, peppers and onions together, drain.  Place the tomato sauce, chili powder, garlic salt and worcestershire in a freezer baggie.  Smoosh it around.  Add remaining ingredients and smoosh to mix evenly. Seal well and lay flat to freeze.  To prepare, squeeze thawed contents into a dutch oven or saucepan and heat through. Serve on buns or stuffed into pitas with slices of cheese.


goulashGoulash

l lb macaroni noodles (dry)

8 cups tomato juice

4 tsp sugar, xylitol or similar

1 tsp salt

1/4 tsp pepper

2 tsp garlic powder

1 lb ground beef, browned and drained

1 cup chopped onion

1 cup chopped bell pepper

8 American cheeses slices

Brown ground beef with onion and bell pepper, drain.  Combine all but the cheese slices in a baggie (pasta should still be dry.)  Seal, and smoosh flat to freeze.   To prepare, pour contents of the bag into a casserole dish or dutch oven.  Top with cheese slices.  Bake at 350 for 45 minutes (For a Dutch oven: 7 hot coals on the bottom 21 coals on the lid) or until heated through and pasta is soft.

simple-spaghetti-008-400x266

Spaghetti

8 oz broken spaghetti noodles

4 cups tomato sauce

3 cups water

1 tsp basil flakes

2 tsp parsley flakes

1 tsp salt

dash of cayenne pepper (opt)

1 lb ground beef

1 cup onion

Brown and drain ground beef with onion.  Add all ingredients to a freezer bag (use the noodles dry.)  Smoosh flat and freeze.  To prepare, pour thawed contents of the bag into a pot, bring to a boil and simmer for 15 minutes or until pasta is tender and dish is thickened.

Fajitas

2 lb boneless, skinless chicken breast, sliced into strips.

1 green bell pepper

1 red bell pepper

1 yellow bell pepper

1 red onion

1 white onion

1/4 cup olive oil

1/4 cup lime juice

1 1/2 Tbs Seasoned Salt (like Lowry’s)

1 1/2 Tbs oregano flakes

1 1/2 Tbs ground cumin

1 Tbs garlic powder

1 Tbs chili powder

1 Tbs paprika

1 tsp salt

In a large baggie combine the oil, lime juice and herbs and spices.  Smoosh all around.  Add the chicken and sliced vegetables.  Press flat and freeze.  To prepare, thaw the bag. Use tongs to lift the meat and vegetables out of the bag into a hot skillet, discard remaining marinate. Stir fry until meat is cooked through and vegetables are tender.  Serve with tortillas and salsa.  (Other toppings as desired: lettuce, cheese, chopped tomatoes, sour cream, guacamole….)

Fiesta Chicken Bowls

2 lb boneless, skinless chicken breasts, cut into bite sized pieces
1/4 cup lime juice
1 bunch cilantro, chopped
1 lb corn kernels
1 tsp garlic powder
1 chopped red onion
1 can, 15 oz  black beans, drained and rinsed
1 tsp cumin
1 tsp salt
1/4 tsp pepper
Combine everything into a freezer bag and smoosh flat to freeze. To prepare, thaw bag.  Pour entire contents into a hot skillet and sauté until meat is cooked through.  Layer bowls with crushed tortilla chips and chopped lettuce.  Top with chicken mixture and serve with salsa, cheese, and ranch dressing.

Teriyaki chicken over Rice

2 lb boneless skinless chicken breast, cut into bite sized pieces

1 lb sugar snap peas

1/2 cup soy sauce

1/2 cup pineapple juice (I drain it from canned pineapple)

1 tsp fresh grated ginger

1 tsp garlic powder

Combine all ingredients into a freezer bag and smoosh to freeze.  Freeze 4-6 cups cooked brown rice in a separate bag.  To prepare, pour contents of the bag into a skillet and saute until chicken is cooked through. Heat rice, by simmering the bag in hot water for 2-3 minutes.  Serve Teriyaki chicken over rice.

Taco Soup

2 lb ground beef or turkey

1 cup chopped onion

1 lb corn kernels

2 cans, 15 oz each black beans, rinsed and drained

1 can rotel tomatoes, undrained

4 Tbs taco seasoning

Brown ground beef with onion, drain.  Combine everything in a freezer bag.  Smoosh flat to freeze.  To serve, pour contents of the bag into a stock pot or dutch oven. Add 1 cup of water. Heat through.  Serve with Frito style corn chips and cheese or sour cream.
Bean and Cheese Enchiladas

Frugal food doesn’t have to be time consuming.  Here’s a fast dish I threw together with all convenience items while our bread was baking last night.  Tuesday’s activities include violin lessons for the big boy, piano lessons for the littles, and then scouts for the 2 biggest boys.  There’s a tiny gap for eating in there, but not much time for cooking.

Our kids are growing quickly and with 2 teenagers in our family of 8, we’ve outgrown a 9×13  casserole dish.  This 10×15 dish holds as much food as a 7×11 plus a 9×13, which is perfect for us with a few leftovers for lunches the next day.  I haven’t been able to find a lid for it yet though.  If you know a source, put it in the comments below.

Bean and Cheese enchiladas

Bean and Cheese Enchiladas

Ingredients

  • 20 6" tortillas
  • 1 can, 15 oz, refried beans
  • 1 can, 15 oz, black beans, rinsed and drained
  • 8 oz of shredded cheddar blend cheese
  • 1 can, 28 oz of red enchilada sauce

Instructions

  1. Preheat oven to 400 degrees. Grease a 10x15 baking dish.
  2. Place a small amount of enchilada sauce in the bottom of the pan and spread to coat.
  3. Stir together the refried beans and drained black beans. Divide among tortillas. Add a sprinkling of cheese. Roll up and place seam side down in the baking dish.
  4. Top with enchilada sauce pressing down all the edges.
  5. Cover with foil and bake for 20 minutes.
  6. Sprinkle with cheese and bake for 5 minutes more or until the cheese is melted.
  7. Serve with salad, corn, or rice.
http://www.groceryshrink.com/bean-and-cheese-enchiladas/

Cost estimate:

Tortillas:  $1.50 (Aldi)

Refried Beans: $.69 (Aldi)

Black Beans: $.69 (Aldi)

Cheese: $1.50 (Taken from a 5 lb bag of Costco cheese.)

Enchilada Sauce: $1.67 (Walmart)

Total: $6.05

12 servings: $.50 each 🙂


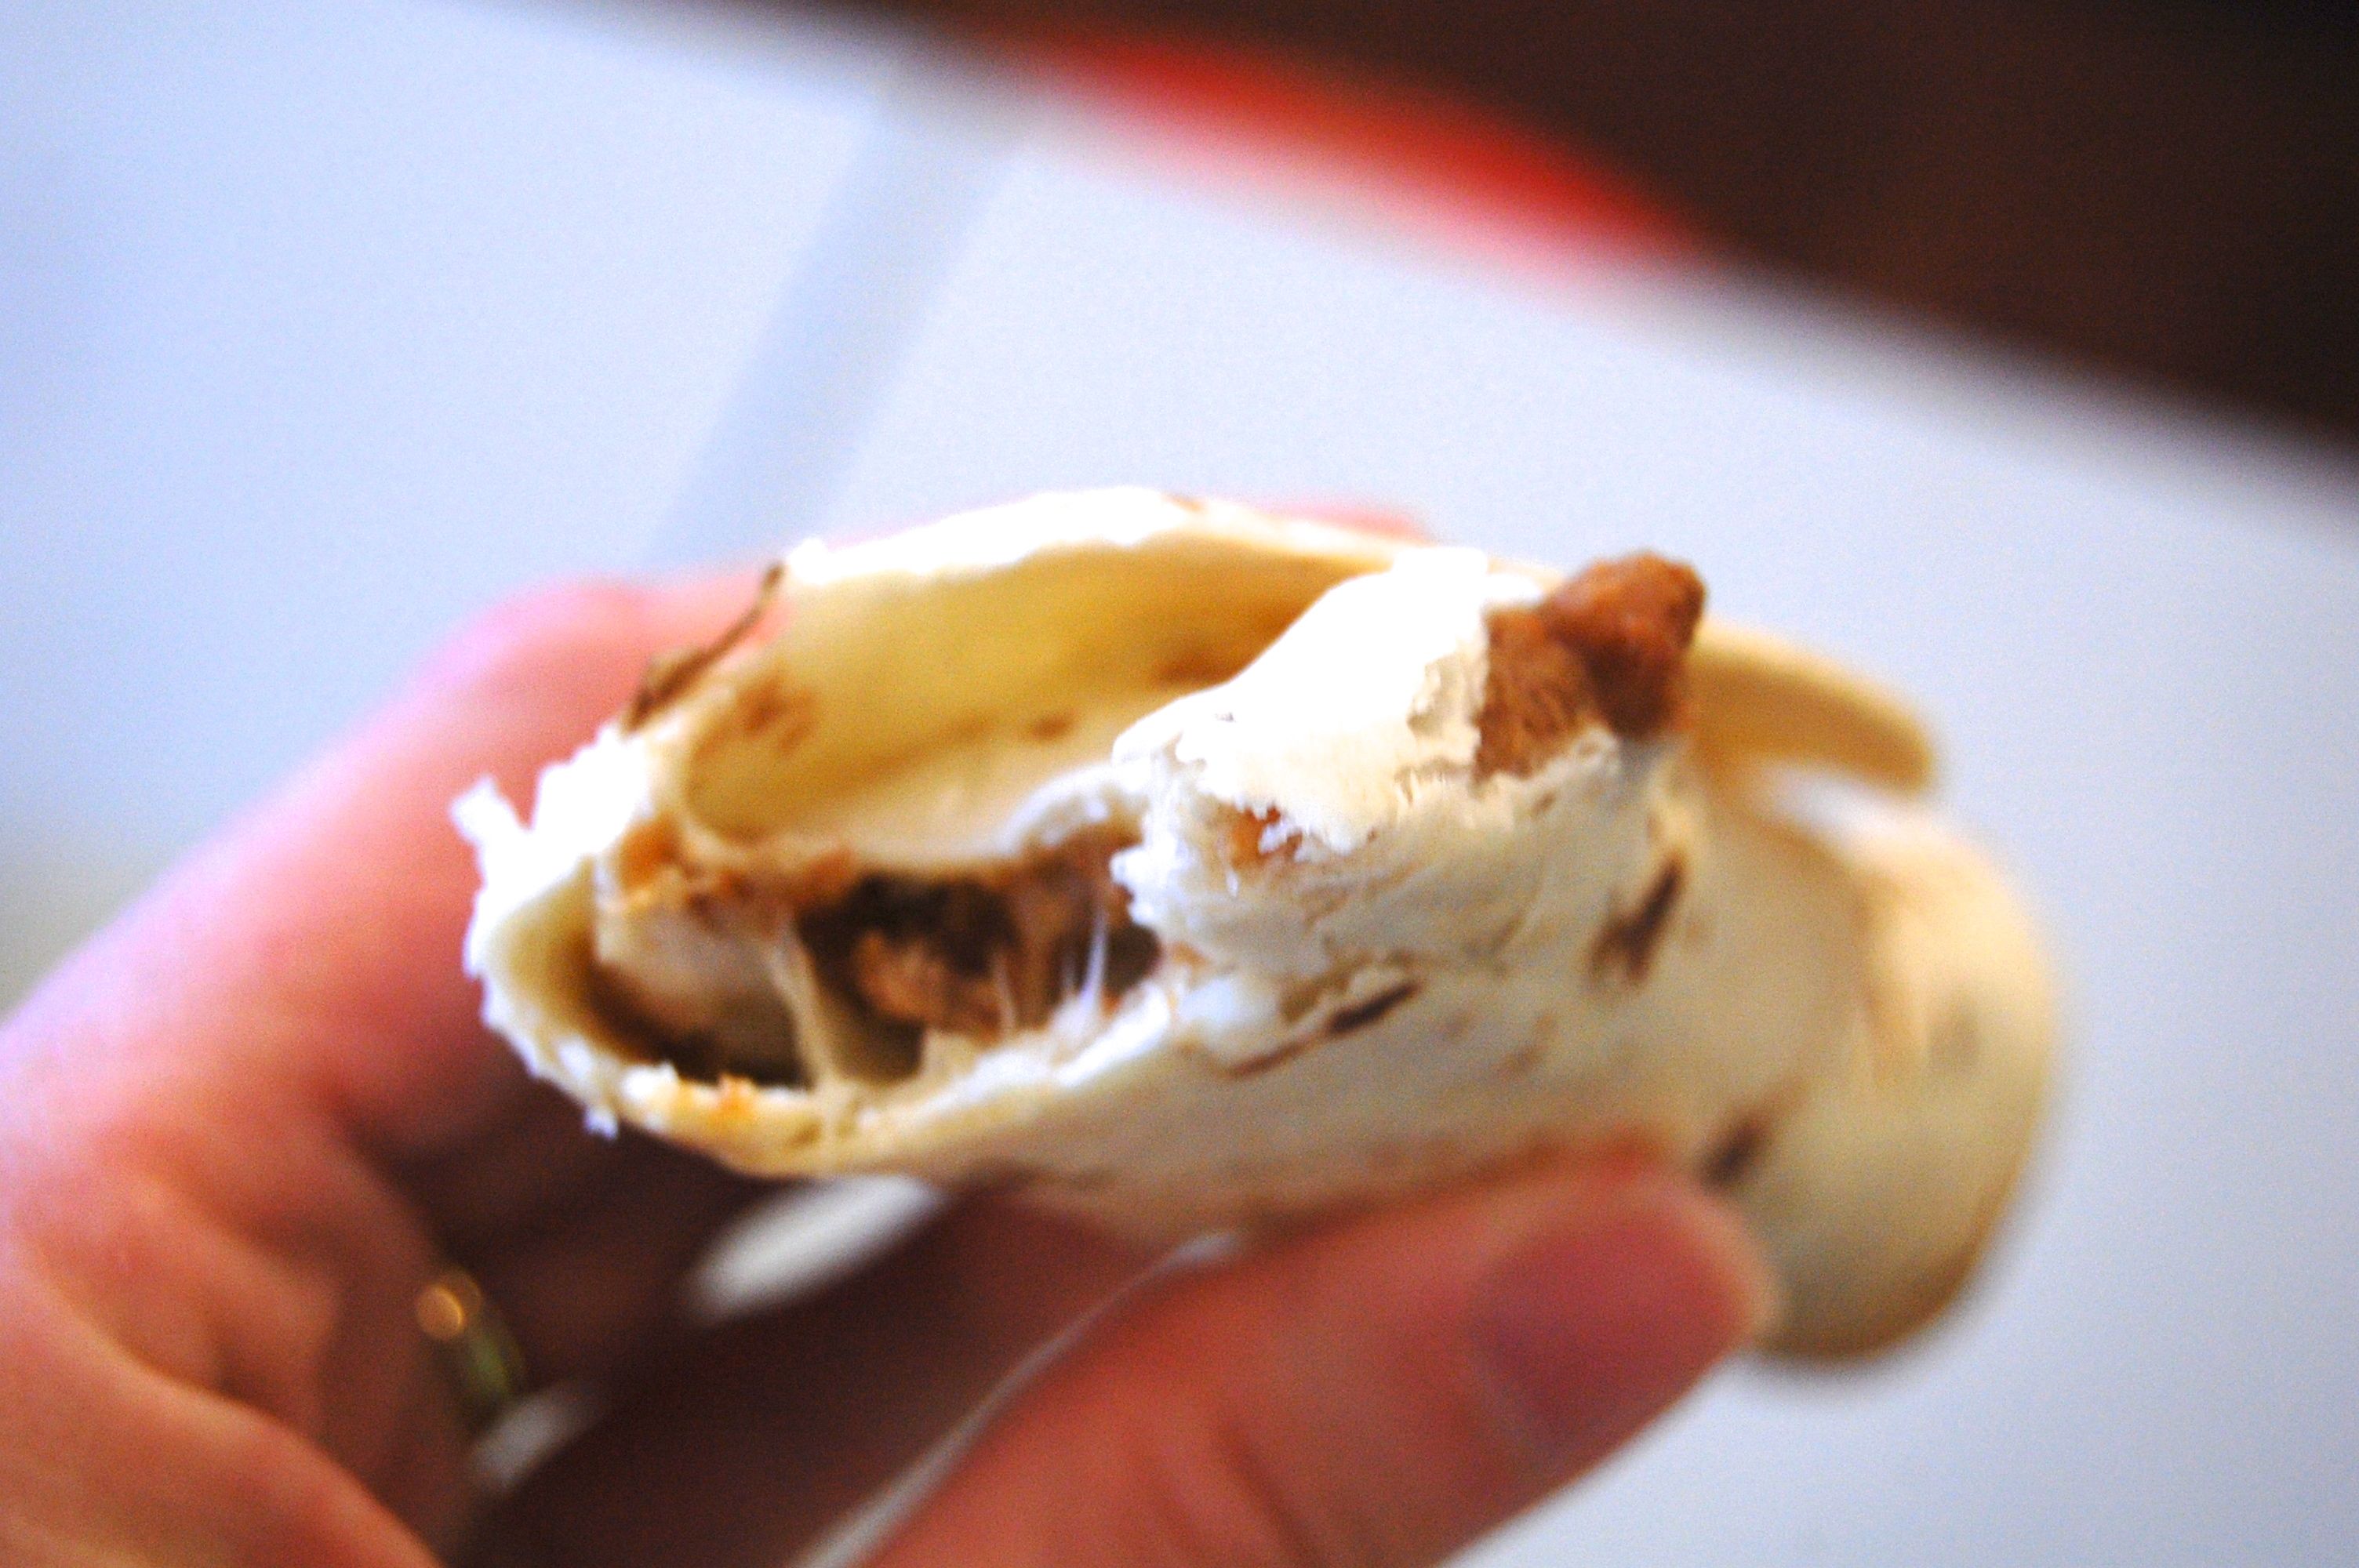
Turkey and Bean Lunch Taquitos


Every week I share 5 packable lunch recipes with my subscribers at Grocery Shrink Plus. This is just one of them, and one of our favorites!

I was trying to photograph these for the blog, and look who couldn’t wait!

Homemade Taco Seasoning Here.

Turkey and Bean Lunch Taquitos

Ingredients

  • 20 6" tortillas
  • 8 oz shredded cheese
  • 1 can (15 oz) refried beans
  • 1 pkg (20 oz) 93% lean ground turkey
  • 2 Tbs taco seasoning (I used homemade)

Instructions

  1. Preheat oven to 400 degrees.
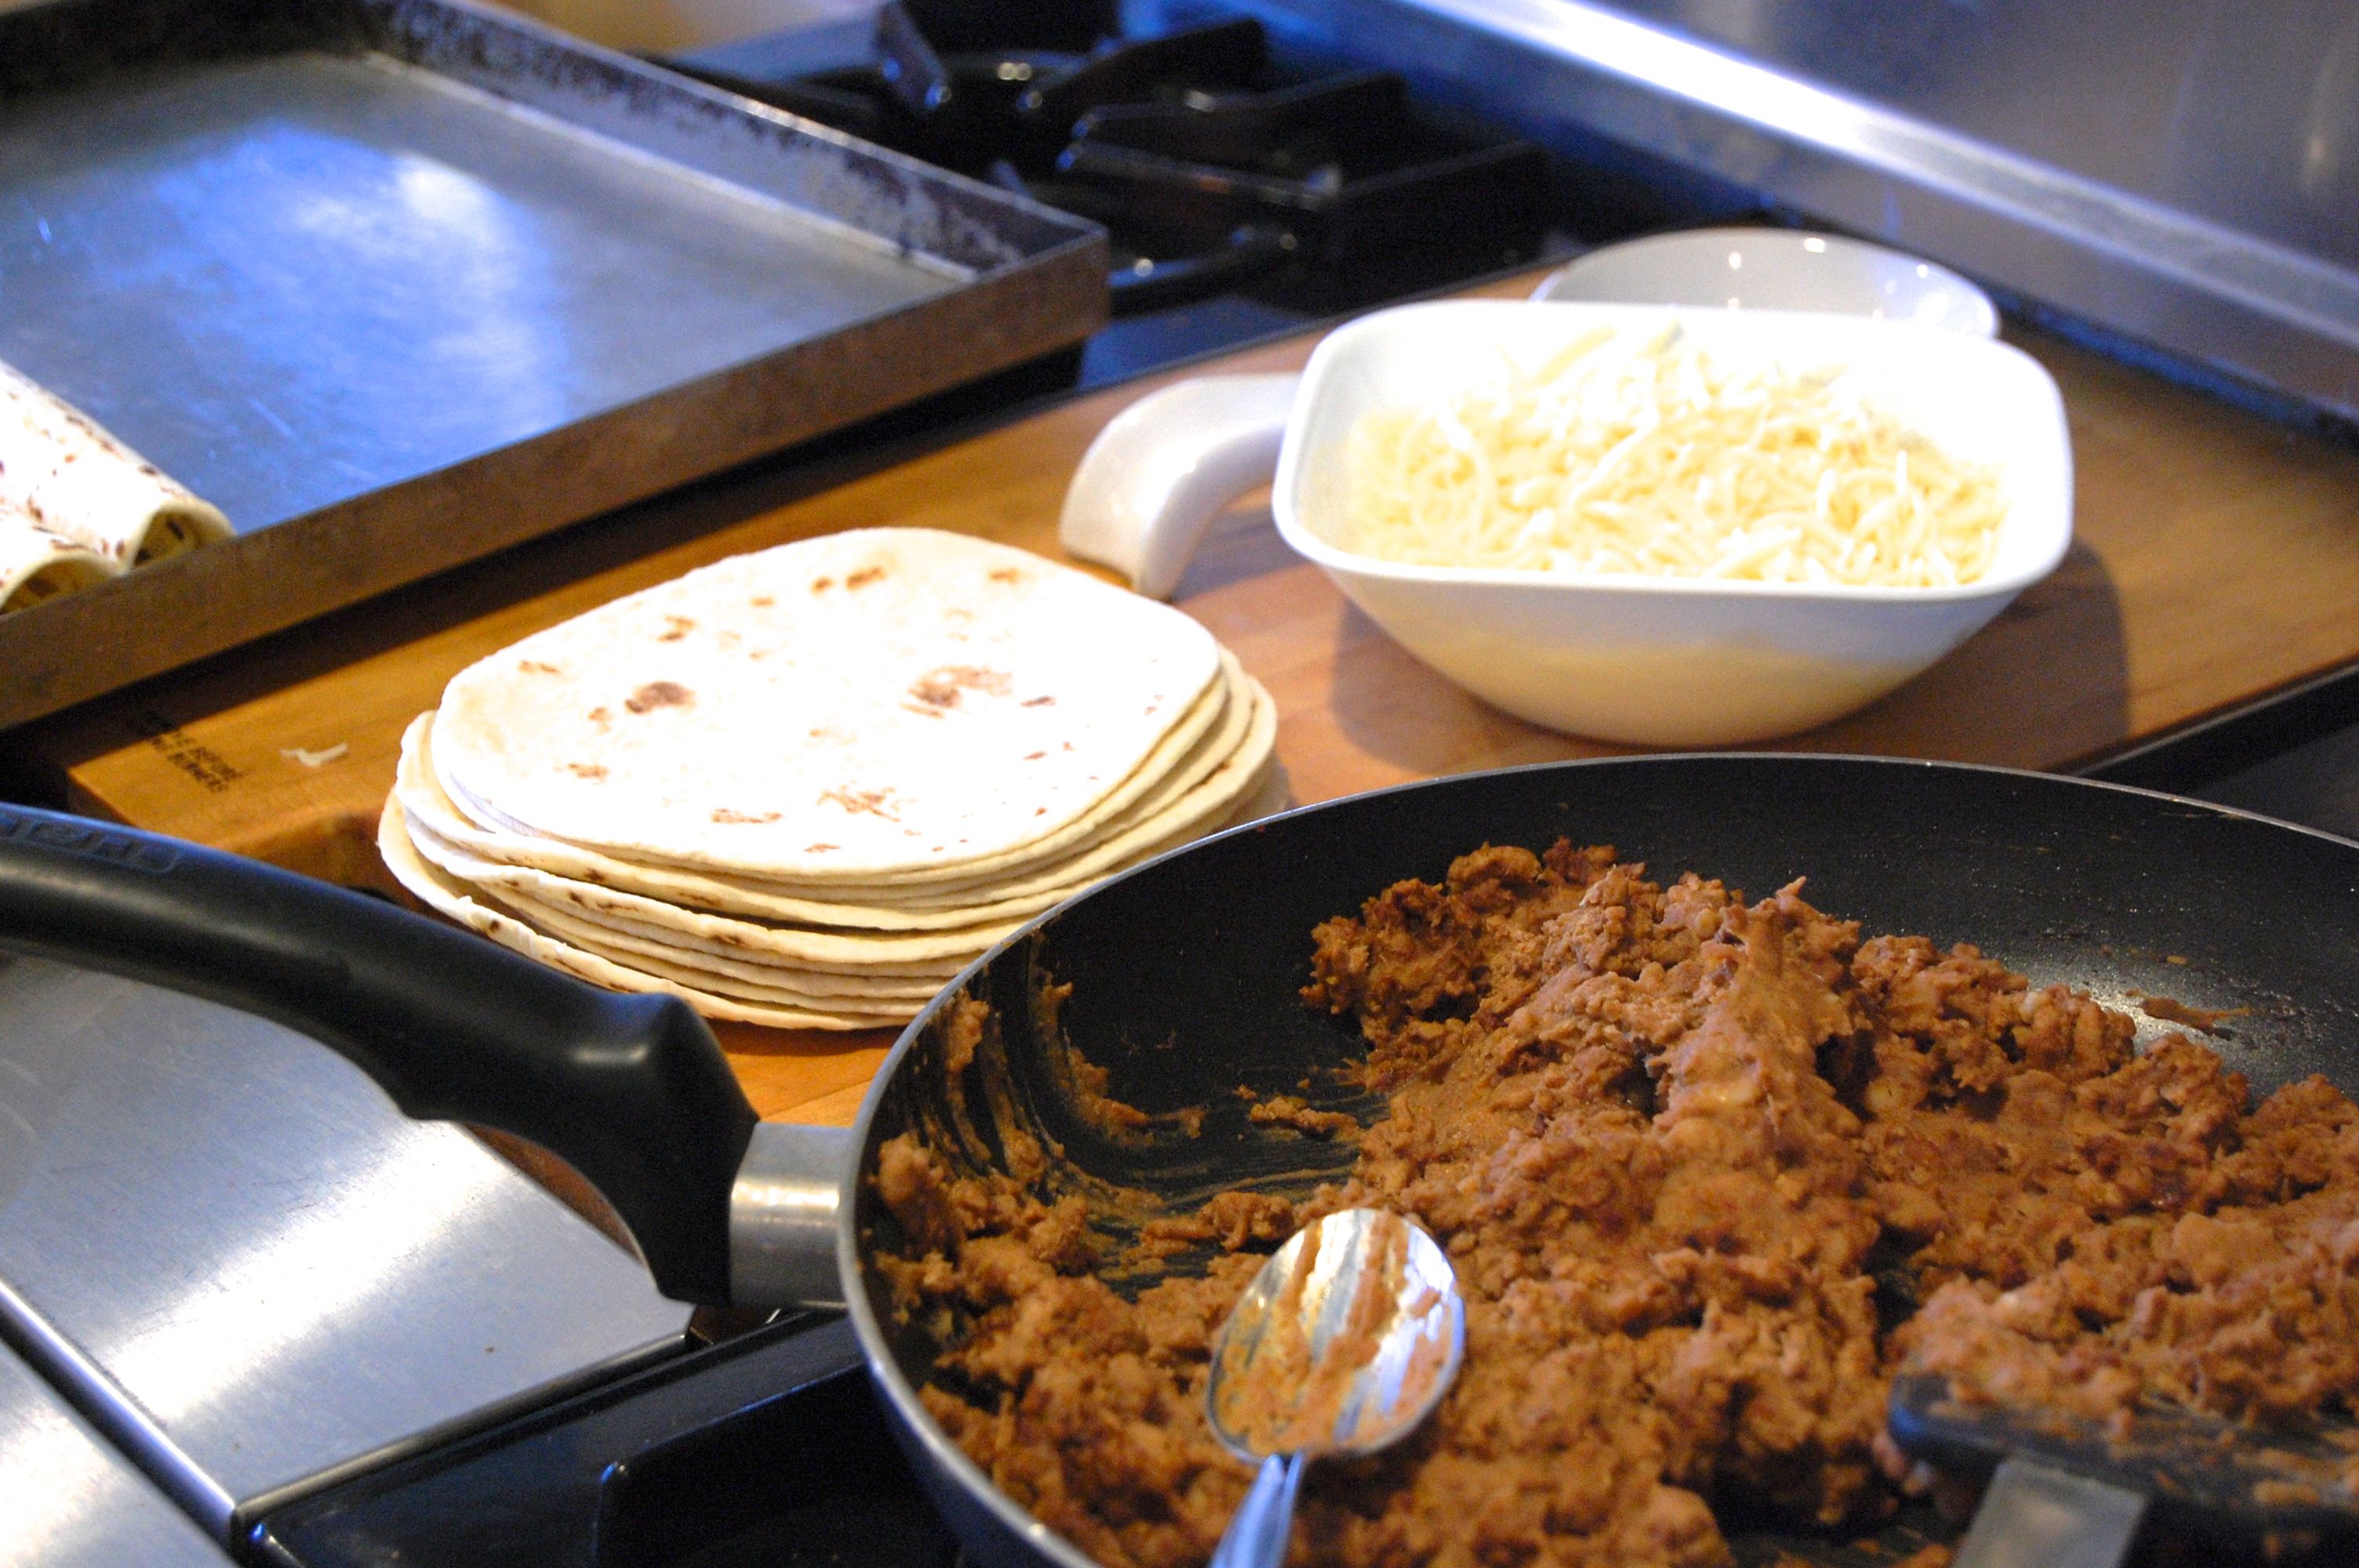
  2. Brown ground turkey with taco seasoning until cooked through. Stir in refried beans.
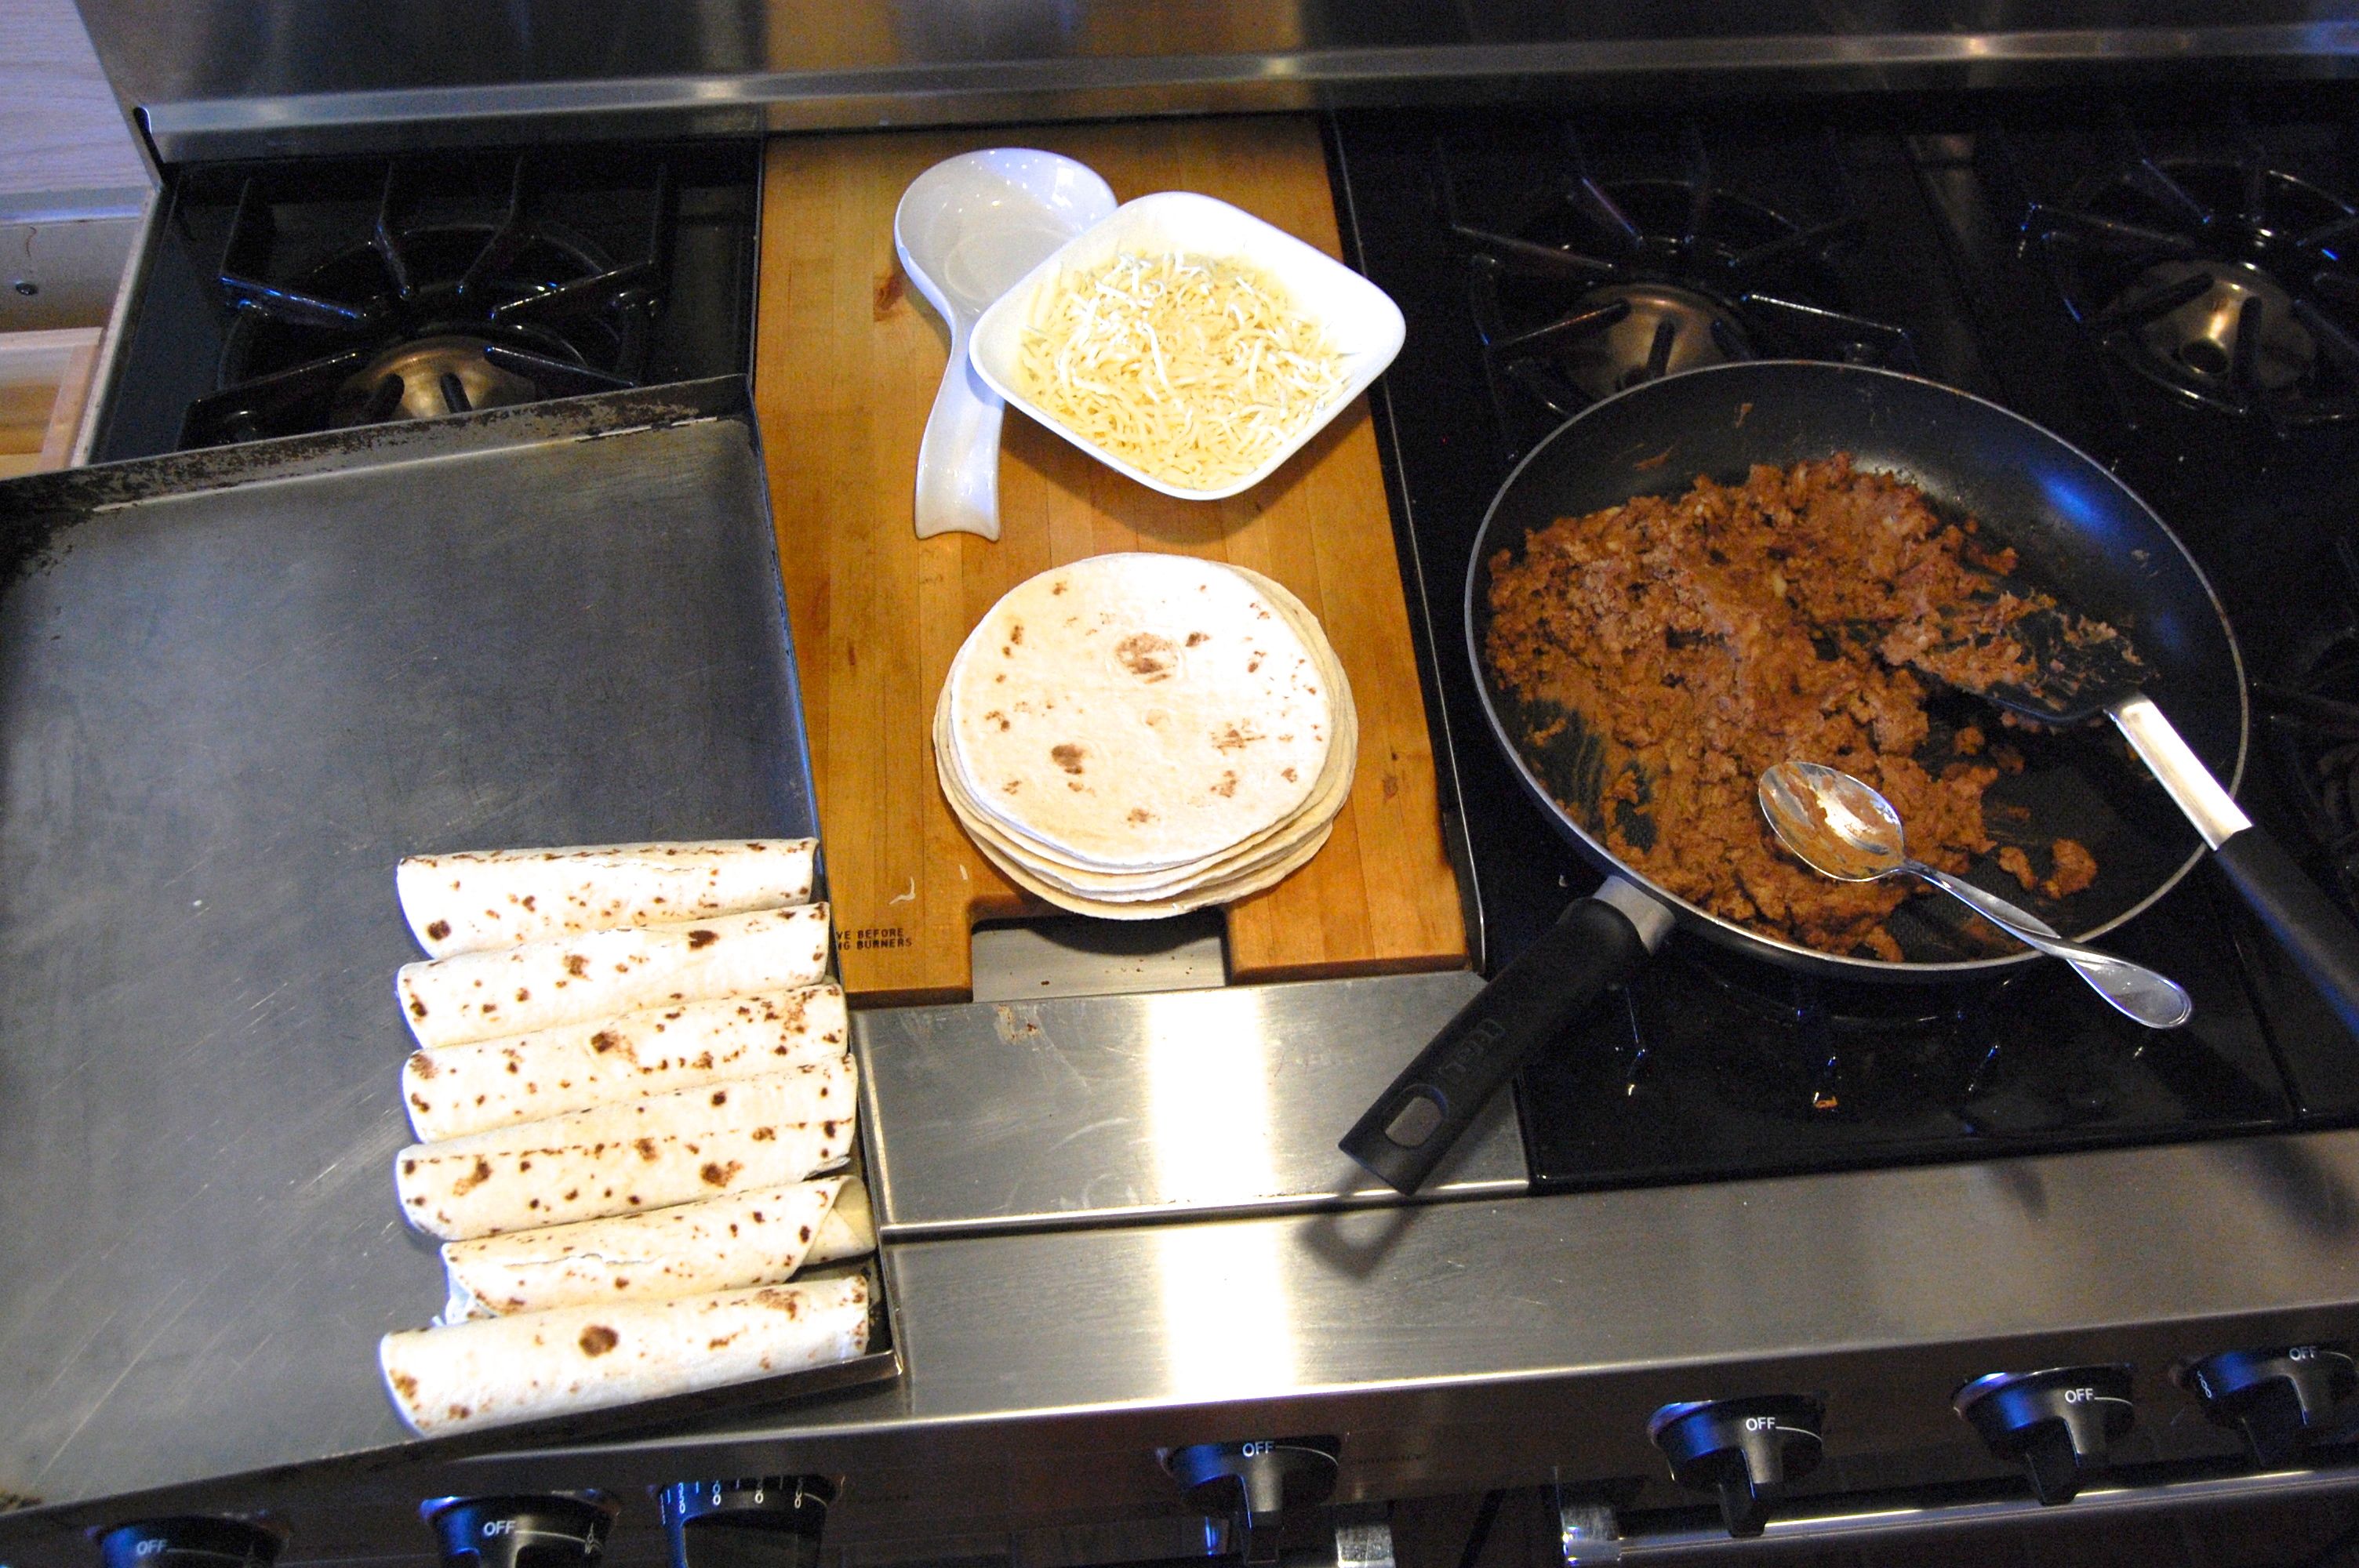
  3. Place a small amount of bean mixture on the edge of each tortilla. Top with cheese. Roll up tightly and place seam side down on a baking sheet.
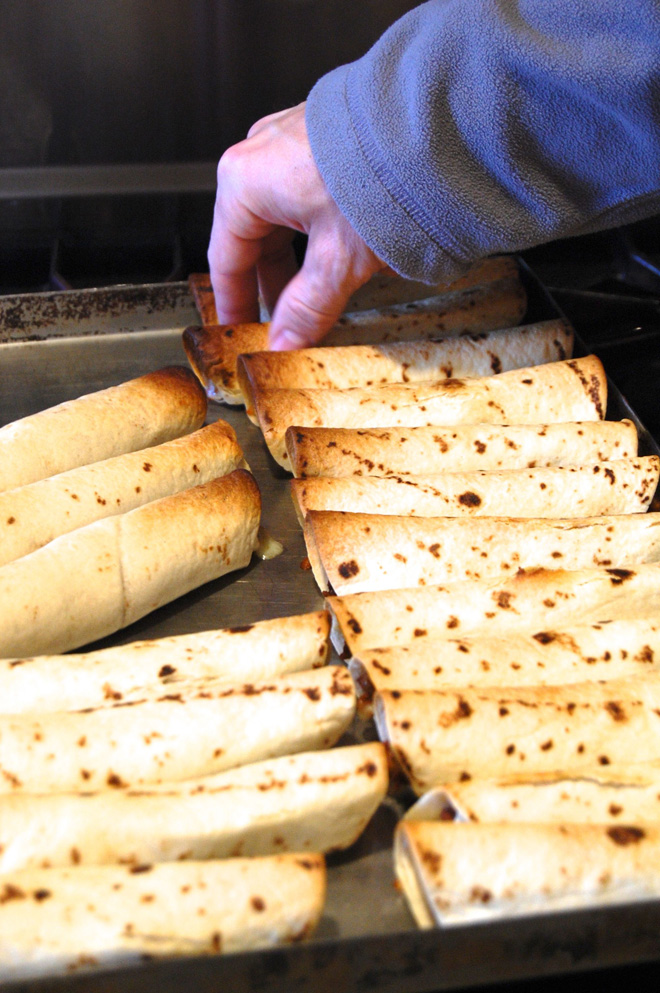
  4. Bake for 15 minutes or until golden brown and crunchy.
http://www.groceryshrink.com/turkey-and-bean-lunch-taquitos/

Homemade Pizza Rolls

We got the privilege of babysitting our cousins the other night.  We used to trade every week but with remodeling/rearranging in both households it’s been awhile. To be honest both families have oldest daughters now who are old enough to babysit their own families.  Trading babysitting really isn’t necessary, but we don’t say that out loud.  The kids LOVE getting together and I like knowing they will have good memories of growing up with their extended family.

I promised the kids I would make pizza and then promptly forgot.  Instead I boiled up two chicken carcasses in the crock pot and made homemade chicken noodle soup.  Except I didn’t watch the time and the noodles got waaaay too soft.  So not only was there no pizza, but the soup was gross.  (I’ll take their word for it–I couldn’t even bring myself to taste it.)
DSC_2356

I had Darren’s favorite junk food frozen pizza rolls in the freezer.  He said we could use them.  But I looked at the number of kids (10) and the number of rolls and knew there would never be enough.  My first thought was to run to the store and grab more, but my budget couldn’t take that.  Whatever I did was going to have to be from what I already had on hand.

My workspace this day was the top of our giant deep freezer. The freezer has it’s own little closet but it had to move out while we tiled the floor. The extra workspace in the kitchen was a blessing.  (The water bottle looks like misplaced junk right here, but it was functioning as my rolling pin.)

DSC_2358

DSC_2360

Normally I make this crust with fresh ground whole wheat flour, but I’m not sure where I packed my wheat grinder.  For now, we just used white.  (The kids tolerate my whole wheat stuff but every one of them prefers white, sigh.)

DSC_2361
DSC_2363I tried to deep fat fry these babies, but that was a disaster.  They unrolled themselves in the hot oil and all the cheese sank to the bottom and melted.  So we slapped them on the griddle instead.  (Baking them in the oven would have been a lot better way to go.  If I had an oven, I would have baked the logs and cut them into bites afterwards to keep all the goodies inside.)

DSC_2366
DSC_2367

DSC_2369

DSC_2364


They didn’t last long.  Every child called these a win (and when they were the course after soggy noodle soup–how could they lose?)

Homemade Pizza Rolls

Homemade Pizza Rolls

Ingredients

  • 1 2/3 cup warm water
  • 1 Tbs yeast
  • 2 Tbs honey
  • 1 Tbs olive oil
  • 1 tsp salt
  • 4 cups flour (unbleached or 100% whole hard white wheat)
  • 1 cup marinara sauce
  • 2 oz pepperoni, chopped
  • 2 cups shredded mozzarella cheese

Instructions

  1. In a bread machine or electric mixer, combine the first 6 ingredients, making sure the salt doesn't come in direct contact with the yeast (use a little flour as a buffer.) Let rise for 1 hour (skip it if you are in a hurry, but the dough will roll out better if you let it relax for an hour.)
  2. Divide dough into 2 balls. Roll each ball into a rectangle 1/4 inch thick. Cut into 3 strips. Stop with marinara, pepperoni and cheese (leaving a border on the edge of the dough plain so you can pinch it closed.) Roll up and pinch closed.
  3. Placed on a baking sheet and bake at 400 degrees for 15 minutes, then cut into bite sized pieces.
  4. Or cook on a 350 degree griddle for 5-7 minutes on each side until golden brown. (Be careful not to burn them.)
http://www.groceryshrink.com/homemade-pizza-rolls/


Ever Been Overwhelmed?

The feeling your eight year old self got when Mom said, “Go clean your room?” The feeling you get when you pick up the kids from school and realize it’s ballet night, soccer night, and your turn to provide snacks, and you still aren’t sure what’s for dinner?

The feeling you get when 2 foundation companies concur that 23 piers not 15 are necessary to repair your house and that the bad news you thought would cost you $20,000 is really going to cost you $30,000. You know, stuff like that.

Do you want to cook healthy, affordable food at home, that your family will love but have other things to  think about too?

Do mixes and frozen prepared foods sometimes fill in the gap on the table?  And while the family seems to love them, they come with a side serving of guilt?

I’ve got the perfect thing for you!

Focus on a small boy-dinner was in progress.

First of all, no more feeling guilty for providing food that allows your family to sit down and eat together.  It doesn’t matter what the food is, family dinner is a win!

But there’s more. Two of the menus from my popular Grocery Shrink Plus program are dedicated to helping you fill your pantry and freezer with healthy homemade mixes and pre-made meals.

Everyone needs some simplicity once in a while. You can give that gift to future you!

Introducing:  Mix Week and Freezer Week!

Each week includes recipes for homemade mixes or freezer recipes that you prepare to use right away and enough to use again in the future, saving time and giving you peace of mind.

What you’ll get:

  • • More than 27 recipes for breakfast, lunch, dinner and snacks
  • • Adjustments for gluten free, dairy free and weight loss
  • • A categorized shopping list
  • • A one page week at a glance menu
  • • A one page action plan at a glance—never forgot to turn on your slow cooker again!
  • • Recipes pre-adjusted for servings of 2, 4, 8, or 12
  • • Bonus sections with homemade recipes for commonly used items like pitas and spice mixes
  • • A taste of what GSP subscribers get EVERY week.  We’d love to have you join us!

Each weekly plan will eventually run $5 each, but for a limited time:

Buy them both and save 50% With the coupon code: 23Piers

EXPIRES NOVEMBER 11, 2013

$10

$5

Add to Cart


It’s a foundation repair fund raiser sale.  Buy now!  Our sanity thanks you 🙂

Bulk Cooking: Slow Cooked Ground Beef

As the weeks drag on without a kitchen, I’m starting to loose it a little.  Our project was delayed in an unforeseen scheduling conflict with one of our professionals and our finish date is two months in the future…..sigh.  But when it’s all said and done it will be worth it.

Part of holding it together, is making sure my family still eats while sticking to our tiny food budget, which DH lovingly raised to $500 a month (for the 8 of us) at least while our kitchen project drags on.  This allows me to buy a few more convenience items to make meal prep in our alternative kitchen space a little easier.

“If only I had a bunch of cooked up ground beef in the freezer!” I thought to myself last week.  That would make life so much better.  So I did a search on all the ways to cook large batches of ground beef–only I don’t have a stove, so it can’t use a wok, lol.

Finally I decided to try it in the slow cooker.  And it worked, beautifully–though until the very end I was sure I had wasted 6 lbs of meat.  Here’s how it played out.

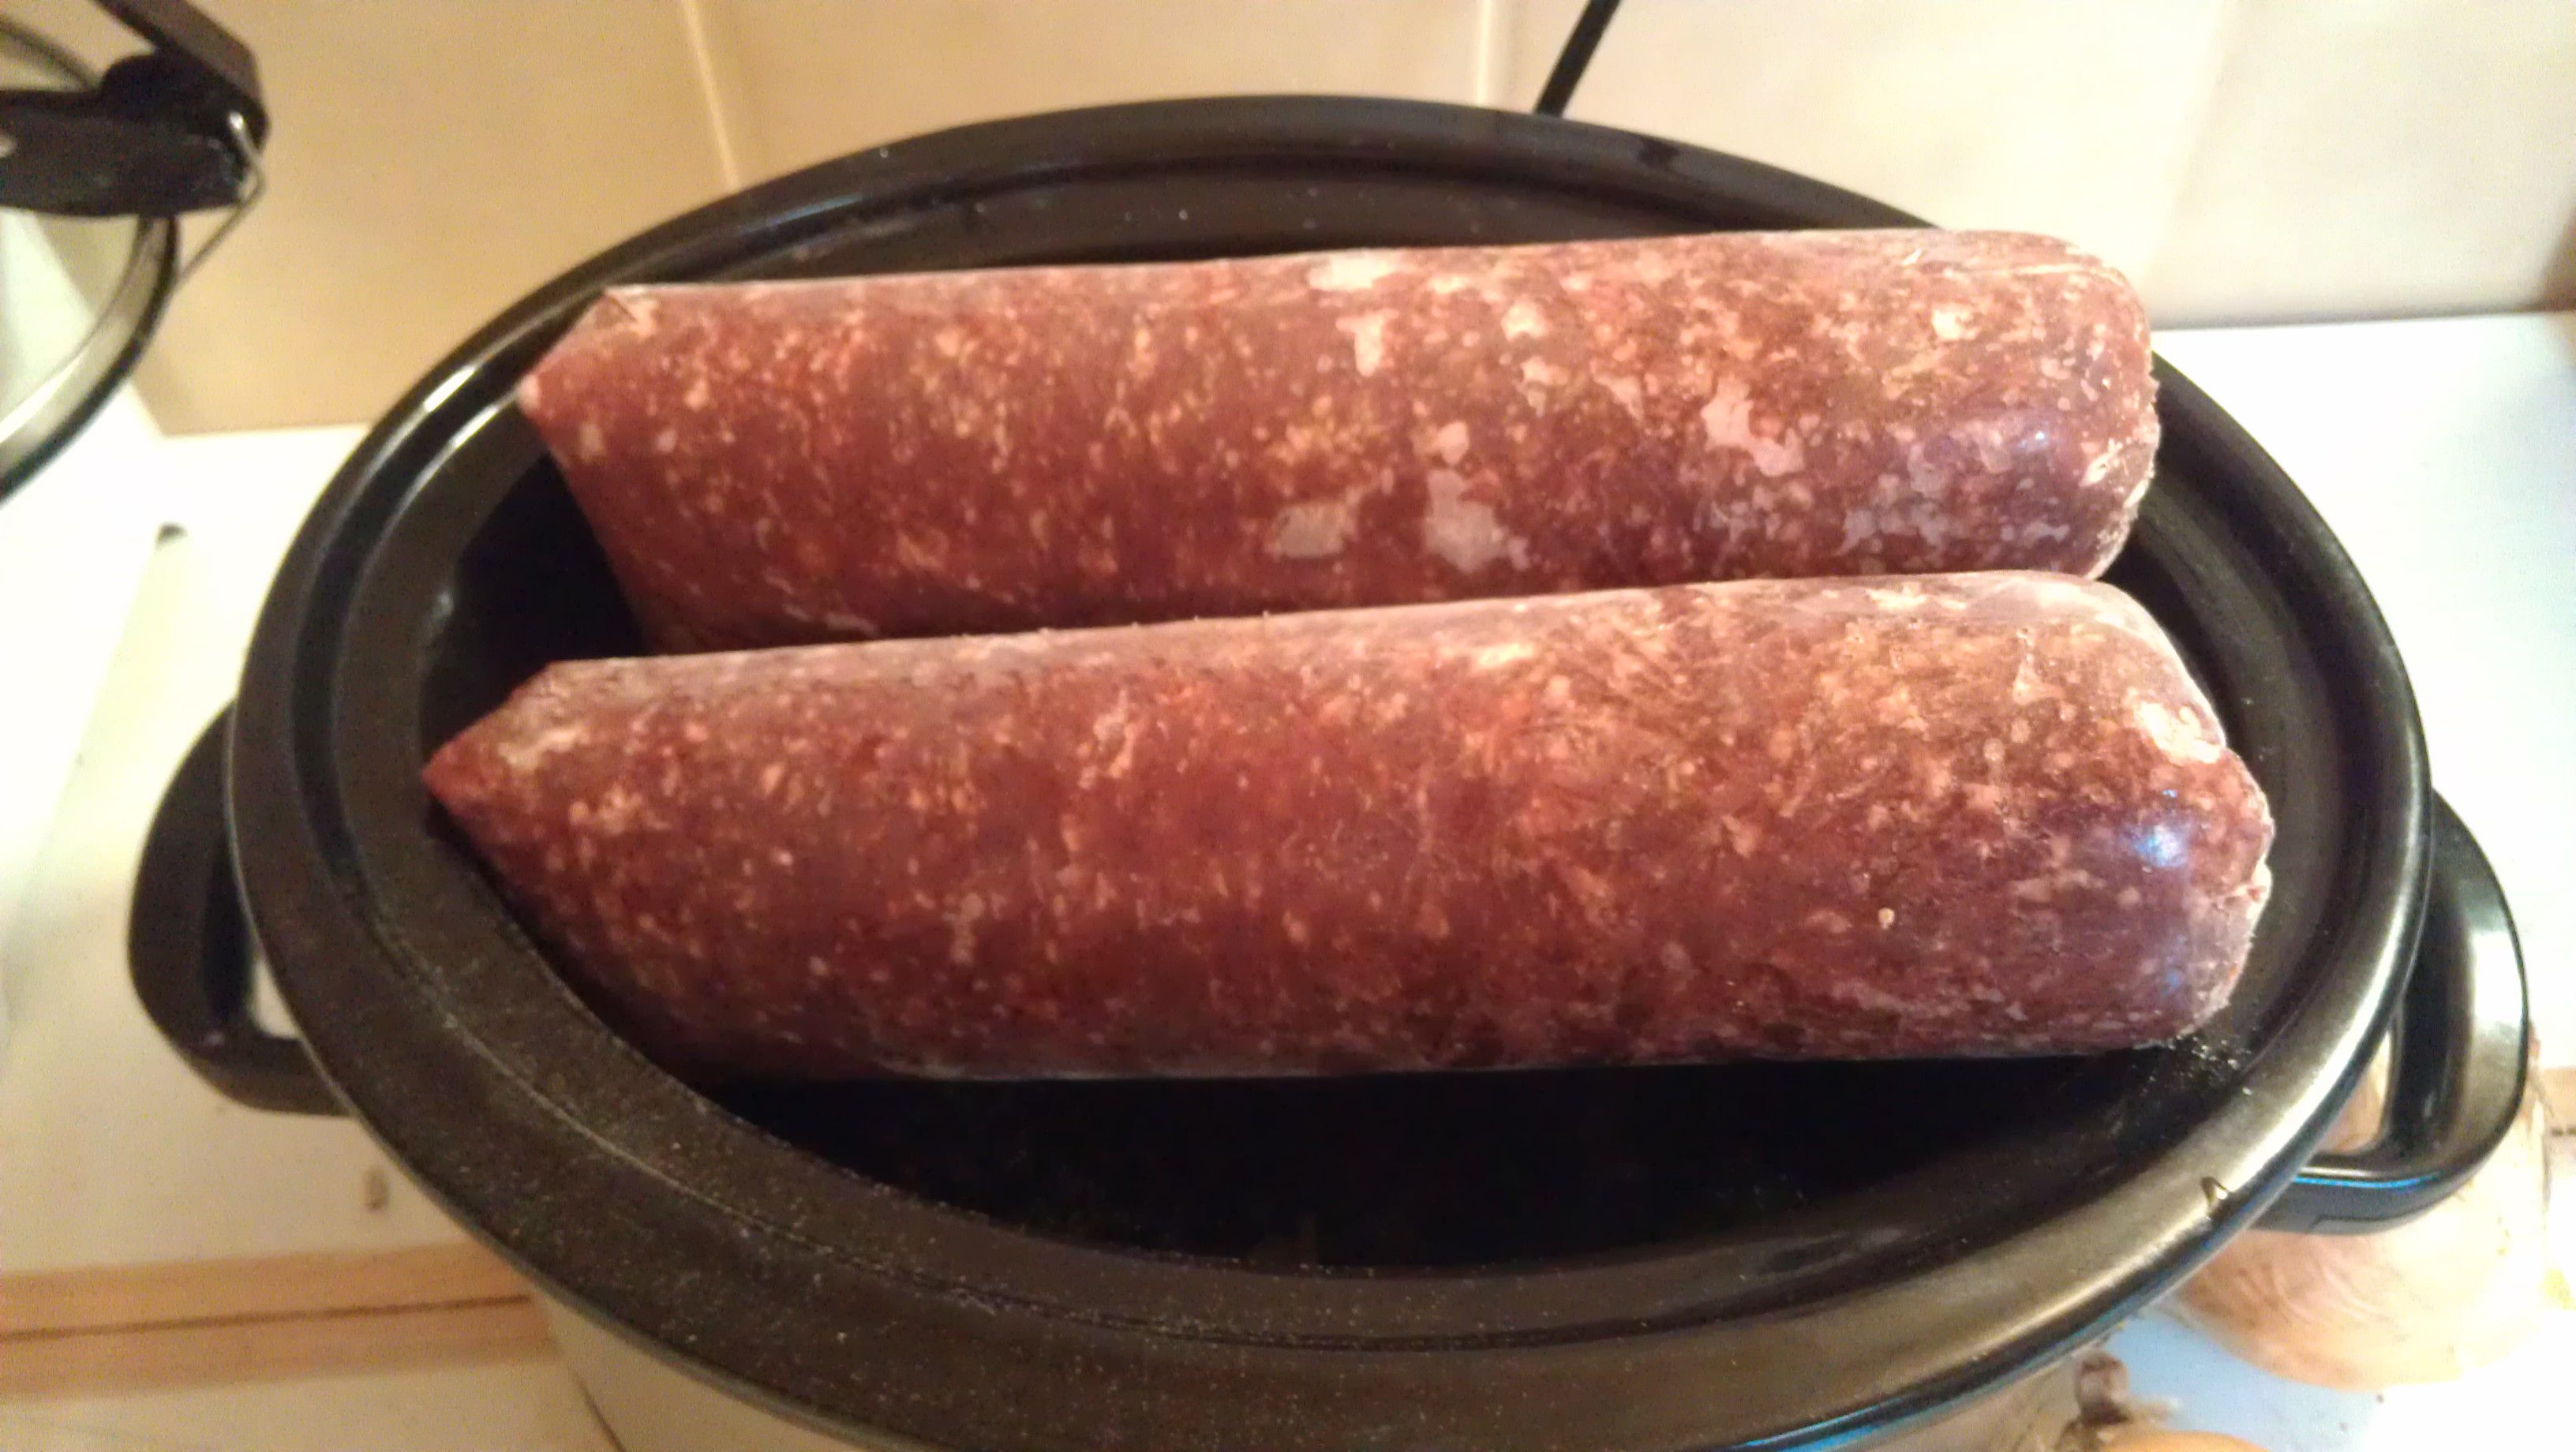
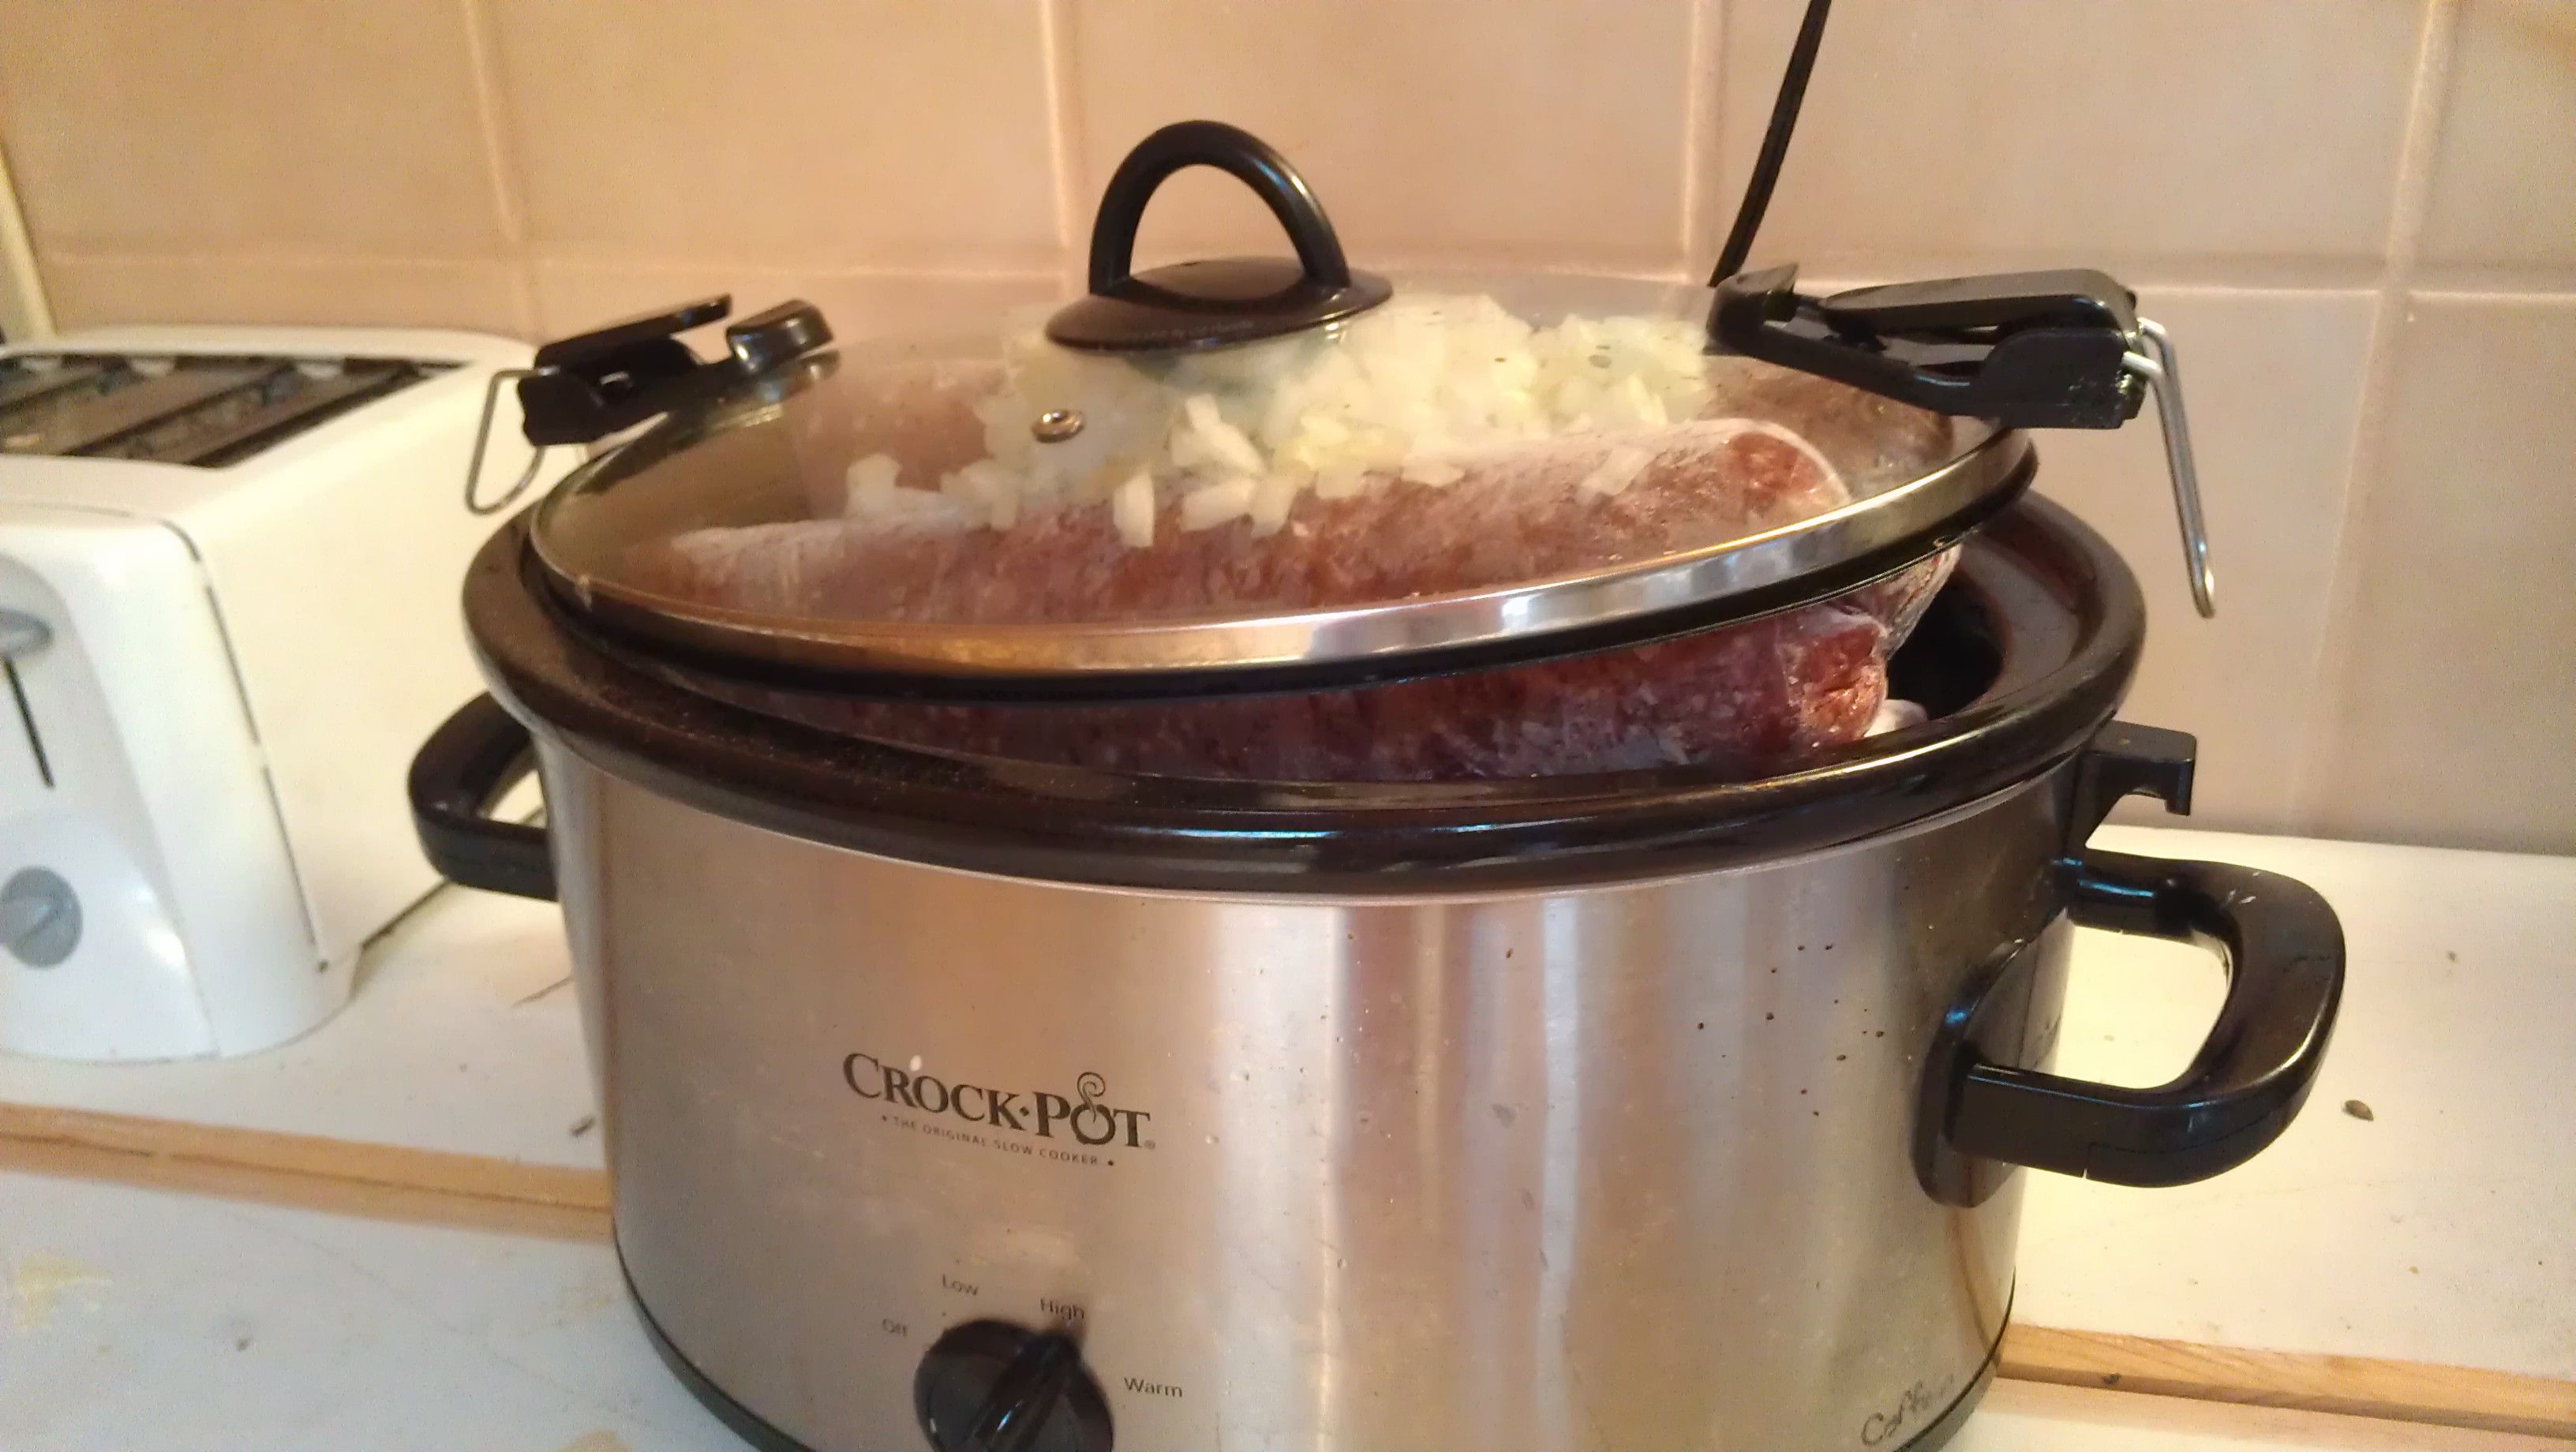
I unwrapped three 2 lb logs of frozen ground beef and stuck them into the slow cooker.  Then I added 6 cups of water, because I wanted beef broth.  To make the broth and hamburger taste good, I added 2 finely chopped onions; 1 Tbs of salt; 1 tsp of garlic salt; and 1/2 tsp black pepper.

The lid wouldn’t close.  No worries.  I covered it as well as I could and cooked in on low overnight.  After about an hour, I could push the lid down.  That made me feel better.

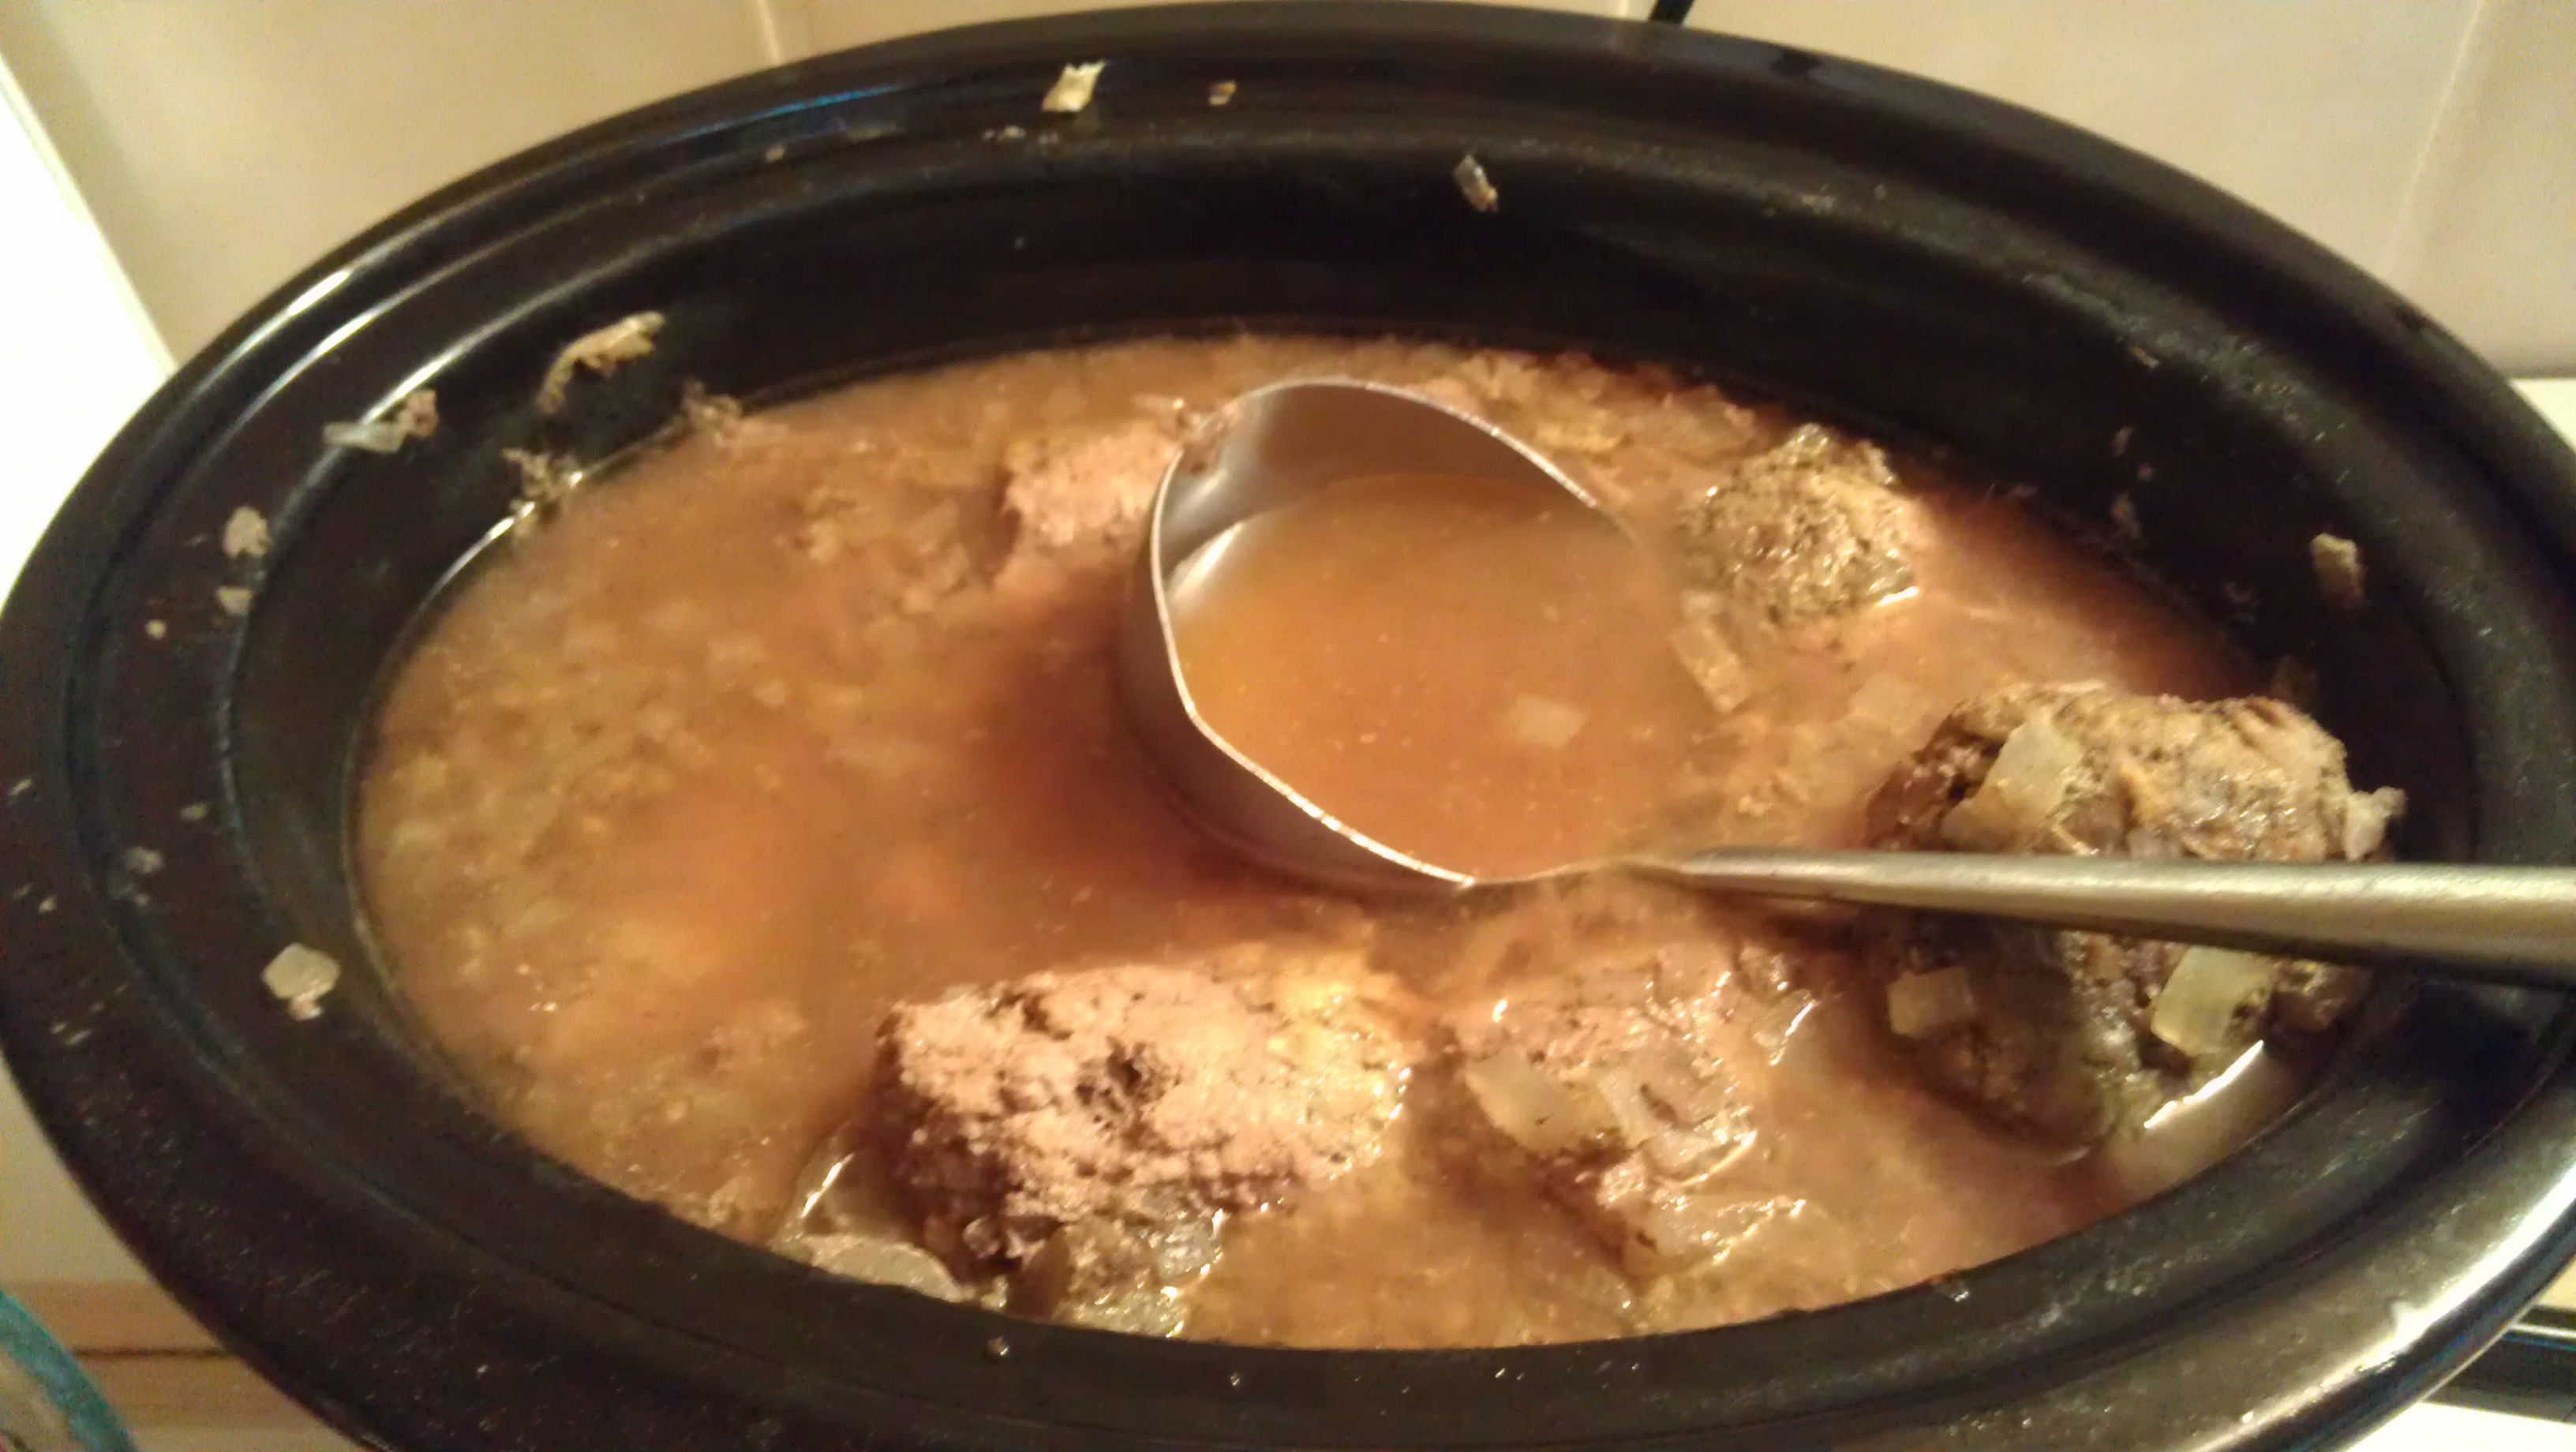
In the morning I had 3 logs of cooked hamburger–oh no!  I was hoping for it to form crumbles automatically while I slept. But the broth looked delicious.

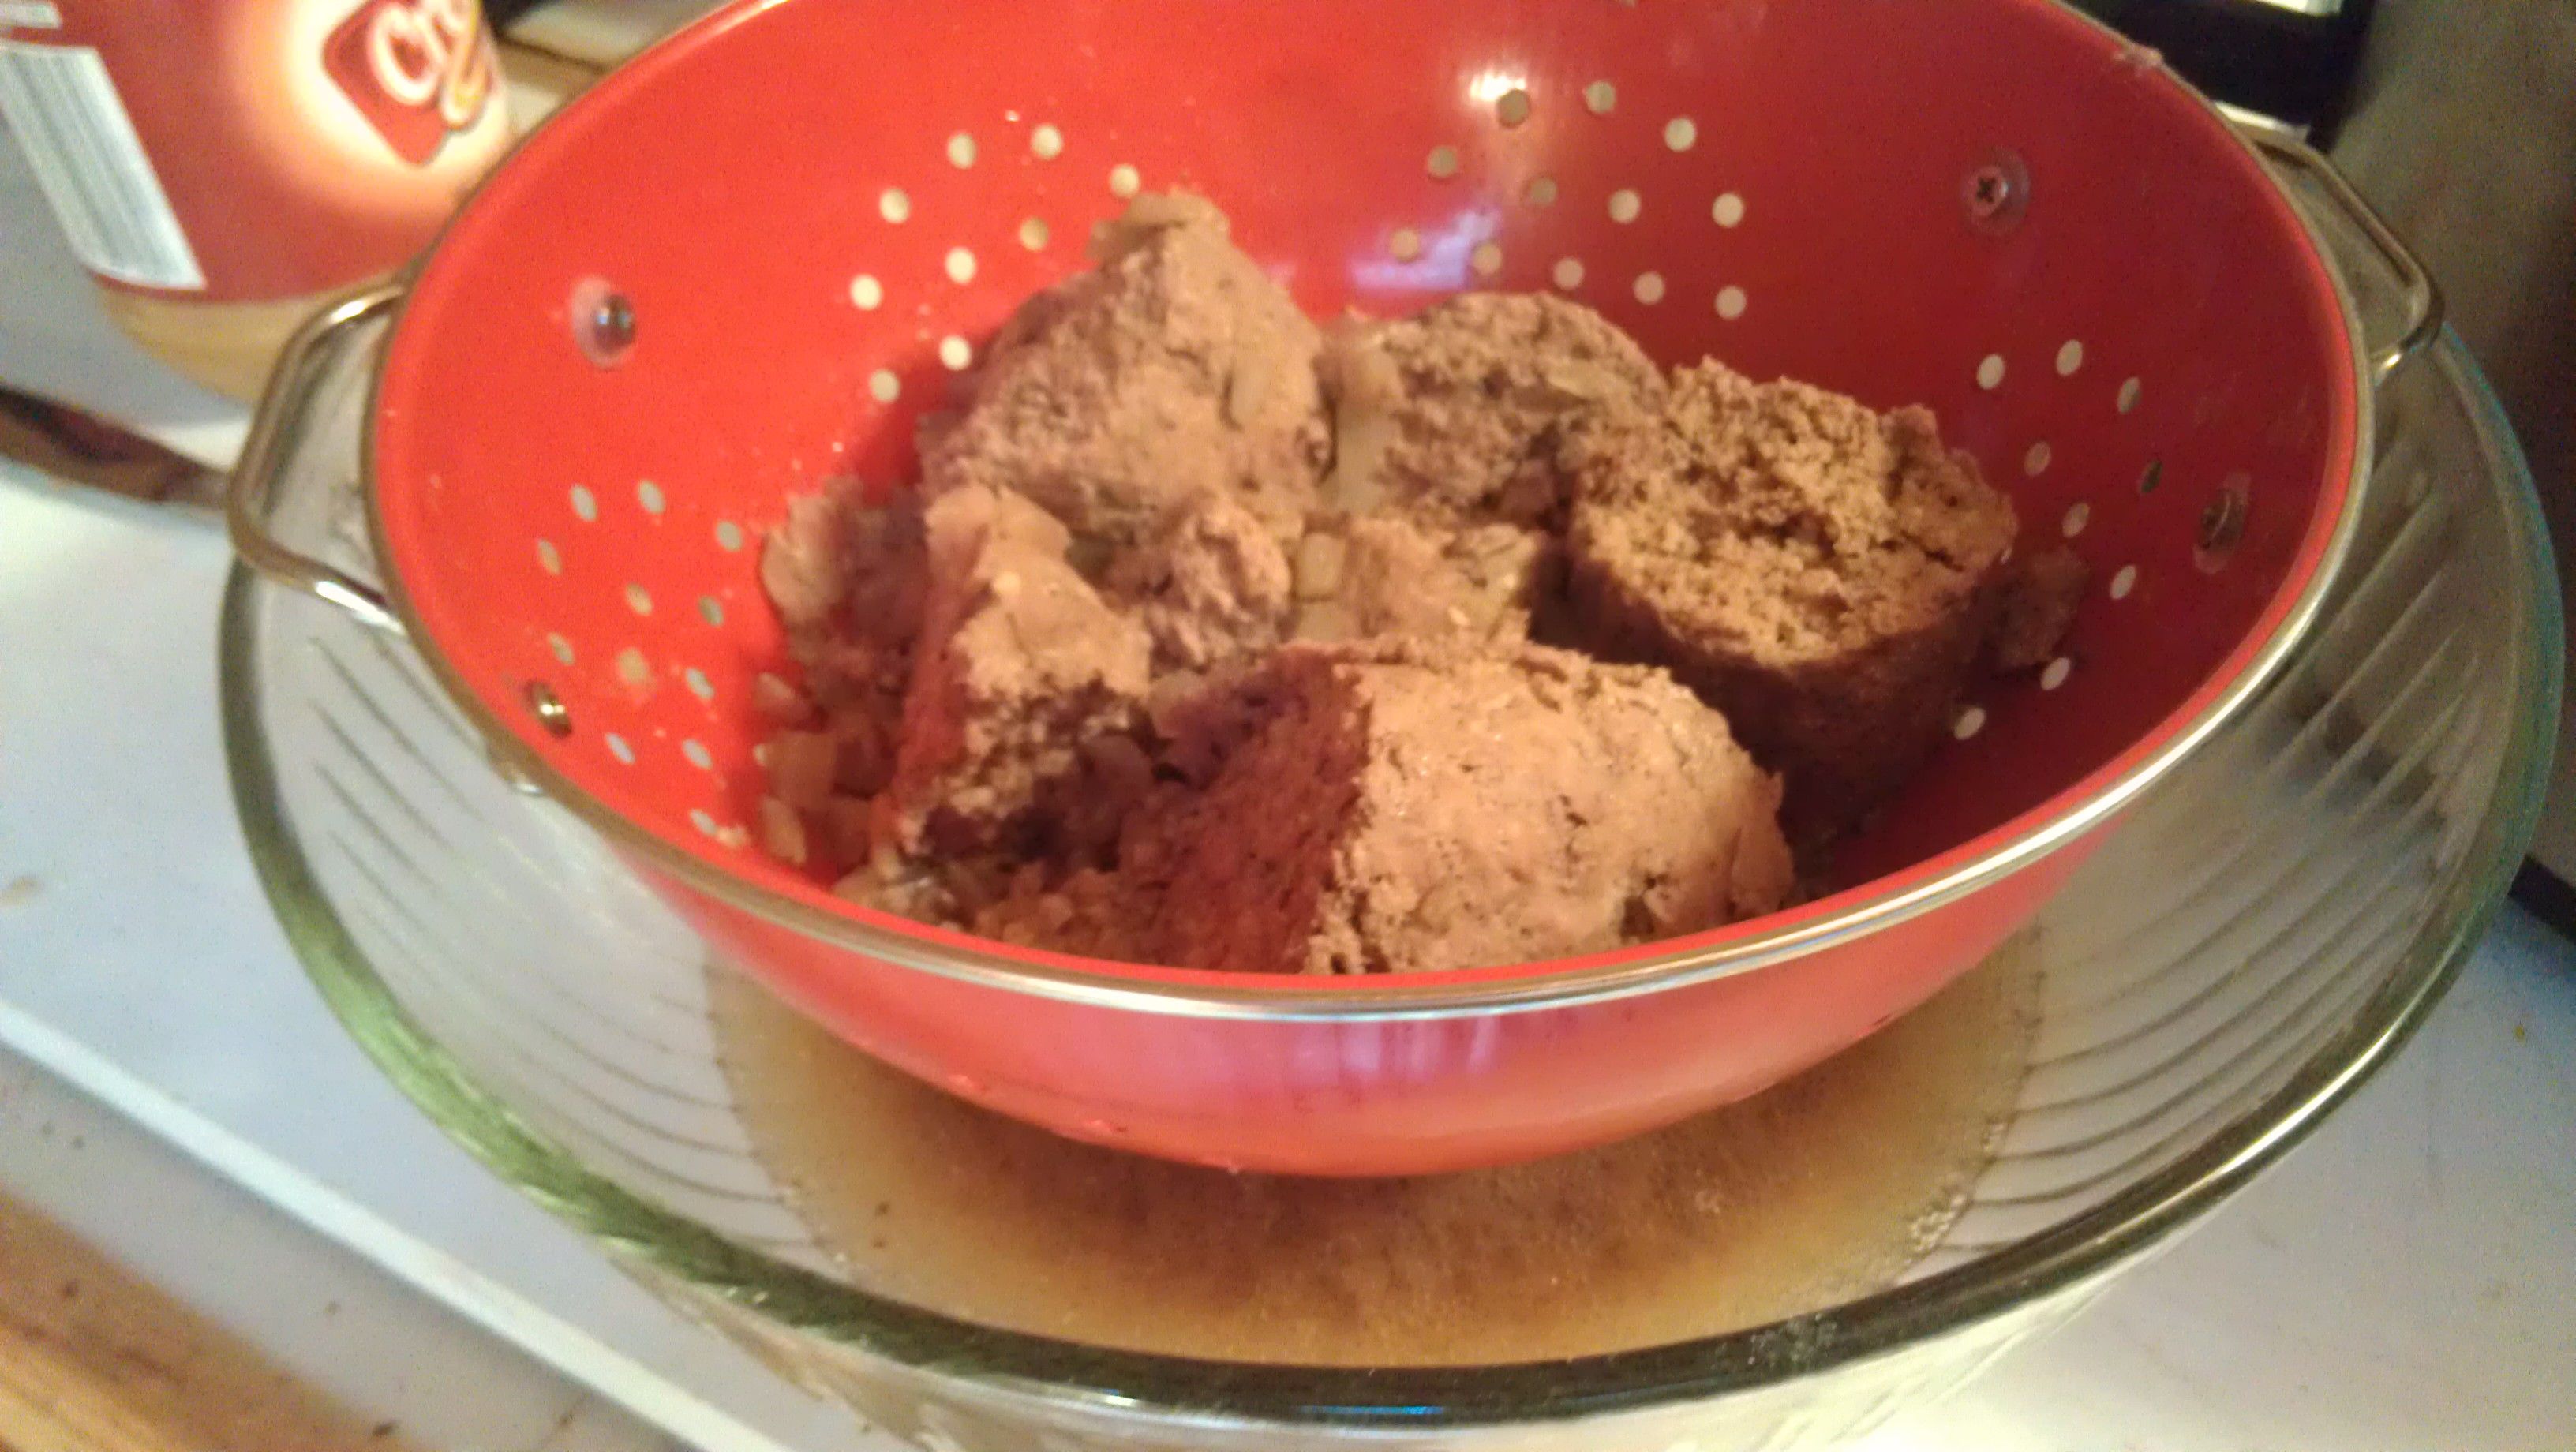
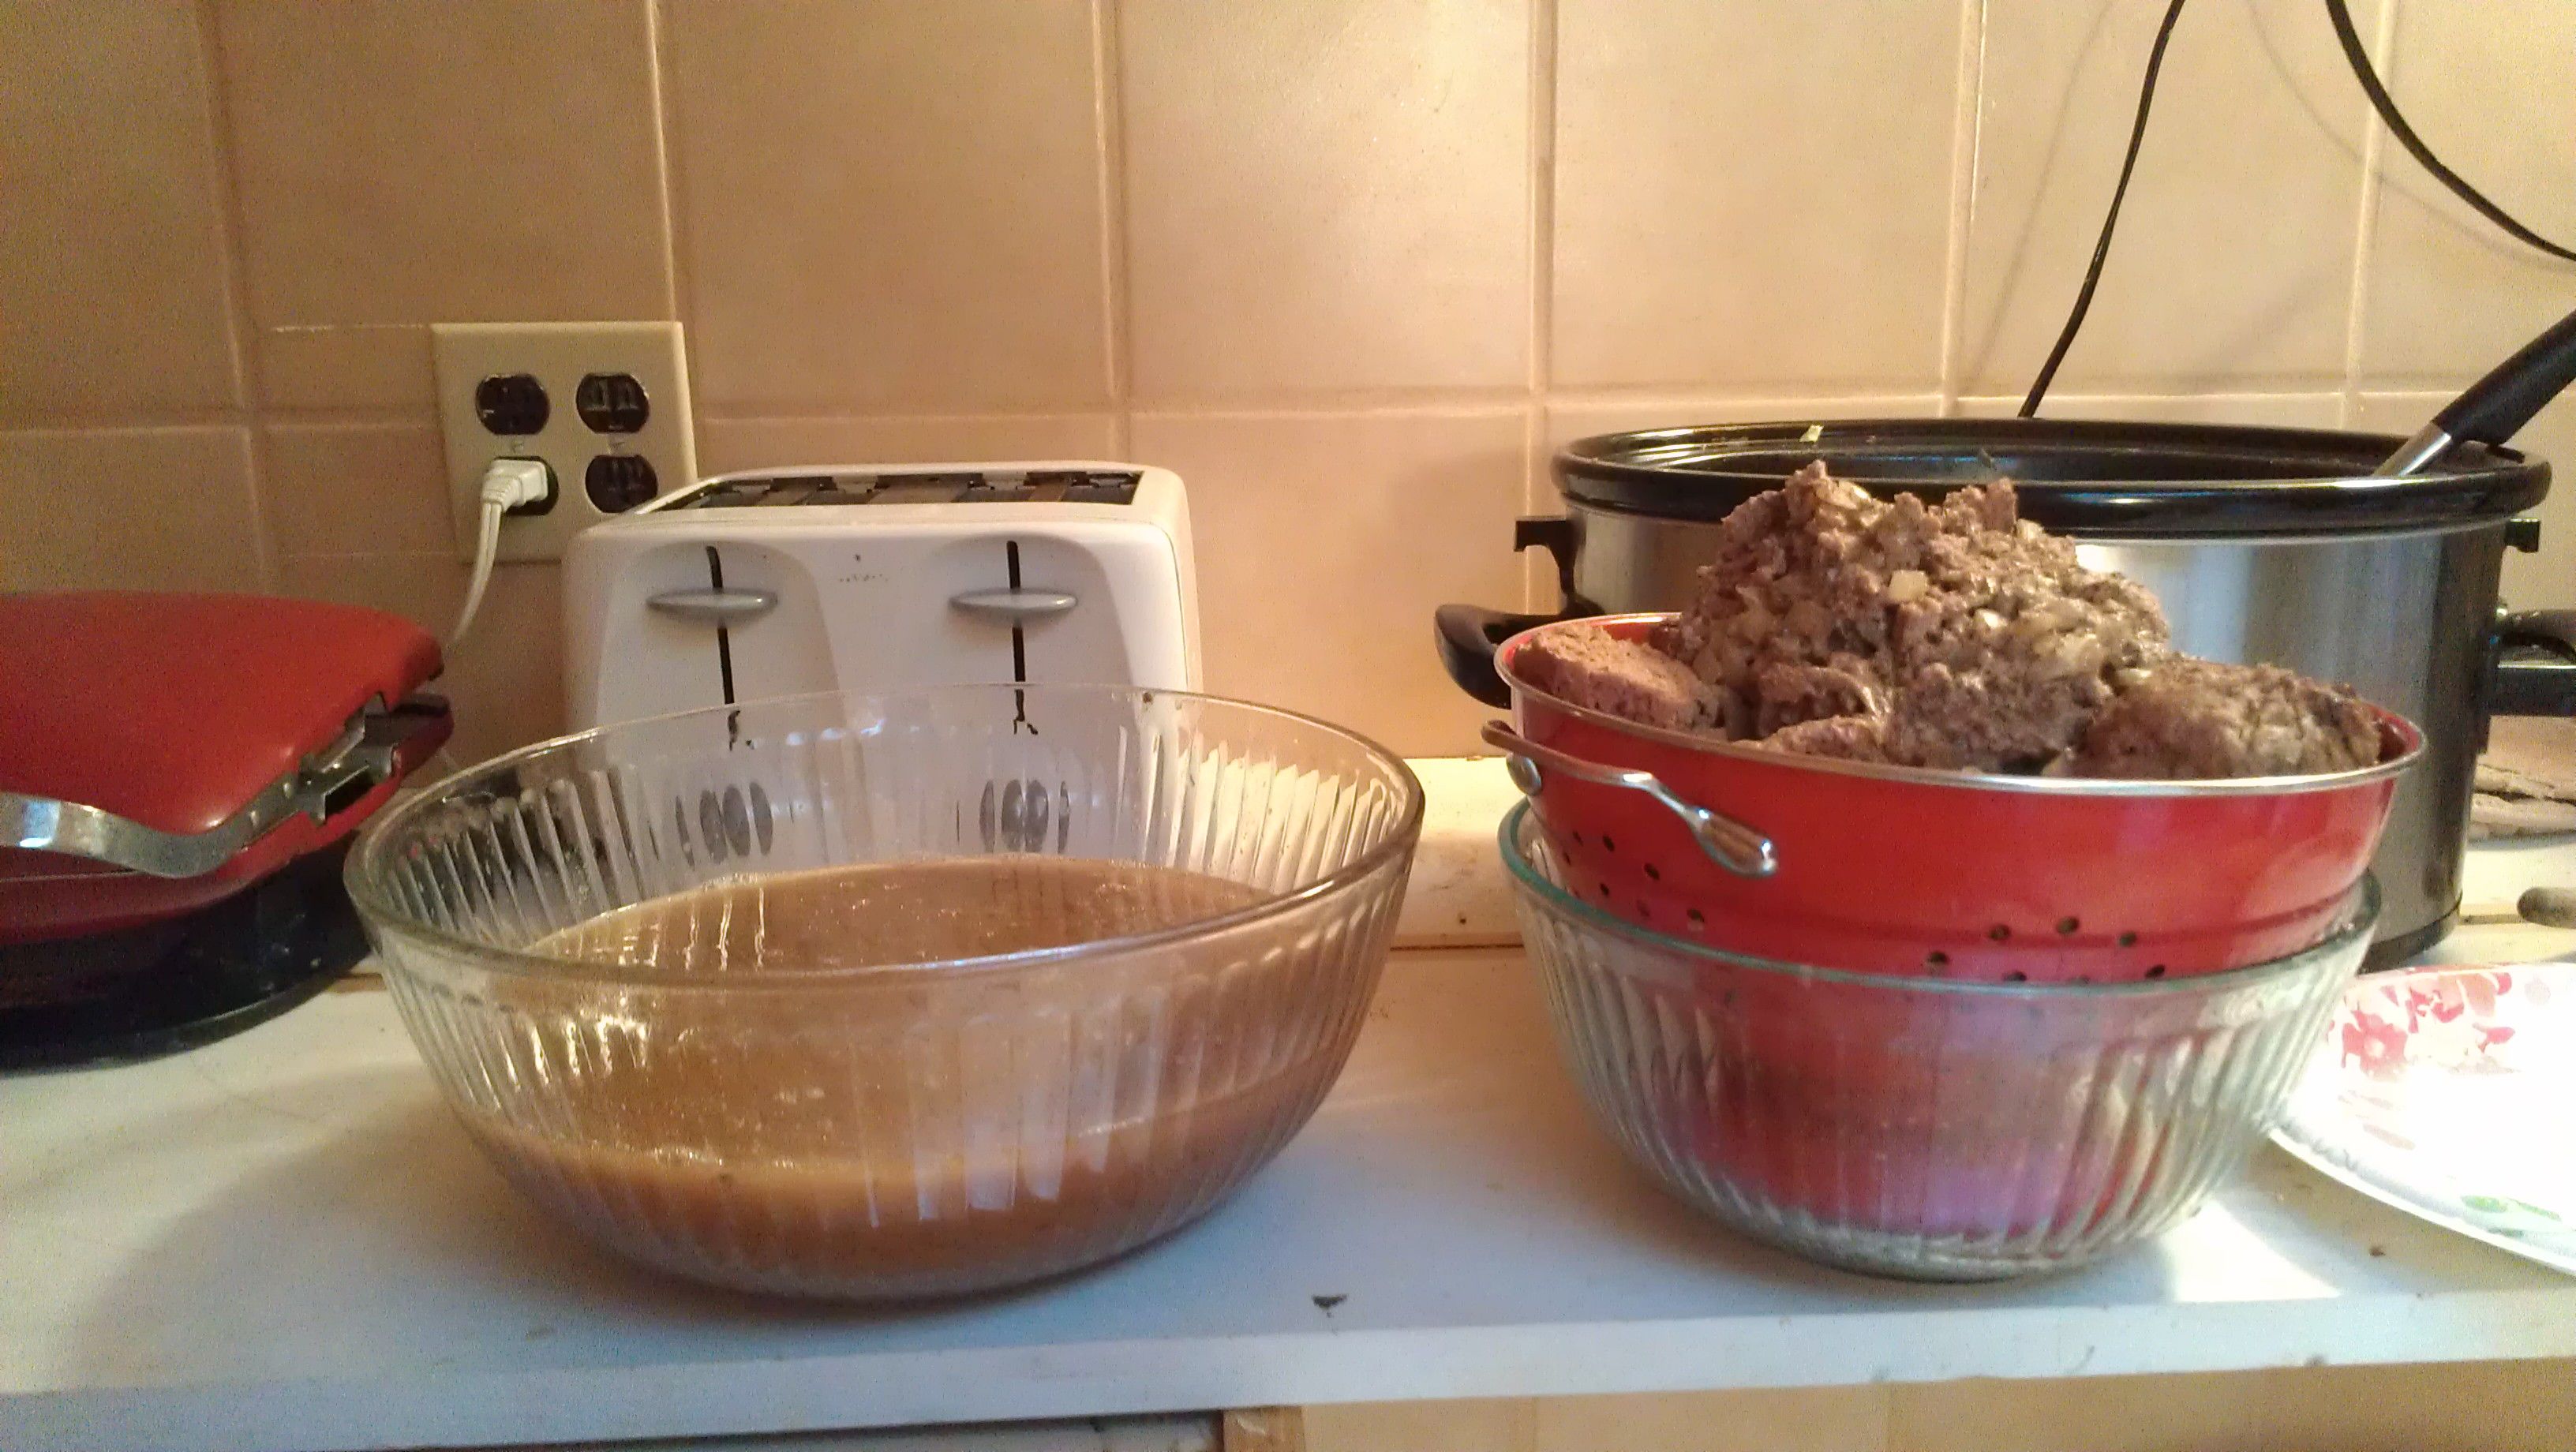
I chopped up the meat into huge chunks and then used a colander and bowl system to drain out the broth.

It had great color and smelled amazing.  I was surprised what little fat hardened on the top after it cooled.  This was grass fed beef direct from the farmer.  I could see the quality when cooked this way.

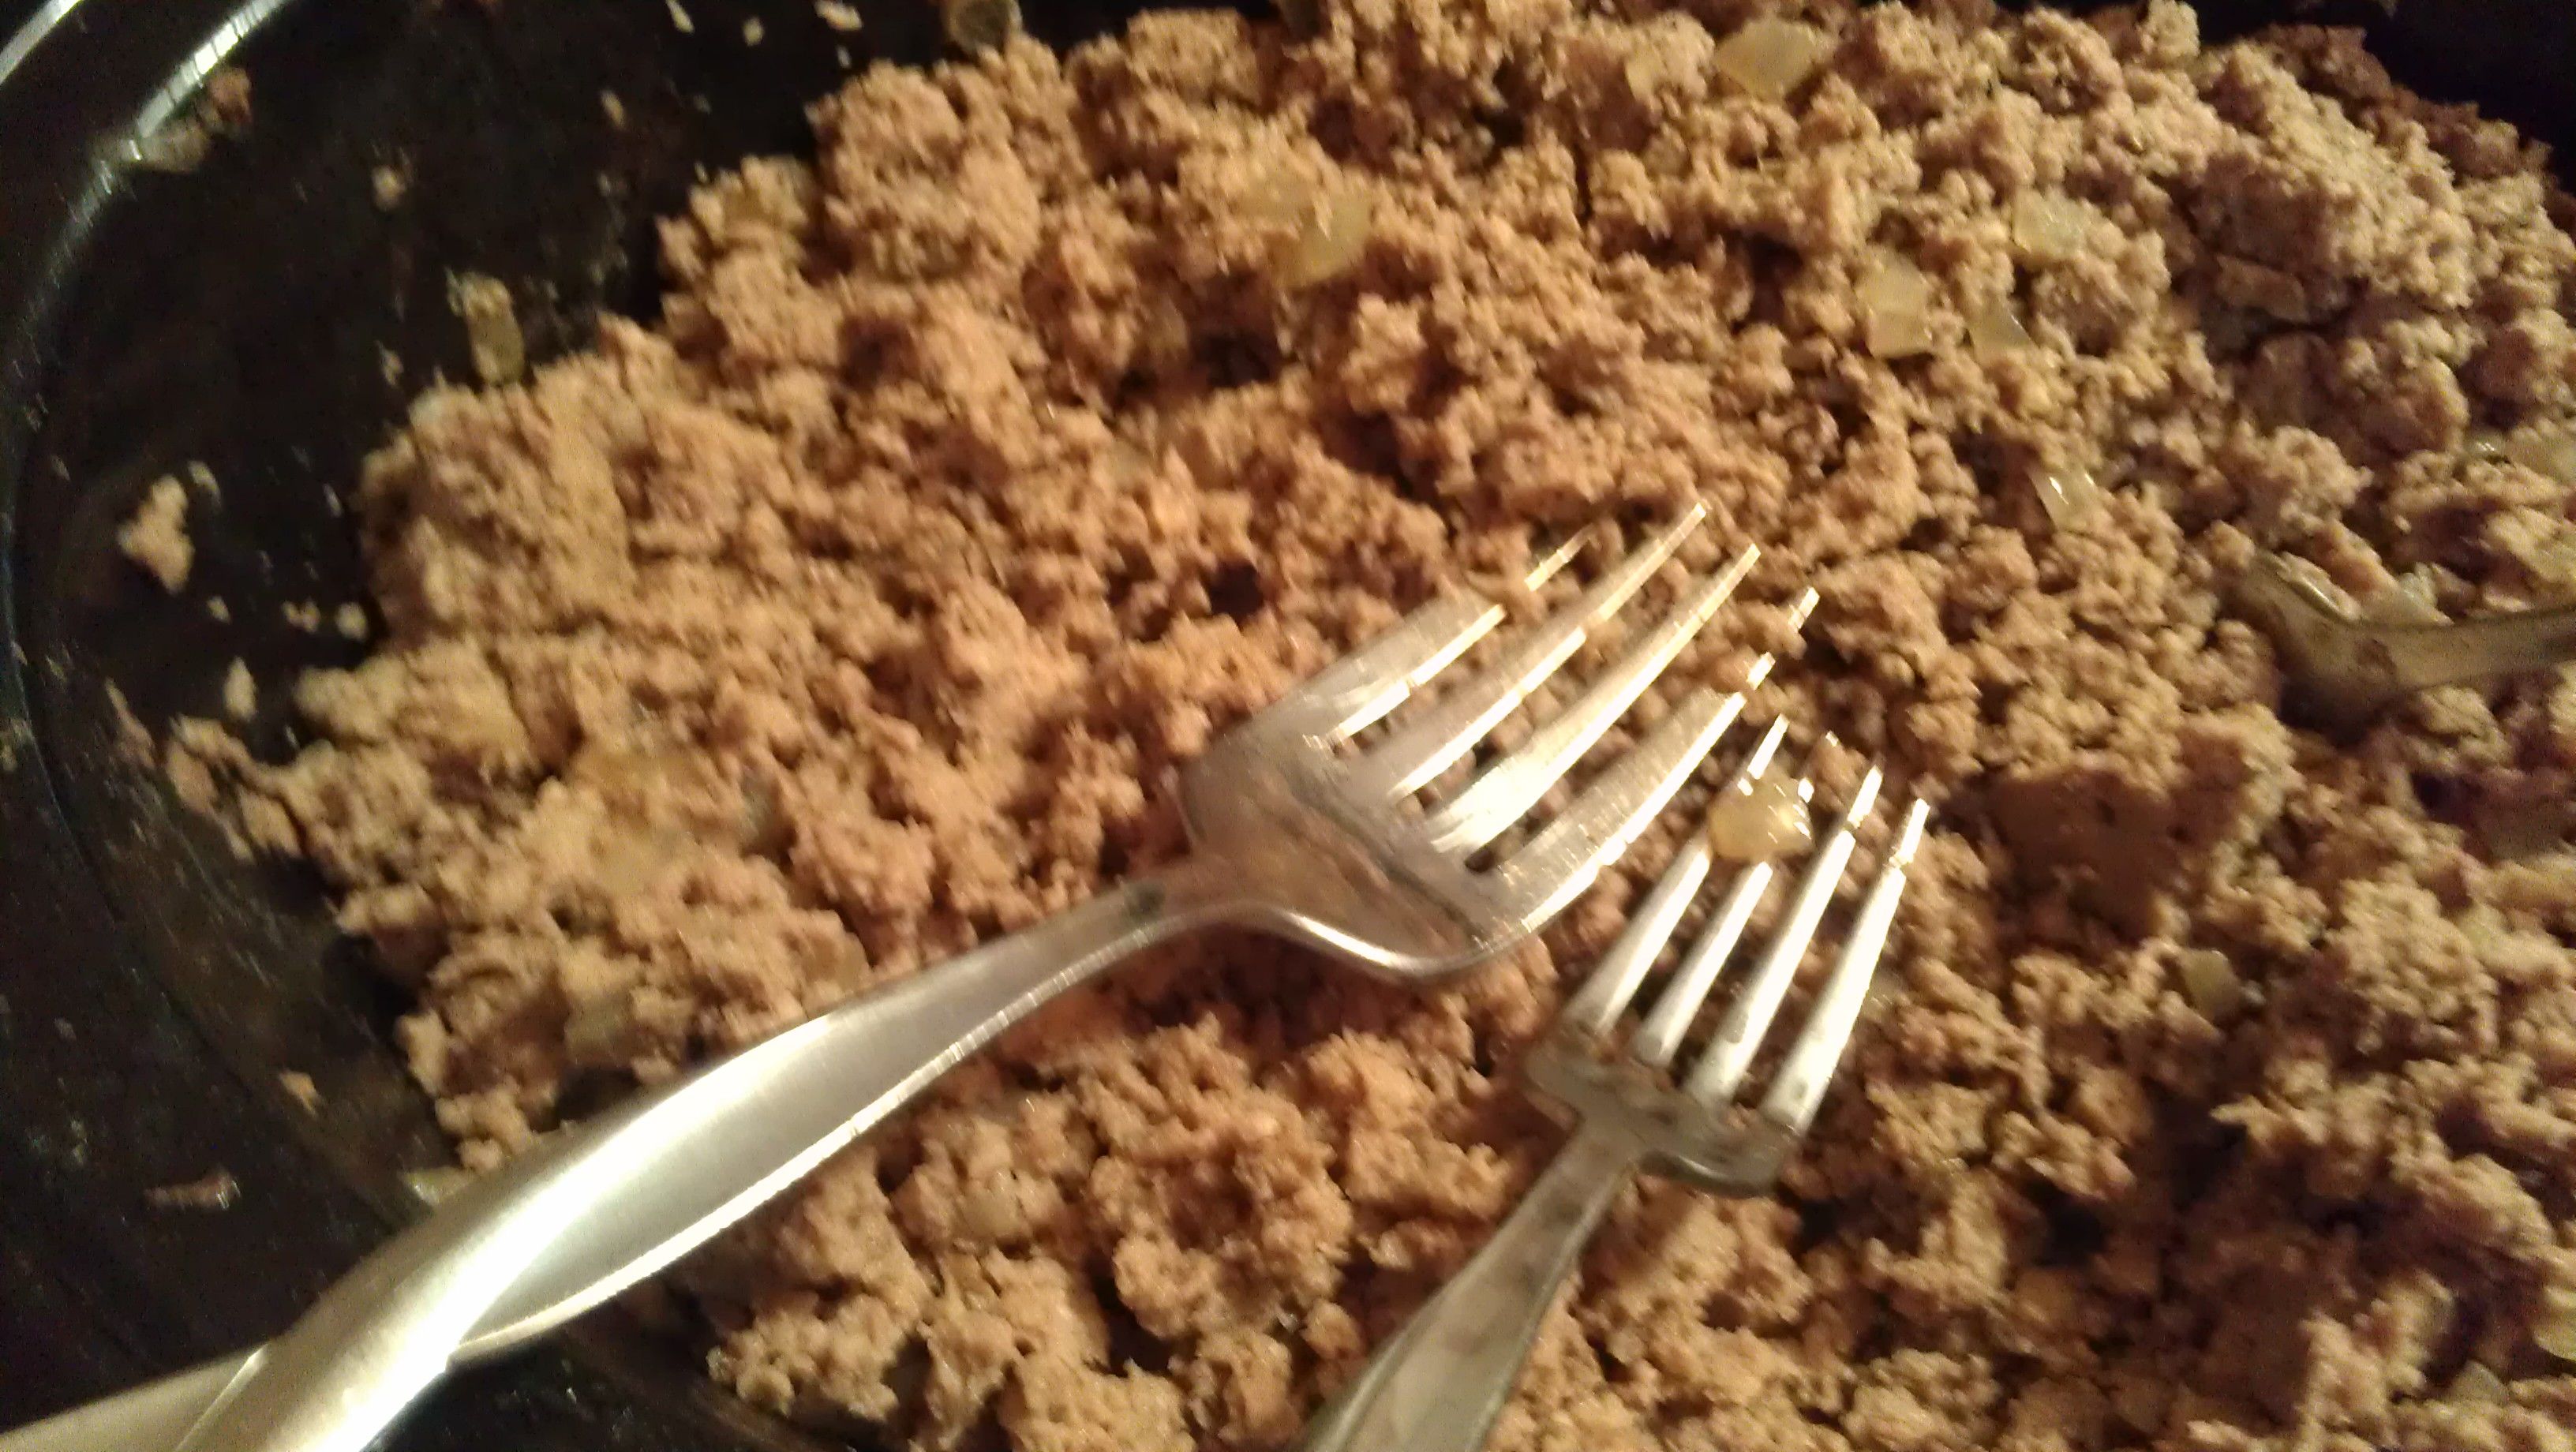
I was pretty sure at this point that it was all a waste.  But I decided to try the two fork shred method that I use on my pulled pork. I ended up mashing it with the back of a huge fork.  It worked beautifully–and fast. Perfect fine crumbles of ground beef!

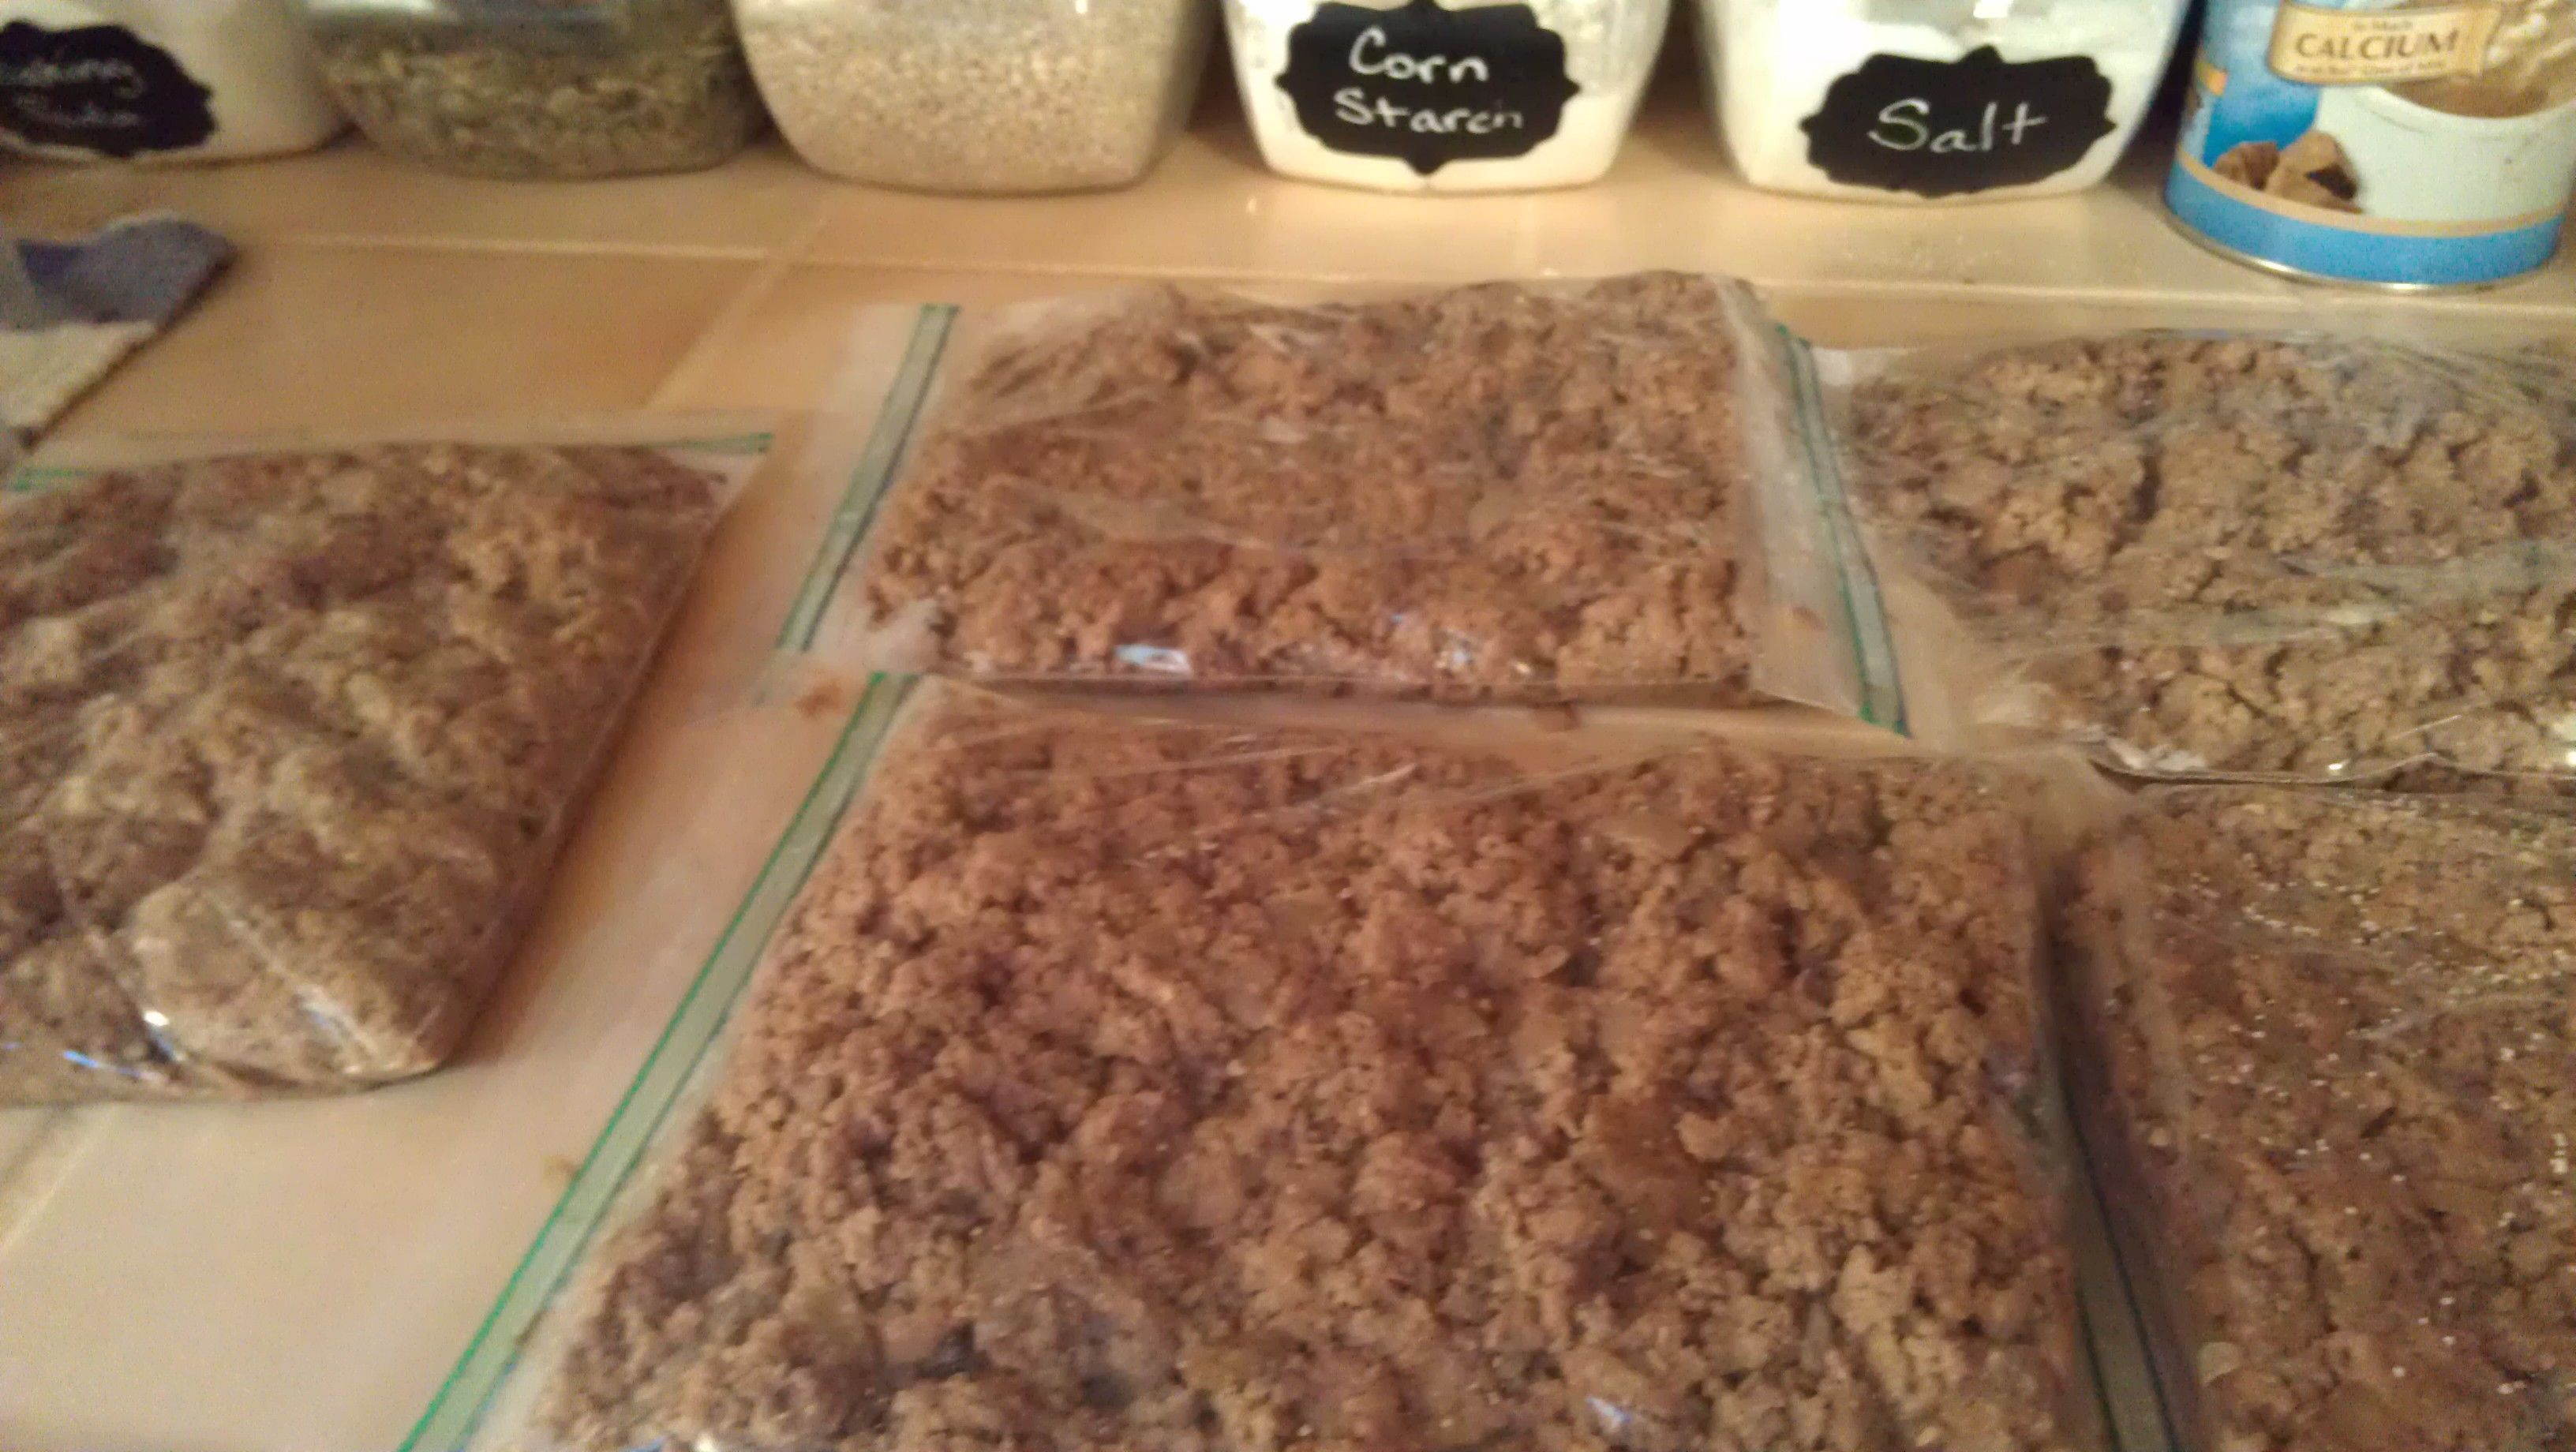
I divided up the meat into 5 freezer bags.  Each one weighed about 1.4 lbs. And pressed them flat.  Once they were cool, I put them in the freezer.  

I got about 2 quarts of broth also.  It smells and looks so yummy.  I’m definitely doing this again.  No more thawing meat, no more standing over a hot stove.  Win win win.


Homemade Push Pop Review

Last Fall we bought these:

And finally got around to trying them.  They are sturdy silicone and flexible.  The lids go on and off easily.  We filled ours with Great Value brand strawberry yogurt, the kind that comes in a 32 oz container at Walmart.  We laid them on their side in the freezer and since it was thick stuff, nothing leaked. If I were using juice, I’d prop them up in a glass or vase just to be safe.
DSC_0551

DSC_0553

The lids came off easily.  My 5 year old could do it without help.

DSC_0556

The pops were hard to push up until the heat from our hands softened the outside a little.DSC_0555 DSC_0554

Yummy.  Mess free.  And I know what’s in them.DSC_0562

“Do I get one too, Mommy?”


Cosmos ® 10-Piece Pink/Light Blue/Violet/Green/Orange Food Safe Silicone Ice Pop Maker Molds Set with Cosmos Fastening Strap

Whole Fruit Popsicles

It’s raging summer here and temperatures are expected over 100 degrees tomorrow and Thursday.  To get ready, we made some whole fruit popsicles.

I peeled whole kiwi (6) and sliced each into 3 pieces.  Inserted a stick (we used craft sticks and no one died or got sick.) and froze them on trays. I also found 6 ripe bananas, that we broke in half and froze too.

Then we melted 1 1/2 cups of chocolate chips with 1/2 cup of coconut oil.  To make a really thin chocolate that hardens immediately on the cold fruit.

Then dipped each piece.

As the chocolate got shallower in the cup, we used a spoon to help.

We had just a touch of chocolate leftover and used it to drizzle designs on the finished pops.

Brandon somehow managed to get chocolate all over his white shirt--should have seen that one coming, lol.

The Kiwi popsicles were so cute–but pretty sour. The bananas are by far our favorite. Now I’m wondering…what other fruit can I put a stick in to freeze and dip?