This low-cost entree is fast to make and really yummy. They travel well, if you find yourself needing a meal on the go. A few tablespoons of cheese in each one brings out flavor and adds protein without breaking the bank. Presenting another meatless main dish to throw into your rotation. Read more
Homemade Lunchmeat: Pros and Cons
My colleague, Tiffany, at Don’t Waste the Crumbs, recently wrote about making DIY lunchmeat. It sounded pretty easy, so I gave it a try. Here’s my experience:
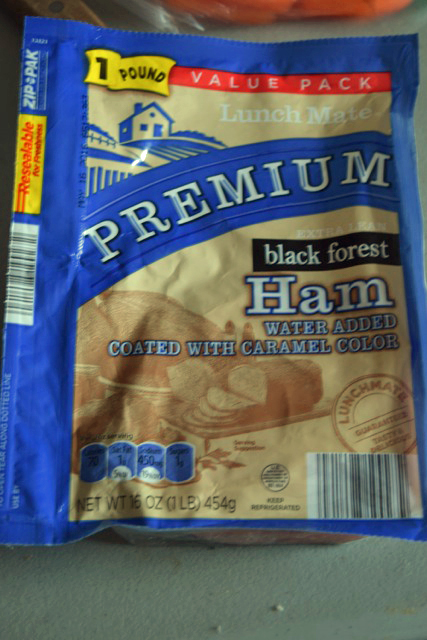
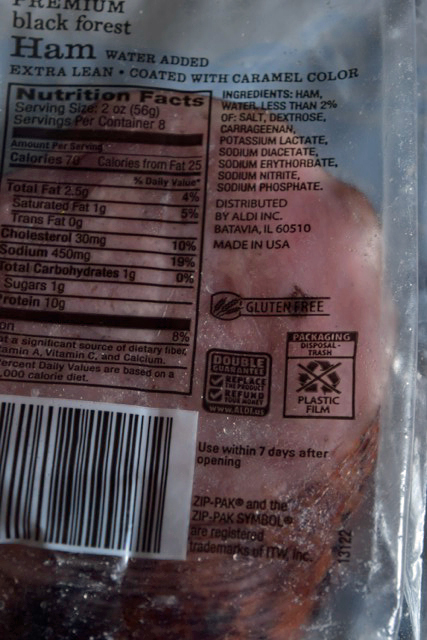
We usually buy Black Forest Deli Ham from Aldi for $3.49 a lb. The kids love it and I buy it even though it’s “coated with Caramel Color.” That makes me cringe a little every time I put it in my cart. What is caramel color anyway? I finally decided to put aside my fears and just look it up. According to this article, it’s basically toasted carbohydrates and is not any more harmful than caramel sugar. The problem comes if you are allergic to the carbohydrate base which might contain wheat. In this case, Aldi says it’s gluten free. We’ve never had a reaction, but we aren’t sensitive to any carbohydrates.
Sodium Nitrite is the other ingredient that makes me cringe. It is added as a preservative to prevent food poisoning. You will die much faster from botulism than you will from nitrite poisoning, but it has been shown to contribute to cancer in large doses. The first Trim Healthy Mama book said that while it’s nice to avoid nitrates there are enough antioxidants in one orange to counter any harmful affects from an average serving of preserved meat. My kids won’t eat oranges :(. Sodium phosphate is a non-toxic salt used as a thickening agent. Basically you can google any ingredient that you aren’t sure about and decide for yourself if it’s something you are ok with.
I started my DIY lunch meat by buying a Kirkland frozen turkey breast from Aldi. It was $8.99 for a 48 oz package. At $3 a lb, it would save me $1.50 over buying 3 lbs of lunch meat, but there’s a catch. Inside the package was a bag of “gravy” weighing 10.6 ounces, leaving me with only 37.4 oz of meat. Uncooked I’m now paying $3.84 per pound.
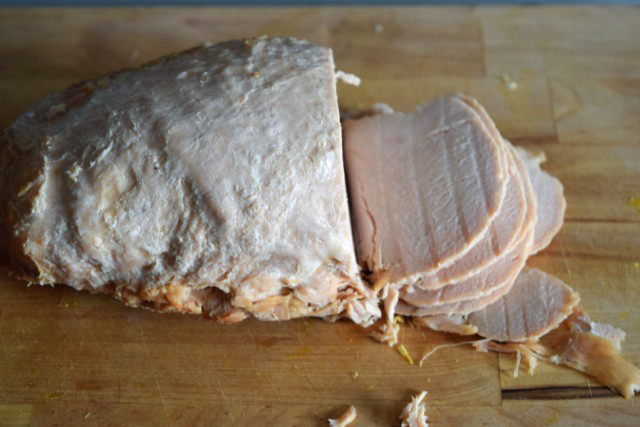
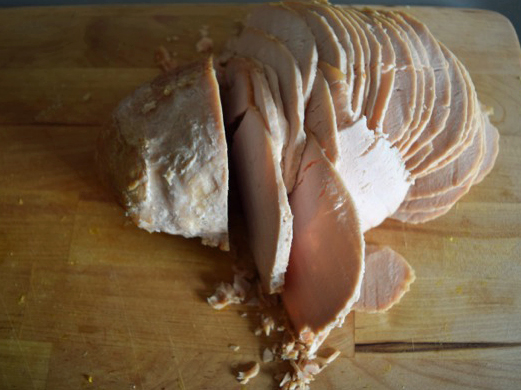
I rubbed the meat all over with seasoned salt and put it in the slow cooker. I think I overcooked it a tad. I didn’t really keep track of the time and the juices were caramlized by the time I returned. It smelled heavenly. I let it cool on the counter a bit before wrapping and chilling overnight in the refrigerator. When it was completely cold I weighed it before slicing it by hand. Trying to get the slices as thin as deli meat. I wasn’t very good at it.
The finally cooked weight of the meat was 1.6 lbs. $5.61 per pound. This is 160% more than just buying lunchmeat.
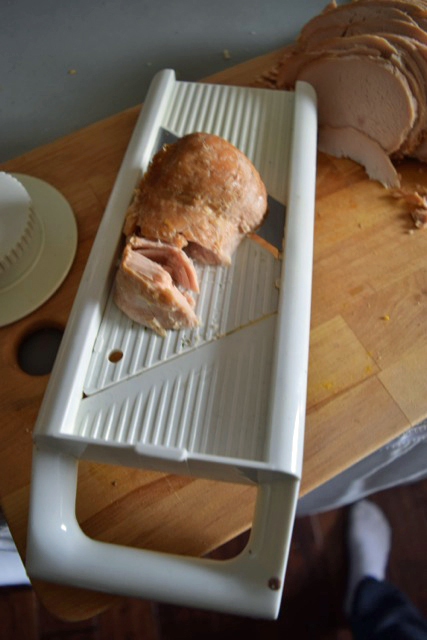
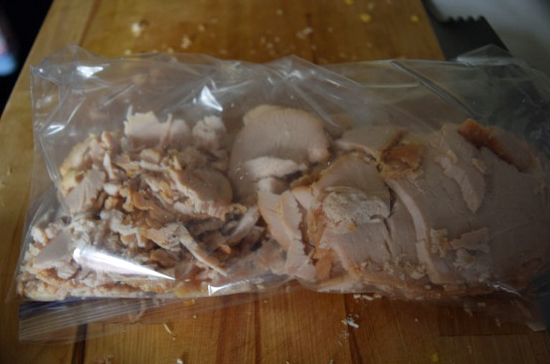
I tried my mandolin slicer to see if it would be easier. It made a crumbly mess. You really need an electric knife or deli slicer if you want to automate things.
It tasted amazing, but crumbled pretty easily. This is probably because I overcooked it, which would have also reduced moisture content and weight a little bit.
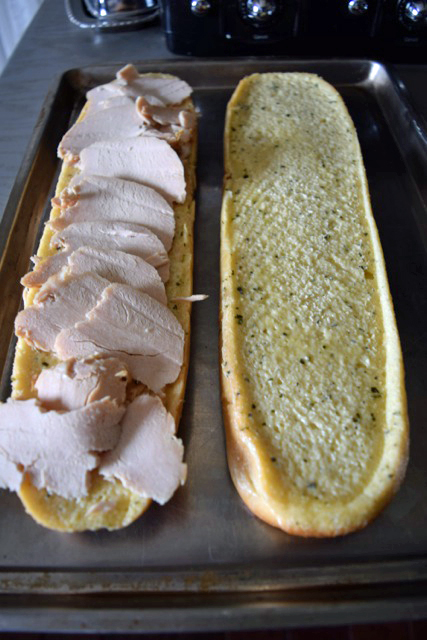
I had a loaf of garlic bread on hand and used it to make an open faced baked family sized sandwich.
Too bad we were out of tomatoes, that would have been really pretty. The sandwich was delicious! A big hit for everyone in the family.
Pros:
- It was delicious and not that hard.
- It may have fewer questionable ingredients (although the turkey breast was brined with a sodium solution and I forgot to check the ingredients before tossing the package to see if there were any cringe-worthy ones)
Cons:
- It was a lot more expensive.
- While it wasn’t that hard, it took more time than just buying lunch meat.
- It was hard to slice as thin as deli meat
- It crumbled easily
Would I try it again? Probably not. It was delicious but not budget friendly for us. If I decide to give up lunchmeat altogether to avoid nitrites, cooking a chicken with bones and shredding the meat, would be more cost effective for us.
What do you think? Would you try it?
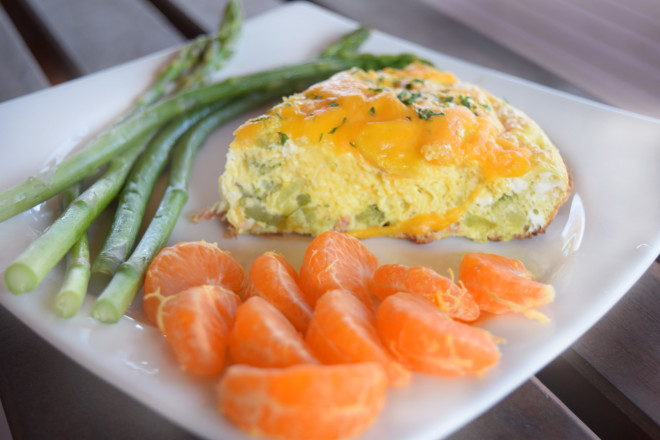
Another Easy Meatless Main Dish: Frittata
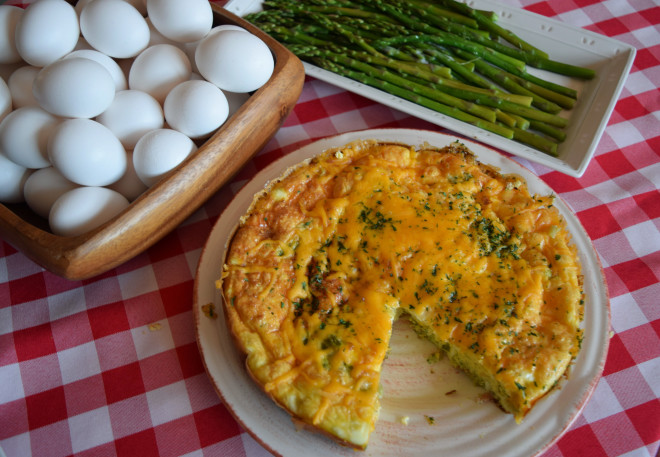
About once a week I serve a meatless main dish to save on the grocery budget. It’s important to still have plenty of protein for the people I love, so using plenty of eggs and a sprinkle of cheese makes this happen for little expense. This is a Sunday favorite, because it’s so easy and we always have the ingredients on hand.
For this dish, it helps to have a cast iron skillet that will go from stove top into the oven. Before the gas stove, we had a glass cook-top that was too delicate for cast iron. I could still make frittata by transferring the vegetables to an oven-proof dish and adding the eggs before baking.
You can vary the vegetables you use in the frittata. It’s a nice way to use up leftover side veggies from the week. I had leftover broccoli and onions on hand. That’s all I used in this dish, but mushrooms, bell pepper, tomatoes, potatoes, sweet potatoes, and olives are all good. You can also use bits of leftover meat like ham, sausage or bacon if you aren’t set on keeping it meatless. The recipe recommends 2-4 cups of veggies. I did 2 cups since I just had one type of veggie, but would go closer to 4 cups if I was using a wide variety of vegetables.
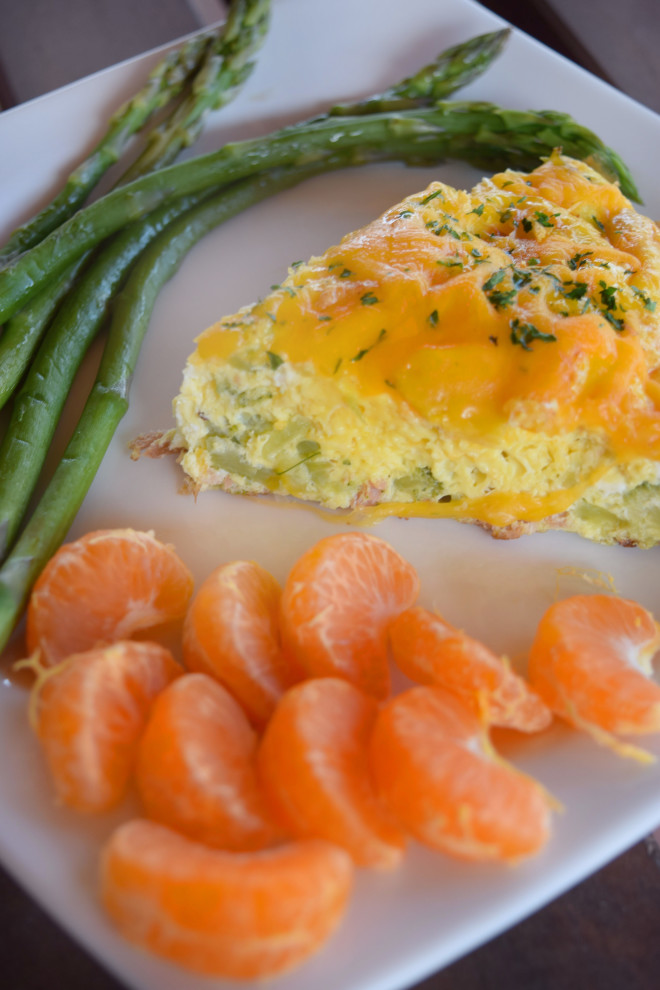
We went super simple on the side dishes too. Asparagus was on sale for $1 a lb, so I sauteed the spears while the frittata baked and peeled a few clementines.
Frittata
2-4 cups vegetables
1 Tbs butter
8 eggs
¼ cup plain 0% Greek Yogurt
½ tsp salt
¼ tsp white pepper
1 cup of shredded cheese
Preheat oven to 400 degrees. Melt butter in an oven proof skillet and sauté vegetables until they are hot and tender. Meanwhile, beat eggs with milk or yogurt, salt and pepper. Pour beaten eggs over the top and cook a few minutes until the eggs start to cook on the bottom. Transfer the skillet to your oven and bake for 20-25 minute or until set. Sprinkle with cheese and return to the oven until melted.
1/8 of the frittata has 12 g of protein and 164 calories
Does your family enjoy frittata? Do you have a favorite go to Sunday dinner?
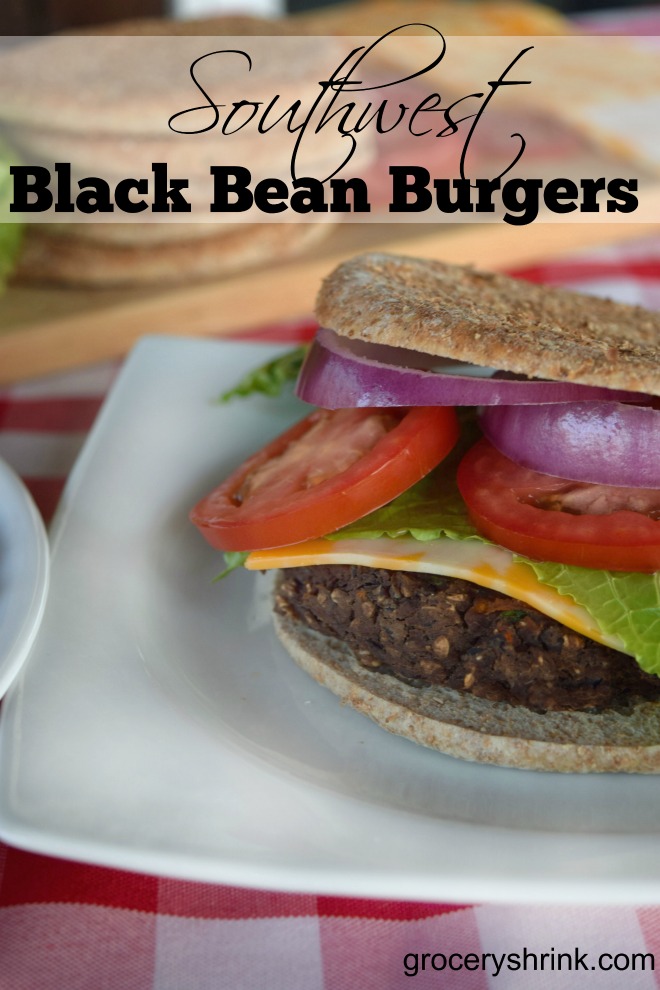
Southwest Black Bean Burgers
About once a week, I try to use a meatless dish like this. I love meat and would dream of becoming a vegetarian, but doing without once in a while saves our grocery budget and help us appreciate meat a little more. Read more
Easy Peel Hard Boiled Eggs
Meat and Cheese are the two most expensive categories in my grocery budget. I keep costs down by choosing less expensive proteins a few times a week like eggs. While I’m not a fan of vegan protein alternatives like tofu and TVP, I do enjoy fresh or dry roasted edamame.
If someone in my home developed food allergies to all dairy and eggs I’d consider tofutti. Until then…. nope.
Eggs, on the other hand, are little compact nuggets of serious nutrition. 2 large eggs have 140 calories, 12g of protein, and everything necessary to grow a chick = lots of nutrients. Plus at $1.50 a dozen, a serving of 2 eggs is only $.25.
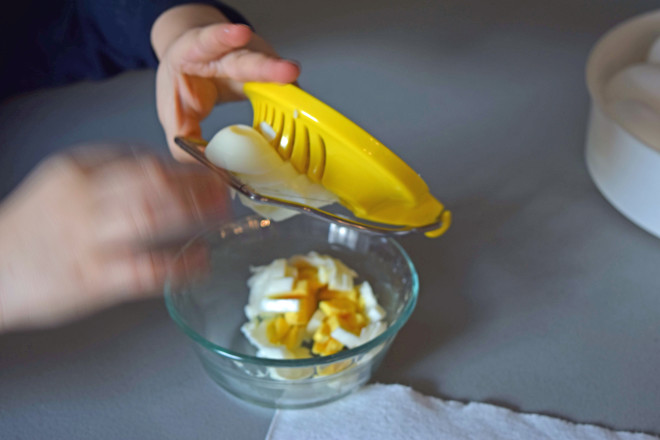
We like to have hard boiled eggs on hand for snacking. They are also great chopped on top of a chef’s salad, in egg salad, potato salad, tuna salad, creamed eggs over biscuits, deviled (stuffed) eggs….you get the idea.
Boiled eggs are easy to cook, but may not be so easy to peel. When eggs are freshly laid, they are slightly acidic which makes the shell stick tightly to the albumin in the egg white and impossible to peel cleanly. The hen covers her eggs with a protective coating as they are laid which keeps this acidic level intact and the egg fresh outside the fridge for 10 days.
Commercial eggs have the protective coating washed off. This allows the natural CO2 trapped in the egg to dissipate through the porous shell reducing the acidity and the stickiness of the shell. Commercial eggs will ripen in the refrigerator to be easy to peel in about 10 days. By the time they reach our homes commercial eggs are typically perfectly ripe.
If you have your own hens, you’ll need to wash the eggs you hope to boil with warm water and a soft cloth before storing in the fridge. Label them so you’ll be able to tell the date they will be ready to boil and peel (10 days ripened.) Oiling the eggs for storage will make it impossible for them to ripen to easy peel stage.
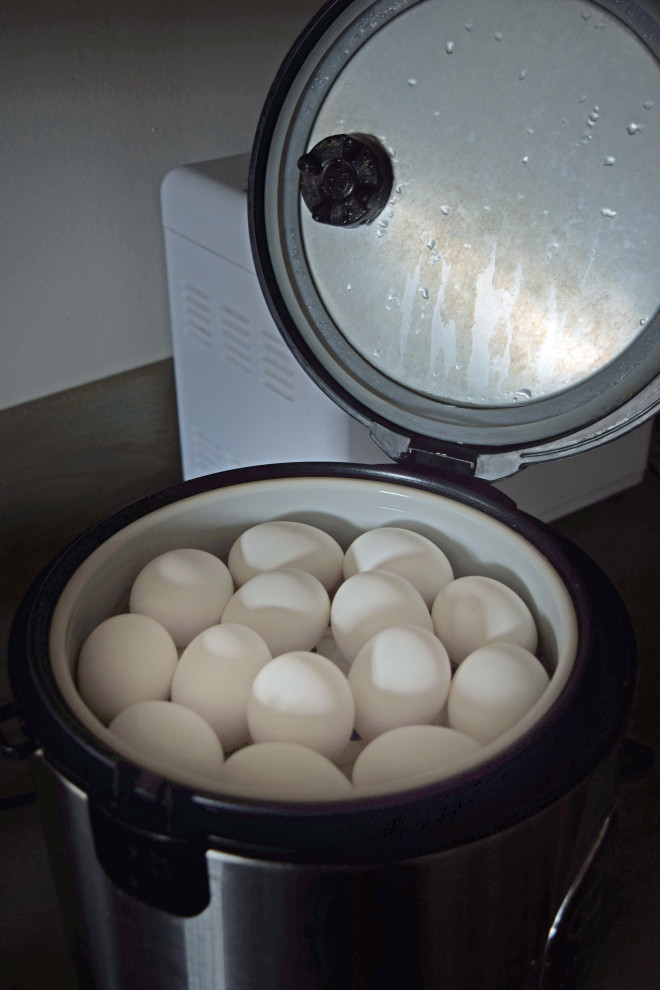
We enjoy steaming our eggs instead of boiling them in water. They don’t crack since they aren’t in the rocking boiling water to knock them around. We think they are easier to peel than boiled eggs and don’t have the grayish green line separating the yolk from the white, unless we forget about them and over do it.
I use our combo steamer/slow cooker/rice cooker to do it, because it automatically starts timing when the water comes to a boil and sets of an alarm when they are done. I simply fill the bottom with 2 inches of water, fill the top basket with eggs, set it to steam for 15 minutes and go to something productive.
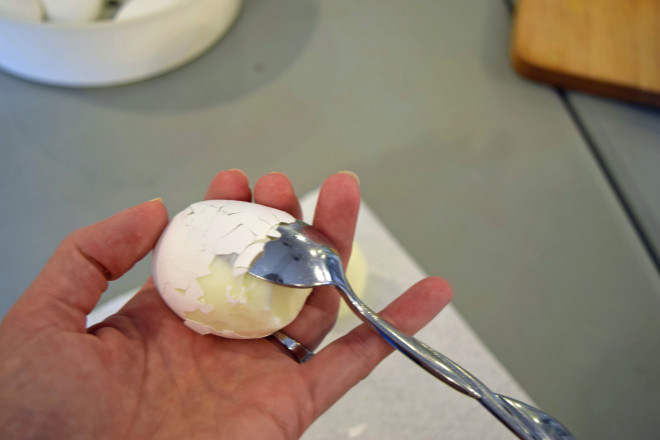
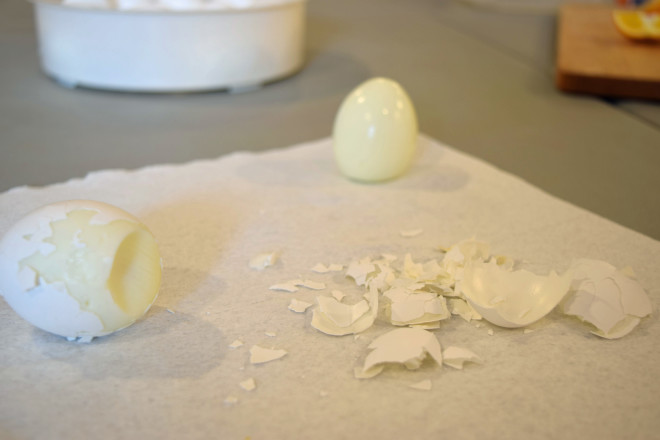
When the alarm sounds , I use oven mitts to lift out the steamer basket and plunge it into a sink of cold water to stop the cooking process. When they are cool enough to handle, I tap and roll the eggs on a paper towel (or cloth towel) to break up the shell, then slip a spoon between the shell and the egg. The spoon curves with the egg keeping it protected and the peel slips off pretty quickly this way. If the spoon doesn’t slide well, I oil the tip with a touch of olive oil.
How about you, does peeling eggs frustrate you? Do you have a family tradition for making eggs easy to peel?

Saving Money With Amazon Subscribe and Save
If you are noticing something wonky on my blog, I’d like to explain. Over the weekend I tried to repair one of my sites that became corrupted. The easiest way was to delete the files and start over. I made an error and deleted the files to all my websites. I have 2 backup systems in place, just to be safe, but they both failed. I spent hours on the phone with Host Gator customer service and learned more about web development than I thought I’d ever know and have most things repaired on all the sites except for the pictures on this blog. (Thankfully files are for operating systems, templates, pictures, and plugins, while blog post words and data are kept in databases. I still had my databases to repair from.) There are thousands of pictures to fix, but I have copies of most of the pictures on my hard drive and some of them I had planned to rephotograph over the summer anyway.
I got a great question in the comments on last Friday’s post. Read more
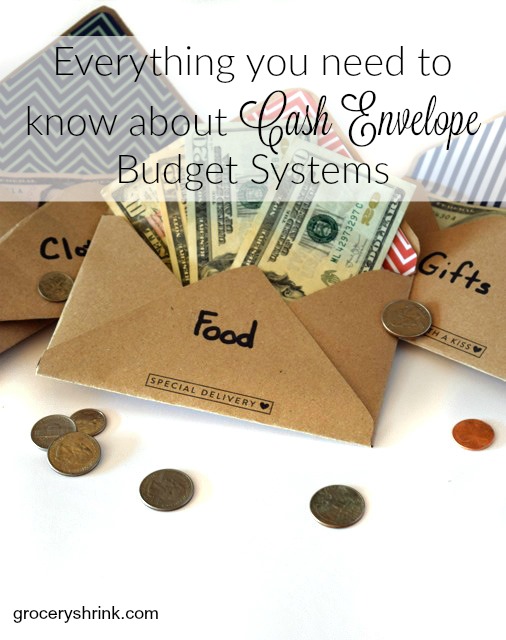
Everything You Need to Know About Cash Envelope Budget Systems
I was hanging out with some readers on facebook last week and one of them asked, “What’s an envelope system?” I searched for a link to my blog post all about envelope systems and you know what? I never wrote one! I talk about them here and there, but didn’t cover the basics in much detail.
An envelope system is Read more
Random Stuff for Your Leap Day
My brain is so full of stuff that I want to tell you and none of it is important. I wish I could have you over for some herbal tea and cookies. It would start a little awkward and quiet but then pretty soon we would be laughing tears down our faces as we shared the crazy things our kids said when they were toddlers. Read more
Kristen’s Living Room Makeover
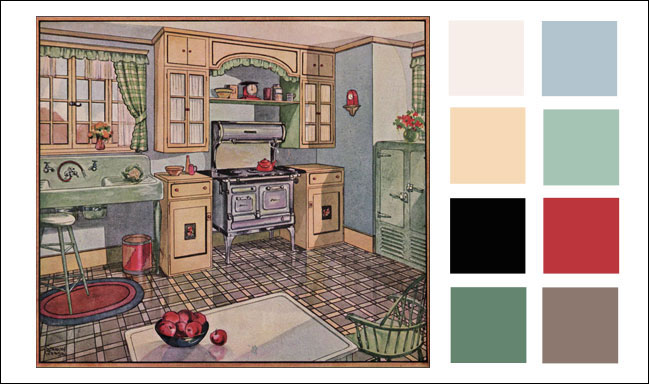
Yesterday, I showed you Kristen’s School Room. Today I want to show you her living room. Just for a reminder, this is her color scheme and we’re trying to fit in a 1927 time period:
Oh the arches! This house just oozes with charm. You can see how it is adjacent to her sunroom and joined by a nice large cased opening. Can you just imagine seeing that darling school room from here? See the sitting area on the left with the 2 chairs and the side table? That’s where I imagine her piano will go. Read more