Free Printable Lunch Planner

How do you feel about school starting again?  I love my hour I spend with the High School choir every day, and I love that my kids go to school in a place with small classes where the scriptures are woven into every subject.  One the other hand, we trade a little bit of peace and calm in the mornings and evenings for that privilege (vs homeschooling), and all day alone with a 3 year old is harder than it sounds.  Last year was so stressful and the summer was so awesome, that I’m not ready to let go of that yet.

Part of what made last year so hard was our level of disorganization at home.  I love being organized, but half of last year we didn’t have a functioning kitchen.  There wasn’t a room in our house untouched by the chaos of remodeling. The kids were going in all different directions and every night had an activity of some sort. I craved a quiet evening at home. We were often late or forgot to show up places, stayed up all night to finish assignments that were assigned long before, tried to dress when there were few clean clothes (We own 10 red ties and you can’t even find ONE?!!!), and THIS:

“Ring, ring”

“Hello, This is Angela.”

“Um, Mom…..Were you going to pick me up?”

I became “That Mom.”

So instead of freaking out about doing that again, I’m getting organized.  I <3 labels.  I just bought these from Amazon, and have been using Power Point to print Business Card Size labels on cardstock to slip inside.  Here they are in action.


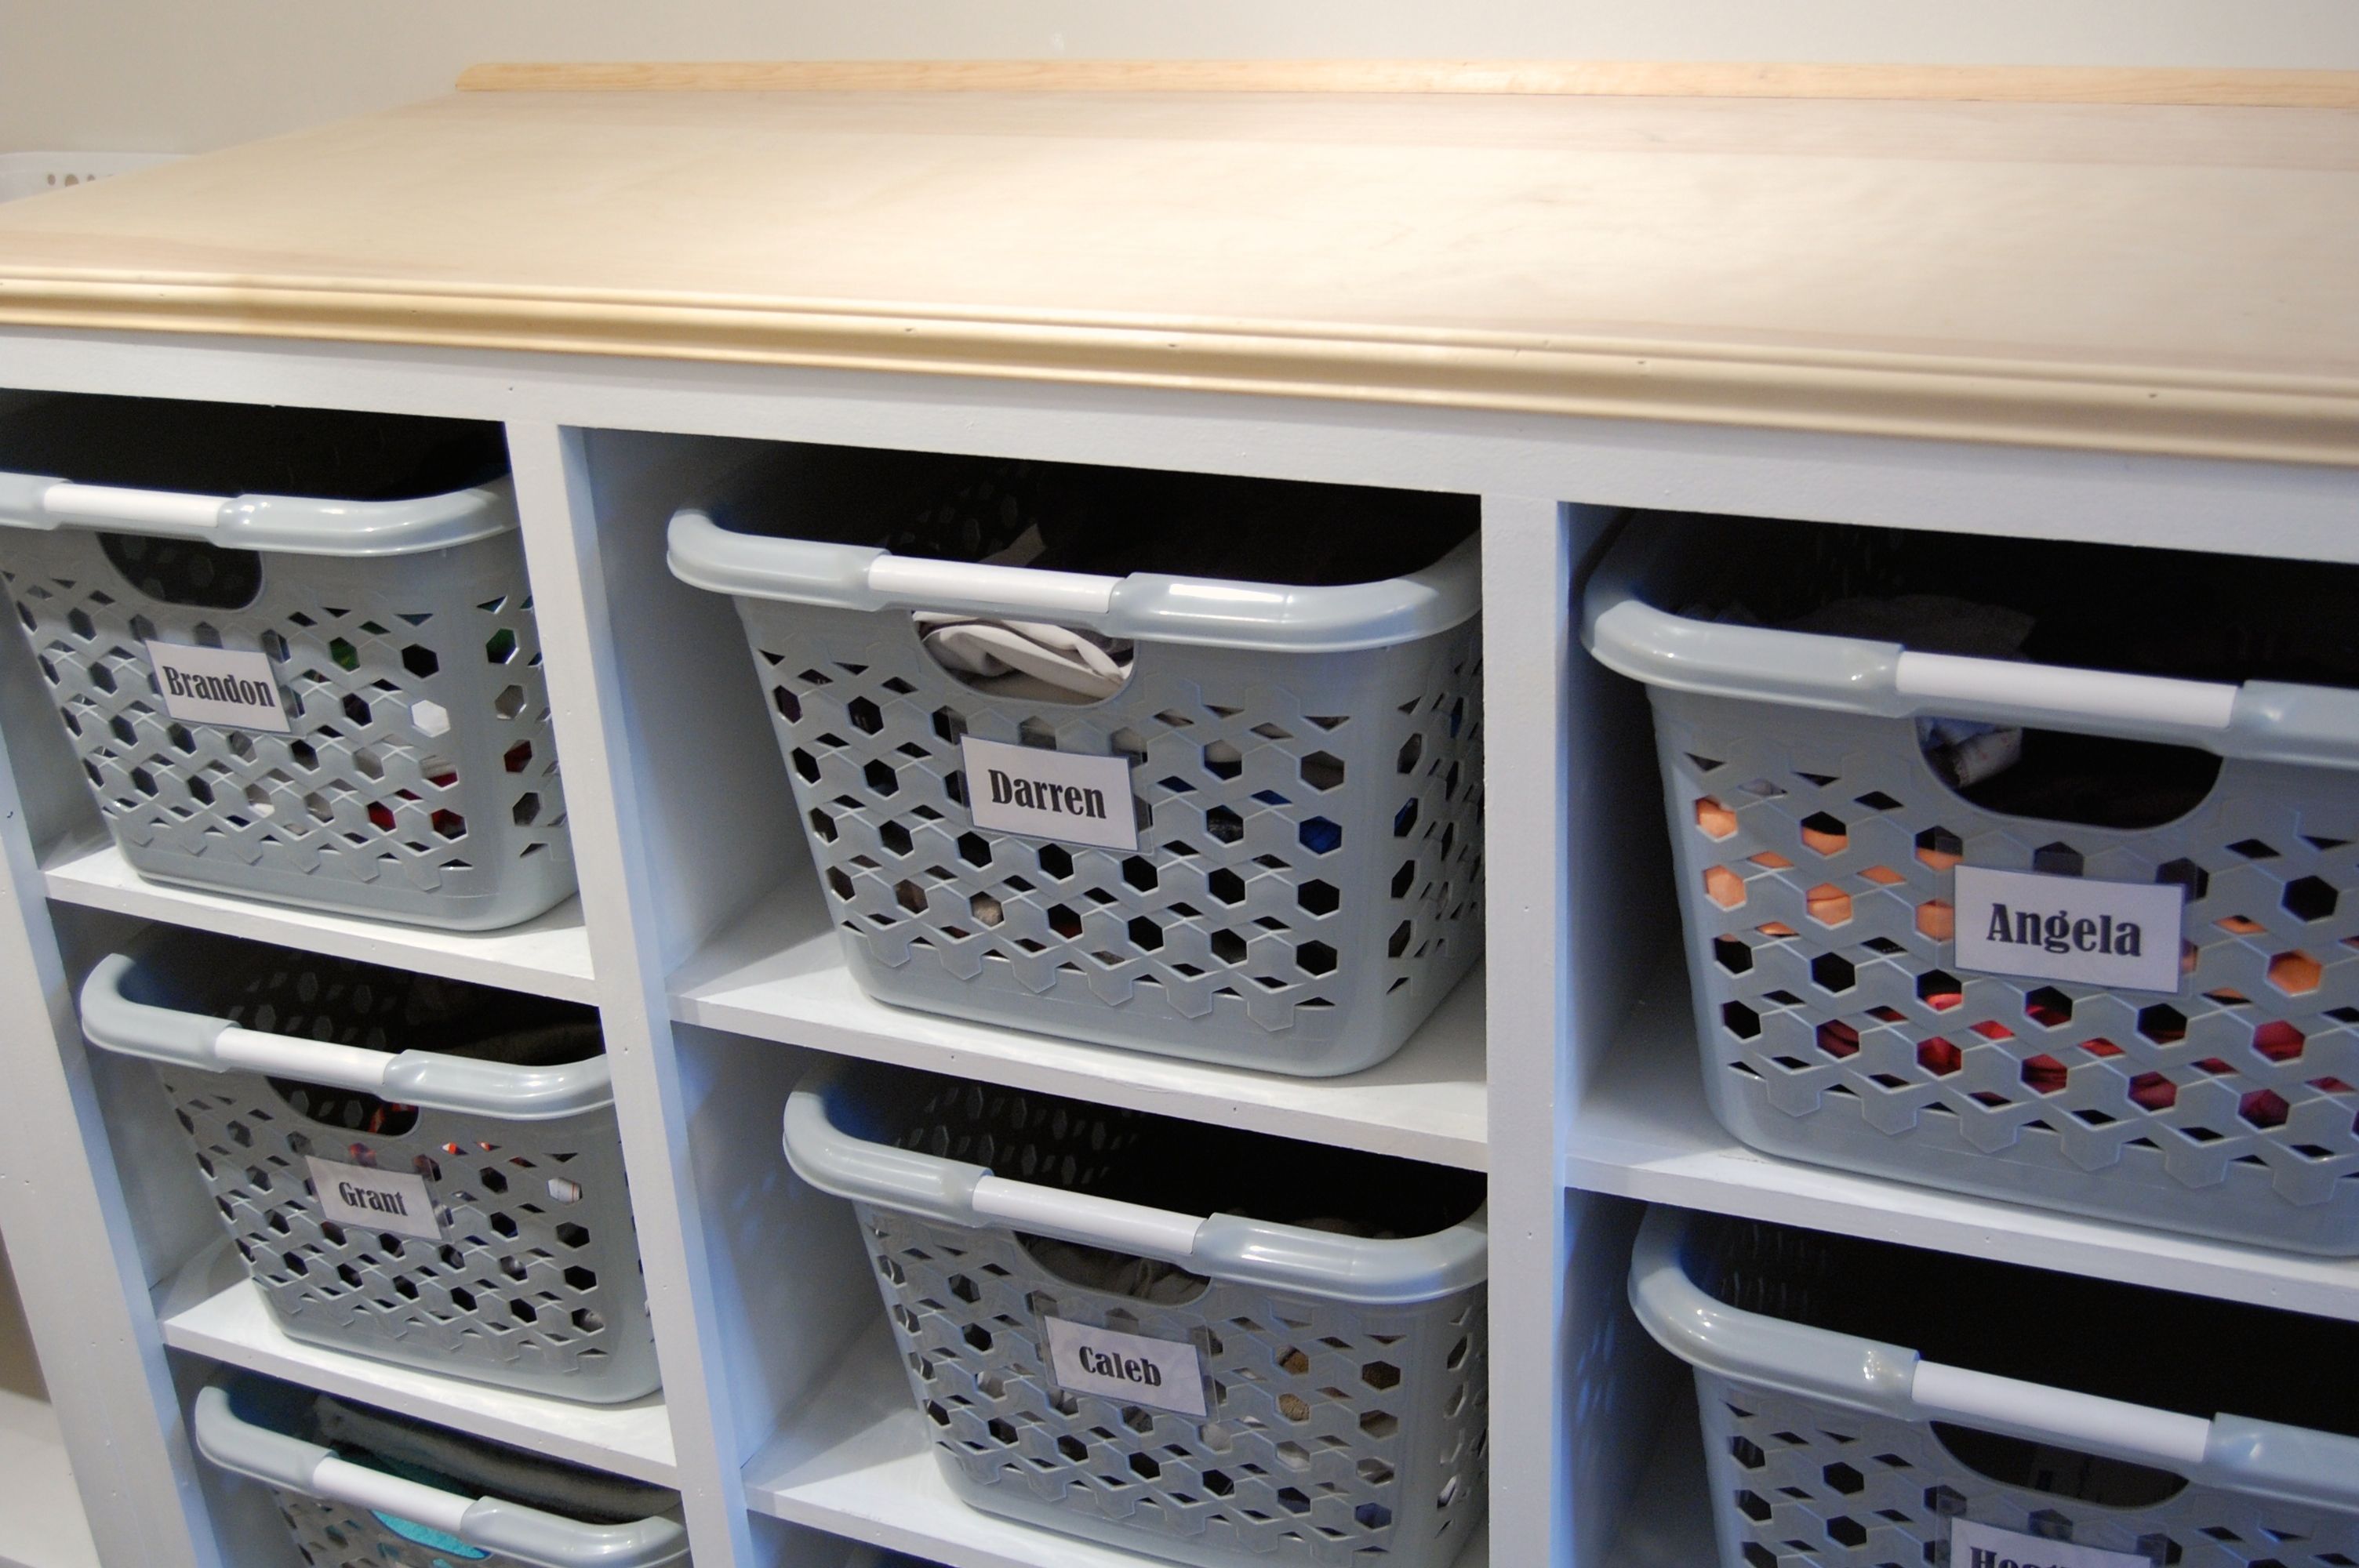
Next I will be putting labels on each shelf so the baskets end up in the right spot. Don’t hate me because it’s beautiful.

And yes, we labeled both sides, so no matter which way you put the laundry basket away, it’s still labeled.

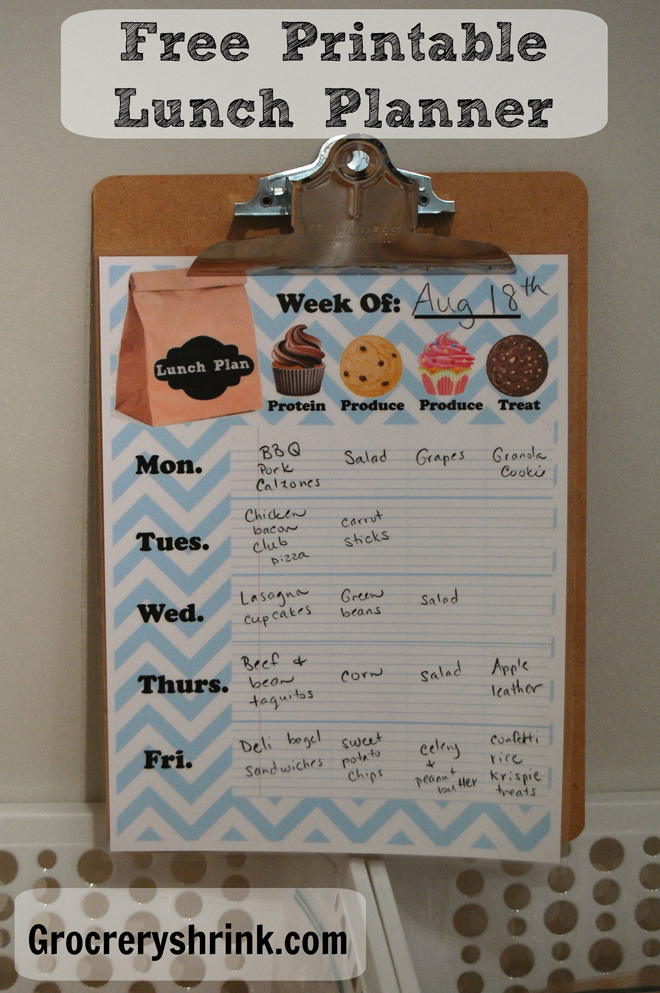
In honor of not freaking out because school is starting, I made a little printable lunch planner gift for us.  I printed mine out on cardstock and then laminated it to use over and over with a dry erase marker.  You can download your own here: Brown Bag Lunch Plan


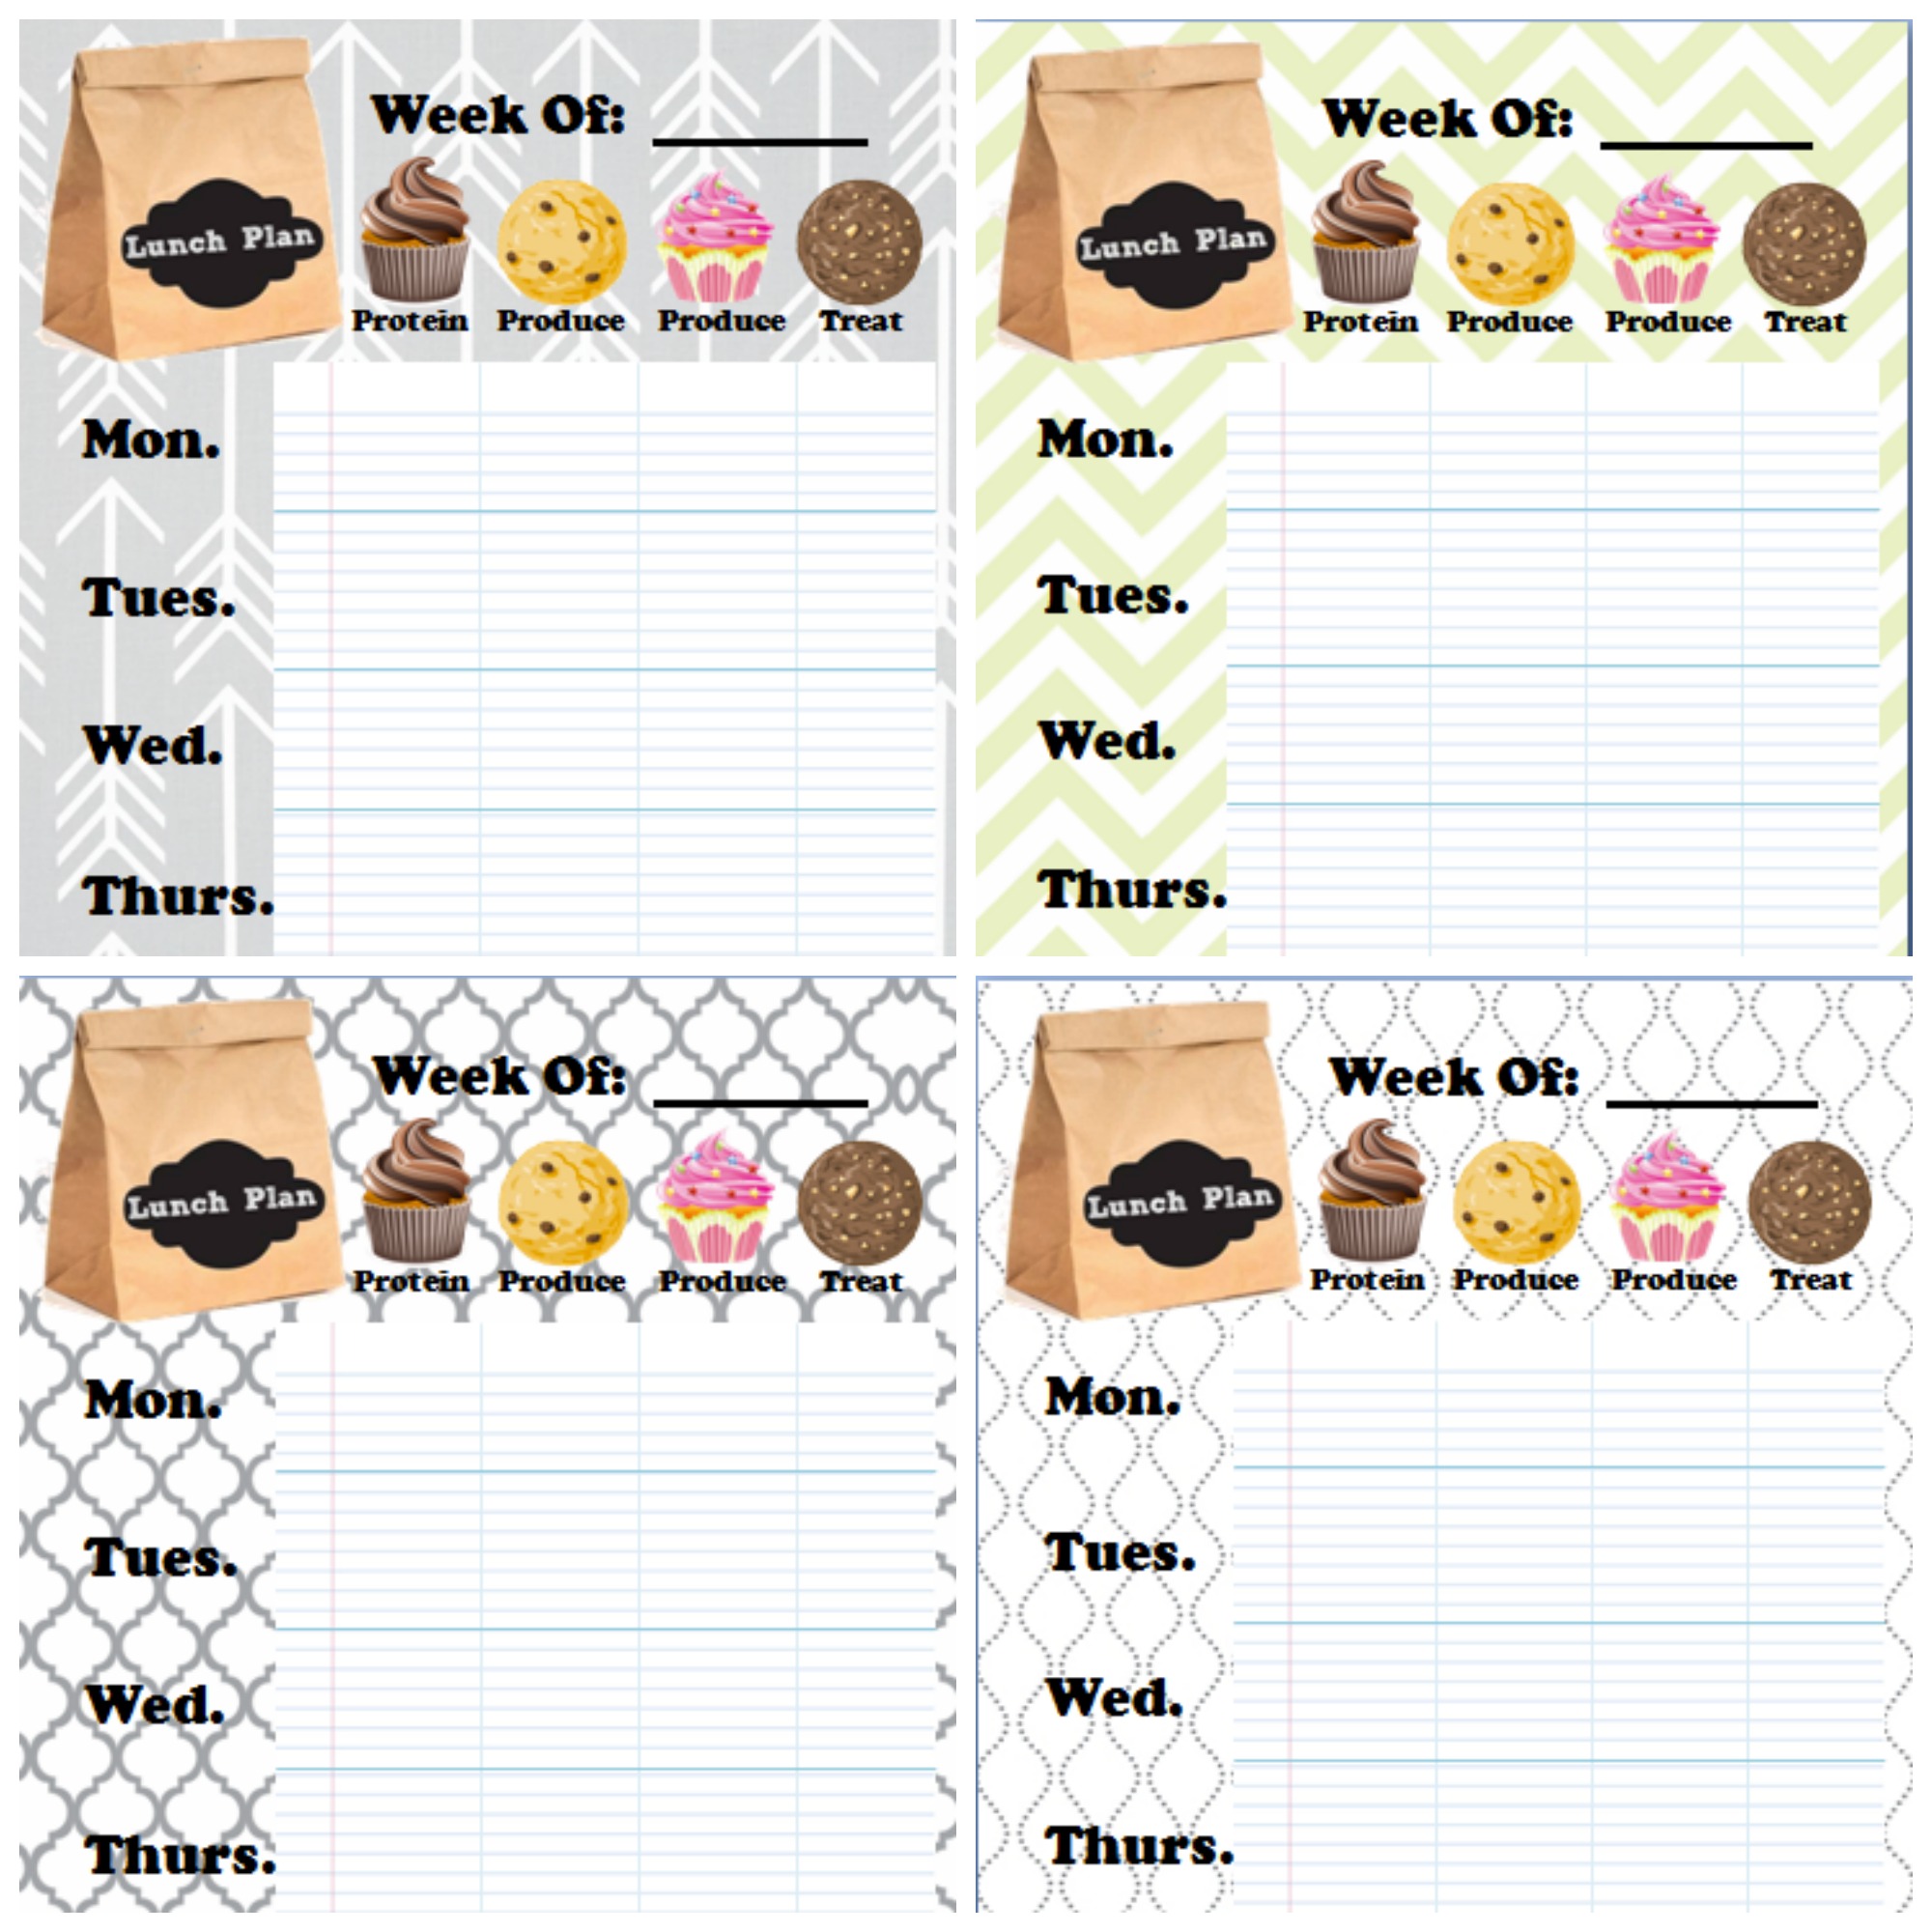
It comes with several different background choices.  But they all have cupcakes and cookies (over the top of headings like produce and protein) just because I’d rather look at a cupcake than a carrot–true story.

The one thing we did well last year was the kids made their own lunches every day.  It’s the only way we got out the door on time.  Even my kindergartener made his own lunch.   The only thing more stressful than packing 5 lunches every day is paying an extra $300 a month to buy them, lol.

Sometimes the kids are late/lazy or forget their lunch in the car.  Then they borrow money to eat a school lunch and pay back the cafeteria from their own piggy bank.  Yes, it feels really mean and I’m sad when this happens.  But if I helicopter mom in every time my kids are irresponsible, they’ll never stand on their own.  (Ok, I did go back a couple of times when I saw it in the car before getting all the way home.)

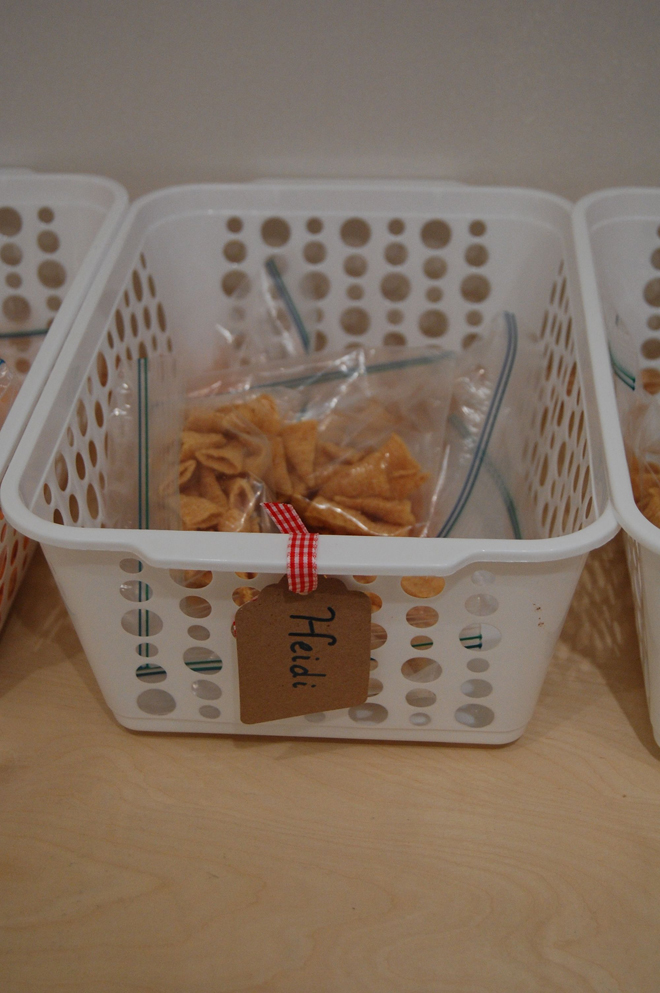
Here’s how we do it: After dinner I pack leftovers into lunch containers and stick the in the fridge..  In the morning, the kids choose from those or make a peanut butter or meat sandwich instead, then choose a couple of side dishes from their snack basket.  They drink water, so no juice boxes for us, unless it’s a special occasion.  The school provides silverware and napkins and has a couple of microwaves to use.  Though sometimes the line is so long, there’s no time to eat once they get their food warmed up.

This year, I plan to cook the packable lunch dishes from the GSP menu with Grant at noon.  He and I can eat together and then have the leftovers ready to go for everyone else the next day.

How do you stay organized for the school year?  Seriously, I need ideas, (especially if they involve labels.)

Homemade Canvas Wall Art

This is not a new idea.  It’s been floating around Pinterest for awhile.  But I tried it and thought I’d tell you what I thought.

I purchased pdf printable files from etsy here. They were $3.50 for each design and I purchased 5 different designs.

DSC_0301

This one is for my girls:  I chose the gray one for Heidi and the brown for Heather.

il_fullxfull.427557840_6l69

I also got this one for free.  There are lots of different color options over at her site.

16x20LOVEABOUTHOMEweb-1

After I got all the prints I wanted I uploaded them to the Costco online photo printer.  I chose the 16×20 poster print option (not the poster board option) for $5.99 each. I made a big mistake.  It’s automatically set to color correct which does NOT correct colors.  It makes them all wonky.  You have to un-click that before completing the order or it won’t print right.  They were kind and reprinted my order for free, but it was a hassle since I didn’t look at the prints until I got home and had to go back and stress about it.

Once I got the prints correct I headed out to Hobby Lobby.   I bought their bargain priced 16×20 stretched canvas that come 2 to a package.  I can’t remember the exact price but I think it is $6 before coupon. (But if you were planning ahead you could just grab a pack each time you went in and use a 40% off coupon on each.  Since these are already so low priced, they aren’t included when the other stretched canvases go on sale.)  I also grabbed a small bottle of craft paint to match each poster; and a bottle of matte modge podge.  Matt makes it look more like canvas.

So here’s a quick list of what you’ll need:

Drop cloth

Paint brush

Modge Podge

Stretched Canvas

Art Print

1.  First paint the edges of the canvas to match your print and let it dry.
DSC_0297

DSC_0298

DSC_0303

2.  Then spread a thin layer of modge podge evenly over the front of the canvas.

Center your print on top and smooth it down so there are no bubbles.  Start in the center and work out. Let it dry. The print will look shiny and not at all like canvas.  You will wonder if you should have just spent the extra money to get your poster printed on canvas in the first place.  Hold on–it gets better.

3.  Use a bristle brush to brush modge podge over the whole top of the print.  At this point you will think you messed up. The white of the modge podge will look splotchy and the brush marks will show.  But the print won’t smear.

DSC_0317

4.  Let it dry and cover with a second coat.  Let this one dry too.  The brush marks will give texture to the top of the print and stay after drying.  This makes it look more authentic like canvas, though the texture is not the same.

Then they are ready to hang:

DSC_0346
DSC_0341

DSC_0348 DSC_0327

The colors came out wonky in the above picture but I wanted to show you that I picked prints to coordinate with the Boy’s bath rug.  Each boy has his own color and a towel to match.  It’s a tiny room, but big enough for the boys :).

Heather’s print isn’t up yet.  She doesn’t read my blog, so I can tell you that we are planning a HUGE surprise for her 10th birthday.  Her room is still original 1972 green and orange shag carpet with walls to match.  No art, no window treatments….You  get the idea.  In August and we are sending her to the farm for the week while we surprise her by redoing every inch of her room.  I’m planning the project while we work on the kitchen, so it feels a little crazy and I’m hoping that we get the kitchen done on time so it will all work out.  Heidi is helping me pull everything together.  We have been buying things all year and saving them in a corner of my office ready to put it all together.  It will be one of the fastest room redos. I’ve done and I’m afraid we will feel like we are trying to pull off a HGTV style remodel without any staff.


Happy New Year Gift for You :)

Previous years my resolutions have been pretty awesome.  So awesome that they never got done :).  So this year I’m making one simple resolution and made it in a chalkboard print to hang in my office.  If you click on the link below you will get a printable PDF version that will trim to an 8×10 and fit in a standard frame.

Click Here to Download New Year chalkboard prints PDF

I made these after seeing Nest of Posie’s blog post here. Her Christmas prints are super amazing, way more amazing than these here.  I really like the chalkboard look, but not the chalkboard dust.  It’s a win-win :).