Shelley contacted me two weeks ago wanting to spruce up her living room before her 9 children and all their grandchildren descended for Thanksgiving. If that sounds daunting, it gets even more so. After their children grew up, Shelley and her husband downsized their 5400 square foot home into a 2 bedroom double wide trailer in the country. Then her good friend became terminally ill with cancer. Shelley spent the last few months staying with her friend to care for her until she passed away. When Shelley got home and saw how everything fared while she was away, she was overwhelmed.
After I heard her story, I couldn’t help but love her heart. I offered her smaller design packages to save her money, and she wouldn’t dream of it. “I want the whole package–all of it. And I want to pay.” She also agreed to let me share her before and after pictures, even though privacy (along with speed) is part of the privilege of being a paid client. Heart of gold.
This is a good opportunity for me to share the details of what comes in a full package.
1. 2 pictures showing the new design
2. Shopping List with prices and sources within your specified budget
3. Step by step work list
4. 3-D furniture placement plan (video)
5. A Shared Custom Pinterest Board
6. One revision
At first Shelley was sure she wanted to keep all her original furniture. I worked with her on that and showed her some slip cover options etc. After rearranging everything according to the furniture layout plan, her husband sat on their old love seat and said “no way am I sitting on that!” and he bought her a new full size sofa and started talking about chairs. I love this so much because they were sticking to tiny pieces of furniture thinking that their home was small and they needed to conserve space. Compared to what they had before, it is small, BUT the living space is much bigger than an average home.
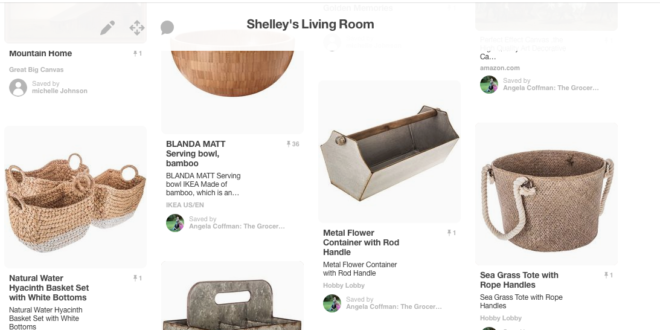
The first thing we did was set up a shared private Pinterest board where I could pin sources to all the things I was putting on her shopping list and get her feedback. She started window shopping and pinning things that she would like me to include in the design, especially new paintings that I might take a color scheme from. I searched her Pinterest and Houzz pages she had previously made to get a feel for her style and color preferences.
I discovered through her boards that she loved horses and farmhouse style. I found this original art piece on etsy that was beautiful and affordable:

The painting helped me choose her colors: Benjamin Moore Simply White (for Trim and shelves); Edgecomb Gray (for walls); Wedgewood Gray (Curtains and Accessories); and Hale Navy (for bottom of the hutch and accessories.)
 I chose her neutrals specifically for their yellow undertones. They had just laid new country pine wood floors and if she used neutrals with pink undertones, or even a true white, they might look orange.
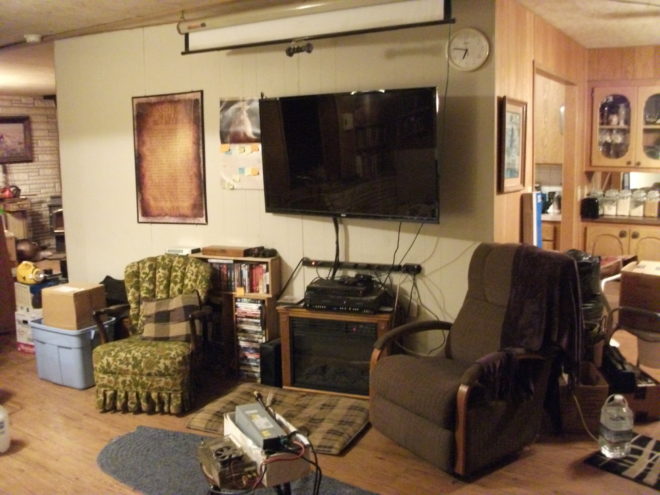
Here’s her before:
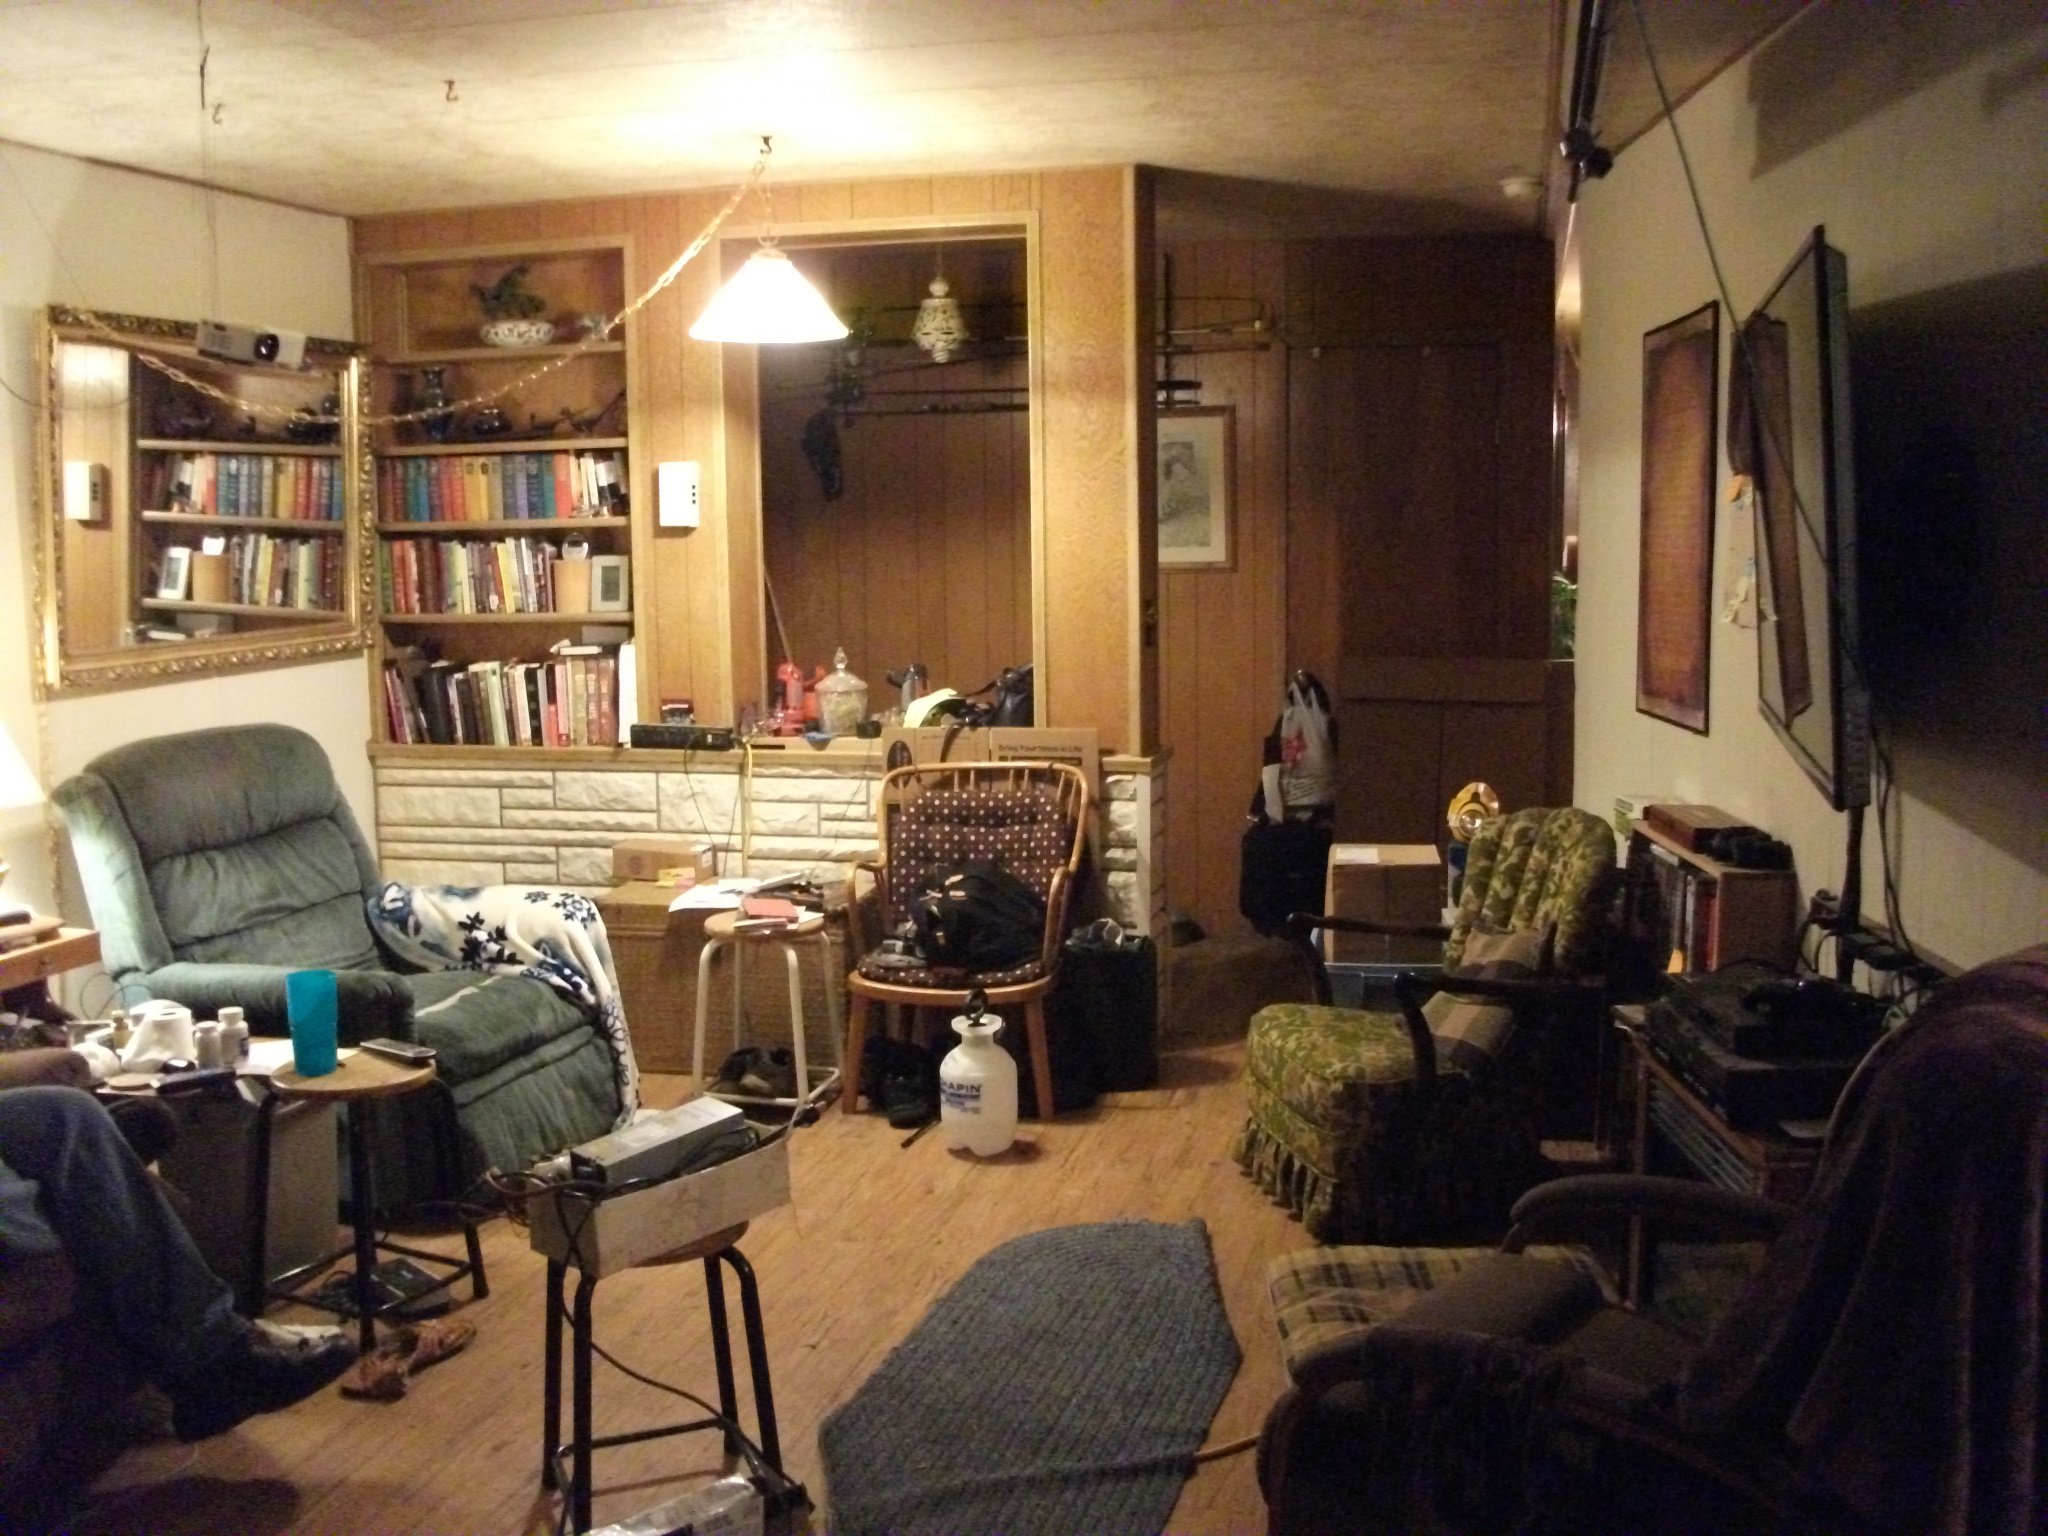
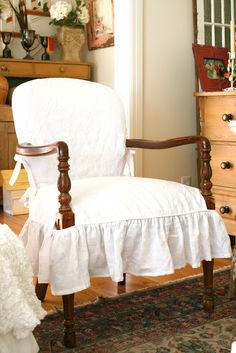
The first thing I noticed was her little green chair on the right. So cute! Imagine it with a slip cover to look like this, except with a floor length skirt.
I also noticed that all the wood in her home was the same tone of pine. While it seems logical to match woods for a cohesive look, it ends up making a space look flat. I suggested she paint the pine on the walls Edgecomb gray and the pine trim and entry paneling Simply white. Then to mix in darker tones of wood in picture frames, coffee table and other furniture pieces.
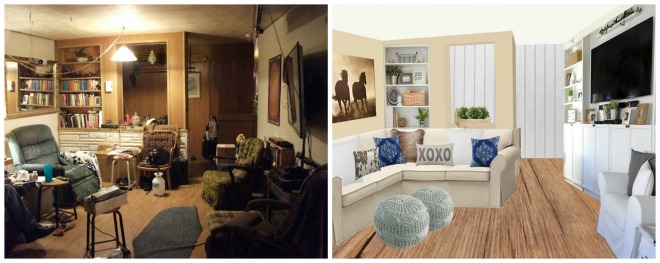
I made 2 different concept photos for her of this view, because I really wanted her to get an Ektorp sectional. Sectionals seat the most people in the least amount of space and it fits perfectly in her corner. You’ll notice in this picture, the walls are a different shade of tan, one she requested because they already had the paint and I switched out the painting from the blue horses to one similar to one her husband found in their shed that she wanted to use.
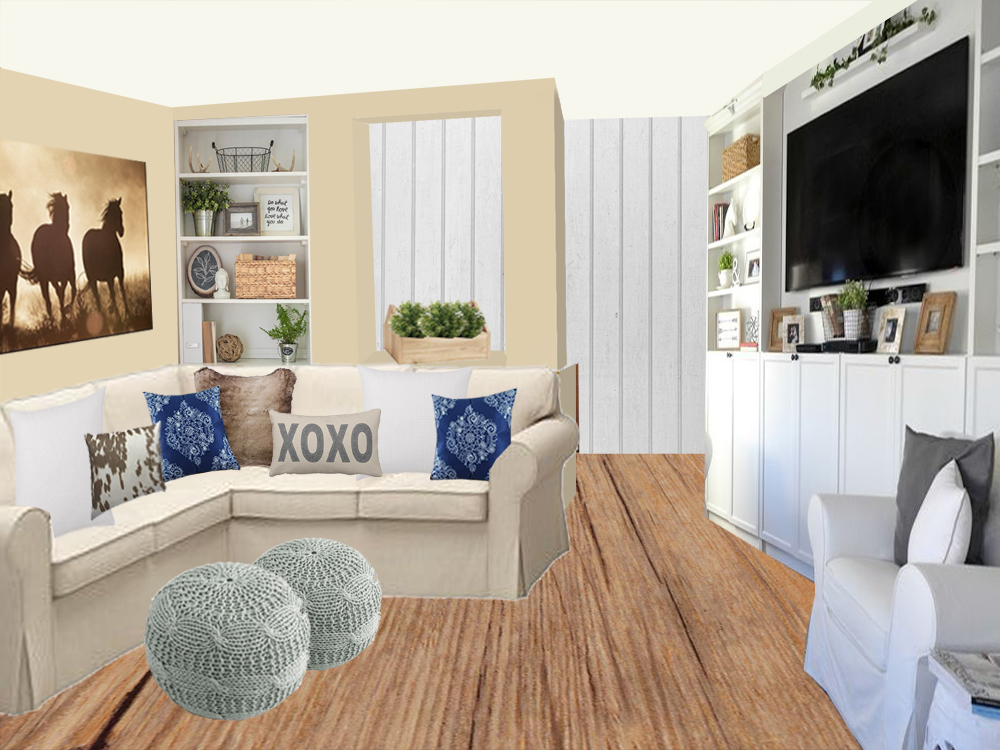
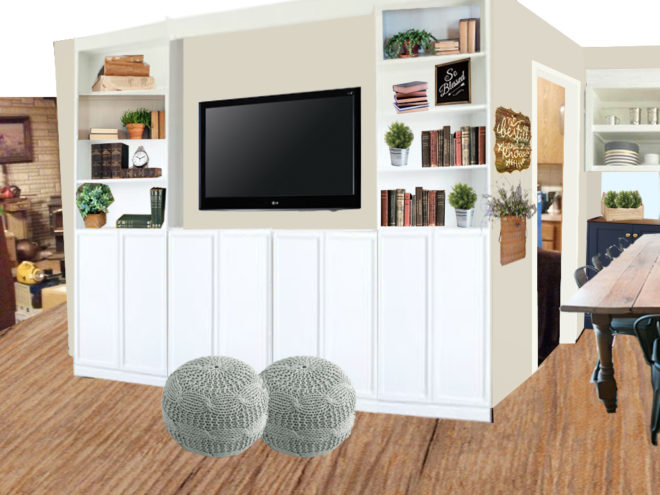
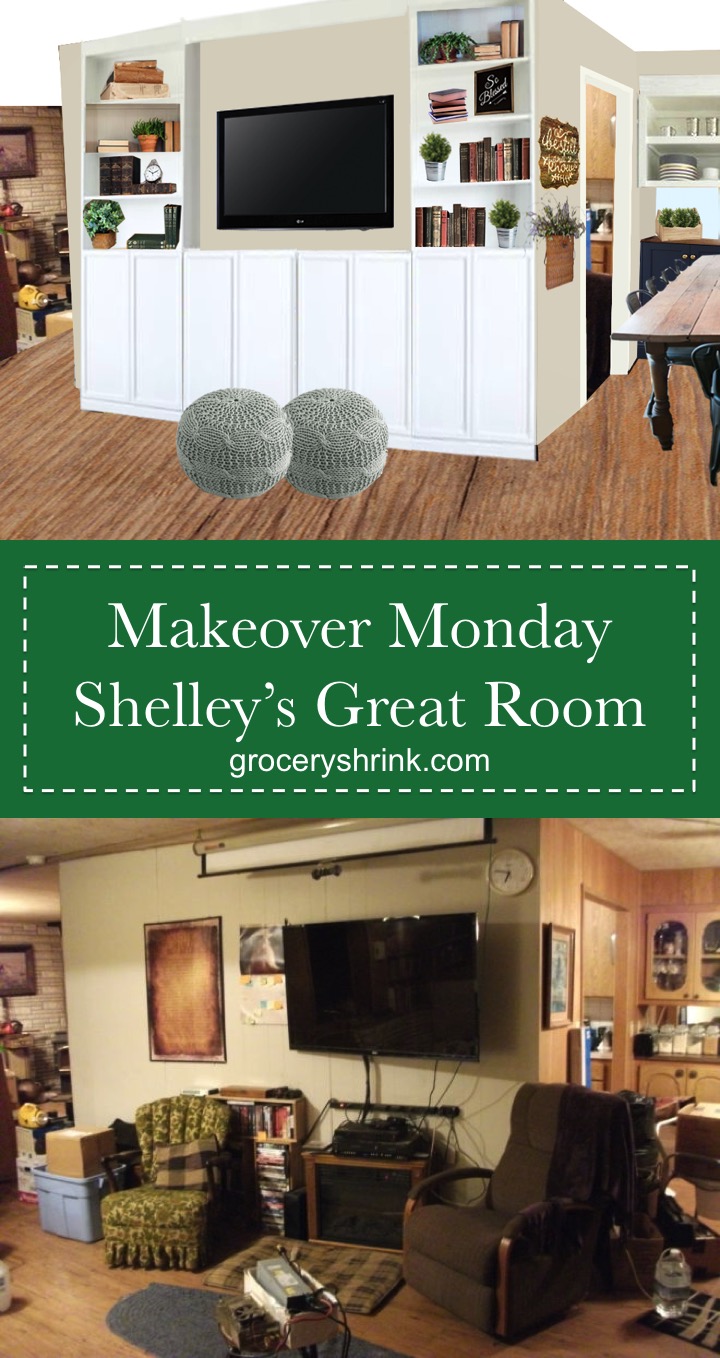
I created a built in media center for her to house her giant TV, with tons of storage below for dvds and toys for the grandkids. It’s all built affordably and easily from Ikea Billy bookcases, with the extensions and optional doors. They also have a giant pull down movie screen that they use a lot and I hid it behind a cornice and crown molding. It’s easy to reach up and grab when they want it but hides away invisibly when not in use. The main goal here was to hide all the cords. They are such tiny things, but give a sense of visual stress. I gave her choices of coffee tables to use over the poufs, but none were in the right format for the photo without hiding the sectional.
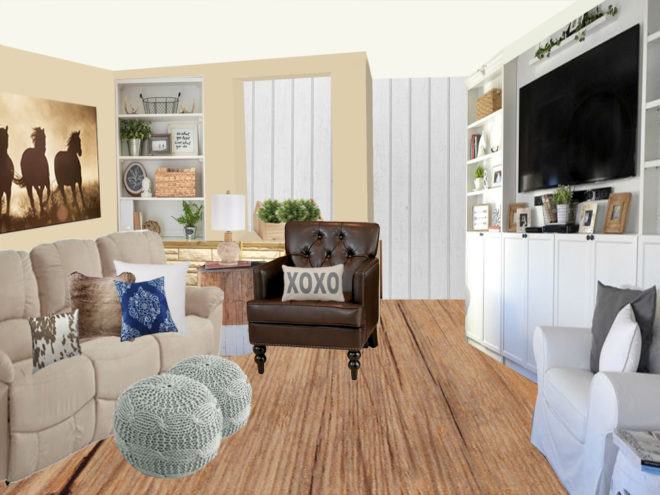
Here’s another concept with the sofa they were considering. They thought it would be more comfortable than the sectional, so they bought it in a dark navy similar to the hale navy we will use in their dining room.
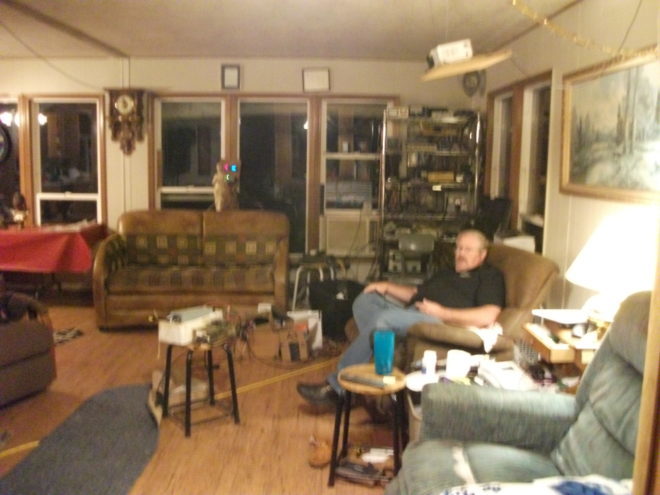
Here’s a before view of the Ham Radio corner. I used this photo to help with the 3D floor plan rendering. At first, Shelley’s husband made me promise not to touch the radios, but I couldn’t help myself. I sent her this photo, and asked her to show her husband and see what he said. I told him I would create this only classier in another room if he would let us move the tower of cords and electronics blocking the window:
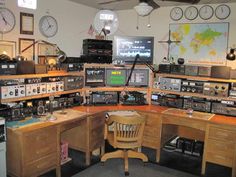
He loved it and said, “Forget the living room. Just build this in there instead.” Bwa ha ha! That whole thing really backfired. In there? Isn’t there another room? I made her show me pictures of every other room, lol. They were right, there wasn’t another room. I wanted to chop the visual height of all the radios so the eye was sent to the beautiful windows and beyond. In the process, I needed to set up an area so he could actually use them. The way they were it was so inconvenient that he didn’t spend much time with them even though he loved them.
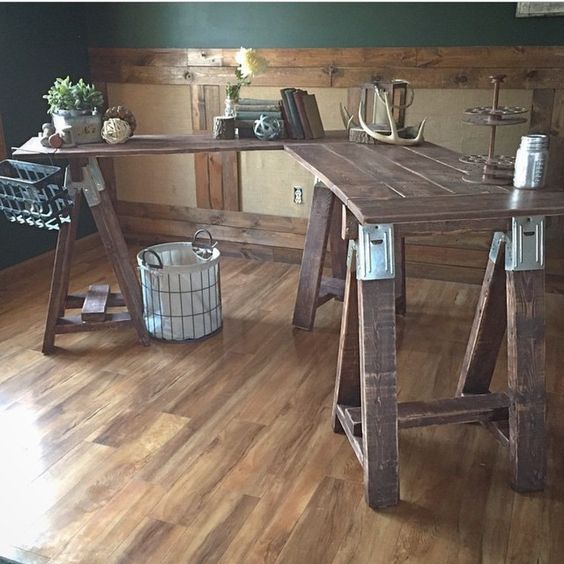
I found this picture, based on a sawhorse console table by Shanty-2-Chic. I’ve built 3 of these in my home and they are very easy and affordable. For this design, I replaced the pieced top with hollow core doors for more workspace. This will give him 14 feet of workspace! I recommend she uses clips to secure the cords to the wall behind the window curtains. (Hide all the cords!)
Here’s a 3d layout of the room showing how the desk fits in.
Here’s a 2nd 3d view with a sectional
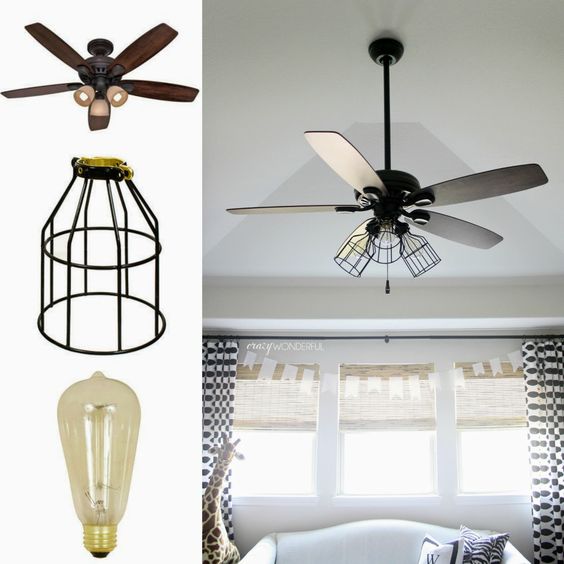
There are so many more details we talked about, like updating her dining room ceiling fan like this.
and building rustic shelves like these behind her sofa so hold her projector so it would not longer be hanging from the ceiling with cords everywhere. It would be close enough to the window curtains that she could hide the cords behind them.
At first she was opposed to an area rug because of her pets, but as the room started to come together she could totally see how a rug would bring everything together. These are two of my favorites:
Here’s a final side by side before and after.
Would you like your room photoshopped and featured on Makeover Monday? Send a few photos from your space to angela@groceryshrink.com and tell me your hopes and dreams for the room.
Get a full service virtual makeover complete with 3D room layout plan, 2 photoshop views, step by step work list, and within your budget source list. Find out more.
Learn how to use Photoshop for your own designs with the Room Makeover class (It’s half off today, Monday, November 28th only!)




Beautiful. I love how the design got tweaked so they could use items they had. And I am glad to see his radios will be where they can be used. And the floor poofs are so cute!
You are so incredibly talented!!!! This room is gorgeous!! Great job 😊
Beautiful makeover! Love those floor poufs….and the first rug. Are they available online? 😁
Yes! The Poufs are from world-market and were on sale for $56. (I’m developing a pattern to make something similar for $22 but it could be a bit yet, and crochet is required.) The rugs are from RugsUSA and I think the photos are clickable. If I forgot that part, you can search for blue and they are on the first couple pages of choices.