HomeSchool Organizing Thoughts

We officially start the new school year August 24th, but are finishing up a few chapters from last year’s work.  This gives me the perfect opportunity to test a new schedule and organizational system before launching it with our new curriculum.

Desk+Organizer+2+Horizontal_6+Upright+Sections

My school day looks different from most.  I have 5 children, 3 school aged, and 2 busy toddlers.  Three of my children take violin lessons and 2 of the violin students are also learning piano.  I run 3 home businesses, look after the toddlers, and try to keep up with meals and housework during the school year.  While I love the idea of unit studies and eclectic Mom designed curriculum, the practical application of that in my home was a disaster.  After reading Managers of Their SchoolsI finally felt free to make the choice that was best for my family educationally–traditional curriculum.

After a long talk with my Sister-in-love, who also has 5 children similar in age to my own, I made a rough draft of my school schedule.  Each child starts with personal devotions, immediatly followed by music practice.  We learned the hard way that if practice isn’t first, it doesn’t happen. Throughout the day, I have 30 minute windows of time with each child for individual instruction, but the children largely work independently.

Homeschool organization 002

Using a set curriculum means that I can plan a start date and stop date for my school year.  We have 183 days scheduled with Daddy’s work holidays planned off and a nice break in December for baking cookies and other holiday preparations.  I went through my curriculum books and calcuated how many lessons a week each child would have to do to finish the books.  Then I made folders for each child for each day of the week.  Red is Monday, Orange is Tuesday etc.  Each folder is labeled with the Child’s name and the day.

Homeschool organization 004

Inside the left pocket is labeled “Work to Do” and the right pocket is labeled “Finished Work.”

On Saturday I can fill the folders with work for the week and put them in the handy organizer that you saw at the top of the post.  When the child finishes their work, they slide their folder in the top tray underneath the weekly folders for grading.  When the work is graded and I talk it over with the child, I move the folder to the bottom tray to wait filing in the portfolio.  So far the system has worked beautifully.  No more lost papers, and the kids can see first thing in the morning what they have to do to be done for the day.  As soon as the work is done, they can use the rest of the day to play or pursue creative outlets like cooking, sewing and sports.

Painting Frames

I have a hodge podge of frames at my house.  Most were $5 or less.   Some were cheapy frames from Wal-mart or bargain garage sale finds.  None of them match.   I got a whim to spray paint my frames black to match each other.  Most of them had easily removeable glass and were easy to paint.  Two of them had backs that weren't removeable without damaging the picture. I used painting tape and scrap paper to cover the glass.  I still got a little paint on it, but some time with a razor blade will fix that. I'm hoping to fill the frames with updated pictures of my family in black and white tones.

I recently found a plastic gold painted mirror for $3 at a garage sale.  While I'm not a big fan of gold frames, I love the frilly details on this one. The gold mirror got a special paint treatment.  I gave it a light coat of dark brown allowing a little gold to peek through in some spots.  Then I gave it a light mist of black.  That gave it an antique look and some depth of color.  It is going in my sewing room which has brown accents.  Now the trick is to hang it so it reflects beauty and still bounce light in the room from the only natural light source.  The mirror above the fireplace is moving too.  Right now it's like a big photo of my ceiling. 

Heidi camp chocolate shortcake 009

Heidi camp chocolate shortcake 003 Painting frames 005 Heidi camp chocolate shortcake 007 Painting frames 001

Preemie Knotted Hat Pattern Download

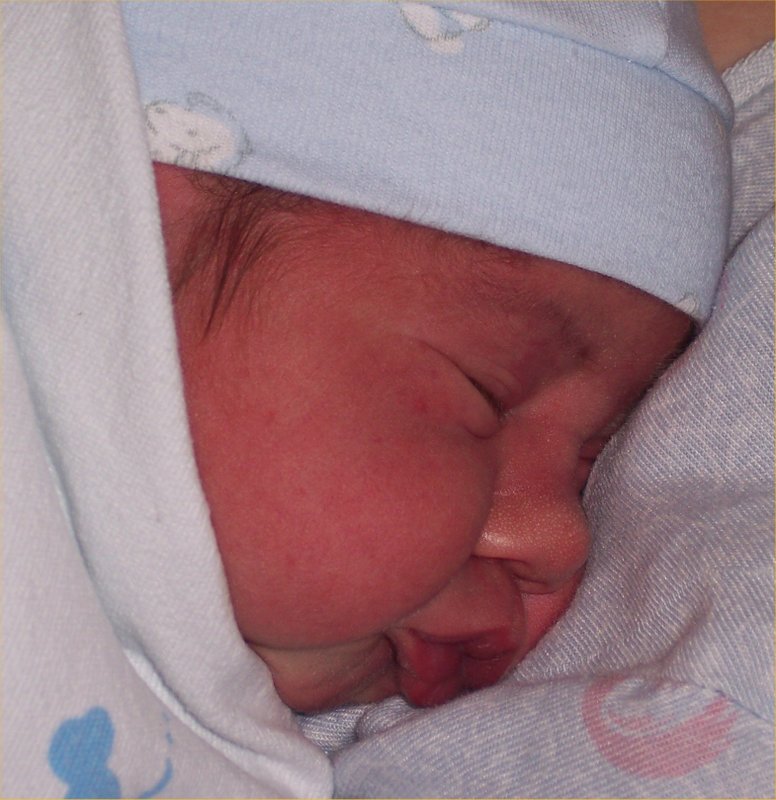
Here’s a great free pattern for you.  Make a hat in 10 minutes and donate it to your local Pro-life Clinic or Newborns in Need.  It also makes a cute package topper fro your next baby shower gift.  This is my favorite baby hat because the knot helps it stay on, its super soft, and it looks so cute!  It is best sized for babies weighing 4-7 lbs.  My model, Brandon was a plump 9 lbs and though the hat worked, it was plenty snug.  Click here to get the pattern.

$30 Room Makeover

When I was in college, my parents helped me buy a used Ford escort.  It was white and clean and cute and I loved it…for awhile.  Then I got used to it.  A couple of years later, It was small and dirty and not so cute.  I finally decided I would sell it and buy something different.  I washed it and detailed it myself in preparation to list it for sale.  The next day I decided to drive to the store, but I couldn’t find my car in the campus parking lot.  After exhausting all possibilities, I finally discovered that it was the cute little clean white car I had been walking past over and over. I fell in love with that car all over again. I was shocked how much a little elbow grease helped me be content with what I already had.


Recently I have been feeling a similar discontent with my house.  It’s not tiny, but 5 children playing tag and strewing their things about can shrink the 1800 square feet we have.  The best artwork in it was original crayon, marker and pencil drawings all over the walls.  The art was even signed—with fingerprints.  I dreamed about moving, but the expense was overwhelming.  Instead, I went to the hardware store and bought a $15 gallon of wall paint and $15 of black spray paint.  I used a touch of blue wall paint left over from our basement makeover—detailed here:  http://groceryshrink.typepad.com/the_grocery_shrink_blog/2009/05/basement-makeover-pictures.html


I painted the living room walls brown, the hallway and entry blue, and spray painted the curtain rods, end table, and gold filing cabinet black. It took me 11 hours to do the wall painting including patching, sanding, priming, taping and moving the furniture. My husband helped with the spray painting and moving the piano.  To complete the makeover I plan to paint all my picture frames black to match, sew some simple window treatments and paint the trim and doors white. (I have that paint on hand leftover from the basement makeover too.)  I also want to recover my couch pillows and make a chocolate slip cover for the little stuffed green chair.  A new ceiling fan and area rug would be nice, but they can wait while I save up for things.  After a little bit of paint and removing a ton of clutter,  I love my house again!

Living room makeover 025 Living room makeover 038

Living room makeover 026 Living room makeover 037 Living room makeover 042 Living room makeover 039

Make a Cardboard Toy Oven

I happened upon Martha Stewarts site today by way of Anna Maria Horner's Blog.  I found a fun and frugal project to make a toy oven from a Cardboard Box.  Looks like fun!  Homemade felt food would go great with this. Go here for instructions.

  Cardboardoven

Magnetic Board Tutorial

I've been drolling over magentic boards for awhile from Creative Memories ($50).  Then I thought how easy it would be to make one!  Here's a simple tutorial for you.  I bought my frame at a gross garage sale for $3.  Here's the before and after pictures:

Heidi's first bread 027   Heidi's first bread 073

I made the board for my sewing studio to hold my design drawings and pattern instructions as I sew.  It sure looks nicer than just taping them on the wall–my former solution.

To download the tutorial, click the link below:  Magnetic Board Tutorial

Heidi’s First Bread

I’m so proud of my daughter, I just have to boast a little.  Thinking about how far we’ve come puts tears in my eyes.  She is a super intelligent girl who is a 3-D genious.  She was making clothes for herself out of paper, tape and staples when she was 3 years old.  She made, shoes, gloves, dresses…you name it.  And they all fit.  You can imagine my surprise when school was very hard for her.  She struggled with anything that required close eye work and she made lots of reversals.  We shed a lot of tears together, until we found her eye doctor and vision therapy.  Thanks to her therapy, Spell to Write and Read, and my mom’s expert help, Heidi is reading very well!

Heid is 9 and got the notion last week to bake bread.  I was up to my eyeballs in custom sewing projects and finishing up a new sewing pattern.  I just didn’t have time to help her.  I handed her a recipe and wished her luck.  I explained what vital wheat gluten was from my sewing studio and helped her maneuver the oven door.  The rest was all her. 

The recipe called for a 4 stranded braid which mystified Heidi, so she did a 3 strand braid and made a cute little loaf with the 4th strand.  Way to be inventive, Heidi!

Heidi's first bread 001

 Heidi's first bread 014

Reuseable Sandwich and Snack Bags

Have you seen the Wrap n Mat?  It is a reuseable Sandwich bag that runs about $8 each.  The average sandwich baggie costs $.05 each.  You would need to use your Wrap N Mat 160 times just to break even.  On the plus side, it is already made, and the lining is guaranteed lead free, PBA free, phthalate-freephthalate-free, and food safe.

Wrapnmat

A twist on the wrap in mat, is a rip-stop nylon lined bag with velcro closure found here:  http://www.etsy.com/shop.php?user_id=6941342.  The cost is simlar to a Wrap in Mat, but is plastic free and made by a Work at Home Mom!  The fabrics are definintely cuter too.

Wastenotsak 

If you can sew, your opportunity to save money is expanded!  There are a couple of tutorials out there to make your own reusable lunch ware.

http://frenchsleepdeprivationstudy.blogspot.com/2009/06/snack-bag-tutorial.html

This tutorial tells you every detail on how to recycle mylar snack bags (like potato chips come in) into your own sandwich bags.  These use elastic and buttons to close which makes washing them easier than with velcro.  They are super cute too!

This one recommends PUL for the lining, but you could substitute nylon fabric if that makes you feel better.

http://wewilsons.blogspot.com/2009/02/reusable-snack-bag-tutorial.html

Or try this one.  It's a unique shape that looks easy to make and use.

http://www.craftstylish.com/item/43227/how-to-make-a-reusable-sandwich-wrap

Reuseable sandwich bag 

This last one I love, because it uses a freezer weight zip-loc baggie and turns it into a washable sandwich wrap.  It's easier to wash than a traditional baggie, is already food grade, and will last a loooong time.

http://www.towards-sustainability.com/2008/03/homemade-sandwich-wrap.html

Homemade Icecream sandwiches

This fancy looking dessert couldn't be easier or tastier!  If you want to take the whole family to an ice cream parlor but can't really afford it, why not stop by the grocery store, pick up an inexpensive half gallon of ice cream and come home and make these?

Blog stuff 040

The cookie recipe is adapted from the formula I posted about here:  http://groceryshrink.typepad.com/the_grocery_shrink_blog/2009/06/basic-drop-cookie-recipe.html

1 Cup butter, softened

2 Cups brown sugar

2 eggs

1 teaspoon baking soda

1 teaspoon salt

2 cups flour

3 cups rolled oats

2 cups peanut butter/chocolate chips

We baked the cookies and let them cool. Then put a scoop of ice cream in between two cookies.  Wow!  I haven't had anything that good at an ice cream parlor.  It cost us about $3 for the whole family (7) plus seconds, versus $20+ if we had eaten out.