How to Freeze Sweet Corn

It’s sweet corn season!  Here’s a handy tutorial for when you have corn coming out your ears.  (Get it?  Ears.) Freezing sweet corn is fast and easy and preserves it’s fresh home-grown taste. The corn I will be showing is sugar and cream corn grown by my dad in his city garden.  They were blessed this year with very healthy corn that gave 4 ears per stalk.  That’s pretty rare in these parts.

freezing corn 1

1.  Shuck the corn outside (because it’s messy).  The shucks are a nice addition to a compost pile.
6a00e5549125f78833011572509fb6970b

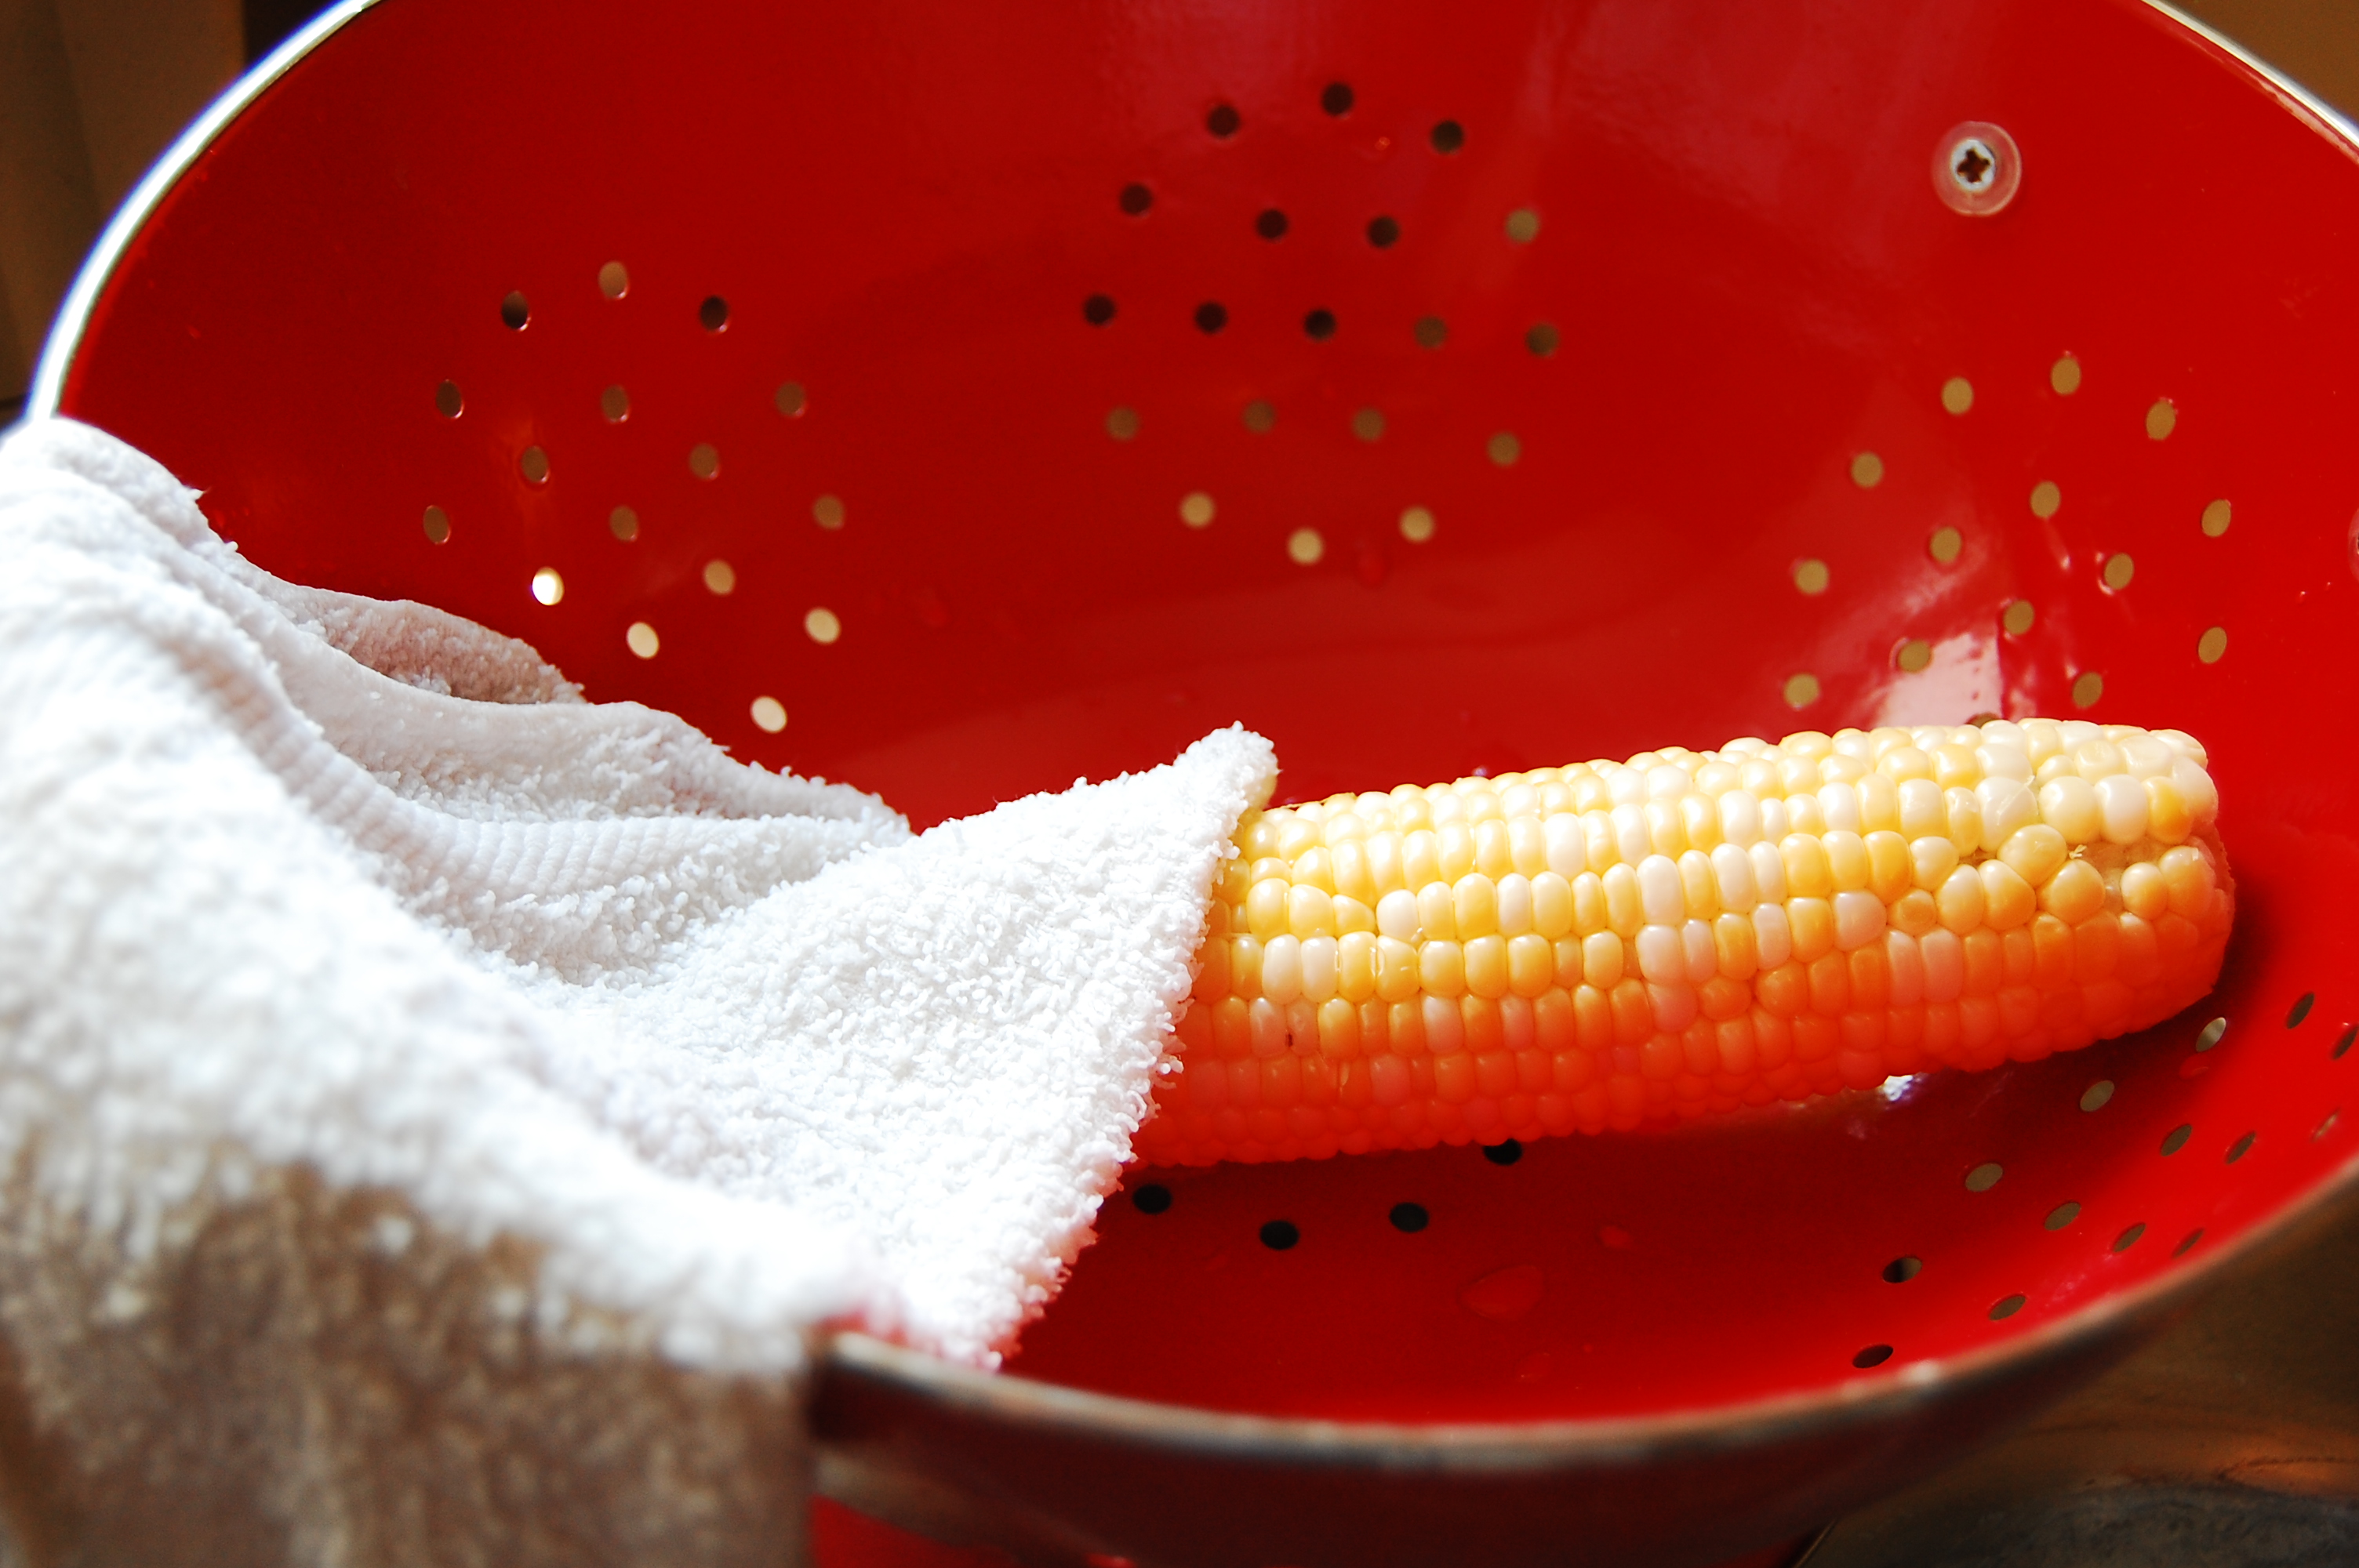
2.  Wash the silky hairs off the corn.  I like to use cool running water and a terry wash cloth.  Microfiber cloths work well too.  I like a cloth better than a corn brush.  It covers more of the corn at once, so is faster and grabs the silk really well.  I use about the same amount of pressure when washing corn as when I wash my baby’s face.  Enough to clean without doing any damage.

6a00e5549125f788330115715c504f970c

The front ear is freshly shucked.  The back ear has been gently washed with a terry cloth.

6a00e5549125f788330115715c514f970c

3.  Cut any bad spots off the corn.  This corn was raised without chemicals except for what came on the seed already and has a few worm spots.  Most of it was spotless though.  If you miss a bad spot, it will turn brown when it cooks and you can cut it out later.

6a00e5549125f788330115715c528c970c

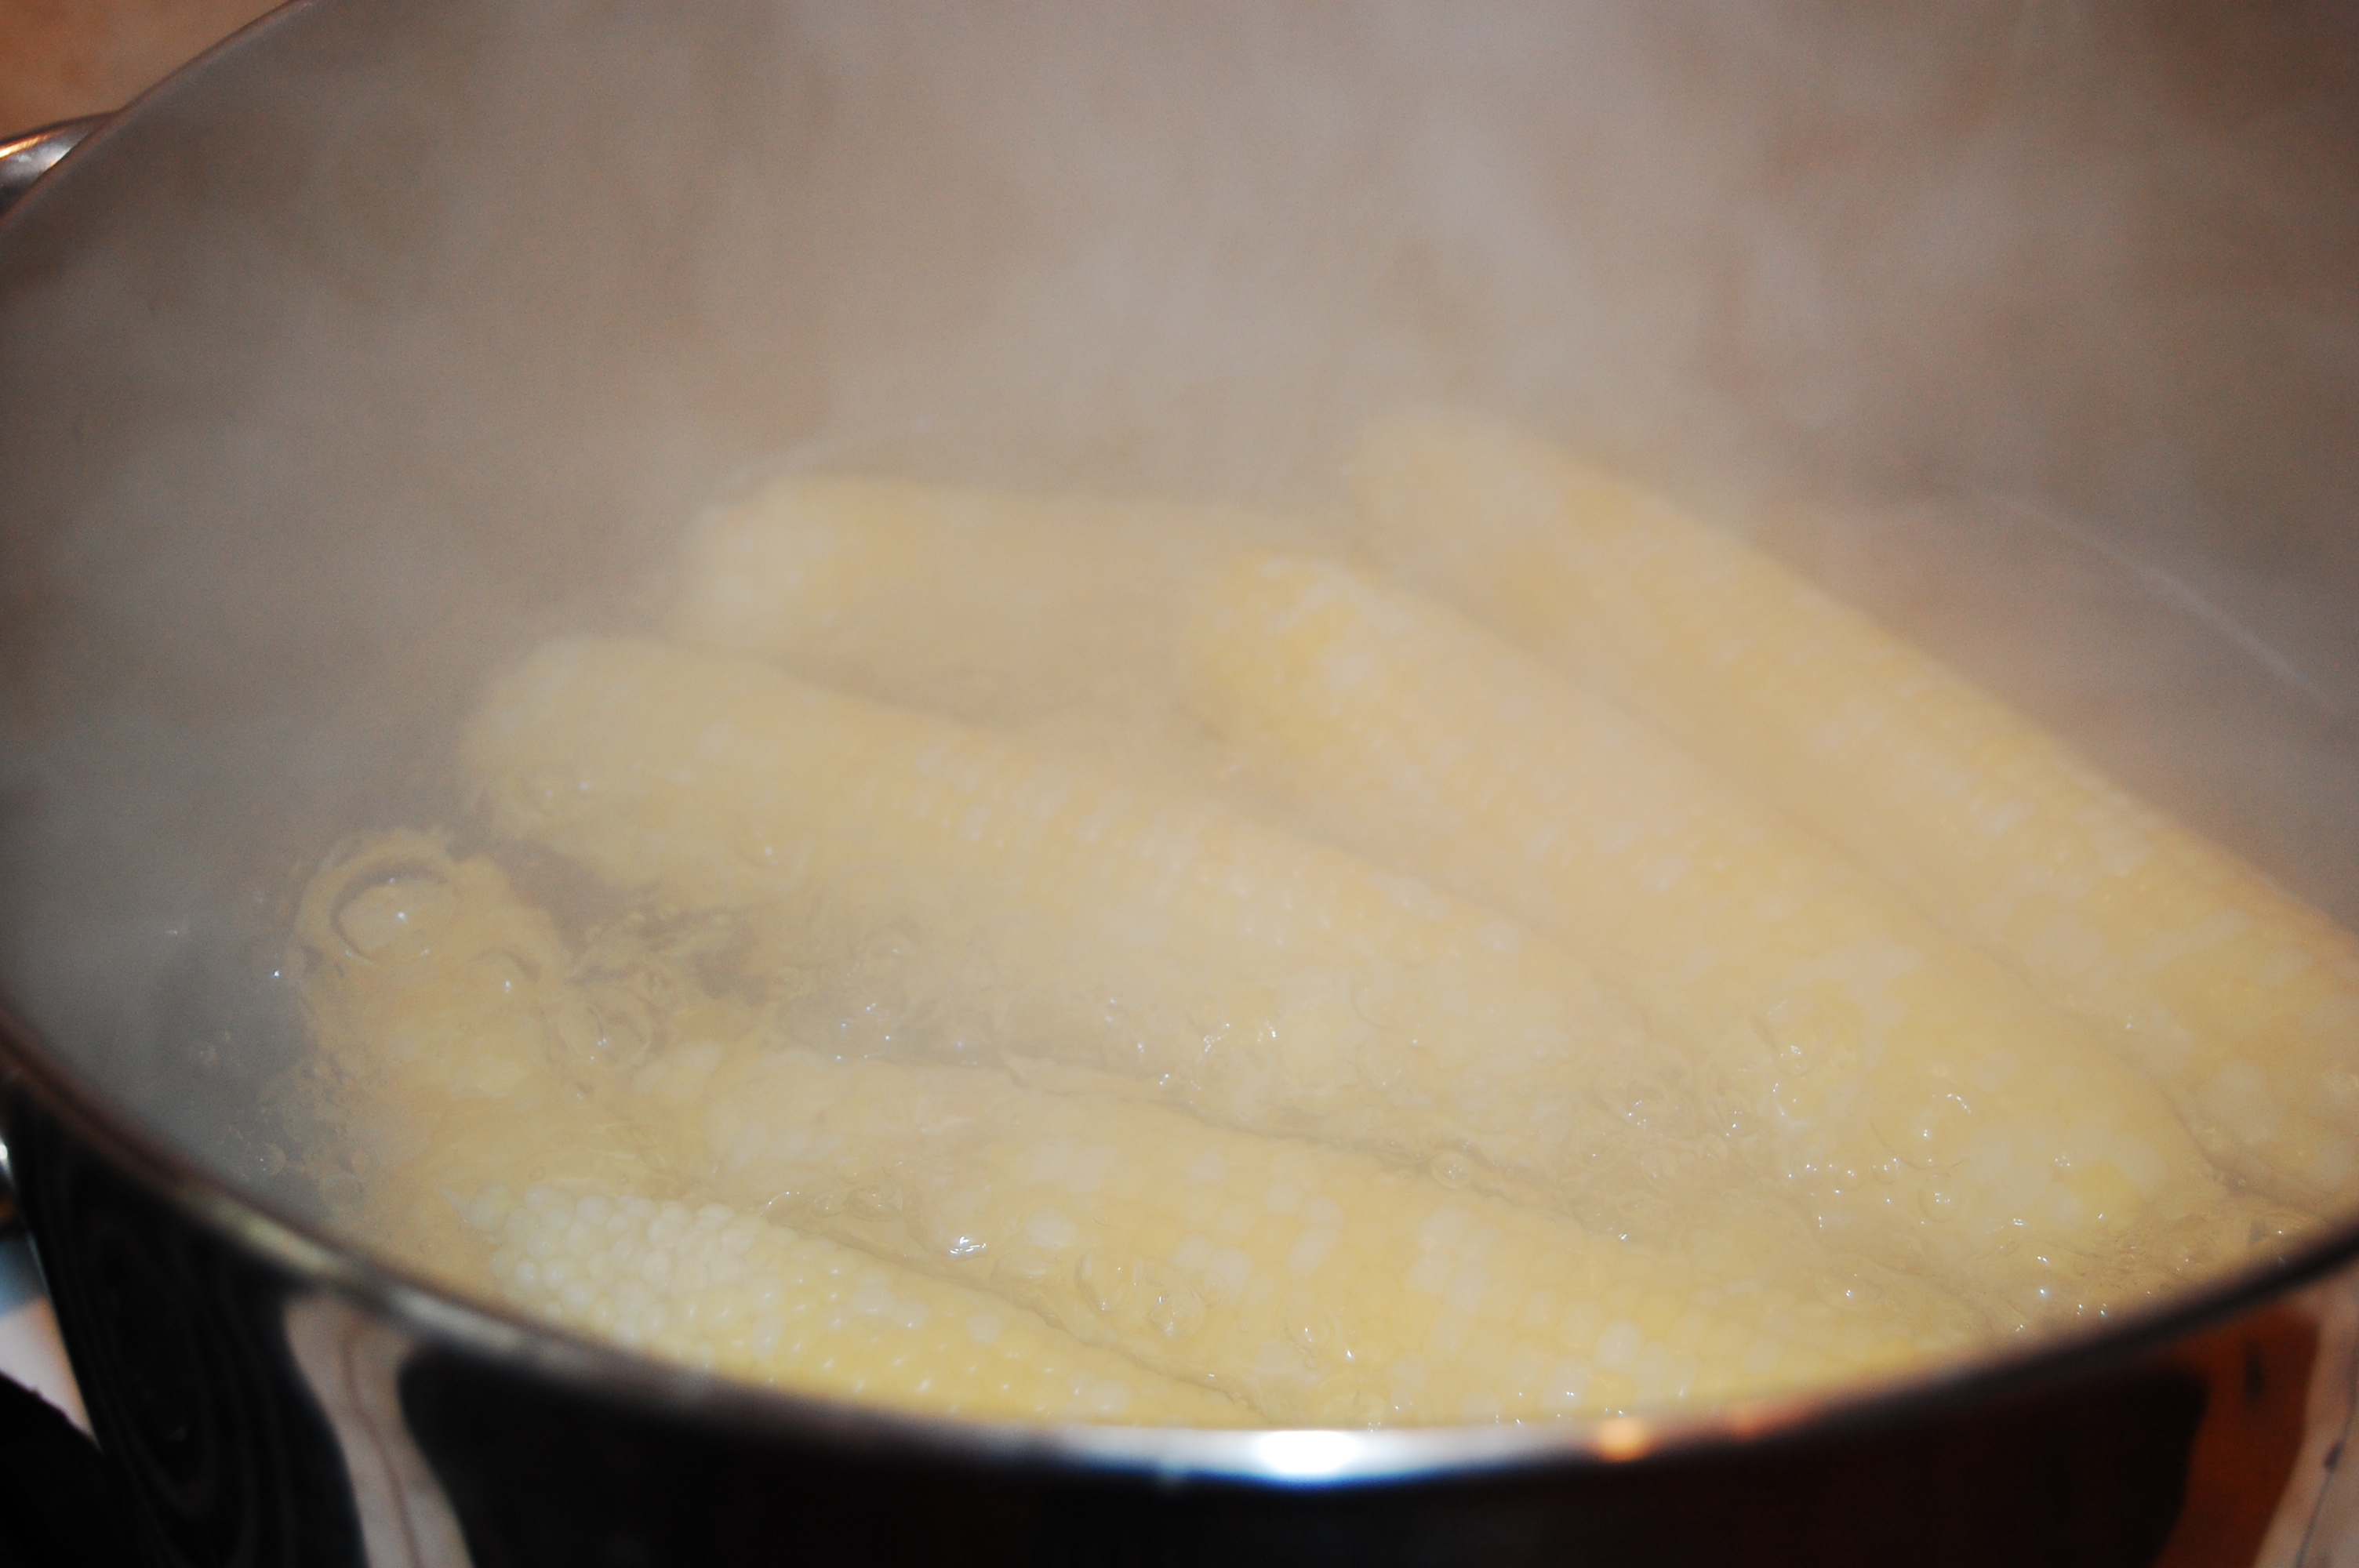
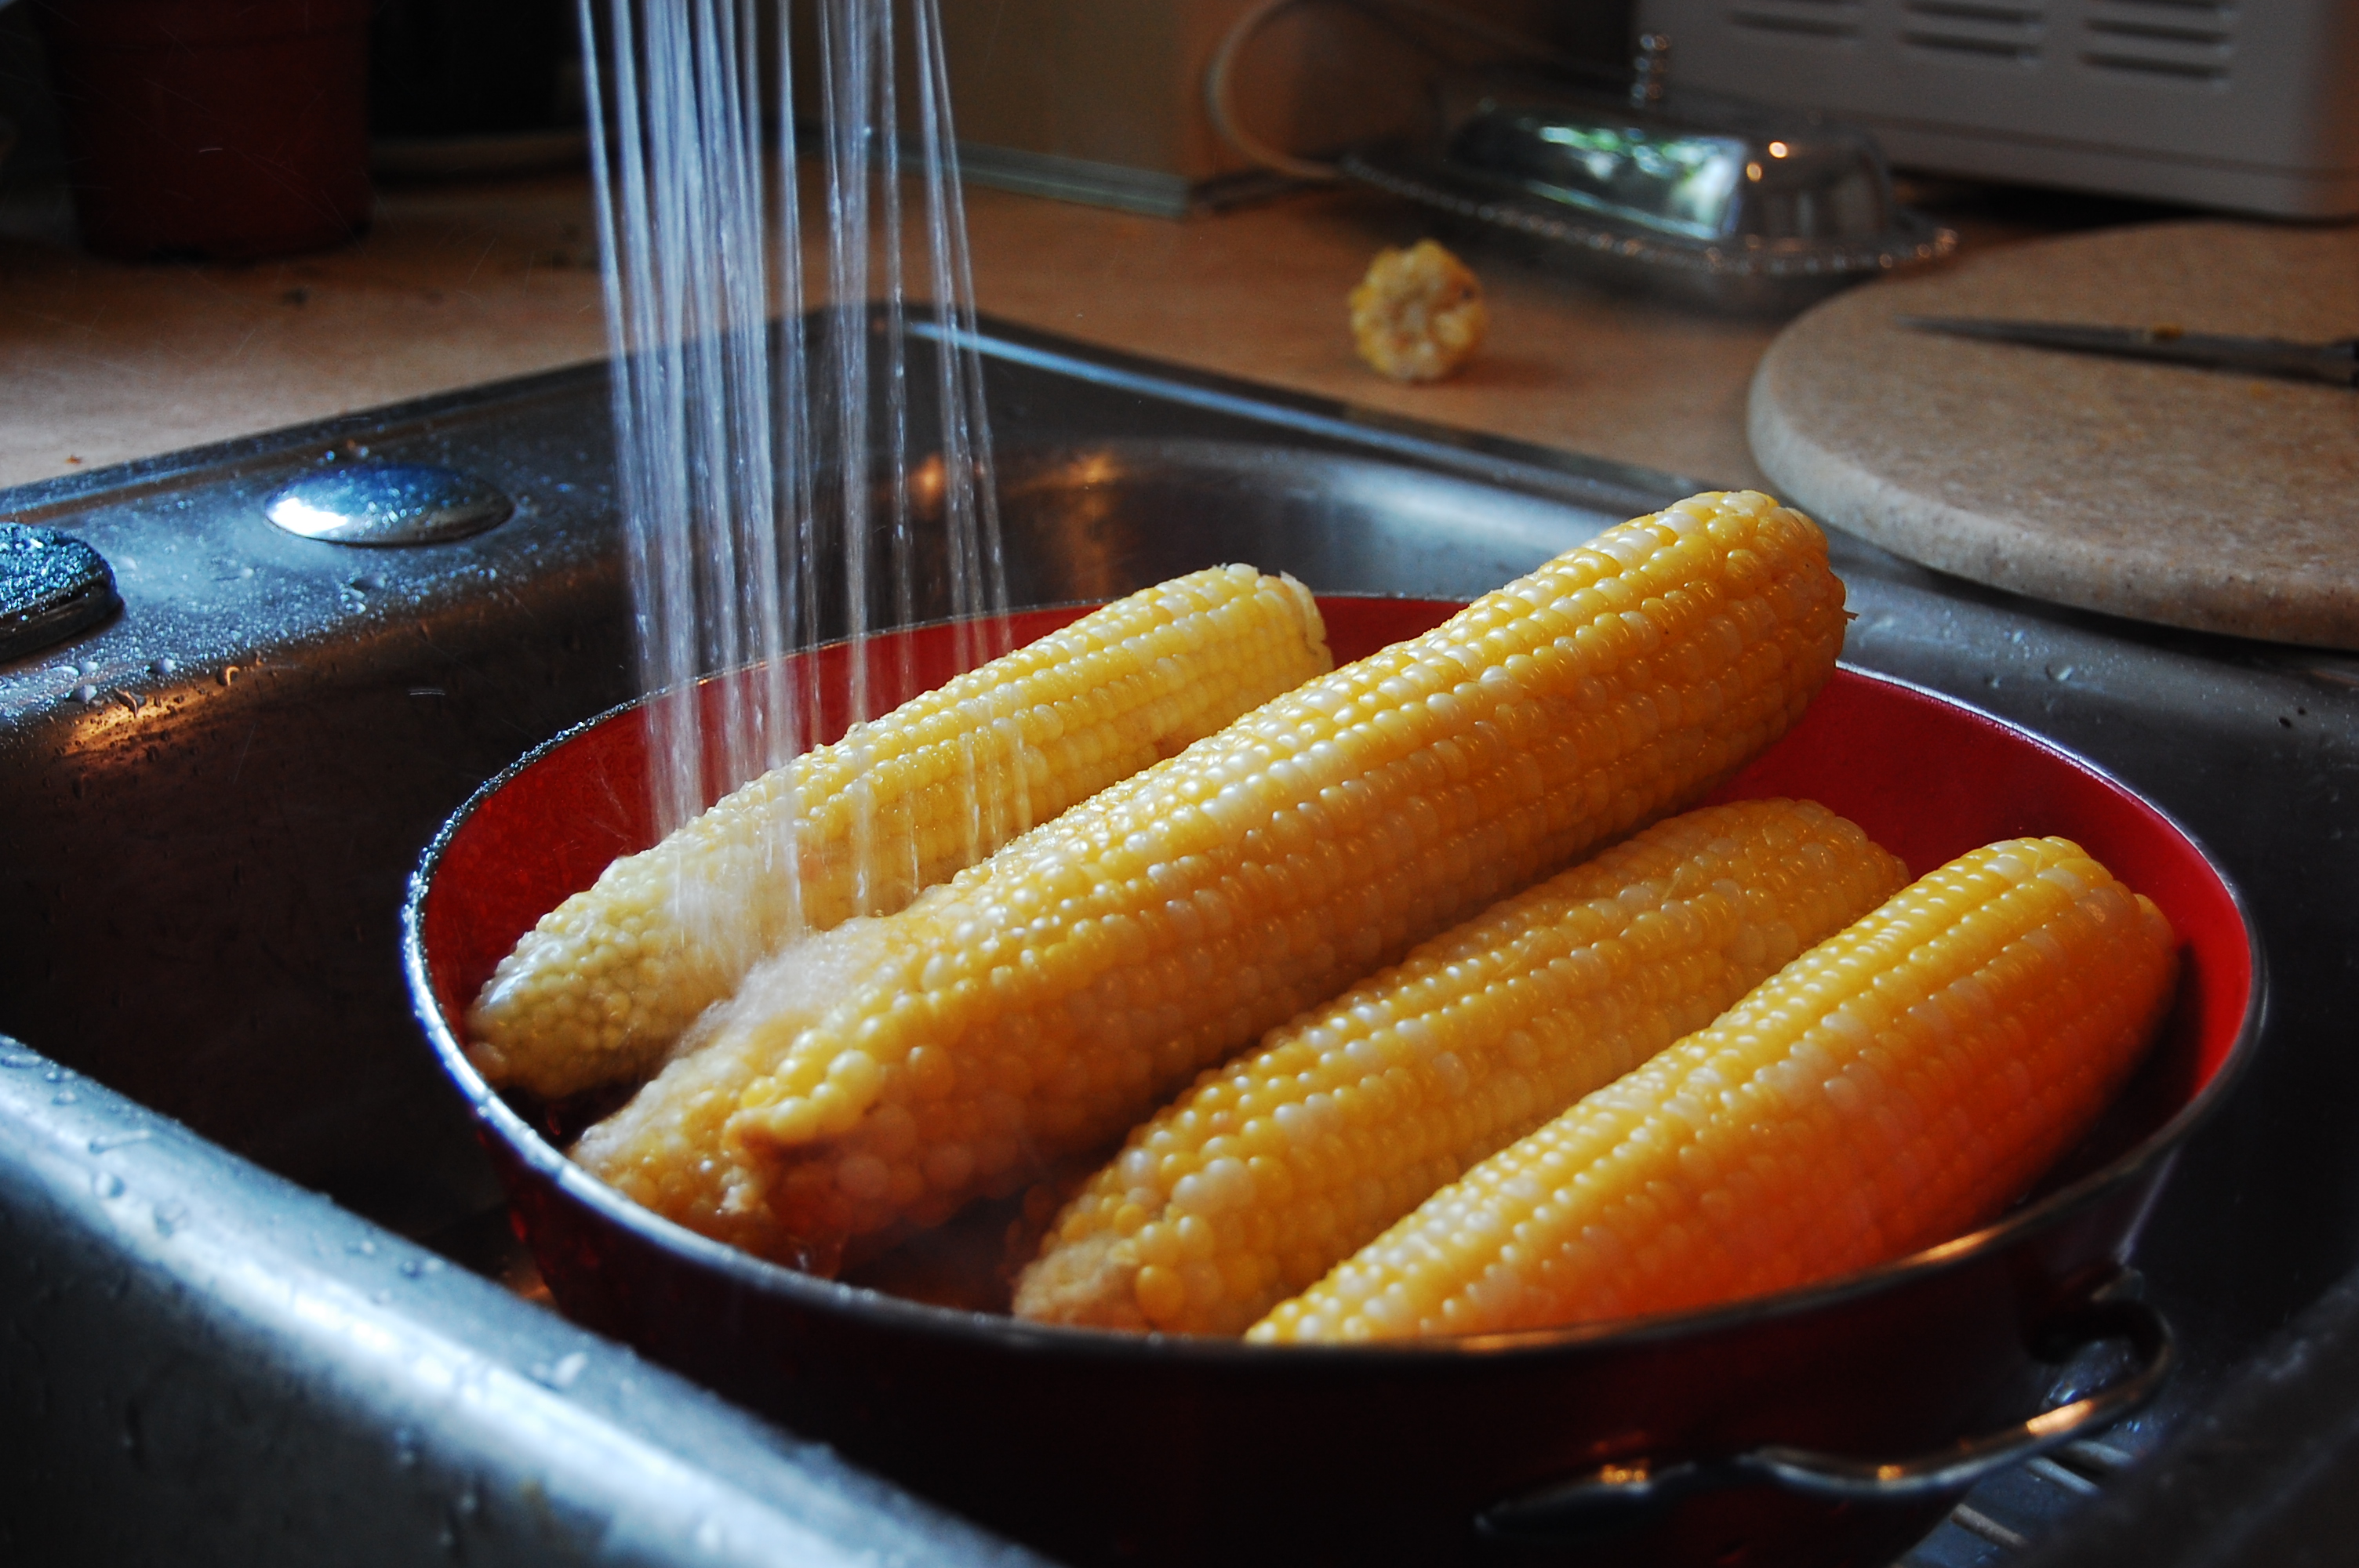
4.  Submerge several ears of corn in a large pot of boiling water. If you are freezing whole ears of corn, boil them for 8 minutes.  If you are cutting the corn off the cob, boil for 6 minutes.
6a00e5549125f7883301157250a813970b

5.  Use tongs to remove corn from the boiling water.  Run it under cold water to cool or submerge it into a bowl of ice water for 6 minutes.
6a00e5549125f7883301157250a957970b

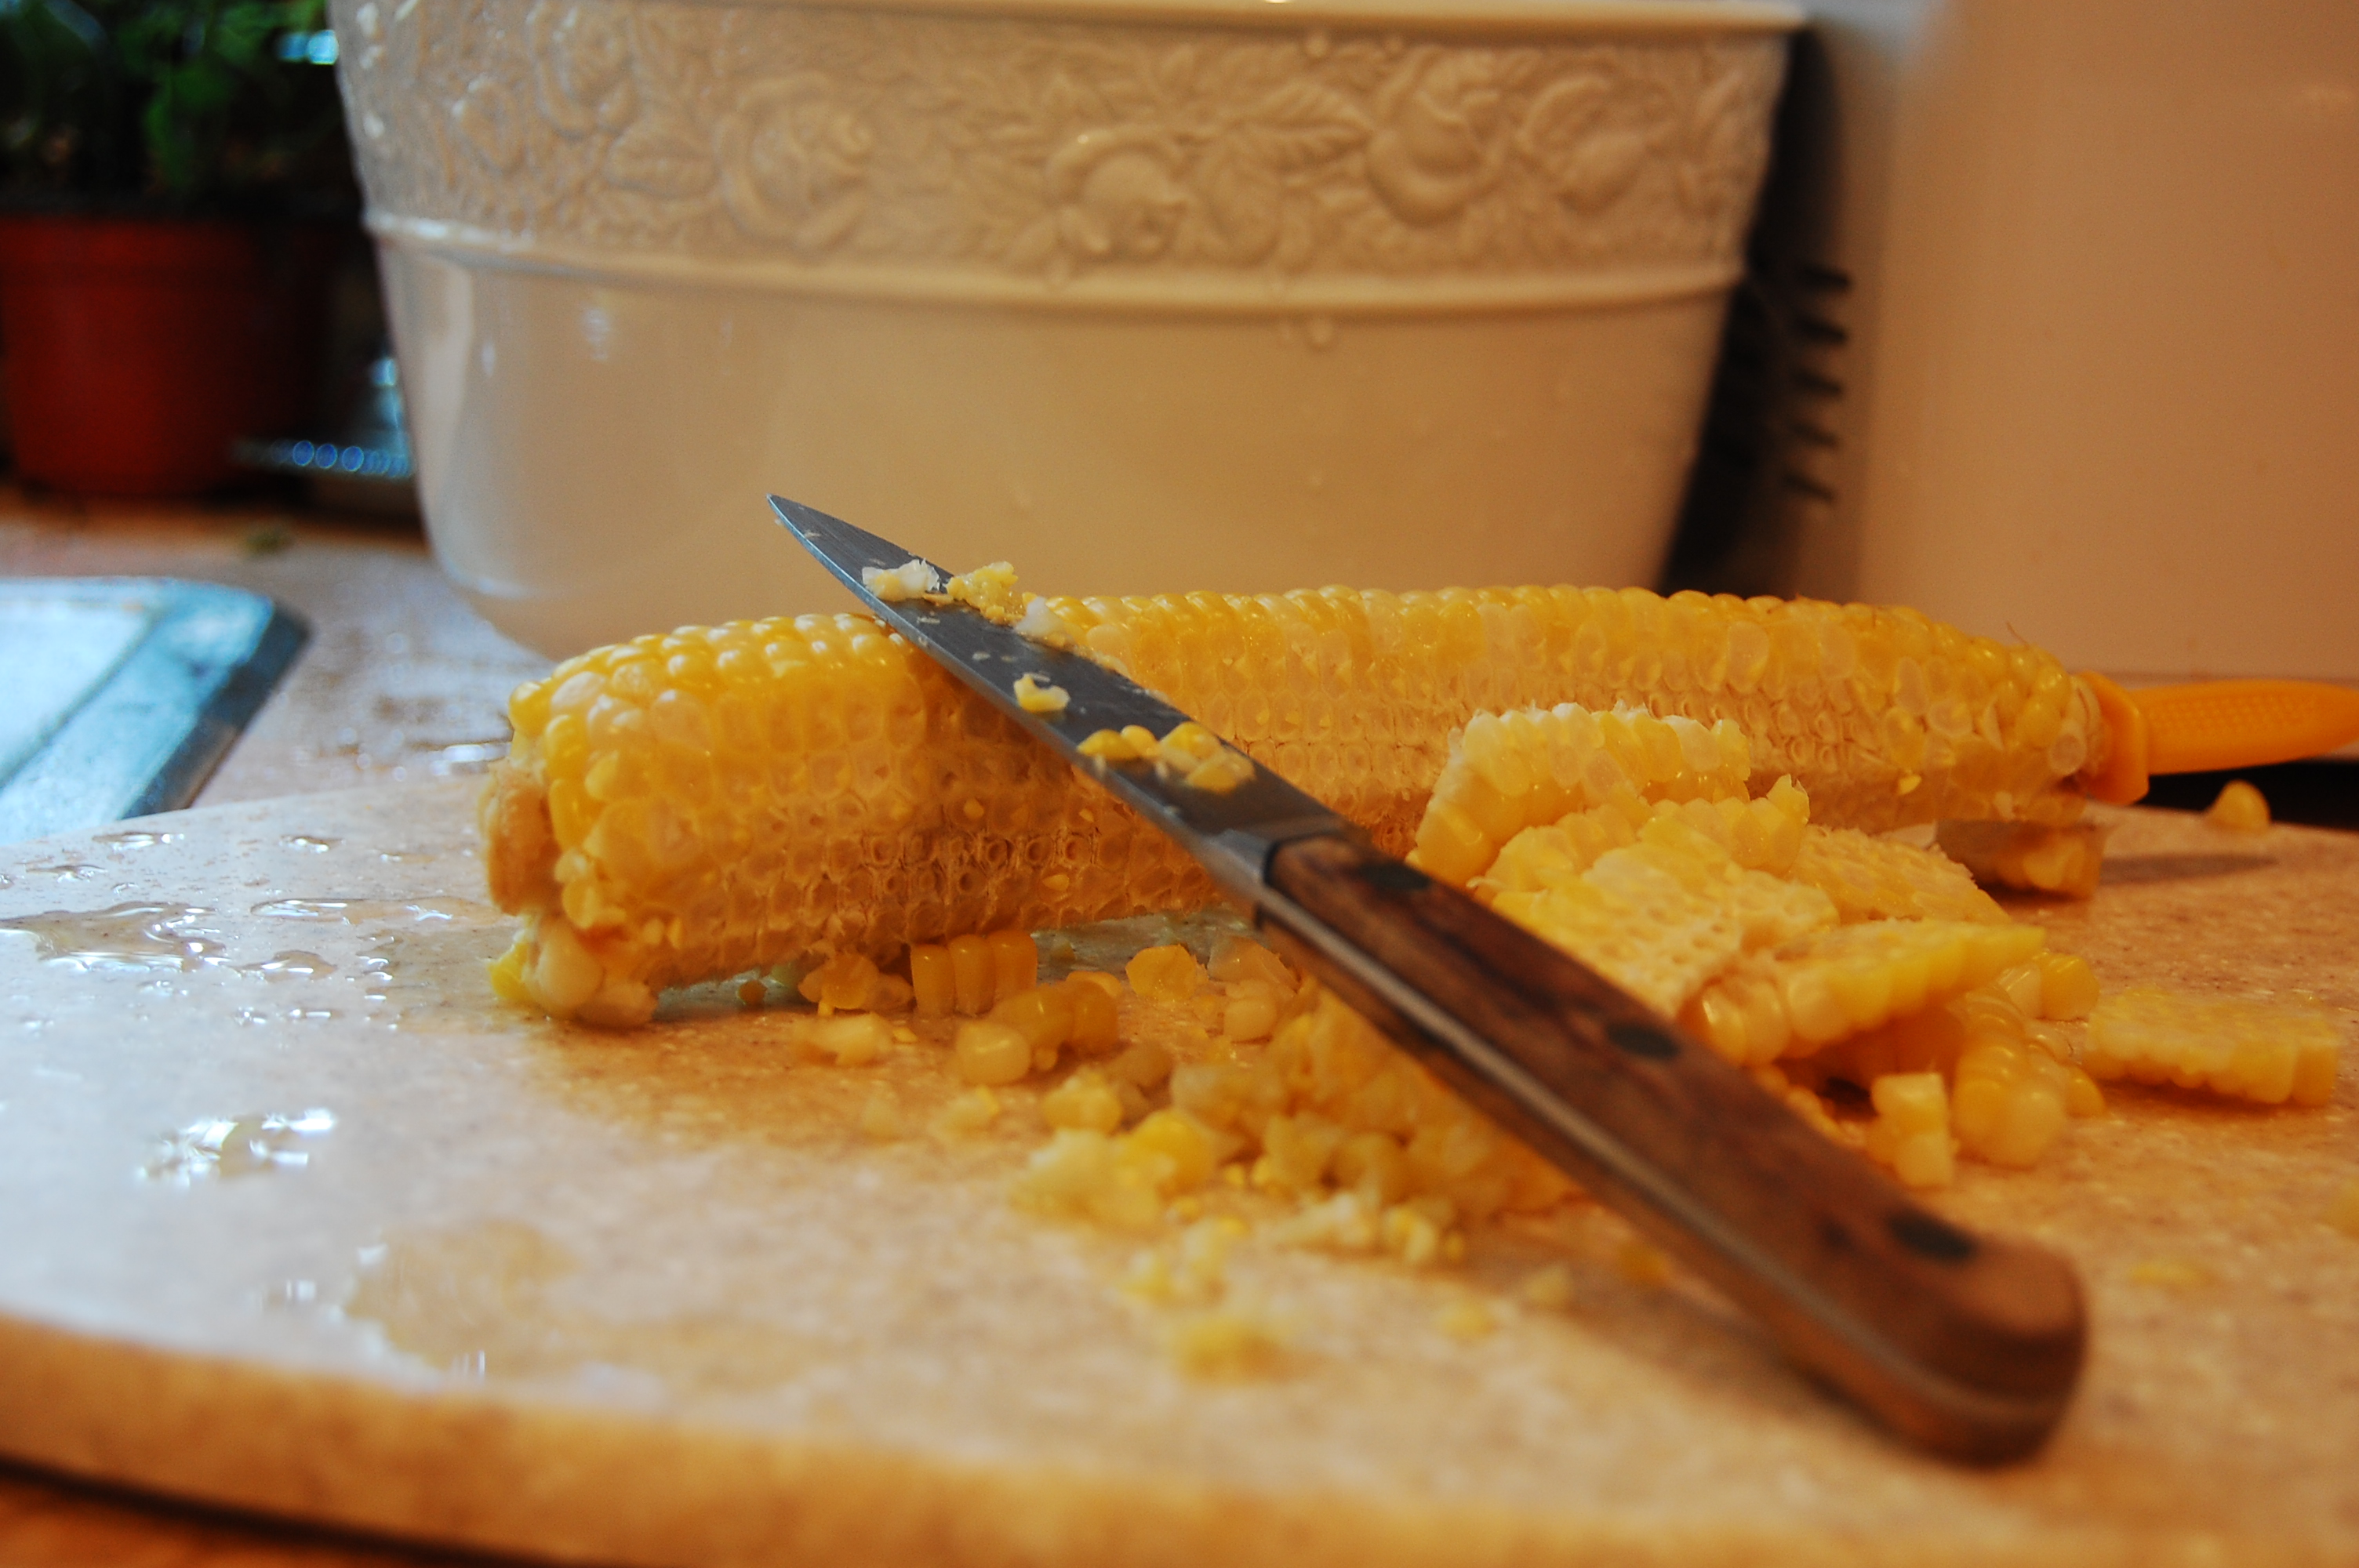
6.  Use a sharp knife to cut the kernels off the corn.  I like to take my knife and scrape the cob to get all the milk and ends out.  We call that “cream style” on the farm.  I cut as many cobs as I can fit into a large bowl before stopping to fill bags.

6a00e5549125f788330115715c5916970c

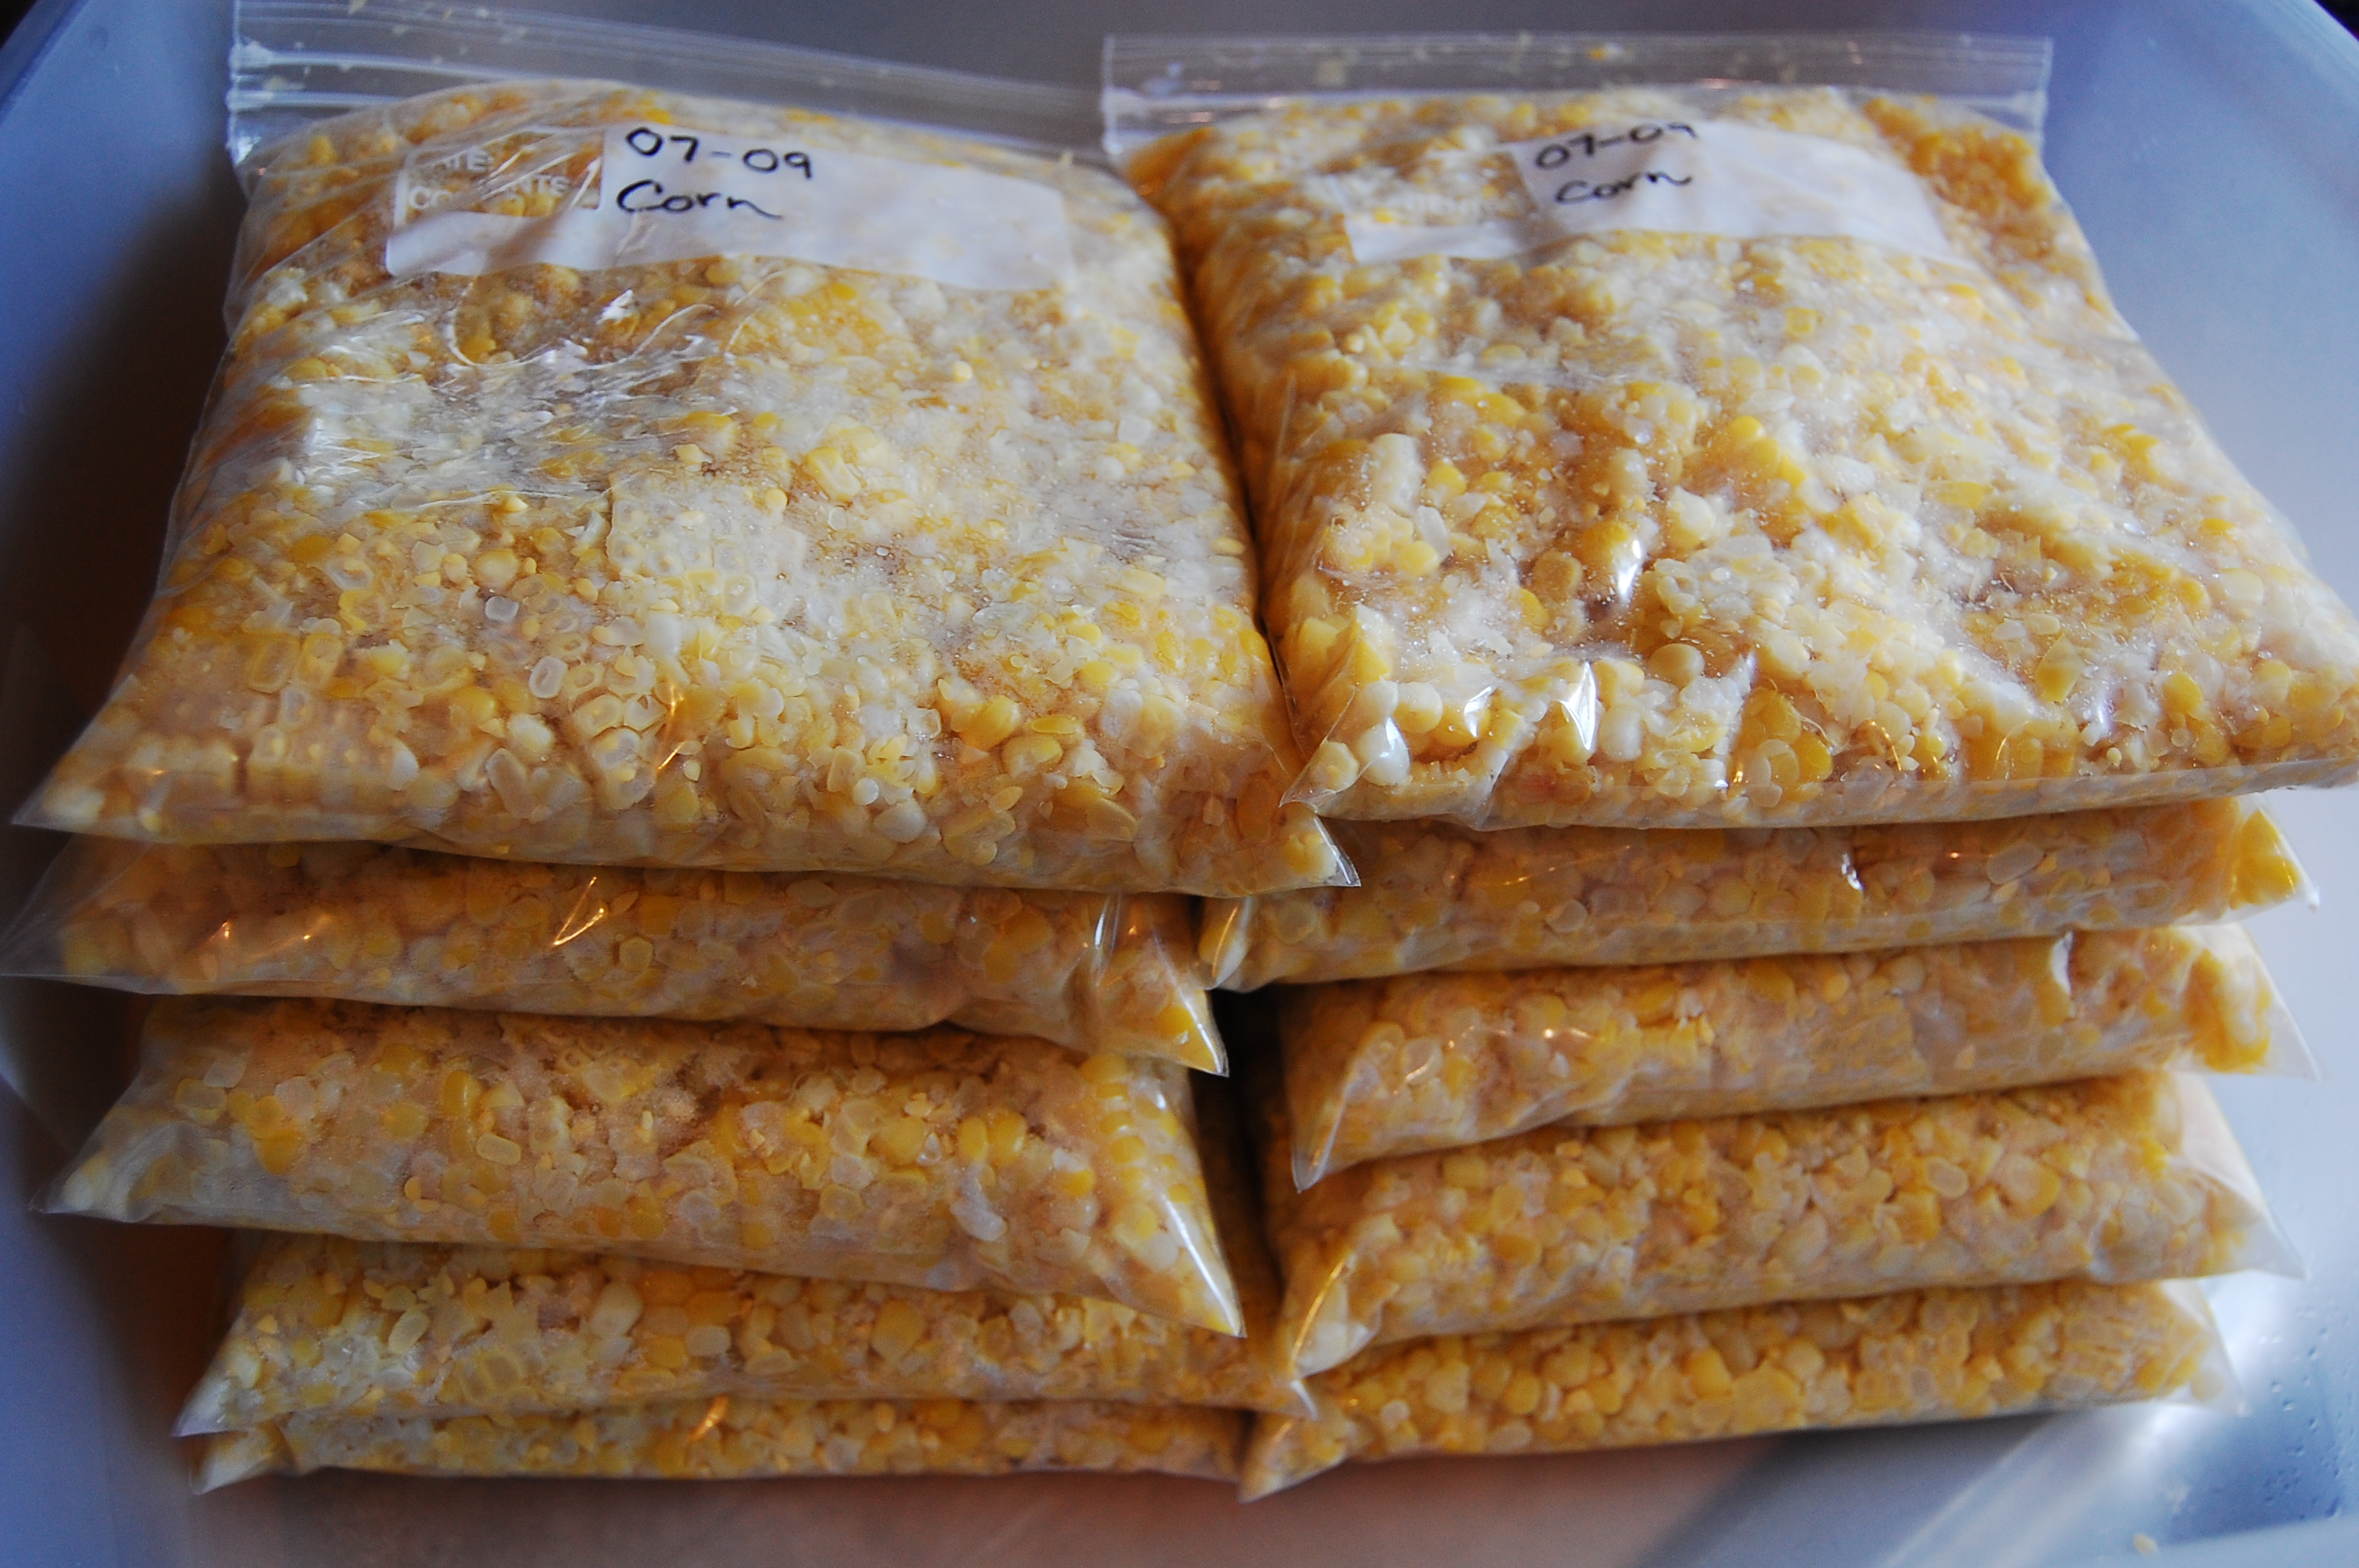
7.  I package my corn in quart size freezer bags, and use a permanent marker to label the bags with the date and contents before filling.  A one cup measuring cup is perfect for scooping the corn into the bags.  Four full scoops is a quart.  When the bags are full, press out all the air and seal them tight.  I smoosh the corn around until the bag is nice and flat and stack them in a plastic dish tub for freezing.  This freezes the corn in nice little stacks that fit well in my freezer.
home frozen corn

8.  Even though you will be tired, be sure to clean up right away when you are finished.  Corn juice is sticky and starchy and dries hard.  It’s much easier to clean up when it’s fresh.

Thanks to my mom for picking and shucking the corn.  And thanks to my Mother-in-love for showing me how to freeze it step by step.  Remember the year my entire kitchen floor was covered a foot deep in corn?  We had 3 years worth plus plenty to share after that.

 This post originally appeared August 1st, 2009

A few things: Living Room Update etc.

I know I’ve been quiet lately.  I’ve been enjoying SUMMER with a slower schedule and time with my kids.  Here are a few updates.

  1. The hardwood floor in our living room is all finished!  I don’t have baseboards up and I haven’t started on the built ins yet.  But I did move the furniture in place just like it would be with the built ins there.  I want to live with it a little bit before I got through the expense and work of the built ins buy just to make sure I like the arrangement.  So far I really do!  You’ll notice there’s a rug down. It’s the one I bought for Darren’s office.  We are a long ways away from being able to use it for his office and I may pick something else for him then, or move it down and pick something else for the living room.  I love the rug and right now it’s the most affordable option since we already own it ;).  Everything is centered on the room, but the angle I had to stand to take the picture makes it look wonky.

Living Room before 2

Before

Living room during

Currently

Living Room afterConcept

(I’m rethinking the whole slip cover thing.  I’ll have to cut the back cushions off my sofa to make it work and it’s going to be a lot of work.  I still want to do it, just much later.)

2. I had a midlife crisis last week and bleached my hair patchwork orange. I don’t have pictures because it was too humiliating.  But it was mostly yellow with squares of orange and brown scattered through it.  My hair stylist’s son was having surgery that day so she couldn’t help me right away.  I wore hats everywhere, even to a wedding shower and denied all requests to take it off.  It was humiliating.  On phase one of the do over, she got rid of the orange and brown and I was GOLD blond all over.  It was horrifying.  The next day I was asked to lead the song service for the all area branch meeting.  I couldn’t say no because my hair was horrifying so I stood up there and sang away like there was nothing crazy on top of my head.  Three days later after multiple keratin and biotin treatments she added ash brown highlights and toned it all over.  We had to get pretty aggressive to get rid of the remaining brassiness and I was a little gray/purple for a few days.  It has settled down a little bit and now I’m REALLY blond, in a good way.  I no longer scream when I see a mirror, which is positive progress.

3. I have been healing up a lot over the last 2 months.  My hair has started to grow.  It has only been a week since the orange hair fiasco and I already have dark roots.  While dark roots aren’t pretty, I’m going to take it and love it since it’s another sign that my health is improving.  I started back to my Fit Yummy Mummy workout program, starting at the introductory level (the step before beginners….) and feel like I’m going to be able to finish this time.  While half my family is away at summer camp and my chores are reduced, I’ve been prepping foods to help with my goals.  I’ve made protein batter for pancakes and keep it in a jug in the fridge so I can cook a few fresh up in the mornings. I also froze protein shakes into popsicles molds.  It’s just almond milk and chocolate flavored protein powder, but having it in a popsicle slows down my eating process and is really fun. And I made a 4 serving recipe of Thai Chicken Salad and divided it into recycled Chic Fil A containers.

Thai Chicken Salad

If I make a family size recipe each time I cook something new, I can eat on it for awhile for no extra work.  When it’s that yummy I don’t mind eating leftovers.

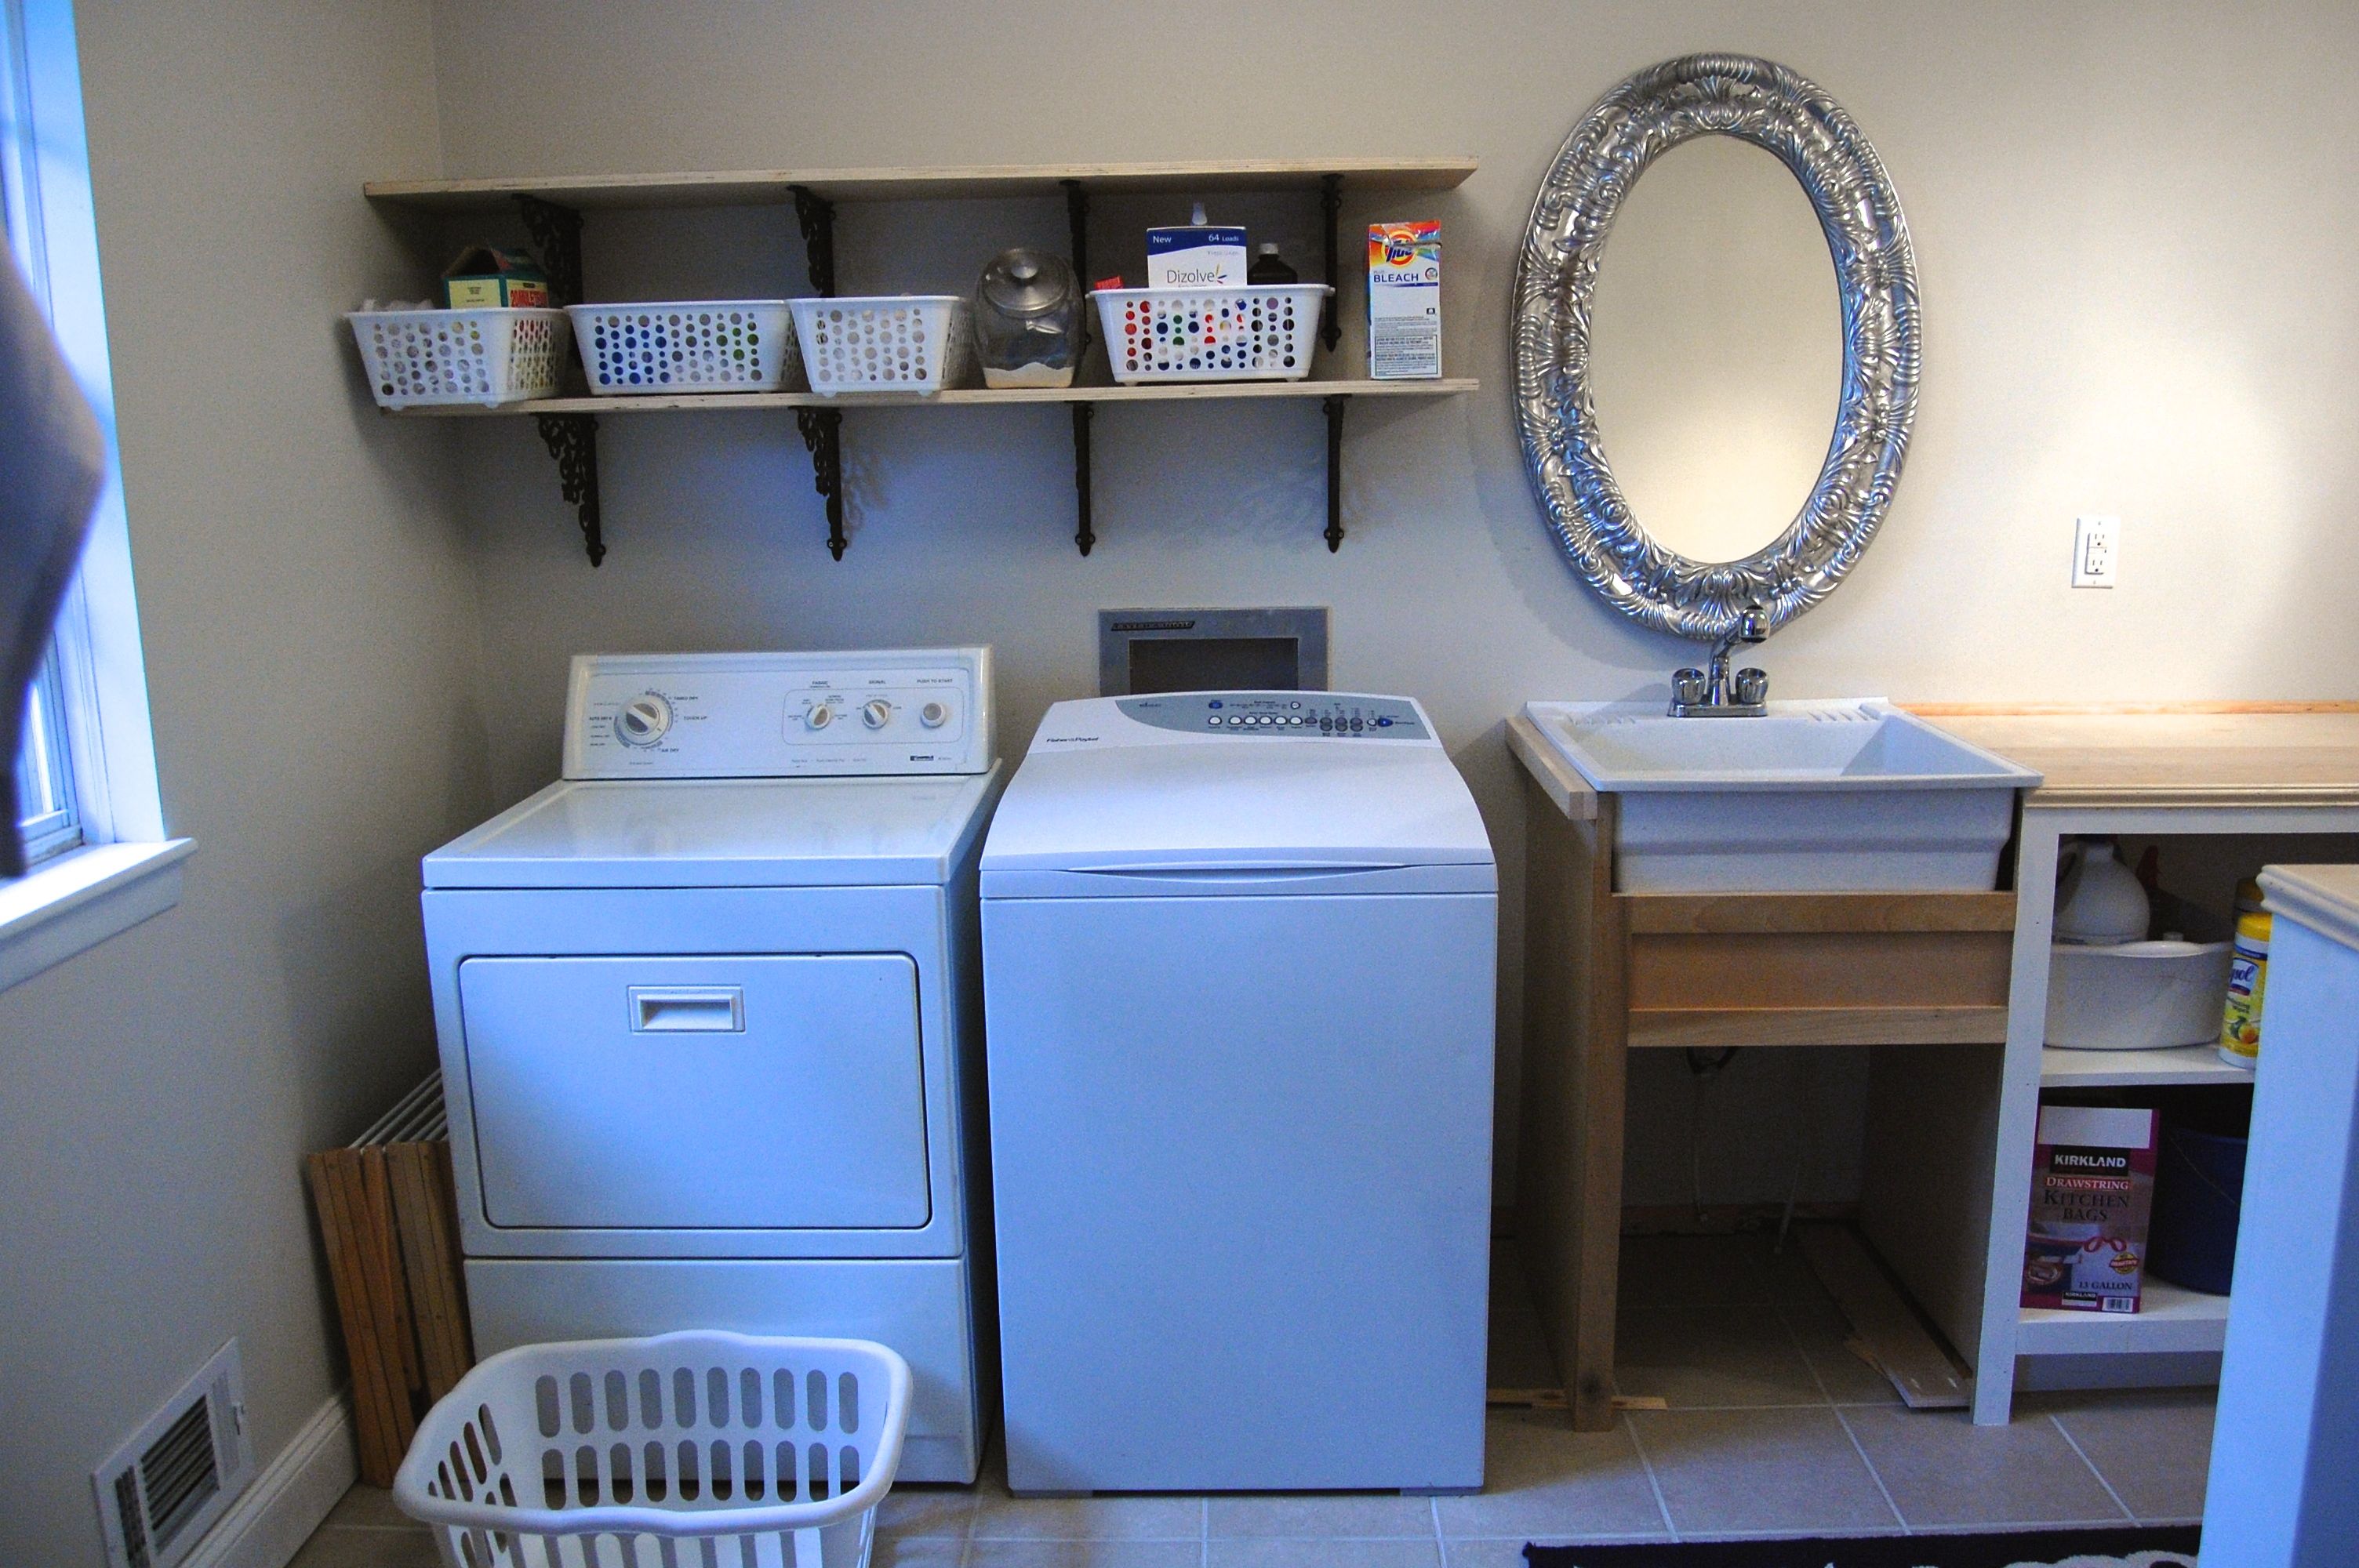
4. My new washer and dryer have been in service for about a week and I love them!  They are HUGE.  One load in the new washer is worth 3 in my old one.  I used to do 3 loads a day and now I’m down to 1.  It’s the same amount of laundry but I can get through it in 1/3 of the time.


The Other Budget Categories

laundry area

Our washing machine died yesterday and it isn’t an emergency.  The Fisher and Paykel washer was 11 years old and after 3 loads a day (roughly 12,000 loads), we knew it’s days were numbered.  Planning for this didn’t start last week, or even a few years ago.  It started the day we bought it. After we became debt free with a fully funded emergency fund, we added some other budget categories to prepare for days like today.  Every month, we set aside $10-30 in an “appliance fund” and since we know ourselves and needed extra accountability, the cash went into a real envelope and tucked into a combination safe (not into the bank account where we pay for other bills.) We also fund other bonus budget categories including a car replacement fund and furniture replacement fund.  We set aside small amounts each month into these envelopes so that over the period of 10-15 years we can replace our items that wear out.

craigslist washer

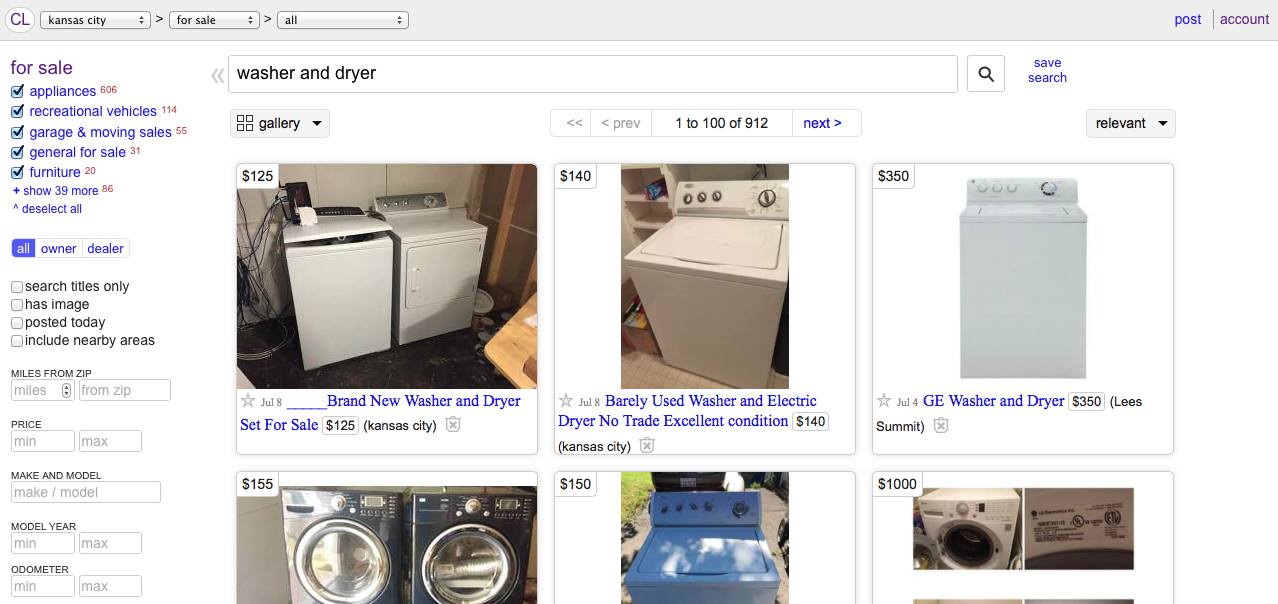
If I hadn’t had an appliance replacement fund, my day yesterday would have looked very different.  I would have searched our local Craigslist for a working washing machine to limp by with until we could raise the money we needed.  They had used machines about the age of ours ranging from $50-$150.  I would have used part of our emergency fund or my home repair fund, to pay cash for the appliance.  It’s not a bad plan really and if there hadn’t have been any good sales on, I might have done that anyway so we could wait for a better deal.

Instead, I had the cash to shop for the best rated machines I could afford.  I looked at reviews online, drove to the scratch and dent outlet store to see their choices, and thanked my lucky stars that Independence Day sales were still going strong.

When it came time to make my final decision, I almost went with my less favorite, just to save a few hundred dollars.  Then Darren reminded me that this machine should last us 15 years or more and that since we had the cash saved up, I should buy the set of machines that I wanted to use for the next 15 years.

Even though our dryer is still working, it is almost 18 years old.  We decided to buy a matched set since the machines are visible from most of the main floor.  I should be able to sell the working dryer on Craigslist to offset our costs a little.

spin_prod_914554512

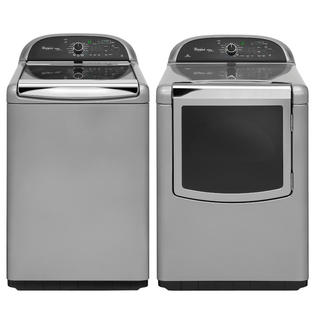
I chose the Whirlpool Cabrio set because of it’s huge capacity, low resource use, and good reviews.  I loved the idea of a front loader and would love to be able to build a counter over the top of my machines, but the whole mildew thing and needing to leave the door open discouraged me.

After searching the prices online of all the stores that carry this model of machine, We called Sears to order over the phone.  I needed the dryer door reversed and that couldn’t be specified online.  While I was on the phone the operator asked me if I had a coupon code I would like to use.  I said, “oh! Is there one?”  He put me on hold and we both searched for any available coupon codes.  I was unable to find a coupon code that would work in their system, but his manager approved an additional 5% discount for us. The cool thing about this, is the 5% discount is the same we would have earned by using a sears credit card.  As a rule, we don’t use credit cards and I was feeling kind of bad about missing the discount.  Turns out, I didn’t have to miss it after all.

It may seem like a lot of extra little categories, but most people won’t miss the extra $10-$30 a month and over 15 years that fund will grow to be $1800-$5400.


An Archeological Dig

Caleb mapping stonesSummer time is the busy time around here.  As soon as school was out at the end of may, I headed to Yellowstone via Wall South Dakota as a tagalong on the Grandparent trip for my youngest 2 kiddoes.  Every year for the last 4 years my parents have taken 2 of their grandchildren on a cross-country adventure.  This time they felt Grant was too young to go without his parents, so Darren and I got to come along.


Yellowstone

We were home for a couple of days, just enough to wash and repack everybody.  Then I kissed Darren goodbye and took the kids to Lamoni, Iowa for reunion.  I think other denominations might call it family camp or camp meeting.  It was a week of living as families in University dorms. We had prayer and testimony service and classes every day, time for recreation in the afternoon, and powerful music and preaching in the evening.  It’s a time to rest from the cares of the world and get a fresh perspective on our Christian walk.  The leaders encouraged us to stay off the internet to keep apart from the influence and cares of the world.  I had to get on a little to make sure the meal plans went out on time and take care of customer service issues, but for the most part I tried to rest.

The day reunion ended, I filled my mom’s car with 5 of my kids and all their stuff and sent them back home.  My 14 year old son and I headed east to an archeological dig in Nauvoo, Illinois.  He’s at the age where he’s trying to make some decisions about a career and education.  At first he wanted to be a novelist, so we homeschooled his 8th grade year with the One Year Adventure Novel program.  It was a great program but showed him that he prefers to write for a hobby and not to make a career of it.  When he mentioned archeology as his next choice for careers, I used some connections to join the end of a dig unearthing an 1840’s home foundation and artifacts.

IMG_2800

He’s still trying to unpack the experience and see if it’s a career option he wants to pursue, but it was super interesting to learn about all the different aspects of the dig.

Last year it took the team most of their month long dig to locate the foundation of the home.  It was a lot of digging to find nothing and trying again to get just the right location.  This year they were able to get started right away in the correct position and make progress.  By the time we arrived they had found 3 of the 4 walls of the home and the 4th wall was uncovered while we worked.

IMG_2859

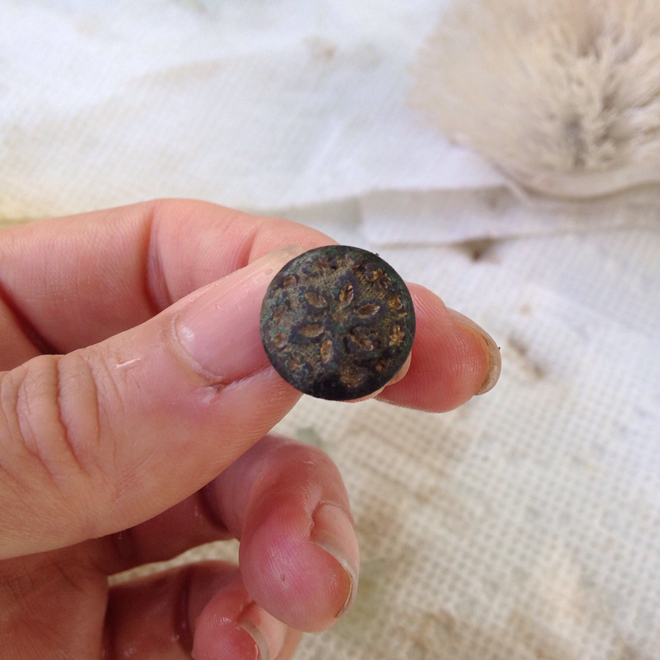
We found things like flatware, scissors, square sewing pins, marbles, square nails, china and other earthenware, glassware, cast iron cookware, animal bones, teeth, fossils, buttons, and a cast iron trivet for a clothing iron.

IMG_2829

Each 5 foot square was dug down 2 inches at a time.  The diggers would gently scrape the soil to protect any artifacts that might be hidden beneath.  The loosened soil would go into red scoops (we called them fire trucks) and sent over to the sifters.

IMG_2842

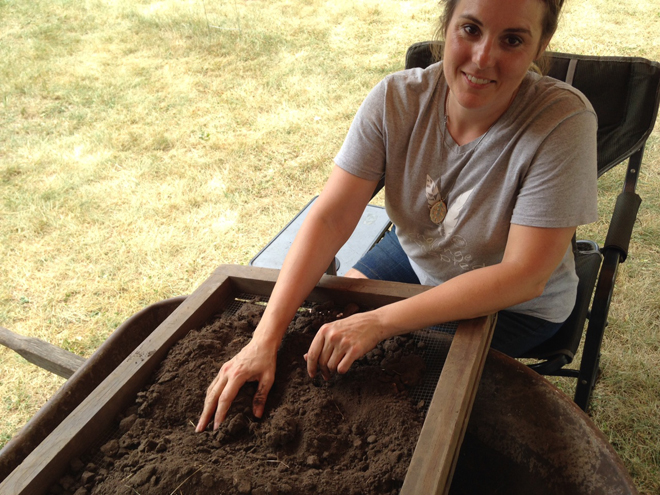
Another team member (ahem–me, so hot and sweaty) would rub the dirt through a screen and look for smaller artifacts that might have been missed by the diggers.  All artifacts were placed in a green scoop labeled with a sticky note to show the quadrant and soil level it was found in, then sent over to be washed with a soft brush and clear water.

IMG_2840

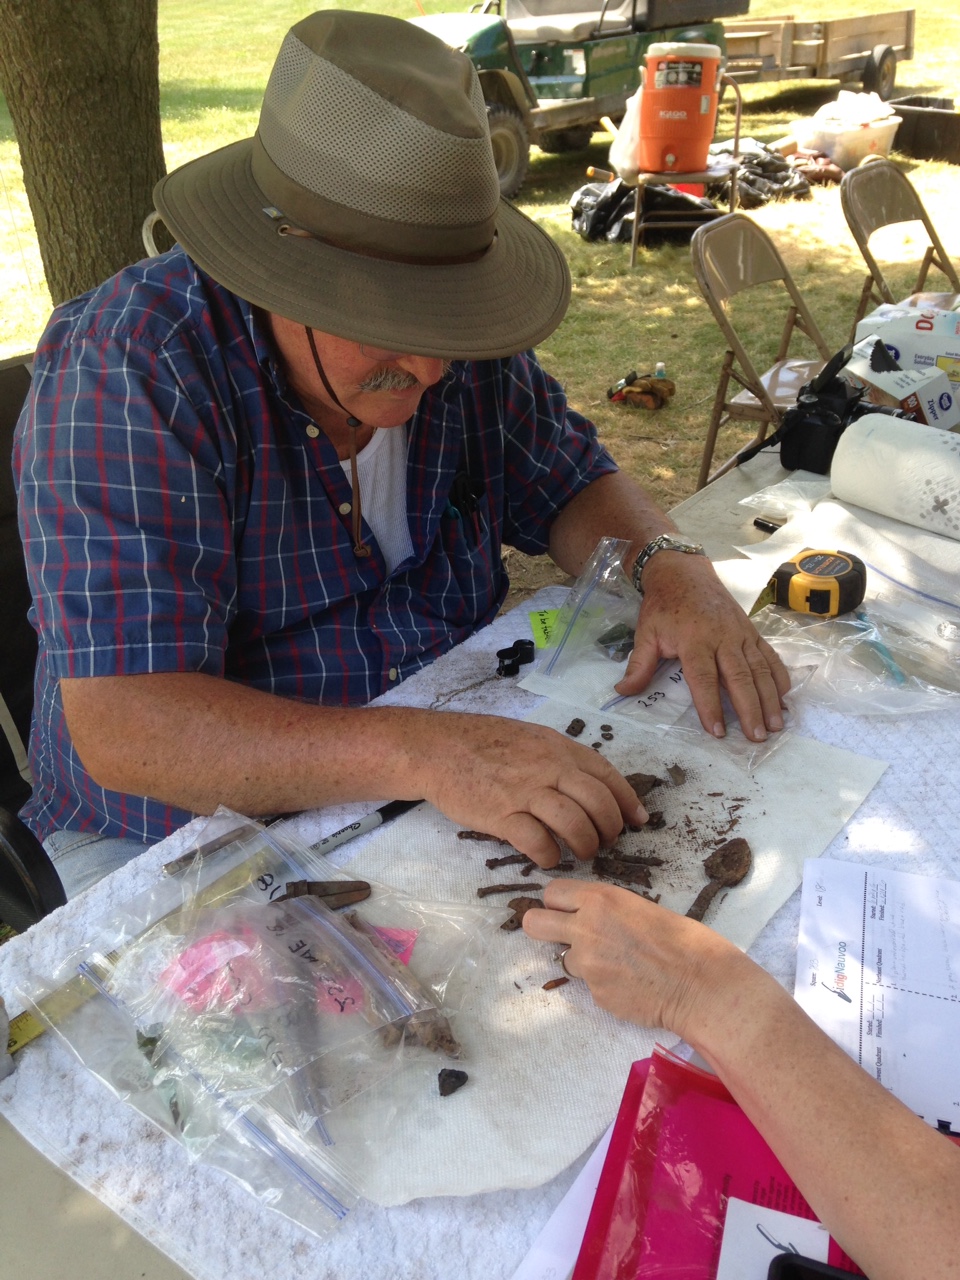
Then the artifacts were carefully dried and sent to the head archeologist, Paul Debarthe who would identify and document each piece in a database.

IMG_2855

Finally the documented pieces were sent to the restoration lab, where Synthia glued pieces back together for display.  It is the team’s end goal to rebuild the home just as it stood in 1840 and display the artifacts inside.
13450943_1012268108862829_7607377967401943150_n

It felt awesome to play a part in recovering history, but it was also a dirty, sweaty, exhausting job.  Caleb and I only dug 3 days with the team.  Most of them were there for a solid month!


The Perfect Father’s Day Gift

father's Day

Amanda was in full panic mode.  Father’s day was just a few days away and she had no idea what to buy. She really wanted to show her husband how important he was to their family and make his face light up with delight. She wandered around the home improvement store, but buying him a new tool might be like him buying her a vacuum for a present. It would remind him of all the work he needed to do instead of telling him how thankful she was for who he is.

playball

Next she headed to the sporting goods store. She felt dizzy looking at the vivid colors and meandering paths. The store had music playing plus shopping noises echoing throughout the place.  Feelings of sensory overload and overwhelm creeped in. She didn’t know where to begin. She thought about a gift card, but he hated to shop.  This was a no-win situation.

tie

She couldn’t wait to leave and go to more familiar territory.  At the department store, she  looked at fresh smelling leather wallets, silk luxury ties, and crisp dress shirts. He would look so handsome in these, but he didn’t enjoy dressing up.  He put on a tie for church every Sunday, and it came off in the car on the way home.  It would get use for sure, but it wasn’t going to make his face light up.

Whatever gift giving occasion: birthday, Christmas, or Father’s Day, she always asked him what he wanted and he always said the same thing. A firey gleam would come in his eyes as he said, “You in a big red bow.”  Then he would pantomime untying the bow as she blushed up to her hair roots.  She would go buy something, anything, that he could open in polite company. No matter what she bought him, she never saw the look of pure delight she was hoping for when he opened it.

MELT

THEN, her favorite blogger told her about MELT.  She had tried giving her husband a massage before, but to his disappointment her hands and neck would cramp painfully before 5 minutes had gone by. These PG rated videos promised to show her how to give a long lasting massage without hurting herself in the process.  With instant access for life, it was an investment that would be reused over and over again, all for less than the price of one professional massage.

Even better, MELT had prepared in advance how to package the gift perfectly for Father’s Day with downloadable printables that she could stick in all the little places he was sure to find them. It was designed to build anticipation and curiosity with the final clue leading to a wrapped package of massage oil and his favorite chocolates to open.

massage oil chocolate

She started to smile as she thought about the look on his face when he found the first note tucked in his shoe, then the next under his coffee mug and the next taped to his steering wheel.  She wasn’t normally a creative person, but this was all done for her.  It was perfect and easy and it was going to be really fun.  Maybe this was the year she’d want that big red bow after all.

Click Here to get MELT for yourself

Keep in Mind

1. 60 day money back guarantee –  if her hubby doesn’t like the massage, you can get your money back.

2. Online video access – instant access for that last minute panic gift

3. Monthly payment plan to fit in small budgets

4. Lifetime access to Melt – This is a win-win.  When hubby is itching to get his hands on you, he can use the techniques too.

5. FREE foot rub videos included with each purchase of Melt. So hubby can return the favor later with an awesome foot rub. This ends on the 19th of June – Father’s Day.

 P.S. I’m using the video series for Darren’s father’s day gift and you are going to love Denis’s Australian accent and instruction style. It is very professionally done and easy to implement.

Homemade Granola

This video first appeard May 7th, 2009.  It’s so easy to make granola that I thought it is worth bringing to the front. It is a great topper for oatmeal, yogurt, or other cereals.

Watch the video to see how easy it is to make homemade granola.  With the choice of the right ingredients, it’s inexpensive and nutritious.  I added mine to an inexpensive box of cornflakes for a multigrain “honey bunches of oats” type cereal.


Here’s the ingredient list:  Syrup:  3 T oil, 1/3 C honey, 1 T water, 1 t real maple extract


Grain:  2 C oats, 1 C rice crispies, 1/2 C cracked wheat, 1/2 C wheat germ, 2 T brown sugar, 1/4 t salt

(Next time I’d replace the cracked wheat with sunflower seeds.)

Here’s the video. I apologize it is so dark at the beginning, it gets better.

Do you have a favorite granola recipe?

Sunday Picnic

This post was originally published May 6th 2009, but it’s a topic worth revisiting! With just a few minutes planning, a lot of food cost can be saved. I don’t usually have time to make 8 sandwiches with all the fixings, but with a change in thought process a large family picnic can be made in record time.  I’ll show you how. 

picnic lunch

Last Sunday Darren preached as a guest minister in Macon, Missouri–3 hours from our home.  Usually, the church there shuts down immediately after the service and we head home.  We have 2 choices for lunch: stop at a restaurant or bring our own food.  We are usually running late in the morning, but in the video below I will show you how I pack a picnic in record time and save expensive restaurant costs.  This plan works for long shopping days too!

Our day ended up going a lot different than planned.  On the way out of the church, Charles, whom we had never met before, offered to take us to lunch.  We were excited for the opportunity to get to know him better and he is an exceptional person.  When we stepped outside, Charles noticed that we had a flat tire!  I’m so grateful that it went flat during the service and not while I was driving.  The repair garage said it was bulged on the side and a blow out risk!  Charles not only took us to lunch, but invited us to his home to rest while he bought us new front tires for our van!  I almost cried.  We’ve needed tires for awhile but kept hoping that they would last until our situation was different.

So the eating you see in the movie was for supper not lunch. Even though our day was far different than we expected, our picnic sill came in handy.

Update:  I forgot to give you the price breakdown on lunch.  Keep in mind too that we had enough leftovers for another meal the next day.  Bread-free, strawberries-$1, carrots-$1, crackers-$1, Cheesesticks-$1, 3 sliced apples-$1, Peanut Butter and Honey–$.25–cost for 5 people (a couple of our kids were with Grandma) $5.25  For the same price we could have stopped and gotten everyone one double cheeseburger from McDonalds.  It wouldn’t have been as filling or nutritious.

Blueberry Oat Custard

I’m not a fan of plain oatmeal, but add a few eggs and cook it in milk instead of water and I’ll change my tune.  It’s also weight loss friendly and will fill you up.

blueberry oat custard

1 Cup rolled oats

2 Cups skim milk

2 eggs, beaten

1/4 teaspoon salt

2-4 packets truvia

1 cup blueberries (I used frozen wild blueberries from Costco)

Combine all but the blueberries in a sauce pan and mix with a large wisk.  Cook and stir until thickened and bubbling.  Remove from heat and stir in blueberries.  Serve with a dallop of whipped topping or vanilla yogurt.

Yields 3 cups of custard.  3 servings @ 223 calories, 43 g net carbs, 5 g fat, and 21 g protein.

If you have a dairy allergy, this recipe works well with almond milk.  Each serving would have 180 calories, 35 net carbs, 5 g fat, and 15g protein

Washing Plastic Bags

washing plastic baggies

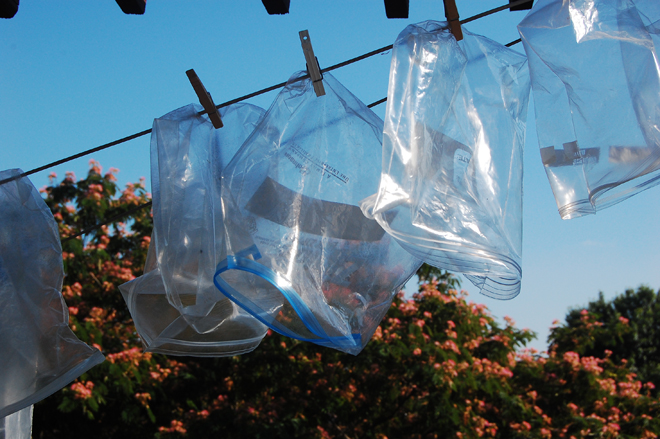
Plastic bags are handy, but when used and tossed they are expensive.  It doesn’t take long to wash out a bag and hang it to dry.  They can be used over and over this way.  If there was just lettuce in them, I rinse them out with water.  For pasta or something with a little oil, I use clean soapy dish water. When the weather is good I hang them outside on the line.  When it’s not, I use clothespins to clip them to a hanger in our laundry room.

The bags dry best wrong side out.  When that side is dry, I turn them right side out to finish drying, then fold them and put them in a baggie box saved for washed baggies.  Then we have a choice in the drawer to grab a new bag or a washed one, depending on the purpose.  If it’s for us, I reuse them.  If I’m packing something for a guest to take home, I grab new.

If your baggie has been used to store raw meat, toss it–don’t even think about washing it.  Otherwise, enjoy reusing your disposeable bags!

If you are going to wash and reuse your baggies, spend a few cents more for the thicker freezer bags.  They will last longer and withstand washing beter.

This post was originally published July 2009