Are You Spring Cleaning With Toxins?

cleaning supplies

Every day I hear about a friend with cancer.  I don’t know if cancer is really on the rise, or if social media means I just find out about it more.  These aren’t strangers though.  These are my friends: some young, some old, some live near me, some are across the country.  The cancer part of our prayer list is really long.

I hate cancer.   No one knows the cause of an individual illess, unless there was a big environmental problem such as smoking or prolonged asbestos exposure that is glaring.

Baby after bath

On the other hand there are chemicals that are KNOWN to cause cancer used in common every day products like baby shampoo, laundry soap, hand sanitizer, and air freshener.  We might not be able to avoid all risk factors leading to cancer, but we can do something about THIS.

Don’t be mislead.  Just making your own cleaning products will not keep you safe. If your recipe contains ammonia or bleach, it’s not safe.  Plus, many recipes such as homemade laundry detergent, are a combinations of purchased ingredients. Does the soap base for your homemade detergent have SLS, SLES, parabens or 1,4 Dioxine in it?  If it does, it’s not safe.

I made a video for you that scratches the surface of what you should look out for.  Below I’ve added a lot of links below to source the information that’s in the video.  If you want to do your own research, it’s a starting point.


Click here to request more information.

More Resources

 What to look for in laundry detergents

Tide to reduce not eliminate 1,4 Dioxane

More on Tide and here

More on Laundry

Baby Shampoo

Triclosan

Breast Cancer and Triclosan

Dishwashing Products to Avoid

Is Ajax hand dishwashing detergent safe?

National Cancer Institute Speaks out about Formaldehyde

Cancer.org’s list of known cancer causing agents

How Toxic are Your Cleaning Supplies?

What’s so Dangerous about Bleach?

More on Bleach

Even more on bleach

Clorox corporate’s defense of bleach

6 Common Household Products known to cause cancer

5 Household products that increase your risk of  breast cancer

More on Breast Cancer prevention

Why you should avoid Ammonia

More on Ammonia


What can I get for $1?

money 1

I like to shop at Dollar Tree…..a lot.  I know it’s not quality stuff.  I’m not expecting quality…not really, lol.  I am expecting to afford it and to have choices.  There’s something nice about going into a place and knowing I can afford to buy anything I want.

I used to buy my cleaning supplies there too, but about a year ago I found someplace better.  They sell most of their products in concentrated form.  So you buy one bottle and it dilutes into a spray bottle to make 6 bottles of cleaner.  This comes to around $.87 each.   It’s not a HUGE savings over Dollar Tree, I’ll admit.  The main benefit is these products are safer, healthier and work better than what I was using before.

They have over 400 products to choose from which include cleaning, laundry, vitamins, protein powders, sports nutrition, shampoo, first aid, cosmetics.  It’s a lot of stuff.

Women cleaning a window 3

Here are my 7 favorite products:

1.  Laundry stain remover:  This stuff will take chocolate ice cream out of a white dress, dried on, discovered the next day.  (No bleach.)

2.  Laundry detergent:  Super concentrated formulas only use 2 Tbs per load.  When it’s on sale for buy 1 get 1 $1.99 it costs less per load than Arm and Hammer powder and is formulated to not fade or pill your clothes.  Mine has a pump on it that perfectly measures each load.  No mess, no overuse. Love it!  And since it’s concentrated the 96 load bottle is small enough my kids can handle it too.

3.  Tub and Tile Cleaner:  This stuff is amazing!  Spray it on, wait a couple of minutes and wipe or rinse.  If you haven’t cleaned in awhile, this stuff will make it ok.  It works great on mold, soap scum, and toilet ring.

4.  Solvent:  This uses safe ingredients to remove stuff like permanent marker, gum, paint, fingernail polish etc….  It has over 101 uses–including stubborn odor removal.

5.  Sport Drink:  This stuff is perfect for fixing dehydration from sports, working out, hot weather, or adrenal problems.

6.  Disinfectant:  This  kills 99% of bacteria and viruses–without toxic chemicals.  (It’s powered with Thyme oil and Citric Acid.)  It is proven to kill MRSA!!!!!!  It is safe to use on toys that will end up in mouths.  Use it on door knobs, counters, cutting boards, toilet handles, toys, light switches, steering wheels, musical instruments, phones….any place germs might linger

7.  Dishwasher Detergent:  available in gels or soft packs this stuff has sheeting action that leaves your dishes crystal clear without additional rinse agents needed.

So that was just 7 products out of 400. I haven’t even tried everything yet.

P.S.  We just tried their shampoo/conditioner.  Our old stuff was giving Heidi hives.  Her hives cleared up in a couple of days after we made the switch and our hair is a lot more manageable now.  I have thin, fine hair.  Heidi’s is thick, coarse and dry–we use the same formula…go figure.

This company works similar to Costco, except it’s online.  You become a member and then can order at a discount. If you want to pay full price, that’s ok too, and the prices are still pretty reasonable.  Normally discount memberships are $35, but they are only $1 until December 22nd.

If 7 more of my readers decide to give it a try before December 22nd, the company will send me some love.  If you want more details (please don’t make rash decisions without details!)  Click here to put in your request and I’ll call or email you.


Free Printable Lunch Planner

How do you feel about school starting again?  I love my hour I spend with the High School choir every day, and I love that my kids go to school in a place with small classes where the scriptures are woven into every subject.  One the other hand, we trade a little bit of peace and calm in the mornings and evenings for that privilege (vs homeschooling), and all day alone with a 3 year old is harder than it sounds.  Last year was so stressful and the summer was so awesome, that I’m not ready to let go of that yet.

Part of what made last year so hard was our level of disorganization at home.  I love being organized, but half of last year we didn’t have a functioning kitchen.  There wasn’t a room in our house untouched by the chaos of remodeling. The kids were going in all different directions and every night had an activity of some sort. I craved a quiet evening at home. We were often late or forgot to show up places, stayed up all night to finish assignments that were assigned long before, tried to dress when there were few clean clothes (We own 10 red ties and you can’t even find ONE?!!!), and THIS:

“Ring, ring”

“Hello, This is Angela.”

“Um, Mom…..Were you going to pick me up?”

I became “That Mom.”

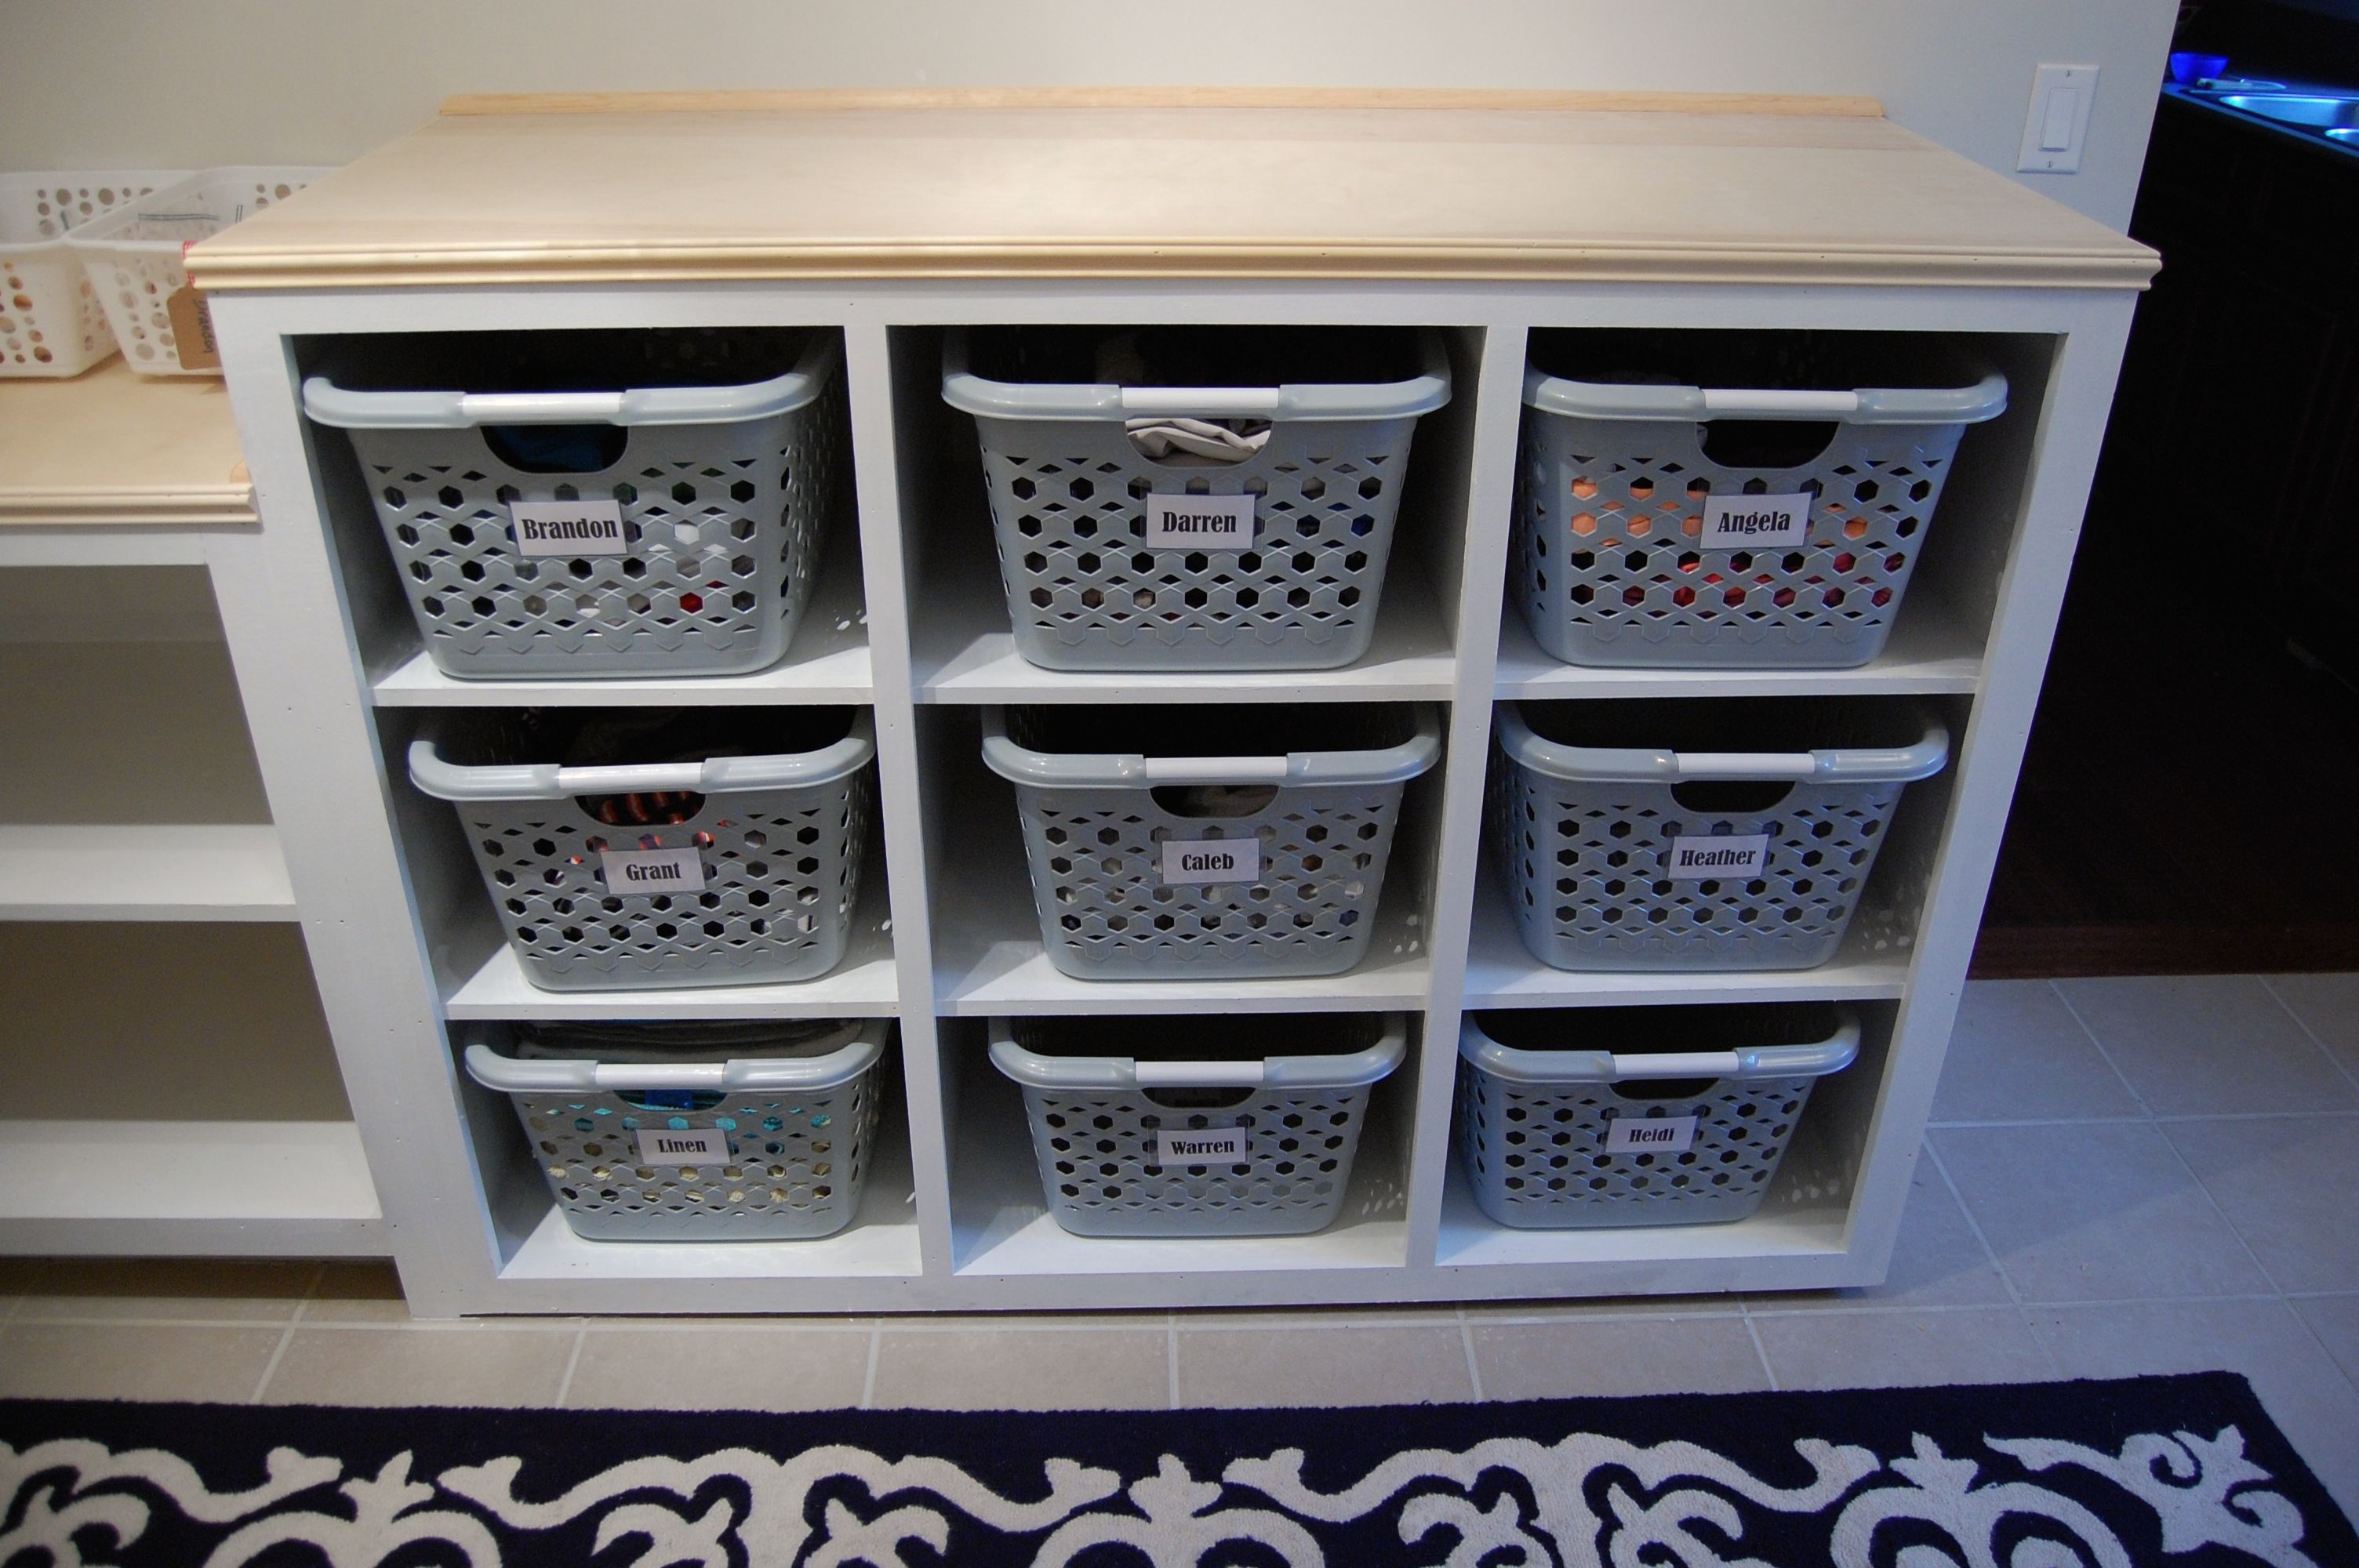
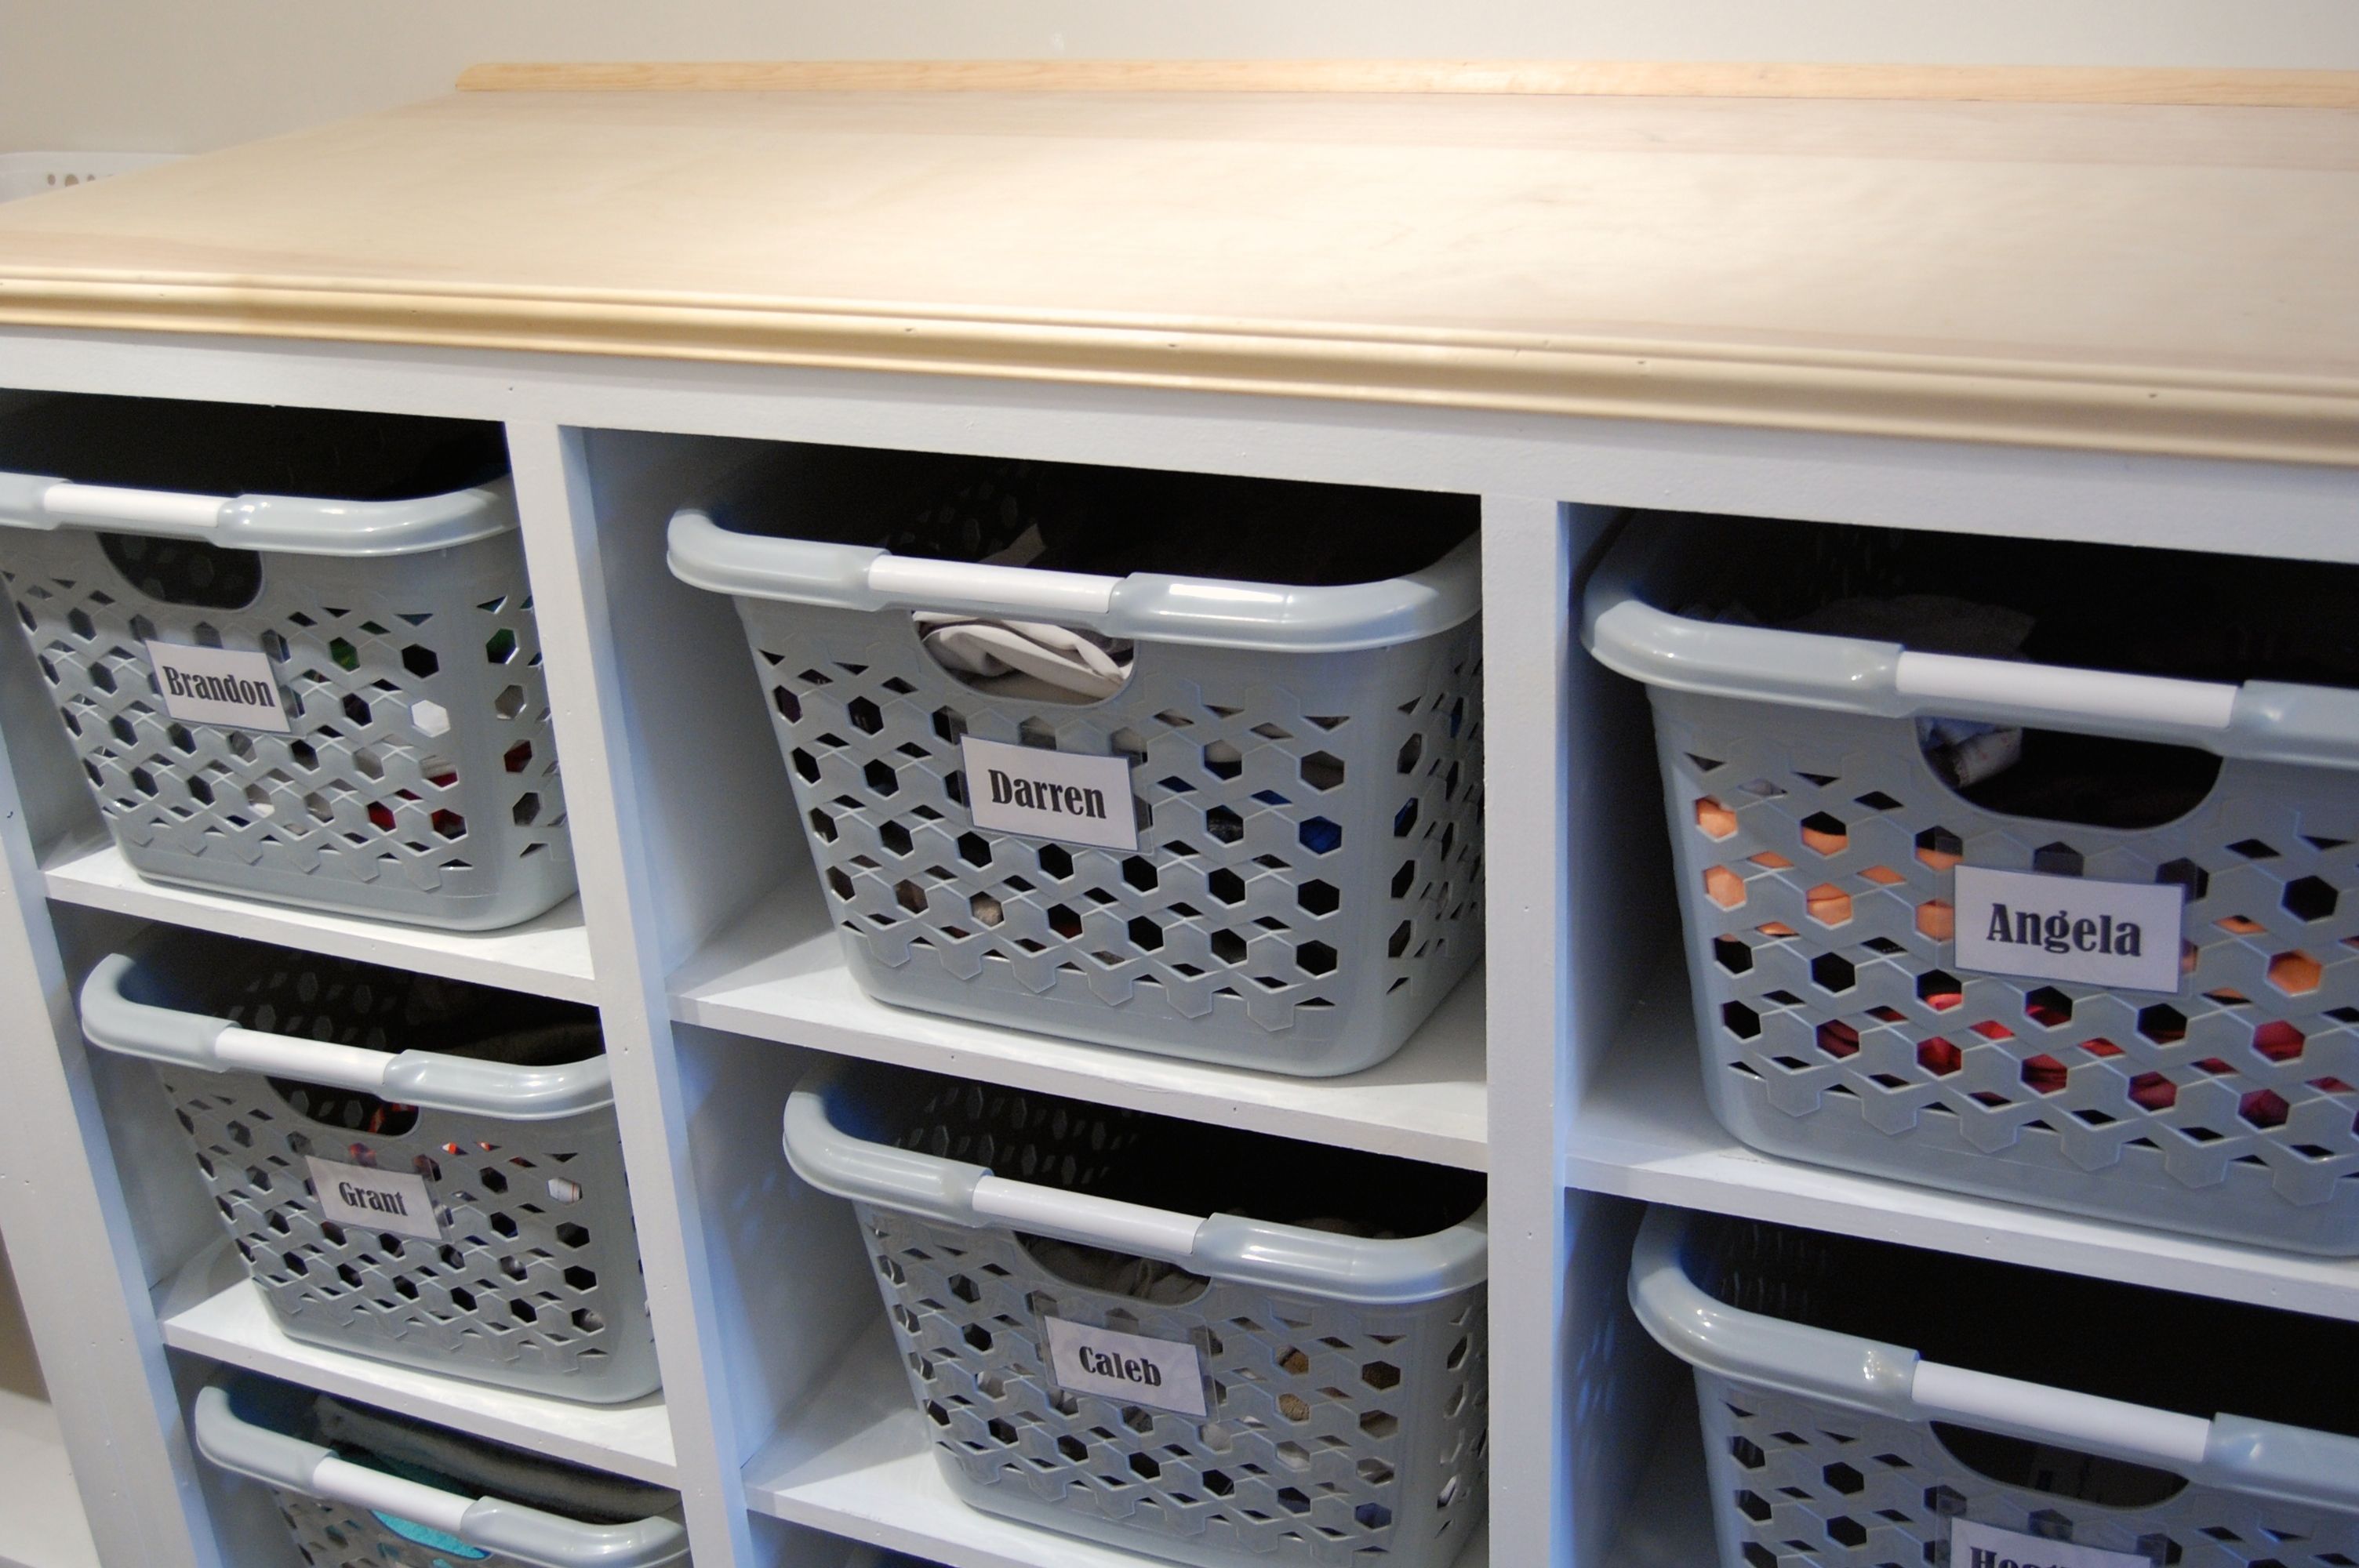
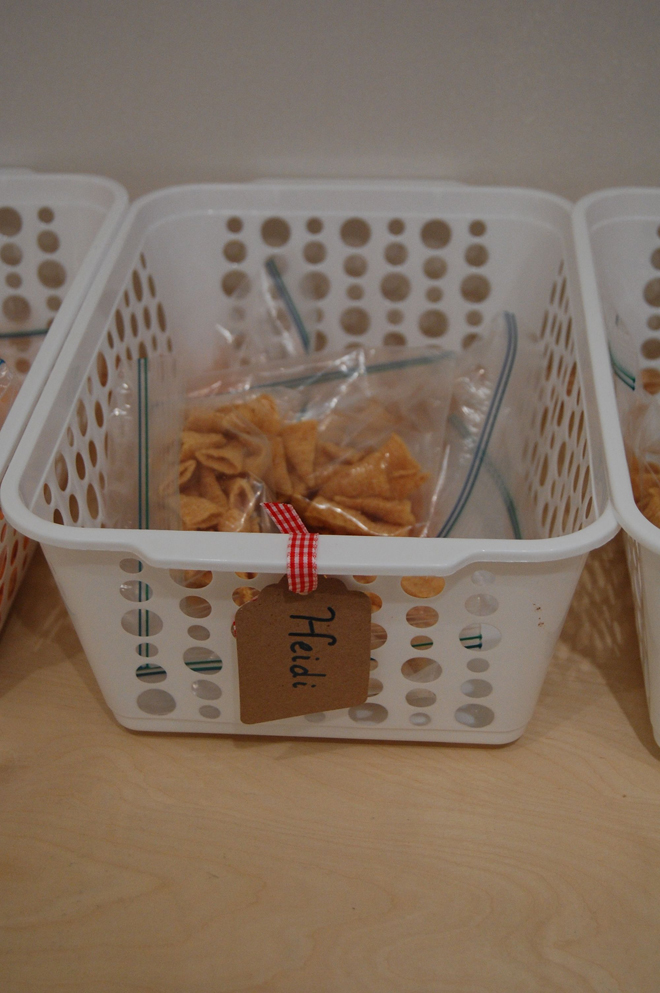
So instead of freaking out about doing that again, I’m getting organized.  I <3 labels.  I just bought these from Amazon, and have been using Power Point to print Business Card Size labels on cardstock to slip inside.  Here they are in action.


Next I will be putting labels on each shelf so the baskets end up in the right spot. Don’t hate me because it’s beautiful.

And yes, we labeled both sides, so no matter which way you put the laundry basket away, it’s still labeled.

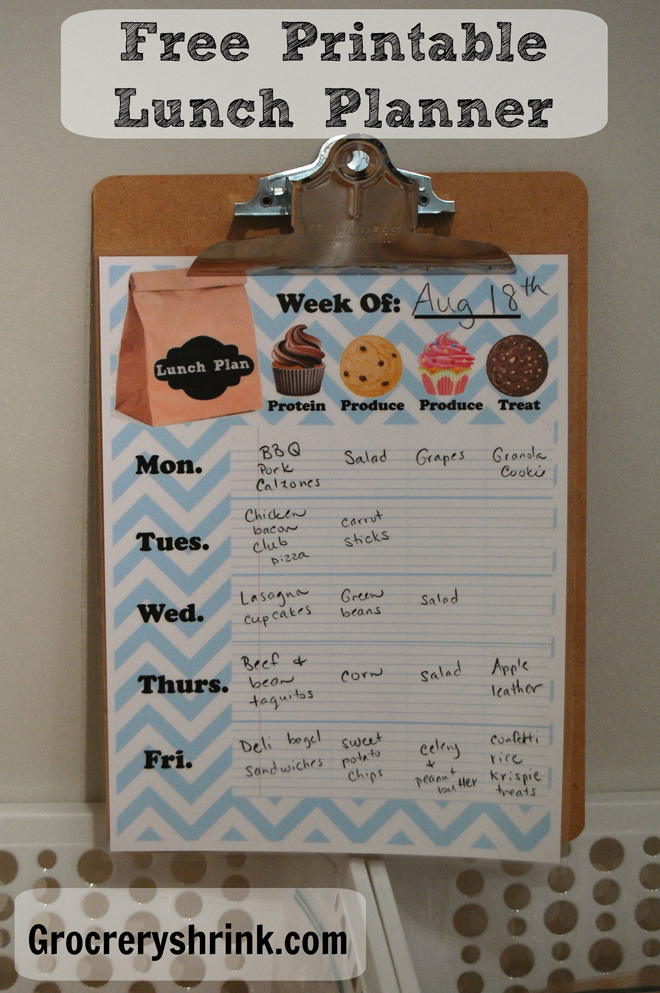
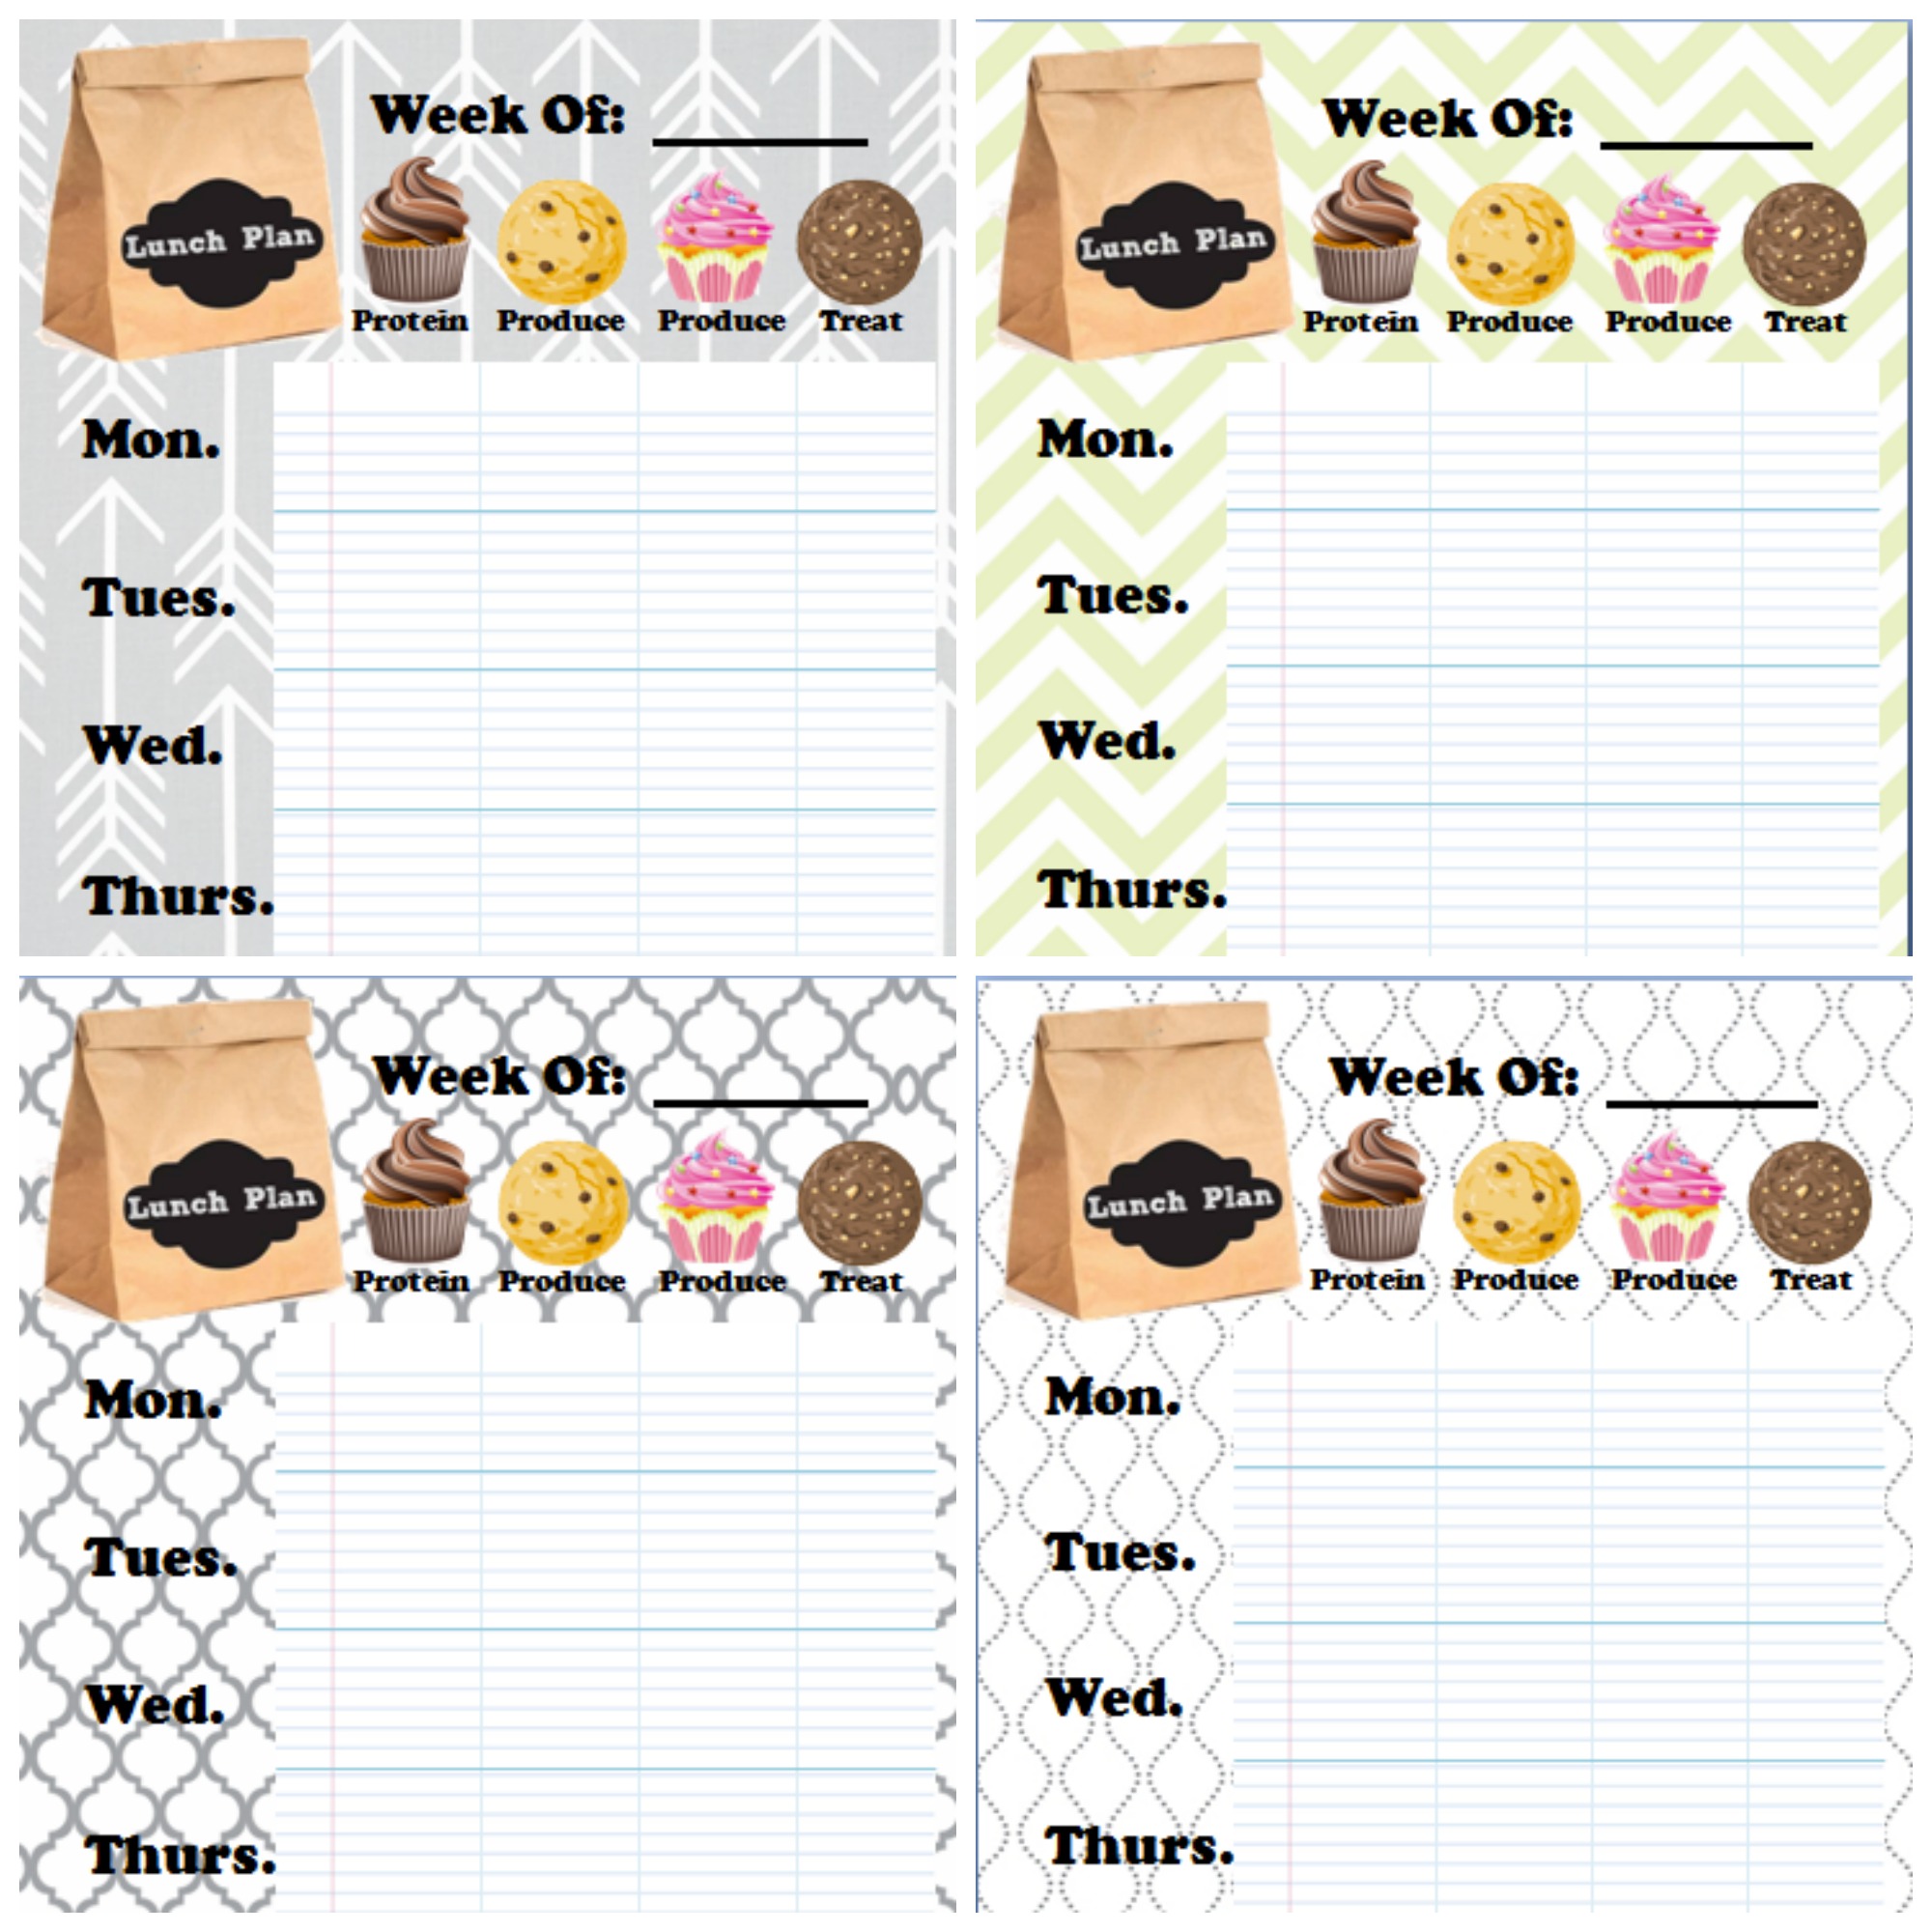
In honor of not freaking out because school is starting, I made a little printable lunch planner gift for us.  I printed mine out on cardstock and then laminated it to use over and over with a dry erase marker.  You can download your own here: Brown Bag Lunch Plan


It comes with several different background choices.  But they all have cupcakes and cookies (over the top of headings like produce and protein) just because I’d rather look at a cupcake than a carrot–true story.

The one thing we did well last year was the kids made their own lunches every day.  It’s the only way we got out the door on time.  Even my kindergartener made his own lunch.   The only thing more stressful than packing 5 lunches every day is paying an extra $300 a month to buy them, lol.

Sometimes the kids are late/lazy or forget their lunch in the car.  Then they borrow money to eat a school lunch and pay back the cafeteria from their own piggy bank.  Yes, it feels really mean and I’m sad when this happens.  But if I helicopter mom in every time my kids are irresponsible, they’ll never stand on their own.  (Ok, I did go back a couple of times when I saw it in the car before getting all the way home.)

Here’s how we do it: After dinner I pack leftovers into lunch containers and stick the in the fridge..  In the morning, the kids choose from those or make a peanut butter or meat sandwich instead, then choose a couple of side dishes from their snack basket.  They drink water, so no juice boxes for us, unless it’s a special occasion.  The school provides silverware and napkins and has a couple of microwaves to use.  Though sometimes the line is so long, there’s no time to eat once they get their food warmed up.

This year, I plan to cook the packable lunch dishes from the GSP menu with Grant at noon.  He and I can eat together and then have the leftovers ready to go for everyone else the next day.

How do you stay organized for the school year?  Seriously, I need ideas, (especially if they involve labels.)

What Are all Those People in Line for?

Have you ever walked or driven by a huge line…and been all insecure? Like they know something awesome is going to happen and you don’t have a clue?

That almost happened to me.  Ok, it happened this week but the good news is there are still 5 days for us to join in and we don’t have to leave our house or stand in line.

us154-d3159cb8-2b6f-41d4-a449-c77ed8a67cc1-v2


This is a huge set of resources on how to be a better everything.  Purchased separately they’d cost $698 which doesn’t include $200 in additional bonuses.

BigBookBundle

It’s available as a ($29.97) pdf set or a ($39.97) Kindle set, but I couldn’t help to notice that the pdfs were $10 less.

If you buy through the links here, some of the proceeds goes to support the blog and helps my family, but it doesn’t cost you a dime more.

I’m off to grab my set.  If you are thinking about getting it too, you should know the sale ends Monday night.

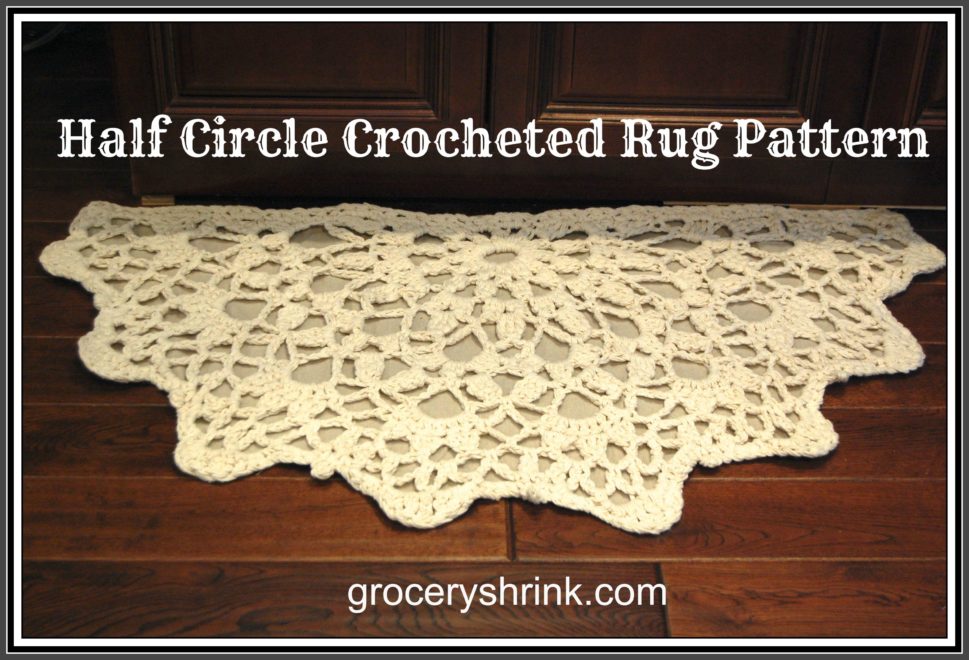
Crocheted Half Circle Rug

When I finished the rug, DH said, “What do you think of it?”

What do think?  I love it!  I hugged it when you weren’t looking.  I did dances around it, took off my socks so I could really feel it under my feet.  Knowing how he feels about crochet, I only said, “I think it turned out pretty good.  What do you think?”

Do you know what he said?  He said, “It’s awesome.  And it didn’t really take you that long.”

“And it was free.” I pointed out.

“Um, except for the 3 skeins of yarn and a canvas drop cloth.”

“Those don’t count” (Has he not been to the craft hoarders school of positive thinking?) “No new money spent, means free–duh. Besides I have half the supplies left, so I could make another one and sell it on Etsy to recoup the amount of money I didn’t spend on supplies.  So it cost half of free.”

I think he might have rolled his eyes.  I feel sorry for him.

I wrote down the pattern after I finished the rug so I plan to make another just to test it and make sure. Might be a few “interesting” parts in the instructions until I work it out for you. A seasoned crocheter won’t have trouble. I adapted the rug pattern from a fine string crocheted vintage doily in my collection.

***************************************

Yarn:  3 large skeins (The super huge ones that cost $10 each but go on sale for 50% off all the time–so wait or use a coupon, please) of worsted weight cotton yarn (like wash cloths are made from.)  Size P hook. This is enough to make 2 :).

Good to Know: These are in American Crochet Terms

Abbreviations:

ch = chain

ss = slip stitch

sc = single crochet

dc = double crochet

tr = triple crochet

cl = cluster

p = picot

2-dc-cl (or 2-tr-cl)= cluster of 2 dc (or 2 tr). To make cluster, hold back the last lp of each st on hook and work 2 dc or 2 tr) into st or sp specified, then yo and through all 3 lps remaining on hook.

3-dc-cl (or 3-tr-cl) = cluster of 3 dc (or 3 tr). Make as above, working 3 dc 9or 3 tr) insted of 2 and work final yo through 4 loops remaining on hook.)

P3 is a picot made with 3 chains.  To make a P3, ch 3 then slip stitch into the 3 ch from the hook.

************************************

Foundation: Ch 10; join with a sl st to form a ring.

Rnd 1: Ch 2, 2-dc-cl in ring, ch 3, [3-dc-cl, ch3] 11 times all in ring; join with a sl st to top of first cl.

Rnd 2: (Sl st, ch 2, 2-dc-cl) all in first ch-3 sp. ch4, [3-dc-cl in next ch-3 sp, ch 4] 9 times. Ch 1, turn.

Rnd 3: (Sl st, ch 2, 2-dc-cl, ch 2, 3-dc-cl) all in first ch-4 sp, ch 2. *[3-dc-cl, ch2] twice all in next ch-4 sp; rep from * around, ch 1 turn.

Rnd 4: (Sl st, ch 3, 2-tr-cl)  all in first ch-2 space, ch 5 [sc in next ch-2 sp, ch 5, 3-tr-cl in next ch-2 sp, ch 5] 7 times, sc in next ch-2 space; ch5; 3-tr-cl in final ch2 sp.

Rnd 5: Ch 6, sc in next ch-5 lp, [ch 5, sc in next ch-5 lp, ch 6, sc in next ch-5 lp] around (final sc goes in top of last 3-tr-cl).

Rnd 6: sl-st, ch 2, 2-dc-cl; (ch 2; 3-dc-cl) twice all  in first ch-6 lp; * sc in next ch-5 lp; ([3-dc-cl, ch 3] twice, 3-dc-dl) all in net ch-6 lp; rep from * around.  sc in top of final  ch-5 lp. (May have error at the end.)

Rnd 7: St st in next (sc and cl), (sl st, ch 3, 2 -tr-cl, ch 5, sc) all in first ch-3 sp, * (sc, ch 5, 3-tr-cl) all in next ch-3 sp **, (3-tr-cl, ch 5, sc)  all in next ch-3 sp; repeat from * around, end at **

Rnd 8: Sl st in first 2 ch of ch-5, (sl st, ch 1, sc) all in next ch, *ch 5, sc in 3rd ch of next ch-5, ch 5, sc between next 2 cl **, ch   5, sc in 3rd ch of next ch-5; rep from * around, and at ** (except at the end just sc in final st since there aren’t two clusters here.)

Rnd 9: * 7 Dc in next ch -5 lp, sc in  next lp**, ch 4, sc in next lp; rep from * around, end at **

Rnd 10: * Ch 3, 3-dc-cl over first 3 dc of 7-dc group, [ch 5, join 3 -dc-cl] twice **, ch 3, sc in next ch-4 sp; rep from * around, and at ** (note: joint cluster means the first stitch of the next cluster is in the same spot as the last stitch of the previous cluster.)

Rnd 11: (Sl st, ch 1, sc, ch 5 sc) all in first ch-3 sp, ch 5, [(sc, ch 5, sc) all in next ch-5 sp, ch 5], [sc in next ch-3 sp, ch 5] twice; *[(sc, ch 5, sc) all in next ch-5 sp, ch 5] twice, [sc in next ch-3 sp, ch 5] twice; rep from * around

Rnd 12: *Ch 1, sc in next sp, [ch 3, sc in next sp] 4 times, ch 1**, sc in next sp; rep from * around, end at **

Rnd 13: (Sl st, ch 1, sc) all in first ch-1 sp, *3 sc in next ch-3 sp, ch 1, (sc, hdc, dc, tr) all in next ch-3 sp, tr in next sc, (tr, dc, hdc, sc) all in next ch-1 sp, ch-3p**, sc in next ch-1 sp; rep from * around

Rnd 14: Sc across front of mat, evenly spacing the stitches.  (I took 60 stitches to get across mine.)
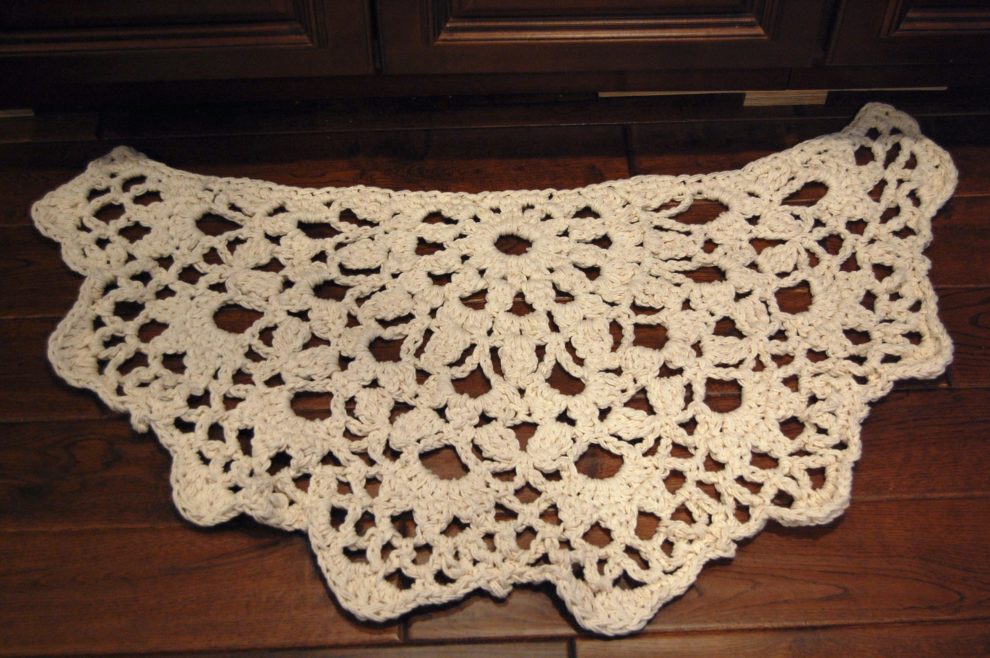
At this point it will look a little wonky.  Throw it in the washing machine on gentle.  This will shrink up the yarn a bit and wet it down so you can block it.
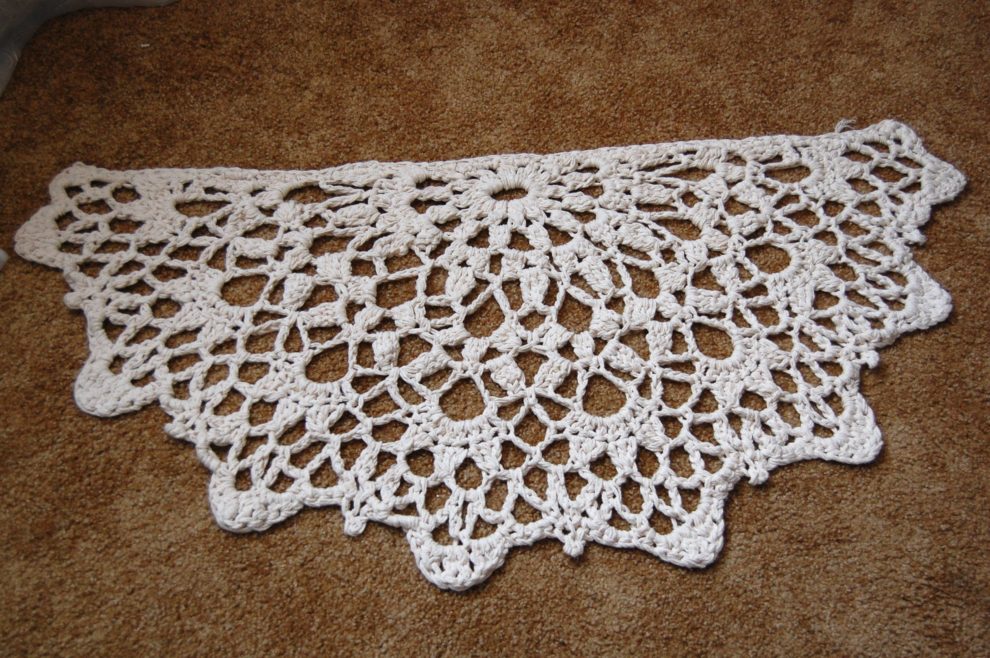
Once it is out of the washer, lay it flat on a towel (or clean carpet) and tug it into shape.  Make sure the front edge is perfectly straight and all the picots are pulled out. Let it dry overnight.

At this point, you can use it as is.  I chose to add a canvas backer so I’d have something to attach a non-slip liner to.
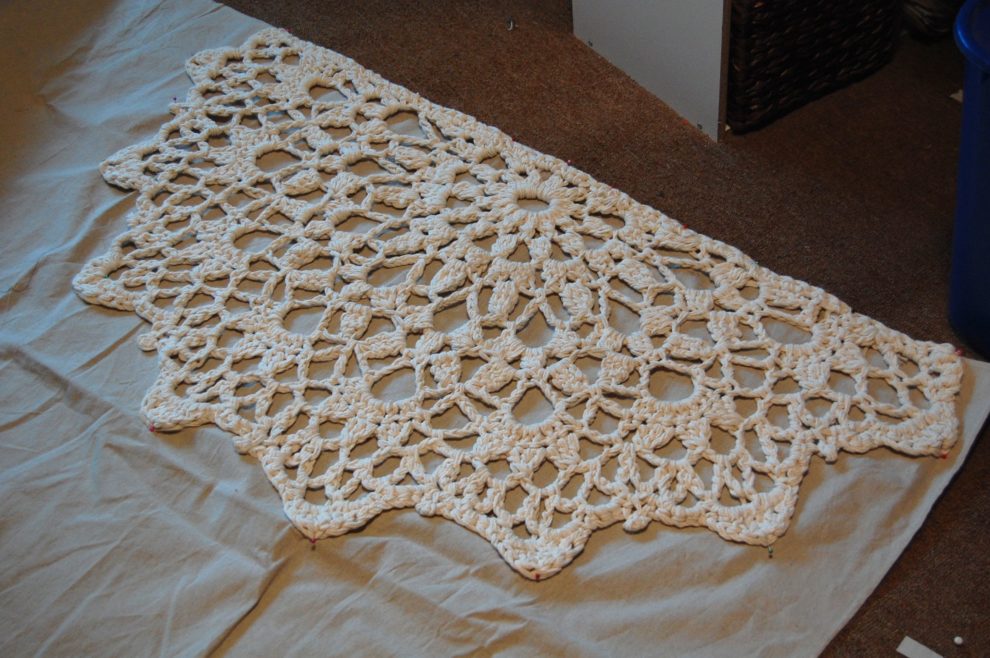
To make a canvas backer, place the rug on a canvas drop cloth (I chose the stiffest one in my stash).
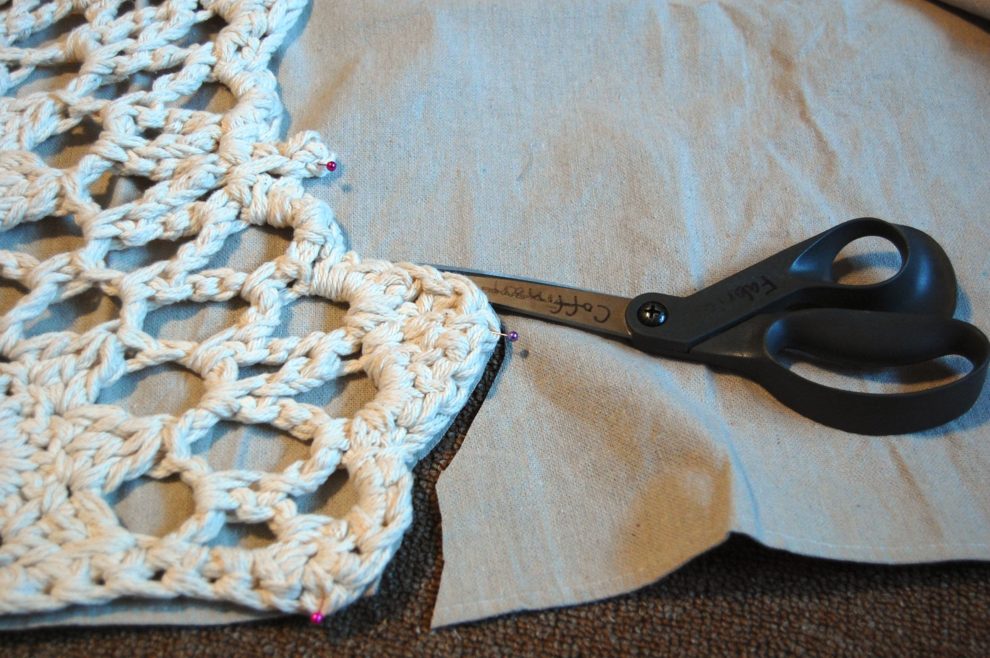
Cut out the canvas to match the size of the rug (I skipped the picot part and just cut it straight behind them.) Finish the edge with a zig-zag stitch or serge the edge.  Then pin the canvas to the crocheted rug. (Don’t skip the pinning part, because crochet stretches and will be a mess if you just try to run it through the machine without pins–trust me, I tried it.)
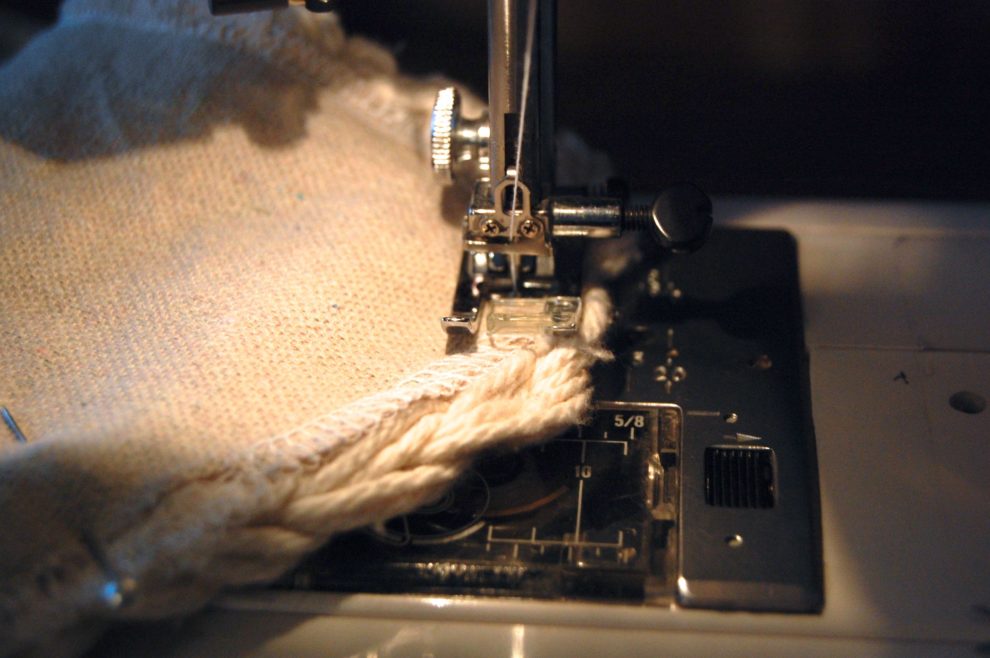
Use a long stitch and coordinating thread to stitch the rug to the canvas around the edges.  This works best if the crocheted side is down towards the feed dogs so the yarn doesn’t get caught in the pressure foot. Also make sure you can see the yarn peeking around the edge, otherwise your backer will show from the front.

If you want to attach a non-slip mat, cut it to fit and then hot glue it to the canvas back.
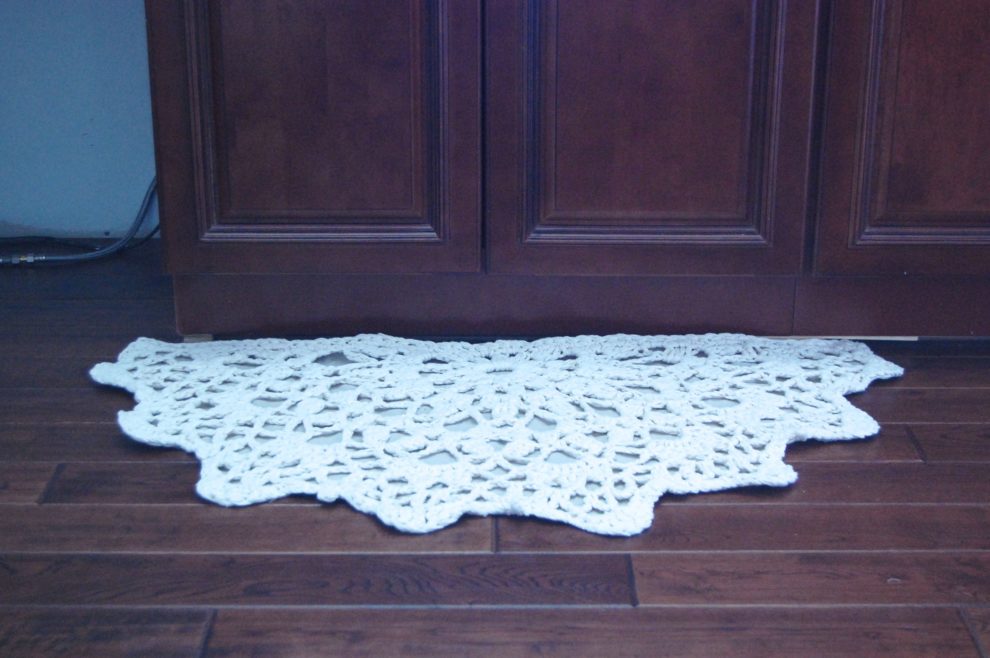
 

It will look even better when we get the dishwasher installed and finish the trim under the cabinets, but those things don’t’ affect my enjoyment of the rug in the least!  I can see one used as a bathmat or at a bathroom sink too. I’m considering an oval version to go by Heather’s bed….


Crocheted Baskets Vs. Target

I’ve been makin’ stuff, because it’s Spring break–and besides cleaning up vomit, I needed a diversion. (Yep, 5 of the 6 kids are down with the flu–and it’s been lasting 4 days for each of them–sigh.)

I purchased 3 huge skeins of natural cotton worsted weight yarn after Christmas (using a gift card :).) I was planning to make 4 baskets to hold piano music for the kids.  Inspired by these cuties from Ravelry:

basket2_small2

I made up my own pattern to get something square and sized for the books and dug in, holding 3 strands together and using a huge size P hook. The thing was slow going and super floppy.  I set it aside, discouraged and still unorganized in the music department.

A few months later, I found these baskets at Target:

13946258_121010024625

They were the perfect size, cost less than crochet, so much faster and already sturdy.

DSC_2746 DSC_2744 DSC_2745 DSC_2743

(Don’t mind the hole in the wall and the cans of paint at the end of the cabinet…I don’t even see them anymore.)

I bought the Target baskets–immediately, but I had the yarn leftover and a guilty conscience about what to do with it.  I had been eyeing these rugs on Etsy for awhile. And really the price isn’t too bad.  But since I had the stuff, I decided to attempt a DIY.  It was easy to unravel the partial basket and recoup the yarn.  It hurt my husband more than it did me who yelled, “What are you doing!?” as he watched me tear out hours of work.

He’s not a big fan of crochet.  It takes my time and he can think of a hundred things more fun to do together (wink.) The last thing he wanted to see was undoing the stuff he thought was a waste of time to begin with.  What was he going to think of this new project?  I’ll show you tomorrow.

Bulk Cooking: Slow Cooked Ground Beef

As the weeks drag on without a kitchen, I’m starting to loose it a little.  Our project was delayed in an unforeseen scheduling conflict with one of our professionals and our finish date is two months in the future…..sigh.  But when it’s all said and done it will be worth it.

Part of holding it together, is making sure my family still eats while sticking to our tiny food budget, which DH lovingly raised to $500 a month (for the 8 of us) at least while our kitchen project drags on.  This allows me to buy a few more convenience items to make meal prep in our alternative kitchen space a little easier.

“If only I had a bunch of cooked up ground beef in the freezer!” I thought to myself last week.  That would make life so much better.  So I did a search on all the ways to cook large batches of ground beef–only I don’t have a stove, so it can’t use a wok, lol.

Finally I decided to try it in the slow cooker.  And it worked, beautifully–though until the very end I was sure I had wasted 6 lbs of meat.  Here’s how it played out.

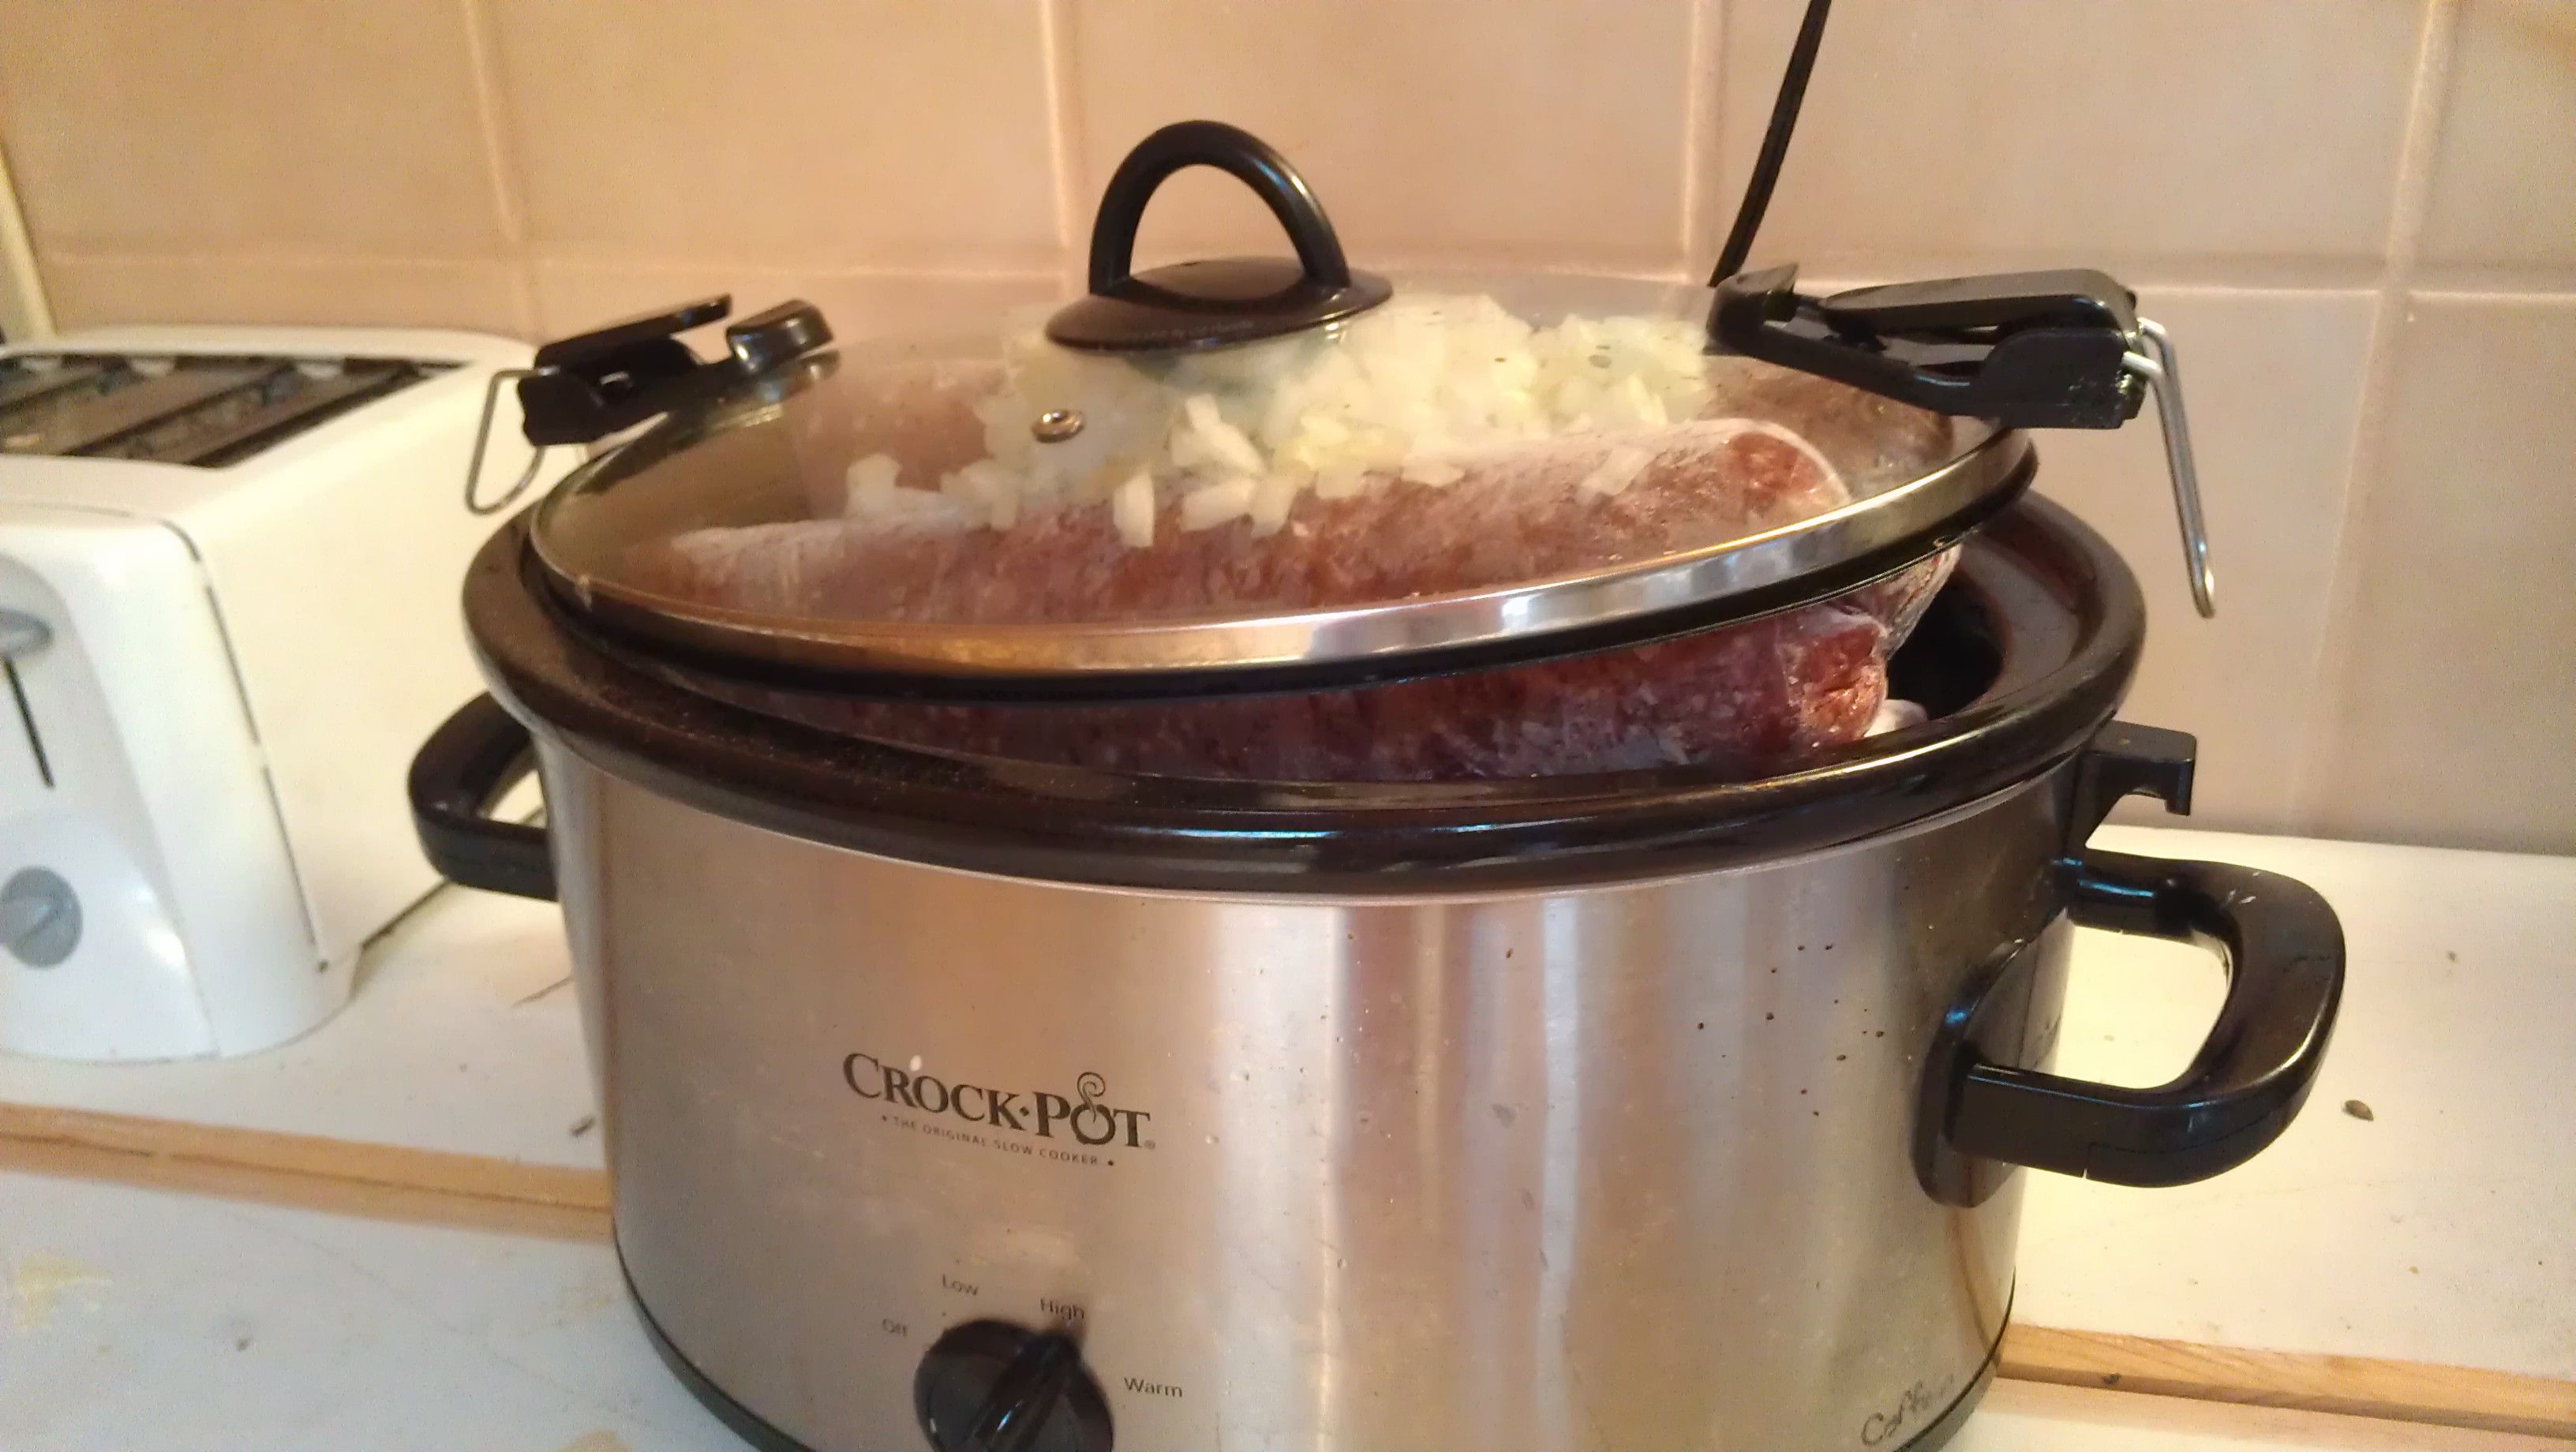
I unwrapped three 2 lb logs of frozen ground beef and stuck them into the slow cooker.  Then I added 6 cups of water, because I wanted beef broth.  To make the broth and hamburger taste good, I added 2 finely chopped onions; 1 Tbs of salt; 1 tsp of garlic salt; and 1/2 tsp black pepper.

The lid wouldn’t close.  No worries.  I covered it as well as I could and cooked in on low overnight.  After about an hour, I could push the lid down.  That made me feel better.

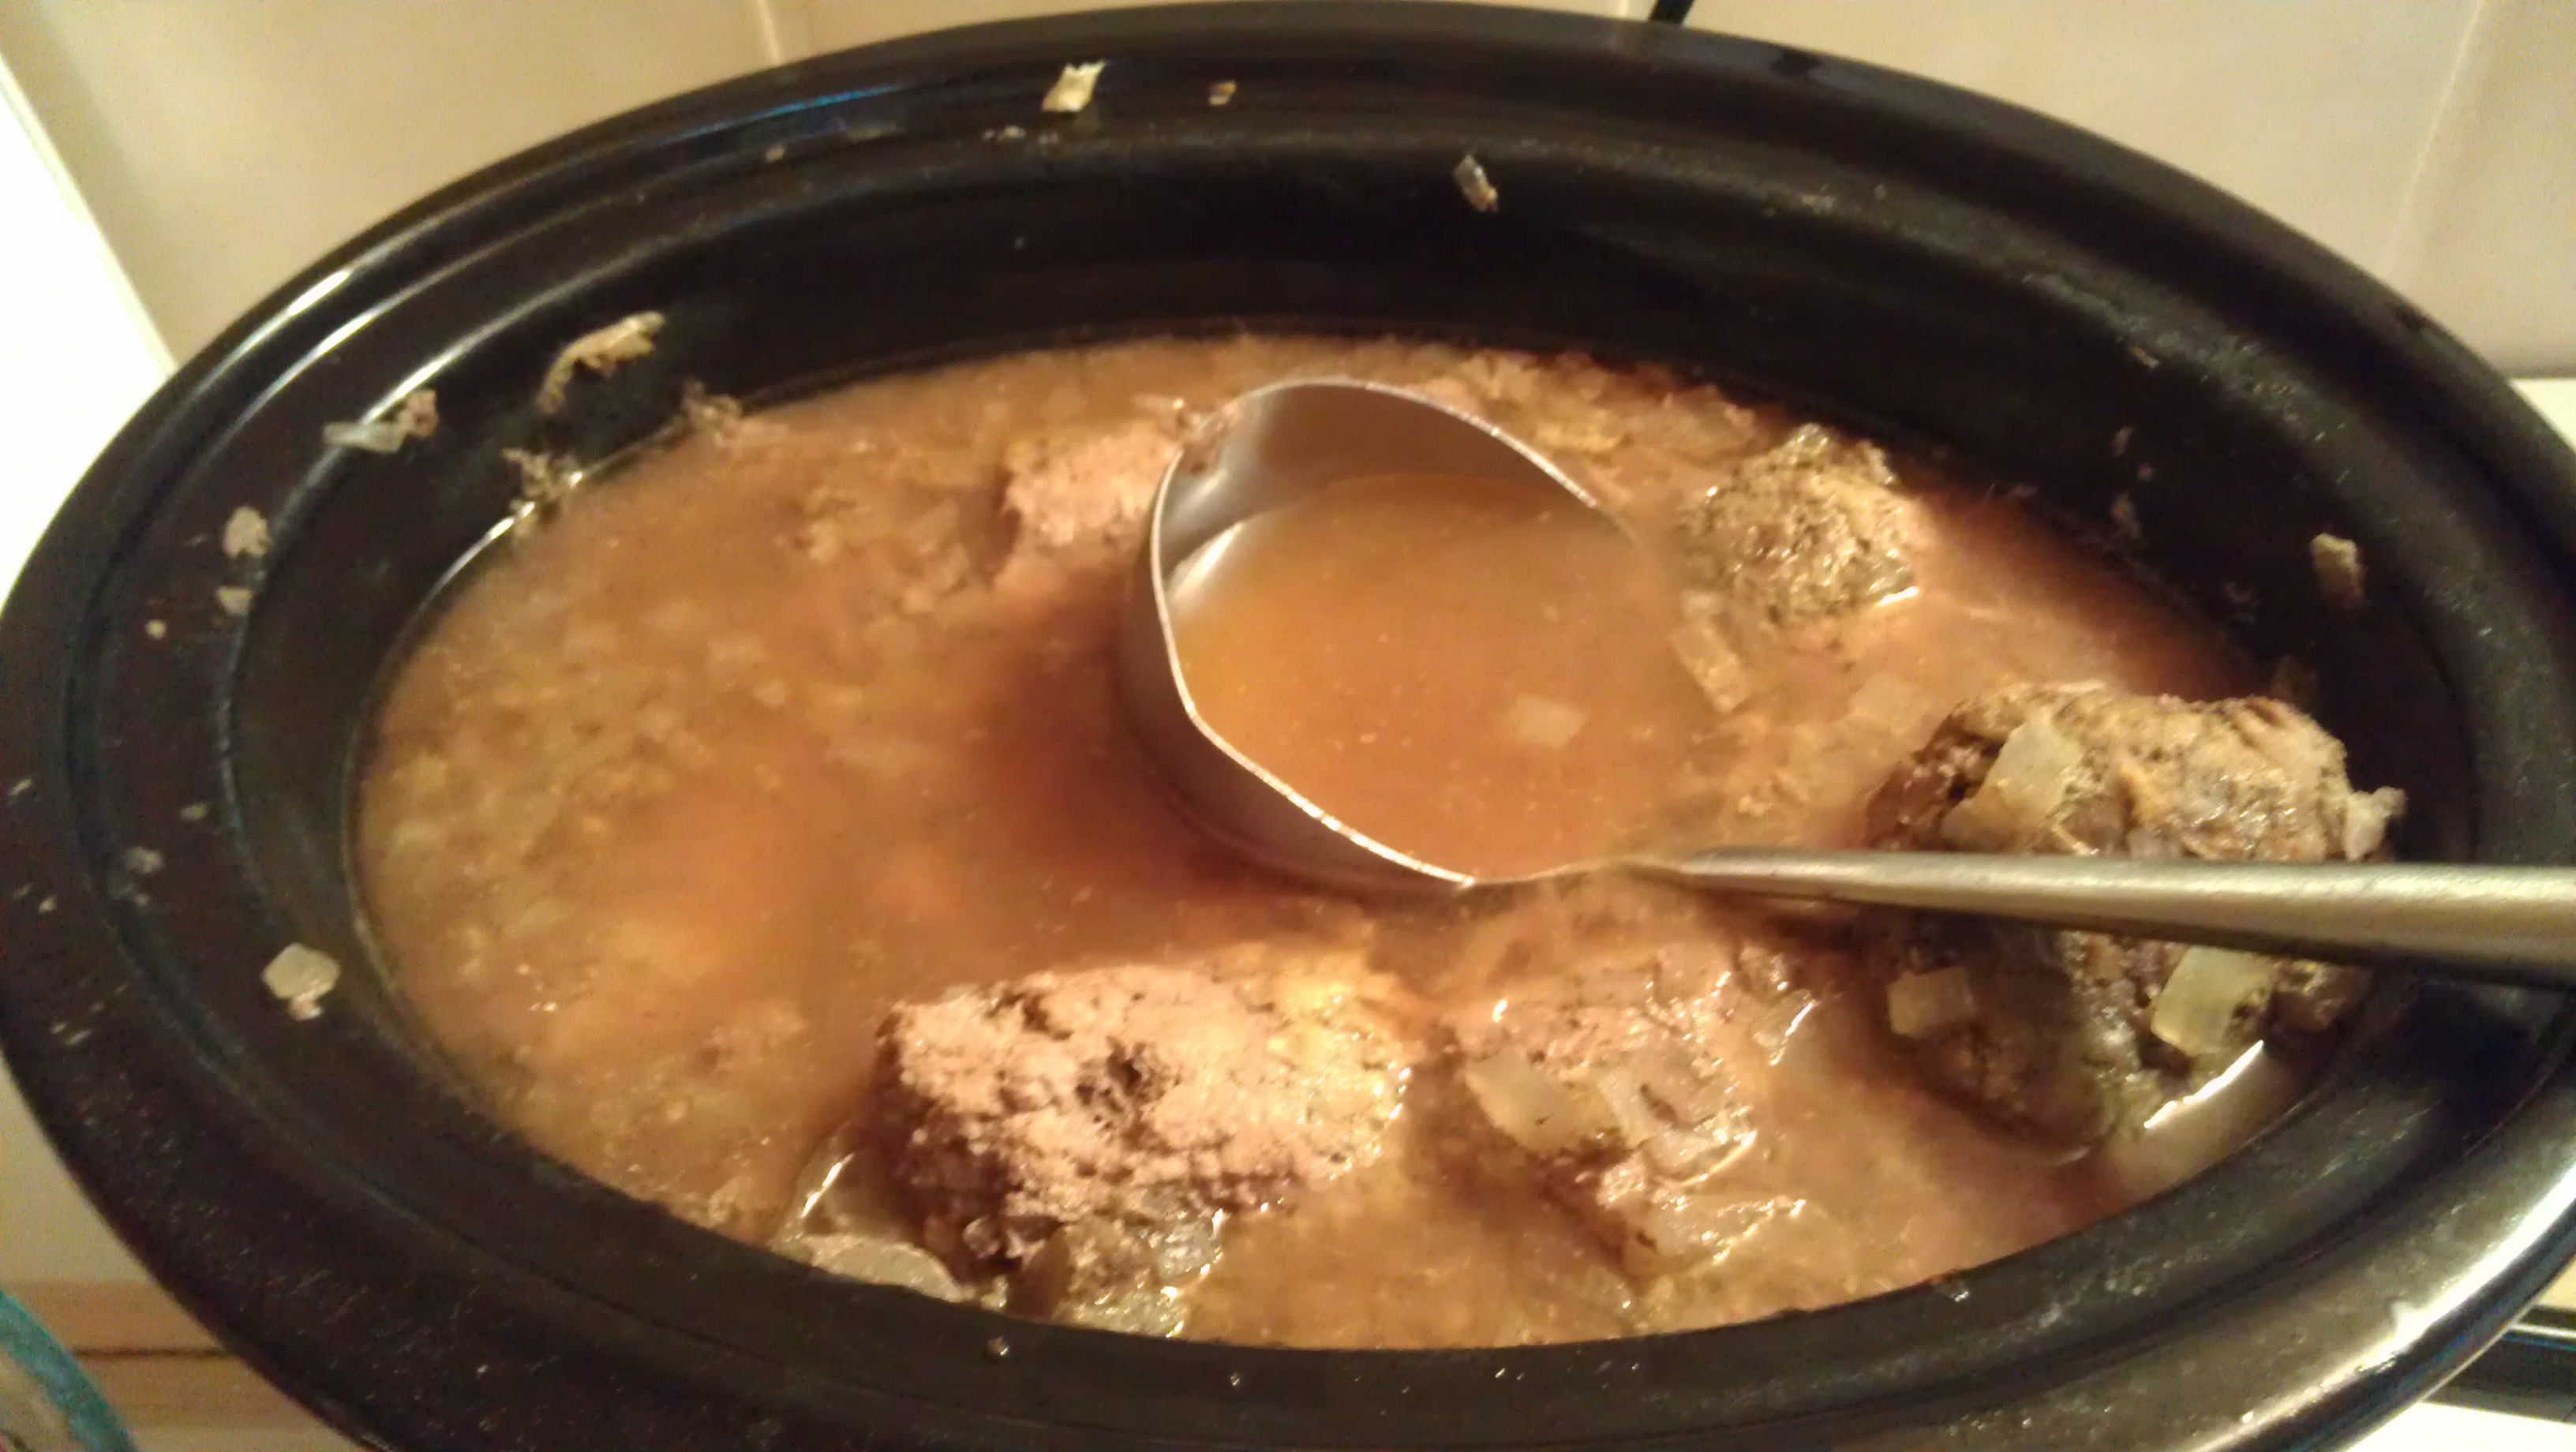
In the morning I had 3 logs of cooked hamburger–oh no!  I was hoping for it to form crumbles automatically while I slept. But the broth looked delicious.

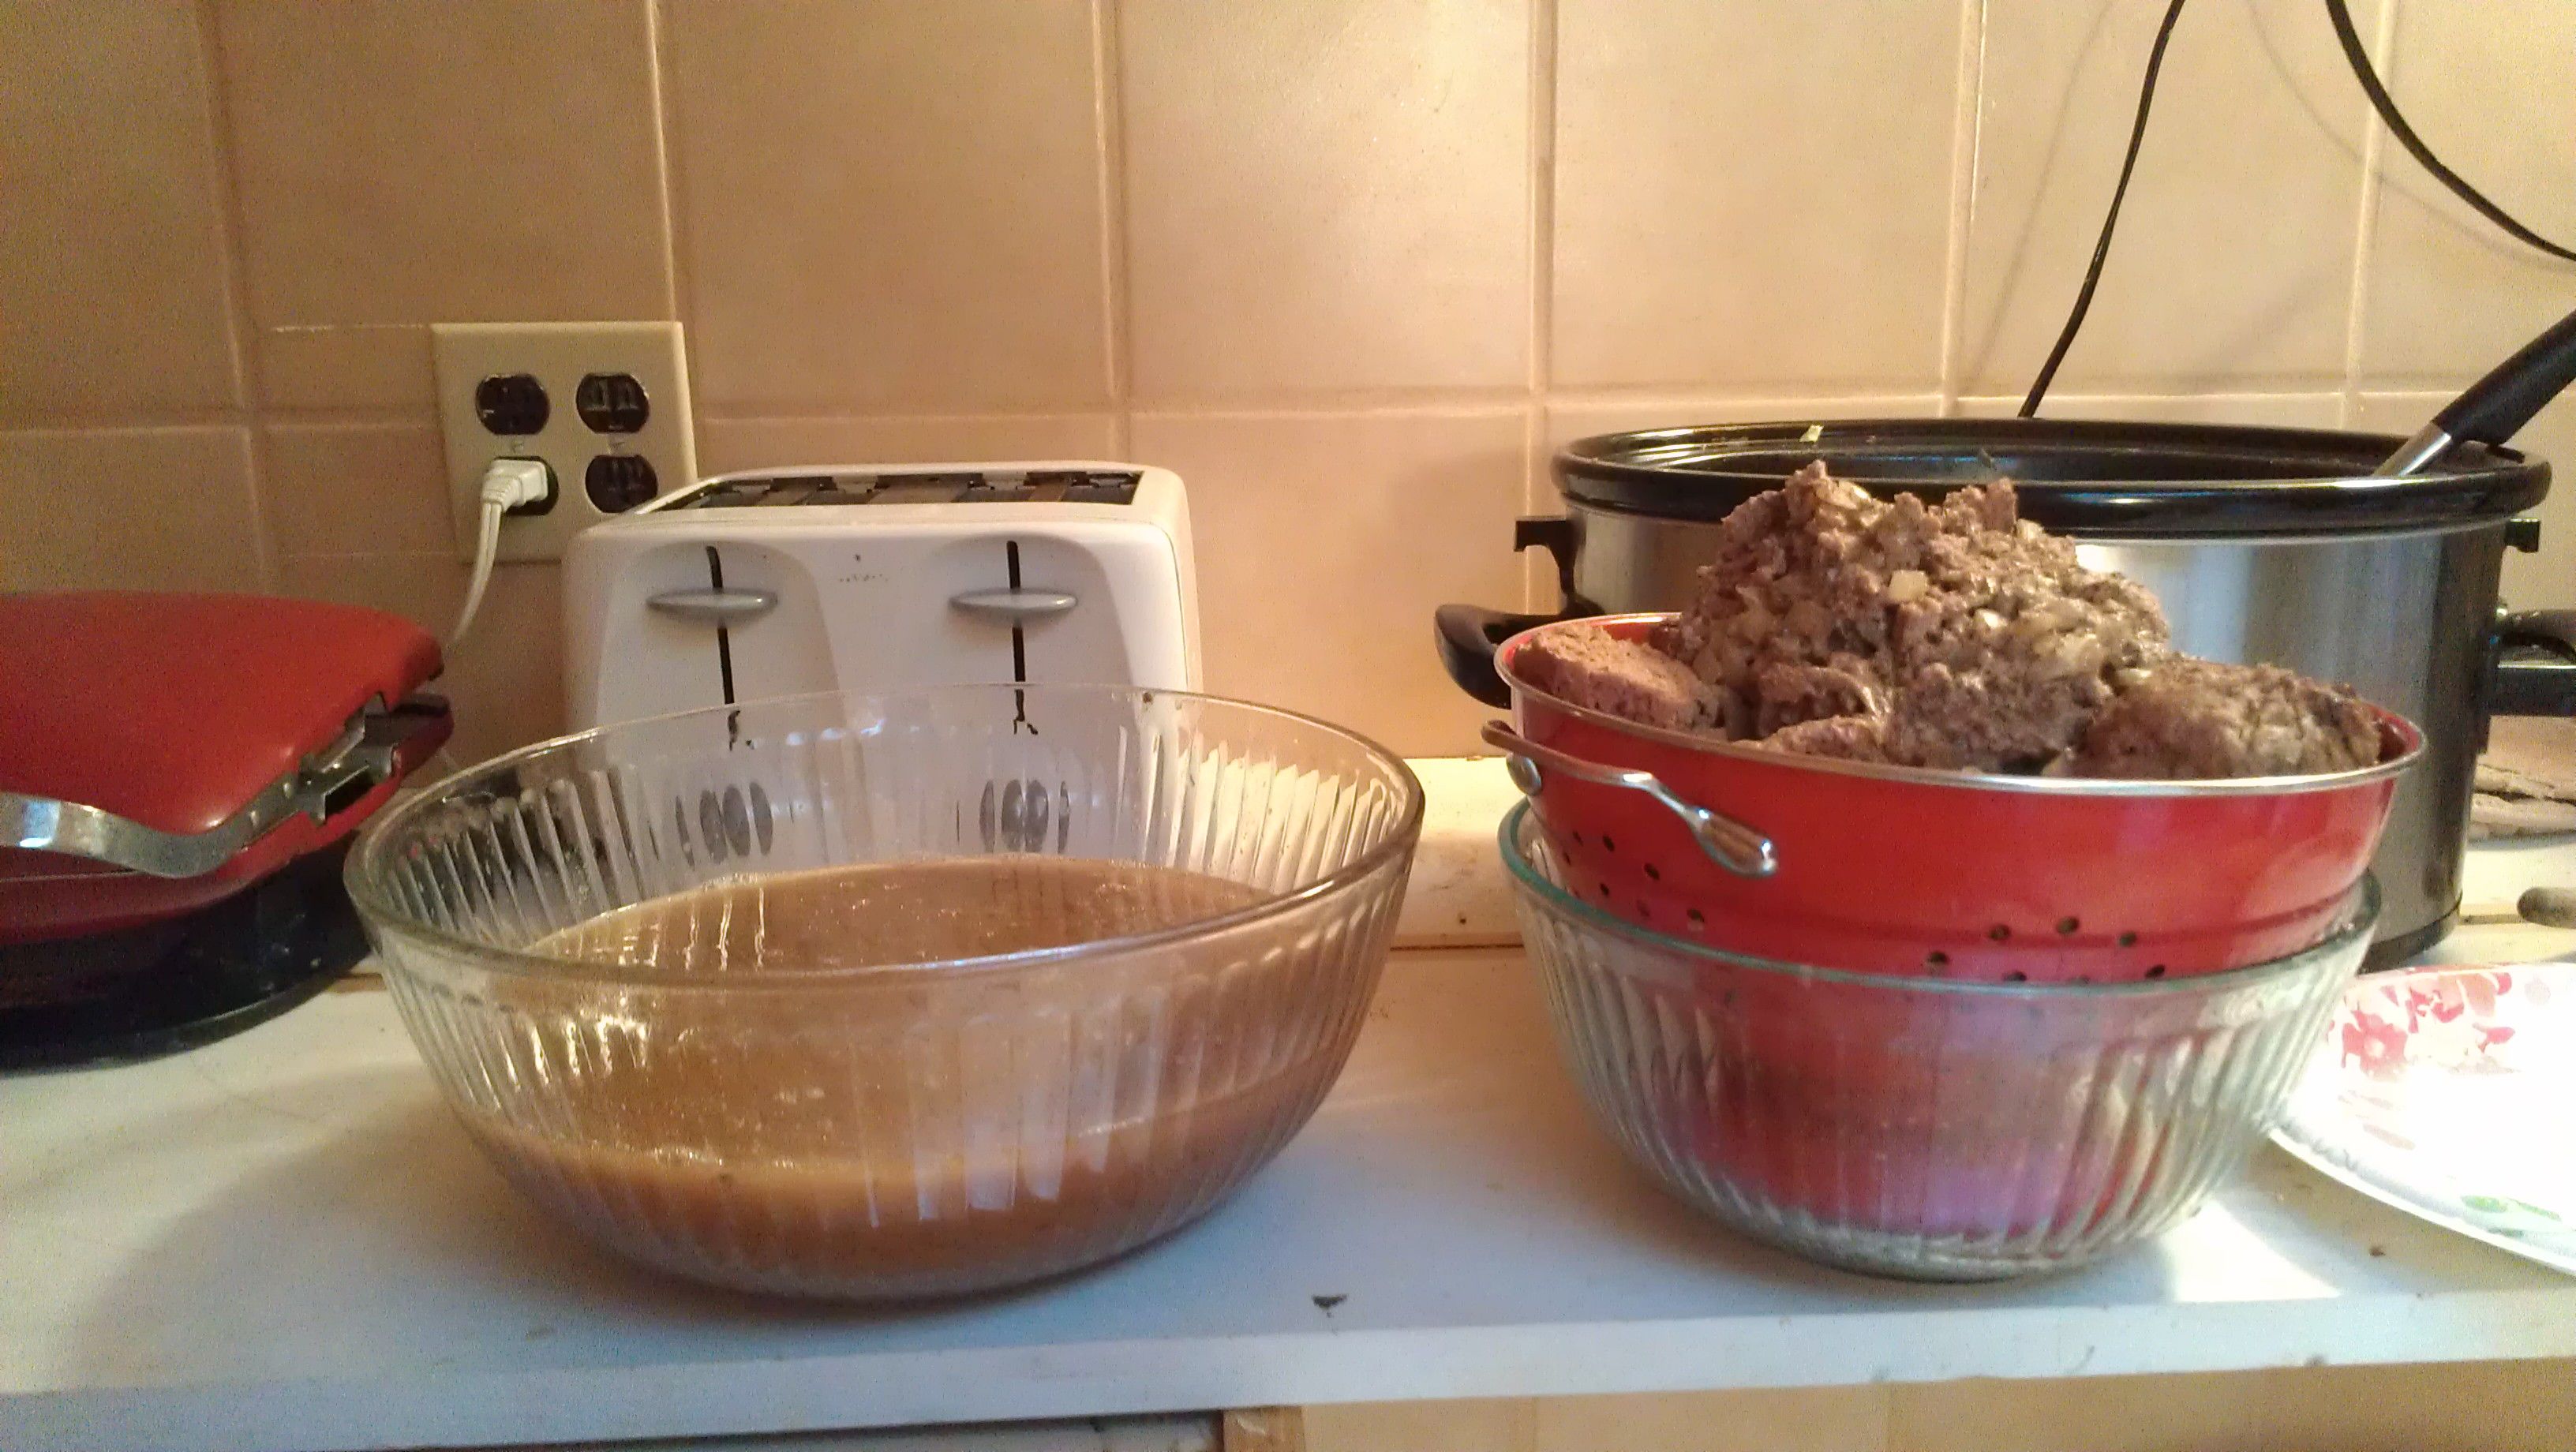
I chopped up the meat into huge chunks and then used a colander and bowl system to drain out the broth.

It had great color and smelled amazing.  I was surprised what little fat hardened on the top after it cooled.  This was grass fed beef direct from the farmer.  I could see the quality when cooked this way.

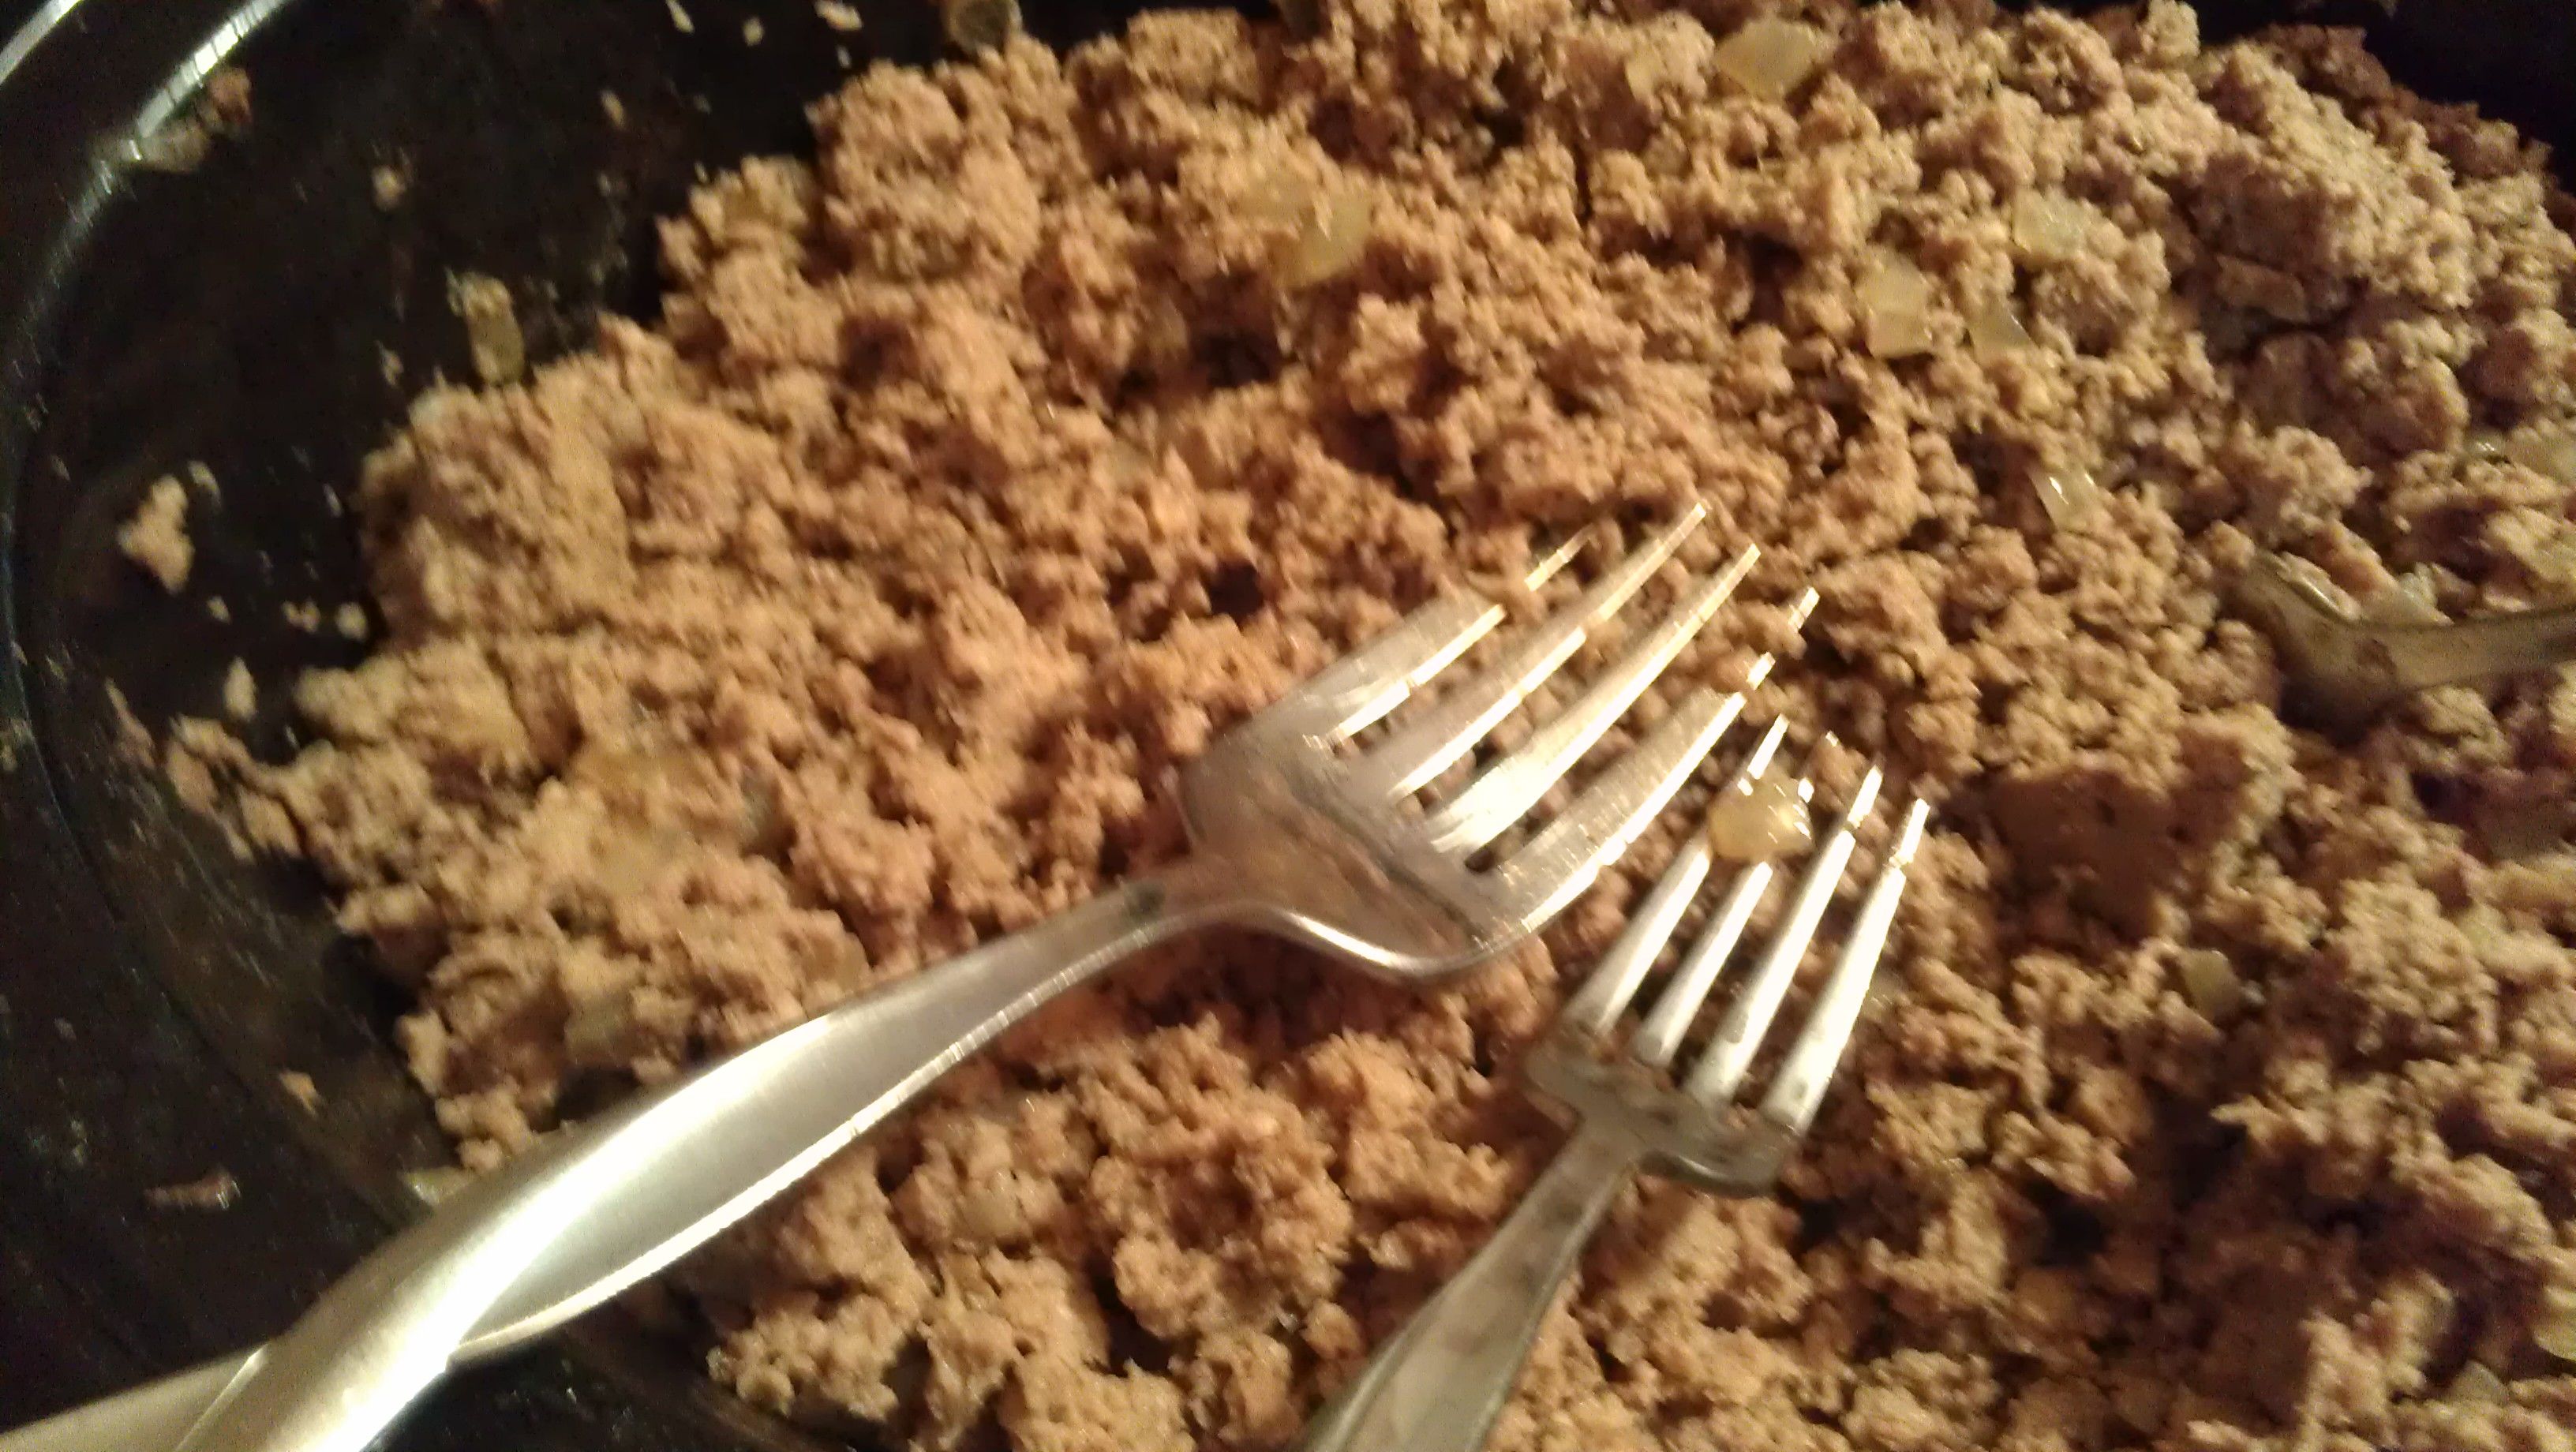
I was pretty sure at this point that it was all a waste.  But I decided to try the two fork shred method that I use on my pulled pork. I ended up mashing it with the back of a huge fork.  It worked beautifully–and fast. Perfect fine crumbles of ground beef!

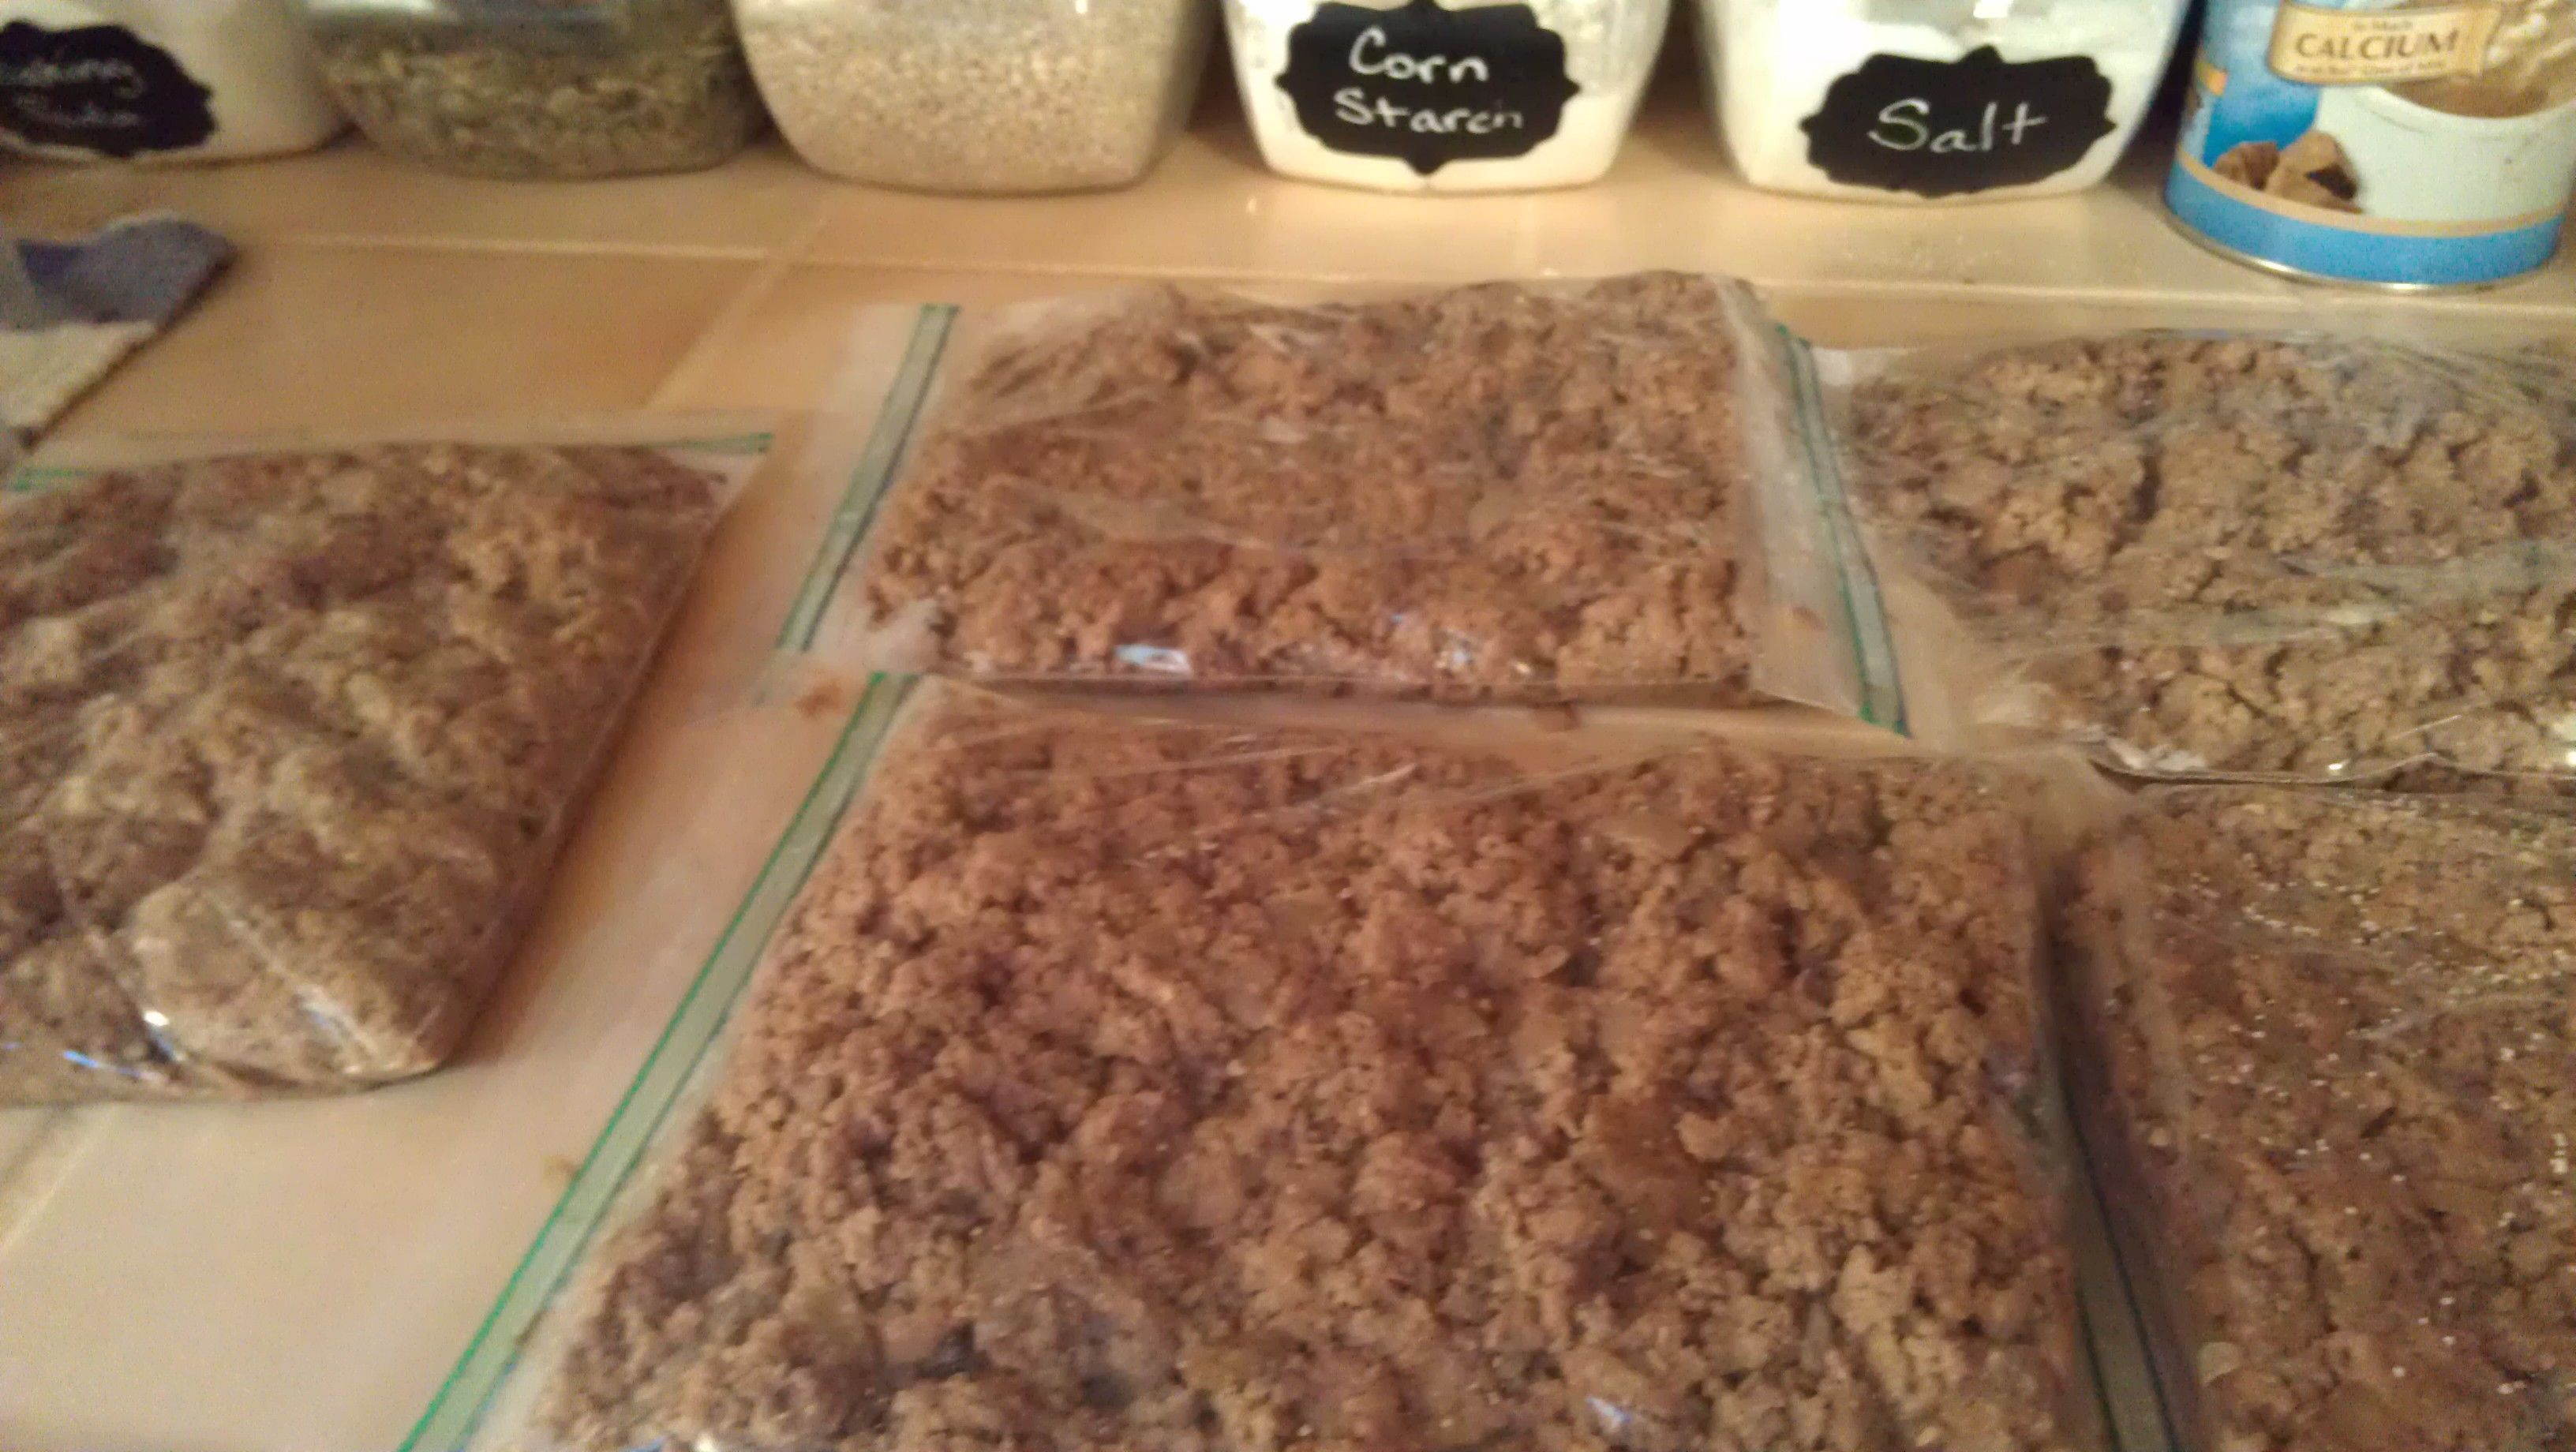
I divided up the meat into 5 freezer bags.  Each one weighed about 1.4 lbs. And pressed them flat.  Once they were cool, I put them in the freezer.  

I got about 2 quarts of broth also.  It smells and looks so yummy.  I’m definitely doing this again.  No more thawing meat, no more standing over a hot stove.  Win win win.


School Supplies and the Budget Part 2

Now that I’ve paid attention this year and see what school supplies cost, I’ll know to budget $25 per child next year. Plus more for shoes. We can split it up over the year and put $10 a month into an envelope tucked away in the safe. Or we can choose to fund the whole thing in July. I’ll let Darren decide, but usually we do the little bit a month method.

I’ve found Wal-mart to have the best prices overall for school supplies. Target’s stuff is cuter, but a tiny bit more. If you have a few dollars extra in your budget, it’s nice over there.  And occasionally you can find a great deal at an office supply store or a corner drug store, such as fill paper for 25 cents a package, limit 2. Usually though the rest of their supplies are over priced to compensate for that low price to get you in the door. You’ll pay more overall just to get that deal, unless you only grab the low price items and are willing to go to more than one store to get everything you need.

Dollar Tree has school supplies too and some of them are a great deal. Others are cheaper at Walmart–such as rulers; composition notebooks, and stretchy text book covers. Know your prices so you aren’t fooled.

Here’s the best money saving tip I have:

image

At the end of the year, collect all the school supplies they bring home and sort them into “trash” and “reusable” piles. I keep them in a plastic tub tucked away for next year. We “shop” there first when the school supply lists come out. I cleaned up everything with a soft cloth and spray cleanser until it looked like new. We were able to reuse scissors, rulers; pens; pencils; highlighters, backpacks; binders etc and keep our costs down for new items to $20 per child.

wpid-IMAG2146.jpg

School supply items are cheapest this time of year. Crayons will likely double in price after labor day, as will brad folders, fill paper and spiral notebooks. I usually buy a few extra so we have them to use the rest of the year in emergencies. And for gifts–like to pair with a handmade crayon apron and a cute Dollar Tree coloring book.
crayon apron


il_570xN.45494599

il_570xN.45494518

School Supplies and the budget Part 1

I have 5 children going to school this fall.  How can this be?  Grant and I are going to have a wonderful time together just he and I. But we will be excited for the brothers and sisters coming home in the afternoon!

I miss homeschooling sometimes….the total influence I had on their lives. Always being together. I could decide what I wanted them to learn and make it happen.  But sometimes my dreams and reality didn’t always mesh. Poop happened.  Dirty dishes distracted me.  The baby cried so loud we couldn’t hear each other and he refused to sleep. Every child sometimes said, “Mama, mama” at the same time and my head would pound.  And when I was busy with one, another might sneak off in a quiet corner and read….and I might not miss him for awhile…because he was so quiet.

Homeschooling took all of me–my every minute.  And I would sit and wonder what I could do with my business if I had a little more time.  (Which is funny because now while I work on my business I sit and think about what it would be like to be with my children instead.)  I was a public school teacher before children and could easily handle 25 kids in a classroom.  When I taught school, there were no babies to poop and cry, no laundry to wash, someone else cooked our food, and cleaned up.  All I had to do was focus on those kids.  But still, if the time was right, I’d homeschool again.

image

Dollar Tree baskets hold each child’s school supplies off the floor in my office until the first day of school. Somehow it looks messier in this photo than it feels in real life. The shelves will be getting some TLC while the kids are at school.

While somehow they got a great education at home, they are getting a great education at our little private school too.  They enjoy seeing friends and doing messy projects (that I never managed to fit in.) I love that they are memorizing scriptures and having prayer service together. And I love teaching High School choir there….LOVE. IT.  I love the friendlier relationship I have with my kiddoes now that I’m not the one assigning the work. So this time of year comes a little bittersweet for me.  It’s a chapter in my life I never saw us living…but the living is good.

Anyhoo, We purchased most of our school supplies this week.  And for 5 children that added up to over $100!!!!!  That was without the backpack or art smock for our kindergartener or the 12 pairs of shoes we need.  Yep you read that right, 12 pairs—gulp! Or the complete set of scriptures for my 2nd grader….not sure how we are going to do that, but God always provides.

We somehow missed budgeting for school supplies…..??? Um, they come every year.  So I think I may dust off my sewing machine and use up some stash to fill our needs.

Check out this adorable back pack:


Source: From pinterest--cites Made-By-Rae but link is broken.

Source: From pinterest–cites Made-By-Rae but link is broken.

This next backpack has a complete tutorial.  I’ll leave off the front pocket since Brandon just needs to carry a folder and his lunch and then add the spikes form the photo above.  I love her method for the straps:

Source:  http://uniquety.blogspot.ca/search?q=back+pack

Source: http://uniquety.blogspot.ca/search?q=back+pack


And this art smock

Tutorial: http://creatingbycami.blogspot.com/search/label/Art%20Smock%20Tutorial

Tutorial: http://creatingbycami.blogspot.com/search/label/Art%20Smock%20Tutorial

And thinking ahead to cooler weather, I love these mittens:

Tutorial here:  http://mmezsazsa.blogspot.com/2010/02/celebrate-dino-mittens_27.html

Tutorial here: http://mmezsazsa.blogspot.com/2010/02/celebrate-dino-mittens_27.html

They look so easy to make. I might add a ribbing cuff to keep them on better. Wouldn’t they look darling with a dino backpack?

What if….

…I ran my home like a summer camp?

There’d be:

Rise and Shine–at the same time every day.

Morning worship.

wpid-IMAG2056.jpg

Breakfast and KP and bathroom cleaning (and songs during clean up.) (And of course staff to cook and young men to serve it ….bwa ha ha.)

Cabin Inspections in the morning with public recognition and prizes awarded during dinner.

Rest time

Swimming…..hmmmm (Not sure how to do that every day at home….but thinking.)

wpid-IMAG2098.jpg

A sit down dinner together

wpid-IMAG2136.jpg

Best Friends–that’s me (on the right) and my matron of honor (on the left)-it had been nearly 20 years since we served at a camp together. So. much. fun.
image

Teamwork: (Their job was to keep the giant sea-saw balanced while they move into order by height.  This was my cabin of lovely ladies. Only my daughter’s face is turned to the camera in this shot so I can share it with you. They were really good at this activity.)

Campfire

image

Bedtime Snacks

Evening Devotions

and off to bed.

Sounds wonderful.
wpid-IMAG2127.jpg

We just got home from Camp Tiona.  The schedule was packed tight and I enjoyed every  minute of my only job being to be with the girls.  I’m glad my daughter, Heather, was in my cabin this year, but next year we plan to let her be with someone else.

Camp ran like a well oiled machine and a lot had to do with the schedule and being with friends made clean up that much more fun.  But more than that, the girls were rewarded with a bead for their name tag necklace for doing things well.  It was amazing what they would do for a bead or a little recognition.  I’m not much different as an adult.  I love recognition and attention–I’ll admit it :).

So while we unpack from camp and gather our supplies for the new school year, my mind is searching for ways to have more family time–less crazy time, less unproductive time; more relationship time. And to somehow do it without giving up every extra social or learning experience.  I’ve tried schedules before and they wear me out…but maybe if I tried one that wasn’t so packed, that had time for rest and reflection.  One with built in recognition and motivation for doing jobs well…maybe it would work.

How about you?  Do you you have a schedule or chore system that works for you? Have you tried one that you loved for a few weeks and then didn’t anymore?  I’d love to hear about it in the comments.

Disclaimer (all recognizable pictures were of staff or my own children for the privacy of the families.)