A few weeks ago our church put on an event called Homespun University. Volunteers taught classes on a topic they enjoyed and we could choose from a large variety of things to learn about including organization, home decor, self defense, cake decorating, herbs, essential oils, and scripture study. One of our members is a retired professional baker who owned his own bakery for years. He offered a class on biscuits and I jumped at the chance to learn from him.
Before I got married I baked a lot of biscuits, but they weren’t the best. Sometimes they were hockey pucks. It worried my husband so much that he begged his Aunt to have me over for a biscuit baking lesson. Then I entered the fitness phase of my life and biscuits became a thing of the past.
Recently I started balancing real baked goods, with actual wheat flour into our rotation. Sometimes I’d rather have a tiny bit of a real treat than a full serving of a sugar free, grain free blech. It’s all about portion control and activity level to make it balance out in the end.
I bought the Magnolia Home cookbook (How does Joanna cook like this and stay so thin?) and excitedly tried her biscuit recipe. It had way tooooooo much butter and they were just ok.
The recipe I’m about to share with you is better. A lot better. I tried it first with all-purpose white flour, but I’m going to try it again with my home ground fresh hard white whole wheat flour.
First here are the secrets:
- Use COLD butter. Keep it in the fridge until just before using it.
- Don’t overwork your butter. Cut it in until it’s the size of peas not fine crumbs.
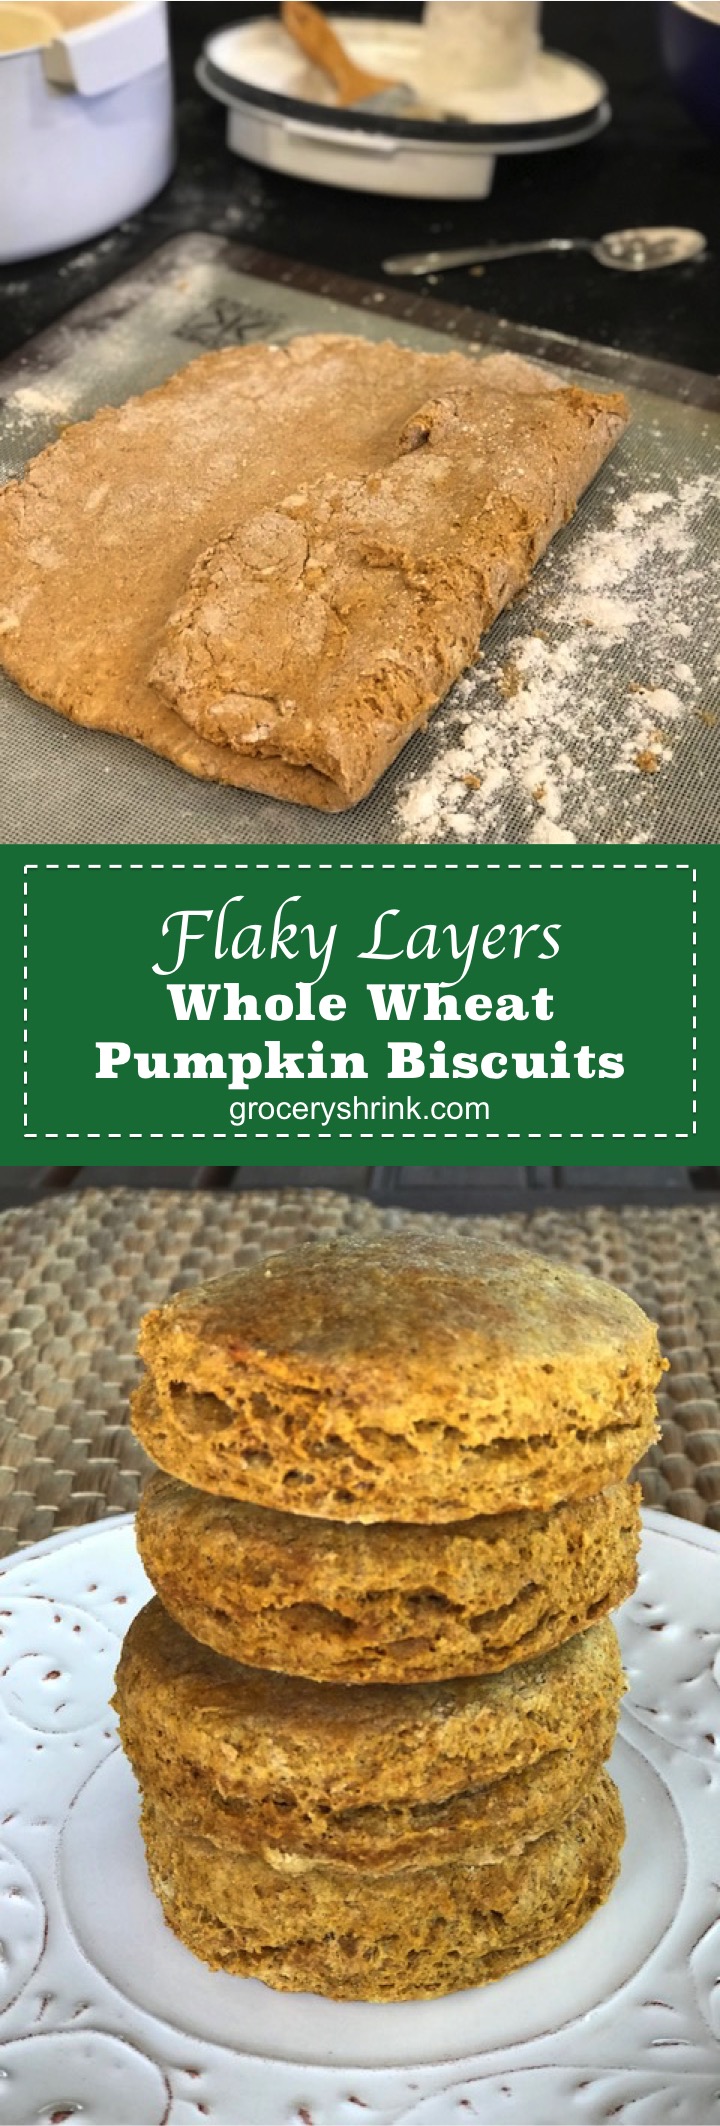
- Don’t overwork your dough. Kneading is for yeast breads, not biscuits. It’s ok to have some flour that isn’t worked in at the first. As you lightly roll it into layers it will work in.
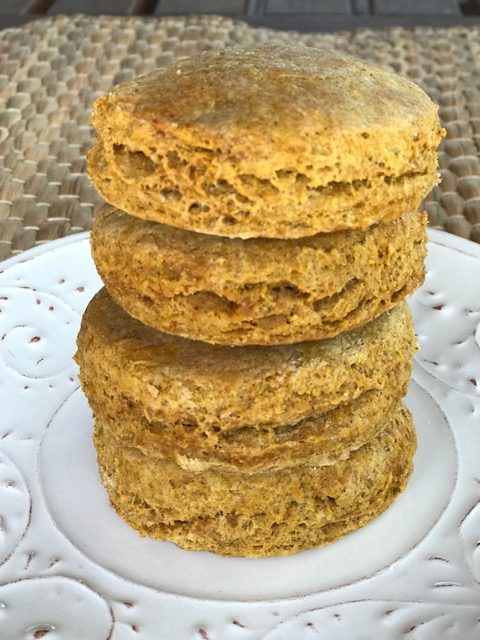
- Don’t roll the biscuits too flat. There isn’t yeast in these so keep them tall, so don’t’ press out all the air that’s forming from the baking powder reaction. I leave mine about 3/4 inch thick before cutting.
- Don’t twist the cutter. Twisting the cutter seals the edges and keeps the biscuit from rising into layers.
- Brushing the tops with milk before baking, makes sure there won’t be a dry flour dust on your biscuits from the rolling flour.
- Use a HOT oven temperature. This quickly seals the outside crust, trapping air inside and forcing a higher rise.
Flakey Layers Biscuits
3 cups All Purpose Flour
4 tsp baking powder
1/2 tsp salt
10 Tbs Cold Butter
1 1/3 cups Cultured Buttermilk
2 Tbs Honey
Preheat your oven to 450 degrees. Makes 12 biscuits.
In a large bowl whisk together the flour, baking powder and salt. Cut the butter into slices then add to the flour mixture and use a pastry cutter to work into the flour until the butter is the size of small peas.
In a glass measuring cup, beat together the buttermilk and honey. Then pour into the flour mixture. Stir just until it has mostly come together, then dump out onto a lightly floured counter. Gather dough into a ball.
Dust a rolling pin with flour and with a light touch, roll the dough out about 1/2 inch thick. Fold the dough into thirds, then roll again and fold into thirds again. Repeat one more time. Lightly roll the dough about 3/4 inch thick, then cut with a biscuit cutter. Instead of bunching up the scraps into a new ball to roll out again (which would destroy your layers and overwork the dough) slide them together on the counter and push bath together, keeping your layers intact to cut again.
Brush the tops with milk and bake for 8 minutes or until golden on top.
12 biscuits; 220 calories each, 10g fat, 26g net carbs, and 4g protein
Made with Hard White Whole Wheat Flour 218 calories, 10g fat, 24g net carbs, 5g protein
If you try it, let me know how it goes! If you want to see it in action, let me know and I can do a facebook live video.

