We have a bonus room over our garage that I’m using for my office/craft room/guest room. It has a high vaulted ceiling and the previous home owners used every inch of floor space by not putting in knee walls. The wall shown here with the window in it, is the only wall in the room that you can put furniture against and even that contains the tall laundry chute. (I’m tempted to rip this out and just have a hatch in the floor.) Also the thread cabinet on the wall and the sewing table are going to new homes.
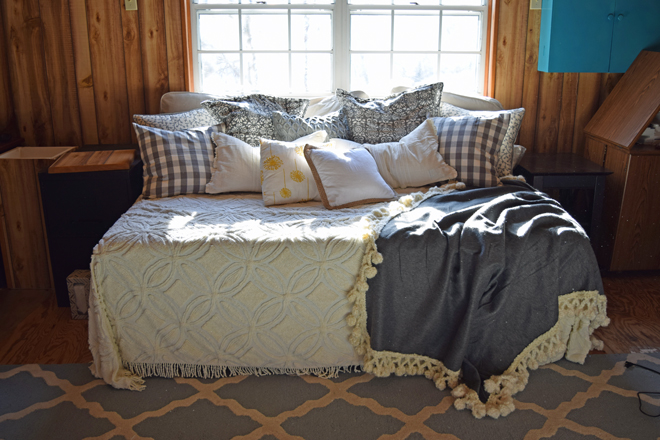
The whole room is paneled in 1970’s press board. It would look darling painted white, except for where the roof leaked many years ago, and warped the boards. I’m not sure what to do about that….so I’ve left it natural while we worked on other rooms. I used to have bright blue and white chevron curtains on the rods but am ready for a change. I’m living with nothing while I decide what will be next. There are outlets everywhere in the room, on the ceiling and on the floor. It’s a crafter’s dream and strange all at the same time. It’s going to be tricky to lay the floor in here, which I hope will happen December 26th.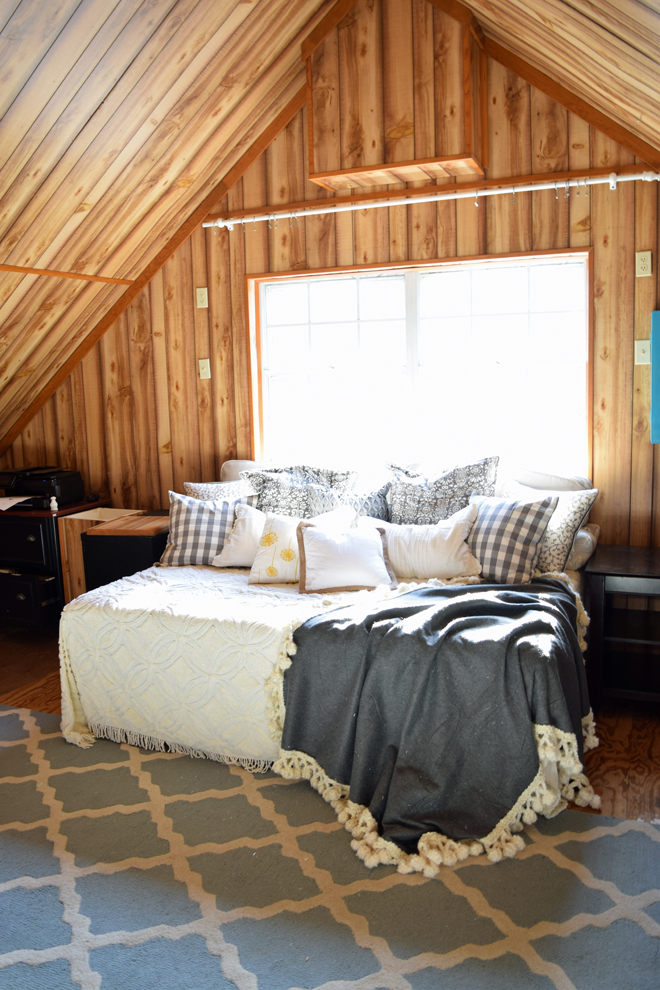
After subjecting our guests to sleeping on an air mattress with a lumpy hide-a-bed mattress thrown over the top, I decided to invest in a more substantial guest bed. I found this bed frame for a queen bed that folds up into a small square, yet the reviews said it was sturdy enough to use as an every day bed frame. When folded, the bed frame perfectly fits in a triangle shaped cubby hole in the corner of the room by the furnace utility closet and tucks out of the way when not in use.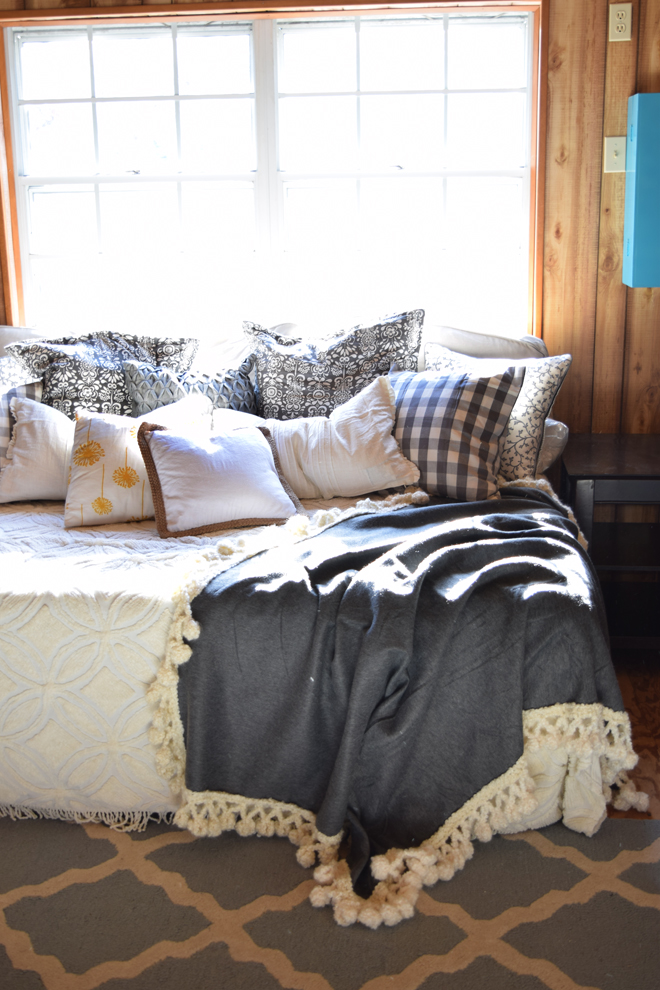
The bed frame didn’t require a box spring. I went to Ikea and tried out all their mattresses and came home with this one. I had first thought to get an all foam mattress, but this one was surprisingly more comfortable. It came vacuum sealed and rolled up in a cylinder shape, which made getting it home really easy. I could imagine it sliding into the cubby beside the bed frame when not in use. When I cut the plastic and the mattress fully expanded in the room, it was clear it wasn’t tucking behind anything. SOOOO, my brilliant idea left me with a folded up bed frame in the corner of my office and a mattress on the floor. Then I saw this blog post from ZevyJoy. She explains how she used a $50 Ektorp slip cover to turn a queen bed into a daybed for their family room. Since queen daybed frames were running $300-$1200 online, I thought this was a fabulously frugal alternative.
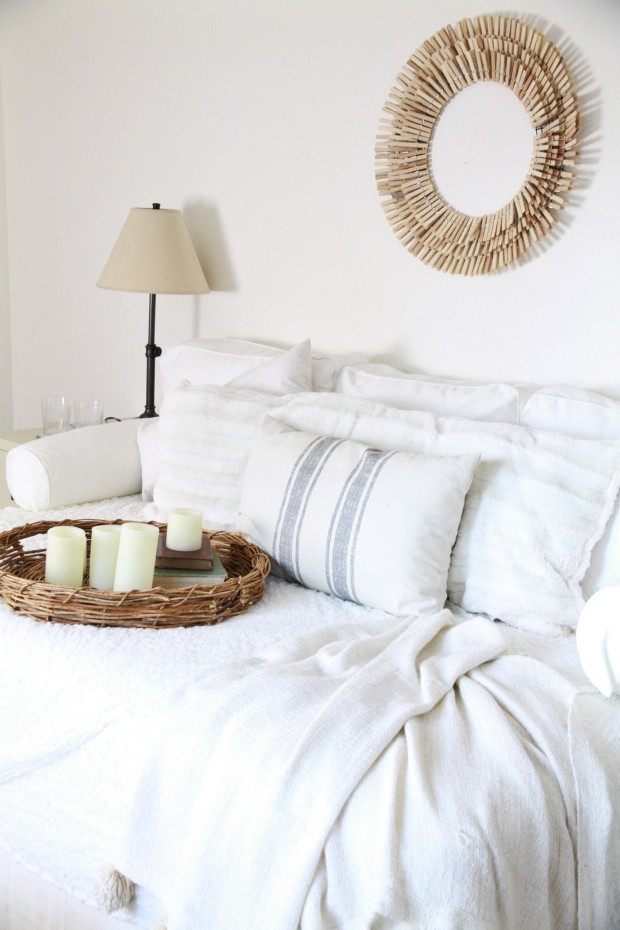
I made one more trip to Ikea for an Ektorp slipcover, some pillow forms and pillow covers to make my own version at home. (The shopping trip that inspired this post.) The effect is limited with the paneled walls and bare plywood floor (except for the well loved rug I threw down for feet safety, but it still beats the mattress on the floor vibe. I used as much of what I had as possible. The ektorp cover is stuffed with my spare feather pillows that I had been collecting for a few dollars at a time at second hand and salvage shops. The chenile bedspread was in a free bin at my neighbor’s garage sale, because her new puppy had chewed a few holes in it. (After mending it’s hard to find the damaged spots in all the texture.)
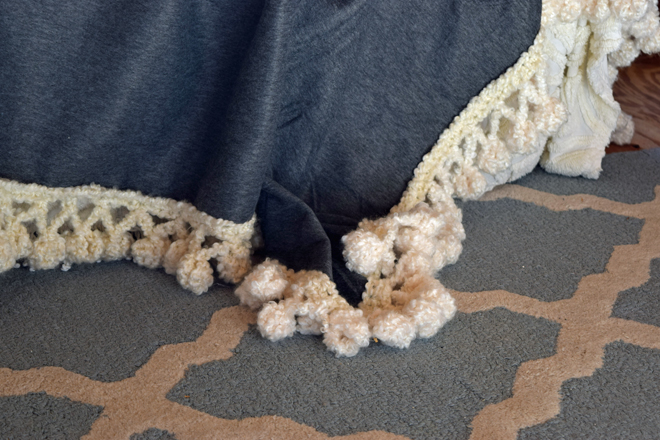
I love the texture of a chunky pompom throw and wanted one to cozy up the guest bed, but they are crazy expensive. The thought of wrapping a thousand homemade pompoms to sew to a blanket wasn’t very appealing, and I’m not a fan of finding strings all over the house that fell out of said homemade pompoms. Crocheted pomopms are FAST and cannot lose strings. I started with an Ikea Polarvide throw for $3.99.
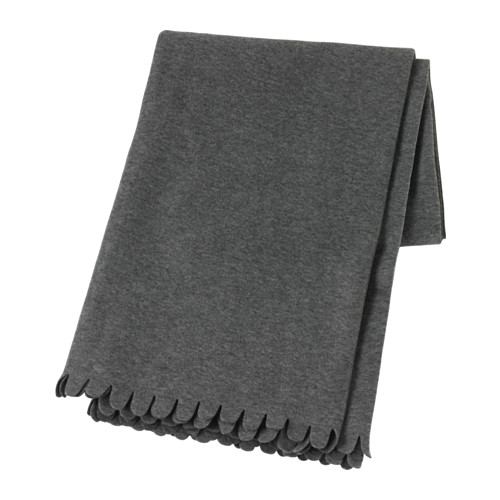
The scalloped edge is adorable, but not great for this application. I just grabbed my good fabric scissors and cut them off, ending up with a pile of petal shapes that I saved in a baggie waiting for inspiration for another project.

I chose Lion Brand Homespun Thick and Quick in Dove for the poms. I wanted a chunky boucle yarn, to make it go faster and give the poms a furry texture. It took almost all of 2 skeins to get around the blanket. At $8.99 a skein that would have upped the price of the throw quite a bit, but you probably guessed I used a 40% off coupon at Hobby Lobby for each skein. (The final project cost was $14.79.)
I used a P hook from this set, but you can use any size and any type of yarn you prefer. Start by chaining long enough to go all the way around the blanket. After I had a fairly long chain, I started pinning it to the blanket as I went so I’d know as soon as my chain was long enough. It also kept that huge chain from twisting. Join with a slip stitch to close and single crochet in each chain around.
To form the pom: chain 6 and form a 3 double crochet cluster in the 3rd chain from the hook. *Chain 3, then form another 3 double crochet cluster in the 3rd chain from the hook. Slip stitch to fold those two clusters in half and form a ball. Then chain 3, skip the next 3 single crochet stitches from your foundation row and single crochet in the next stitch.* Continue from * around. Finish off and weave in the ends.
When you get to the end, if you don’t have a exactly 3 chains to skip, it’s ok to skip 2 or 4 or whatever is left. It won’t show in the final blanket.
Here’s a video from Bella Coco that gives a nice visual:
When the edging was all finished, I used a long zigzag stitch on my machine to attach it to the blanket, using cream thread on the top and gray in the bottom so the threads would blend away. The only problem was the chunky boucle kept getting caught in my presser foot. Several times I wondered if hand stitching would have been the better plan.
Could you replace the section of paneling that is warped and then paint? I would paint over all the panels even if it is warped.
Cute throw!