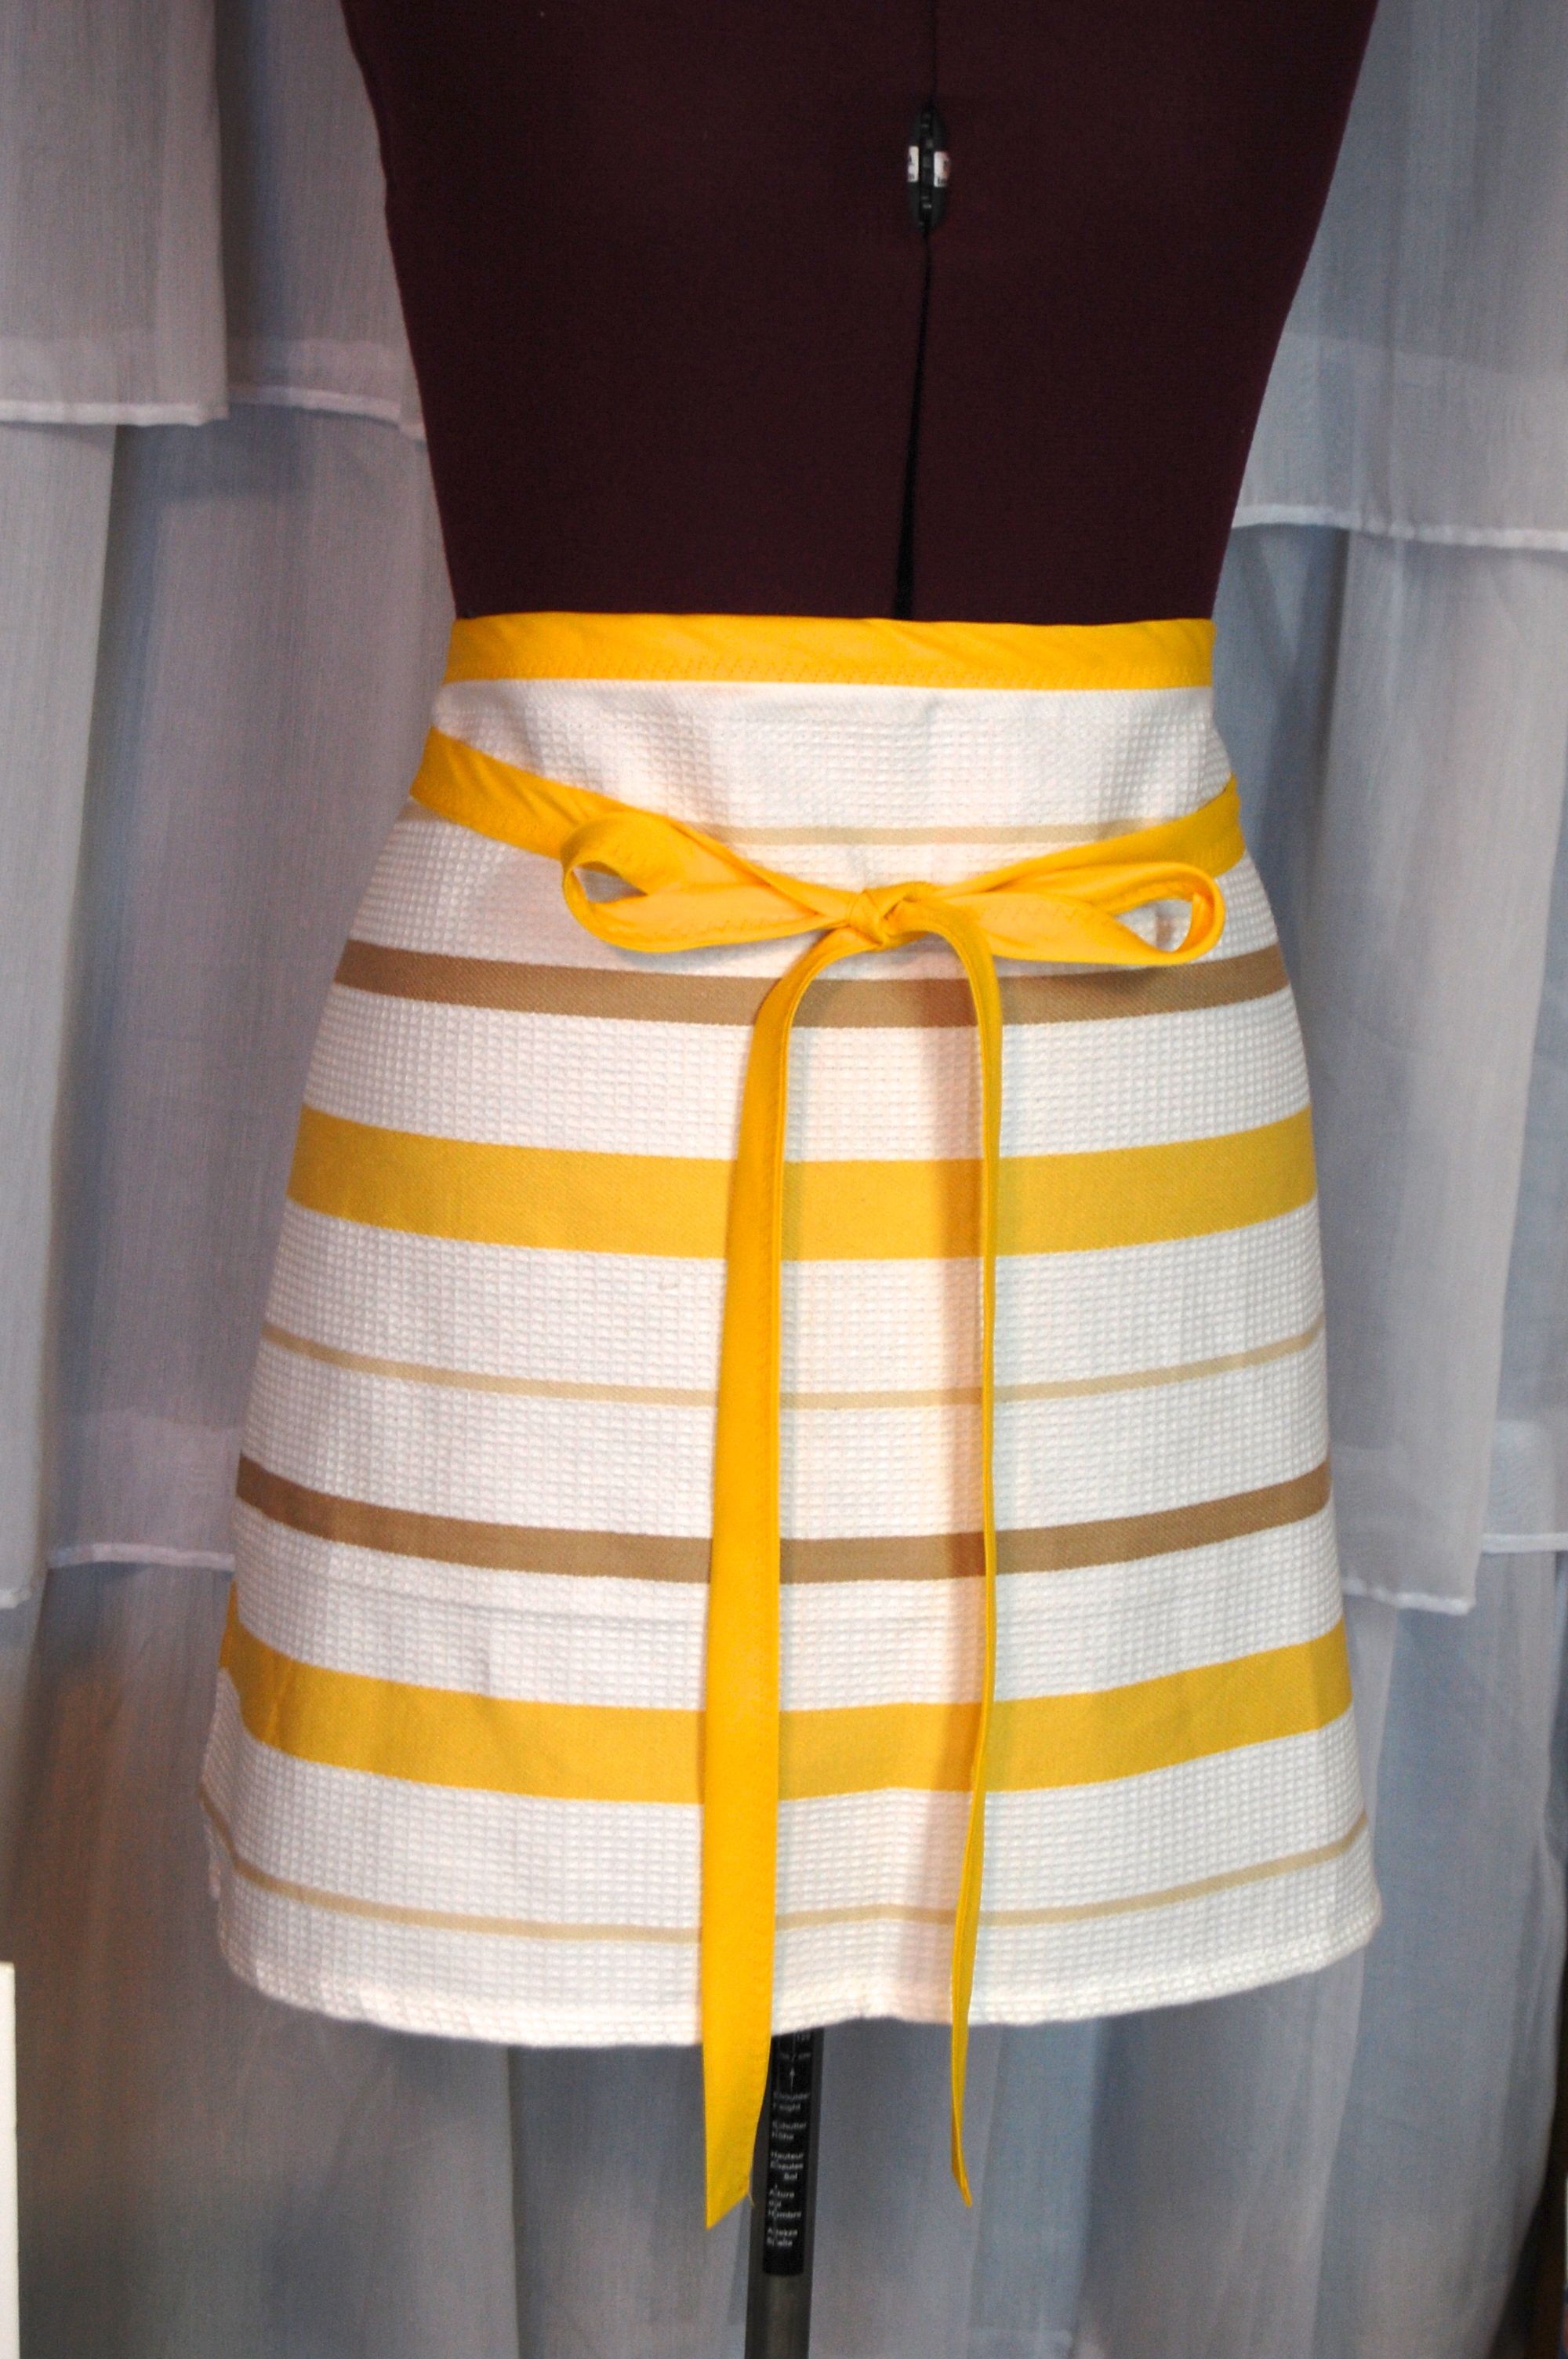
Ready for a super easy project that makes an adorable gift? (Get your Christmas done early. Teacher gifts? White elephant?) It’s so fast, you can make one for yourself too.
All you need is 1 tea towel, and 1 package (3 yards) of quilt binding in a coordinating color.
Quilt binding comes bias cut, but for this project, it doesn’t have to be on the bias. You can make your own straight edge binding from 2 4″ lengths of 45″ wide fabric if you prefer.

Step 1. Decide if your tea towel design will look ok horizontally. If not skip to Plan B.

Step 2: Remove the hem from one long edge of the towel and press it out. (I was able to snip one thread with my seam ripper and then just pull the chainstitch out–so fast!) This step reduces bulk at the waist and makes everything look better.

Step 3: While you are pressing the hem out, press the quilt binding too. Press under the raw edges on each end of the long piece of binding.

Step 4. Find the center of the raw edge of the tea towel and the center of the quilt binding. Match up the centers and bind the top of the towel.

Step 5: Then top stitch it in place, starting at one long free end of the binding, across the top of the towel, and off the other end. This will create a waist band and ties. If you use a triple zigzag stitch (like I did above) it will be sure to catch the back side and look decorative.
All done! The ties will be long enough to wrap around and tie in front which looks cool, plus keeps the ties ends out of the toilet–and prevents your toddler from pulling the string and making your apron fall off just for giggles. It’s cute the first time, but gets old quickly.
Plan B:
If your towel needs to go the other direction. Cut it in half.

Then cut the back half of the fabric in half again.

Finish the raw sides of the two pieces you just made (the tops can stay raw for now.) You can use a serger if you have one. My serger had navy blue thread and I was too lazy to change it, so I used the overlock stitch on my regular machine. It needs this special foot:

And is stitch #10 (Janome; New Home; or Kenmore brands–I’m not familiar with other machines.):

Slide the newly finished edges under the hemmed sides of the center panel. And top stitch in place, both on top of the original hemming and along the other side of the hemmed area.


View from the back.
Now you should have a shape similar to the original tea-towel, with the printed panel in the center and seams on each side. And all edges finished except for the top. Bind it how we did in the first version and you’re all done!


This one I cut a waist band out of white twill and then added grosgrain ribbon ties. And topstitched a remnant of orange lace over the waist band. I love how it turned out! And where else would I use a little scrap of orange lace, lol? I gave this one as a shower gift recently, but it was hard to part with it.

For tiny waisted girls, this is how the apron overlaps in the back.

This one I cut a 3 yard piece of ribbon and centered then top stitched it over the top of the skirt. I serged across the top first to make sure there weren’t any edges to ravel. It was super fast and I love the look.
The apron is really cute! Have a great day!
Thank you for the cute idea. Love the look and what a sweet and easy gift to make.
I appreciate your step by step tutorial. You make it easy and understandable for people like me that do not have great talents in sewing. lol
Darn it! As if I didn’t have enough to do, this is so stinkin’ adorable I’m gonna have to figure out a way to sneak a few in!! Just got some monogrammed tea towels from Pick Your Plum and they are calling out to me! “Ignore the laundry! This is productive work!”
This looks easy, and very cute. 🙂
All instructions are blank.
Hi Bettie, Thanks for letting me know. I fixed it for you 🙂